| Oracle® Fusion Middleware Installation Guide for Oracle Enterprise Content Management Suite 11g Release 1 (11.1.1) Part Number E14495-02 |
|
|
View PDF |
| Oracle® Fusion Middleware Installation Guide for Oracle Enterprise Content Management Suite 11g Release 1 (11.1.1) Part Number E14495-02 |
|
|
View PDF |
This appendix describes the Fusion Middleware Configuration Wizard screens for configuring Oracle Enterprise Content Management Suite applications:
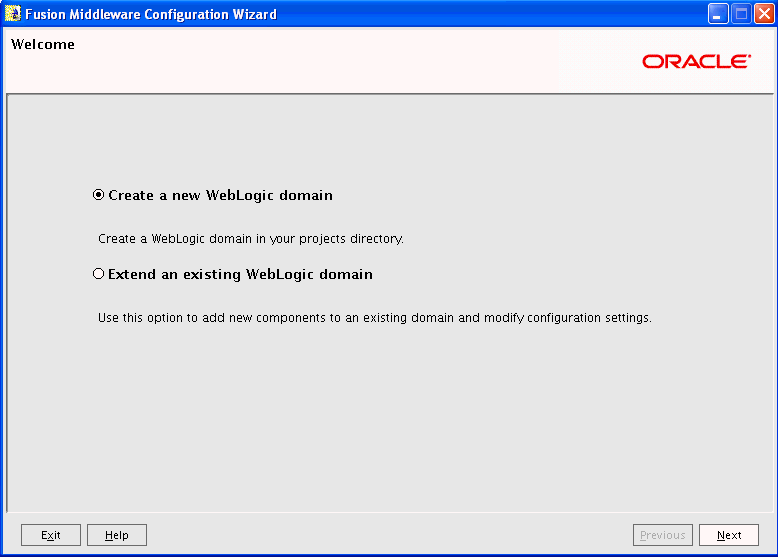
The Welcome screen appears each time you start the configuration wizard.
Select Create a new WebLogic domain to create a new WebLogic domain in your projects directory.
Select Extend an existing WebLogic domain if you want to add applications and services, or to override existing database access (JDBC) and messaging (JMS) settings.
Click Next to continue.
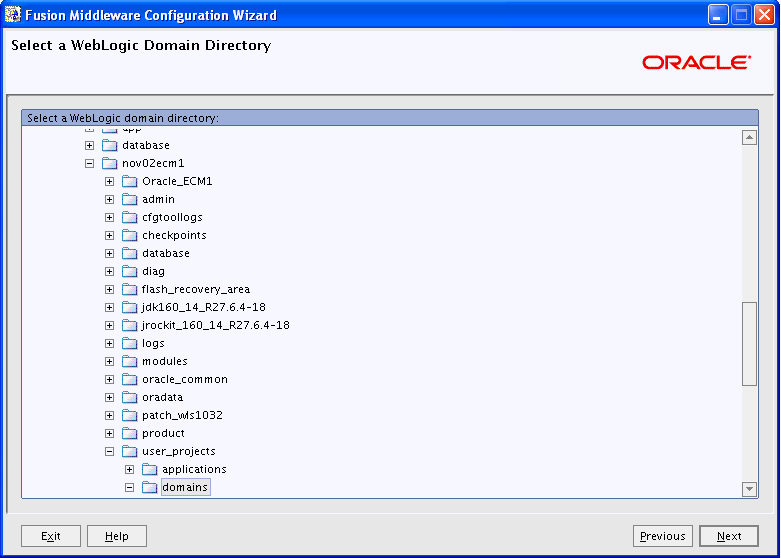
Select the WebLogic directory to which you want to add your applications or services, or both.
Click Next to continue.
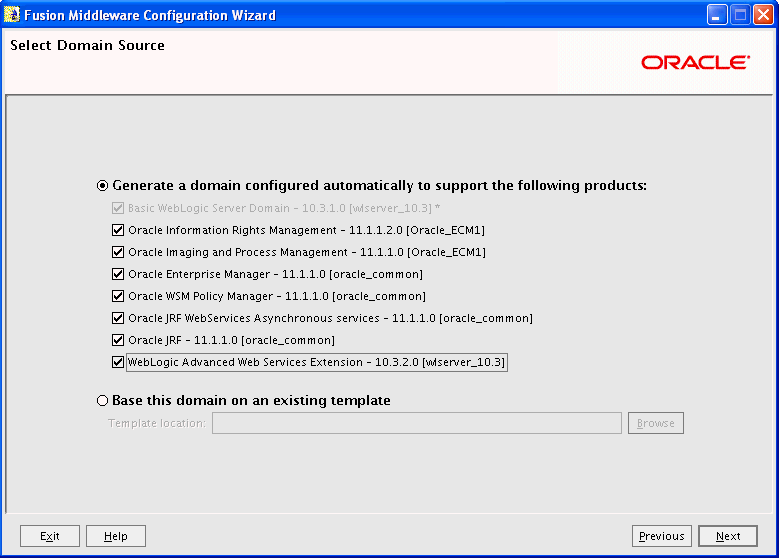
Select the source from which to create a new Oracle WebLogic Server domain. Select Generate a domain automatically to support the following products, and then select the products.
When you select Oracle Imaging and Process Management or Oracle Information Rights Management on the Select Domain Source screen, Oracle Enterprise Manager and Oracle JRF are automatically selected.
Select Base this domain on an existing template to create your domain based on an existing domain template. Click Browse to navigate your directories to find an existing template.
Click Next to continue.
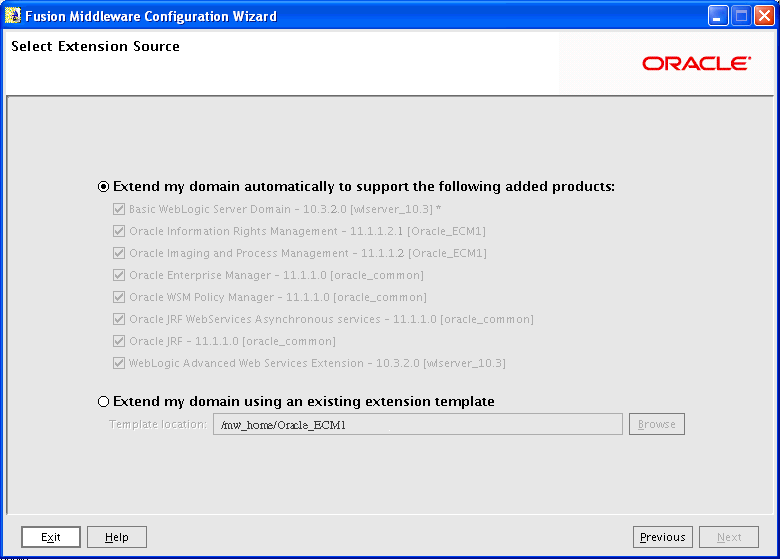
Select the source from which to extend an existing Oracle WebLogic Server domain. Select Extend my domain automatically to support the following added products, and then select the products.
When you select Oracle Imaging and Process Management or Oracle Information Rights Management on the Extend Domain Source screen, Oracle Enterprise Manager and Oracle JRF are automatically selected.
Select Extend my domain using an existing extension template to extend your domain based on an existing extension template. Click Browse to navigate your directories to find an existing template.
Click Next to continue.
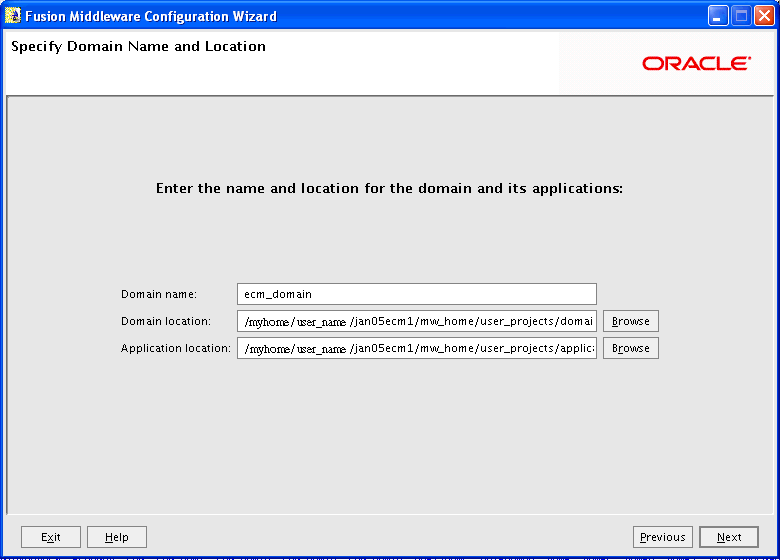
Use the default domain name, domain location, and application location, or specify different ones.
Click Next to continue.
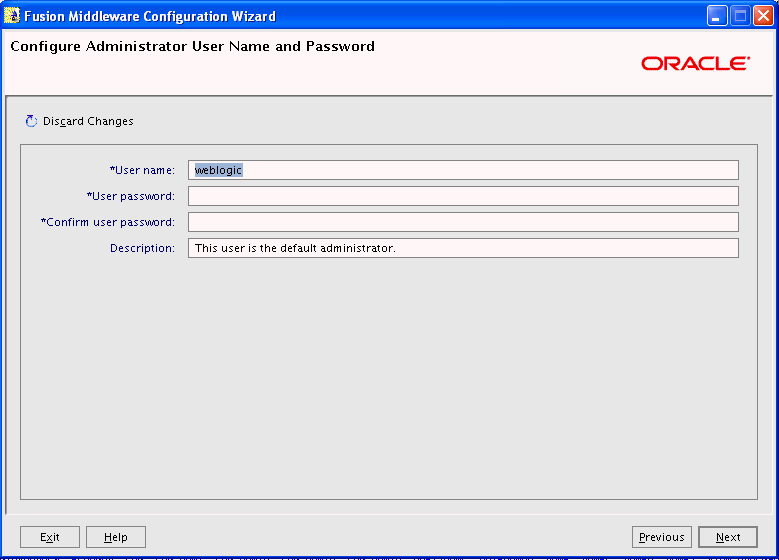
Create a user that will be assigned to the Administrator role. This user is the default administrator for starting development mode servers.
User name
Specify the user name.
User password
Specify the password for the user.
Confirm user password
Reenter the user password.
Description
Enter a description for the user. This field is optional.
Click Next to continue.
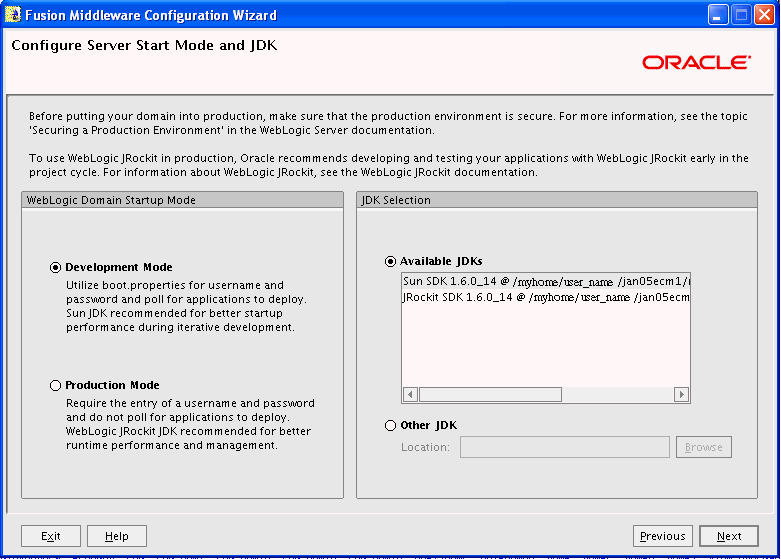
In the WebLogic Domain Startup Mode section, select one of the following startup modes:
Development Mode
In this mode, boot.properties is used for user names and passwords, and polling is used for application deployment. Sun SDK is the default for this mode.
Production Mode
In this mode, user names and passwords are required, and polling is not used for application deployment. JRockit SDK is the default for this mode.
In the JDK Selection section, select a JDK from the list of available JDKs, or select Other JDK, and then click Browse to find another JDK on your system.
Click Next to continue.
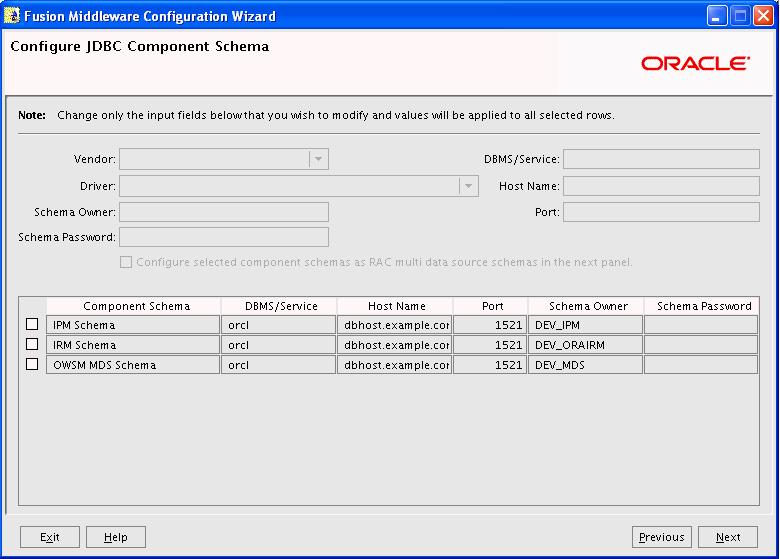
Use this screen to edit the configuration information for each JDBC component schema.
A component schema contains a pool of database connections. Your application uses a component schema by looking it up in the JNDI tree, requesting a connection, using the connection, and then returning the connection to the component schema.
Click Next to continue.
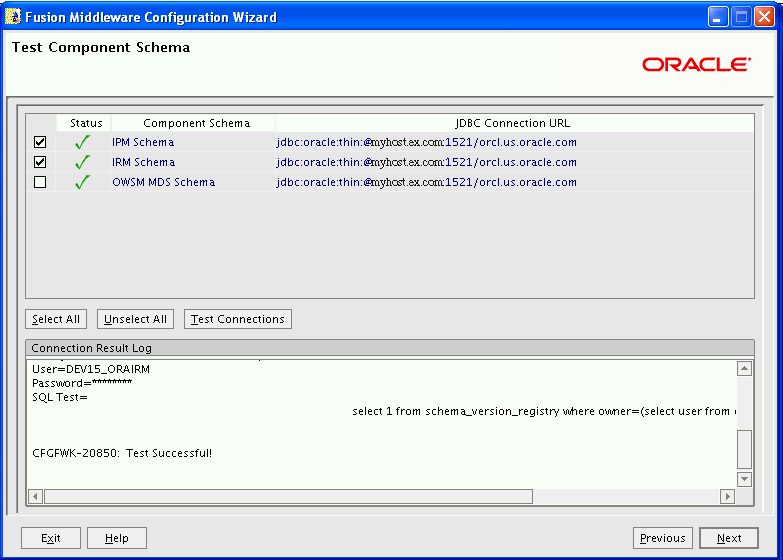
Use this screen to test JDBC connections to application schemas.
Click Select All to select all of the schemas for connection testing, or select one or more individual schemas.
Click Unselect All to deselect all of the schemas.
Click Test Connections to test the JDBC connections to the selected schema or schemas.
The Connection Result Log section shows the results of connection testing.
Click Next to continue.
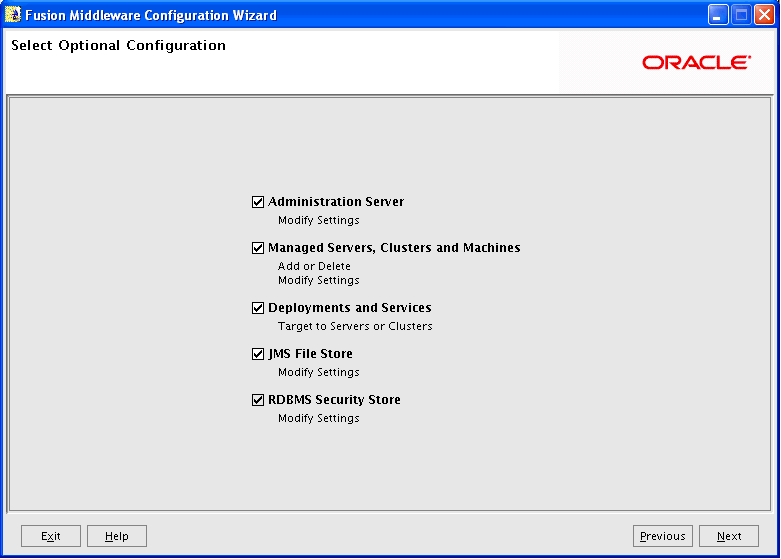
Select any of the server and cluster settings that you want to customize.
Click Next to continue.
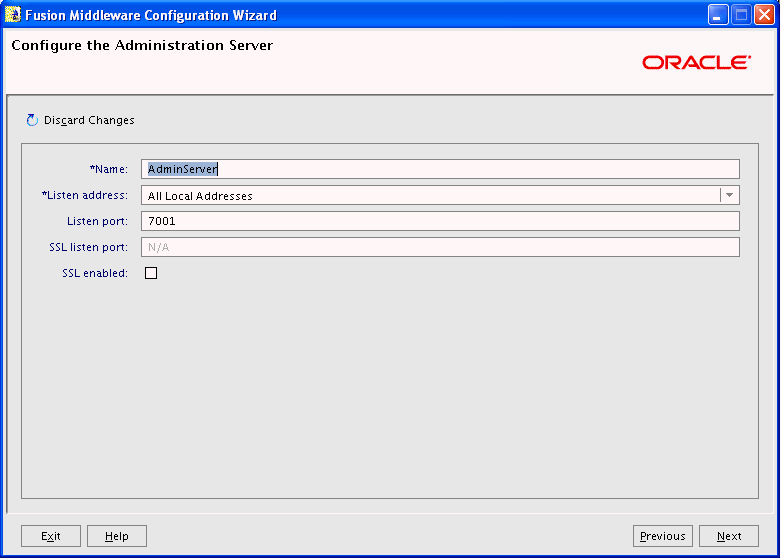
Use this screen to change the default configuration of the Administration Server for an Oracle WebLogic Server domain. Each domain must have one Administration Server, which hosts the Oracle WebLogic Server Administration Console used to perform administration tasks.
For the Administration Server, you can change values in these fields:
Name
Name of the Administration Server
Listen Address
An address on which the Administration Server will listen, selected from the list
Listen Port
Listen port number
SSL Listen Port
Port number for SSL connections, active when SSL enabled is selected
SSL Enabled
Enabled if selected and if a port number for SSL connections is provided in the SSL Listen Port field
Click Next to continue.
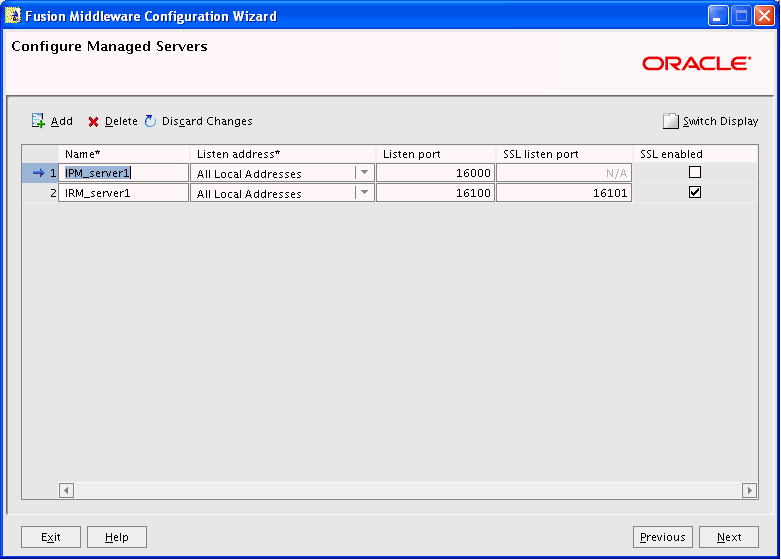
A Managed Server is an instance of Oracle WebLogic Server used to host enterprise applications. A typical production environment has at least one Managed Server.
Use this screen to change the default configuration of Managed Servers. For each Managed Server, you can change values in these columns:
Name
Name of the Managed Server
Listen Address
An address on which the server will listen, selected from the list
Listen Port
Listen port number
SSL Listen Port
Port number for SSL connections, active when SSL enabled is selected in the same row
SSL Enabled
Enabled if selected and if a port number for SSL connections is provided in the same row
Click Next to continue.
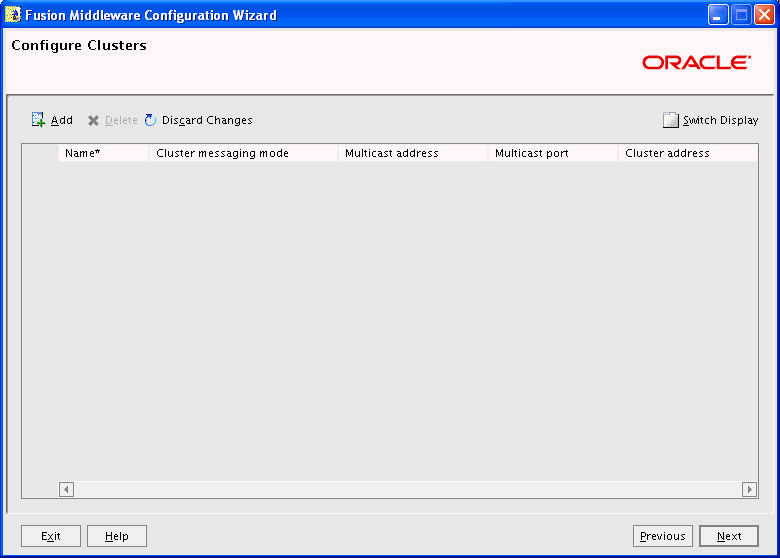
Use this screen to configure Oracle WebLogic Server clusters.
A cluster contains multiple Oracle WebLogic Server instances running simultaneously and working together for scalability and reliability. To clients, a cluster appears as a single Oracle WebLogic Server instance.
Notes:
If you do not specify a cluster on the Configure Clusters screen, you cannot add Managed Servers later to create a cluster.
If you decide to enable a cluster, then you must assign a cluster address.
Click Next to continue.
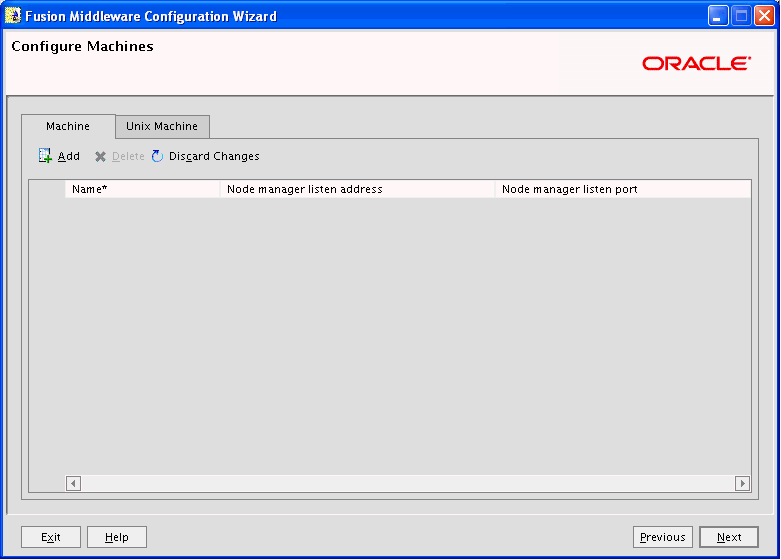
Use this screen to add or delete machines that host Oracle WebLogic Server instances.
The Administration Server and Node Manager use the machine configuration on this screen to start remote servers.
Click Next to continue.
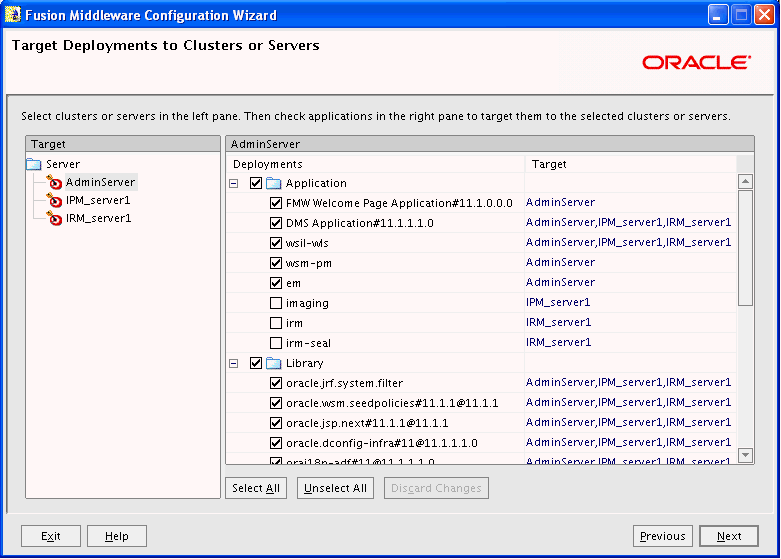
Use this screen to target your deployments to servers or clusters. Doing so enables Oracle WebLogic Server to serve the deployments to clients.
Click Next to continue.
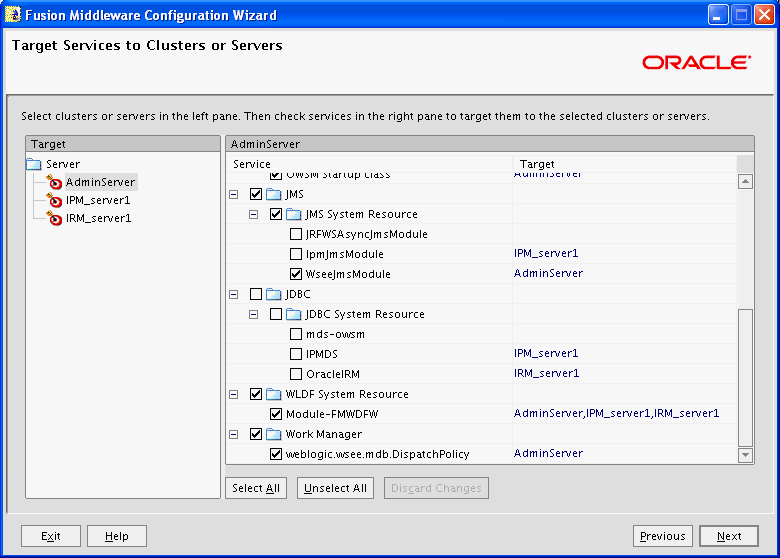
Use this screen to target your services (such as JMS and JDBC) to servers or clusters. Doing so enables your applications to use these services. For example, if you want to connect your application to Oracle WSM Policy Manager, you need to select AdminServer on the left and mds-owsm under JDBC and JDBC System Resource on the right.
Click Next to continue.
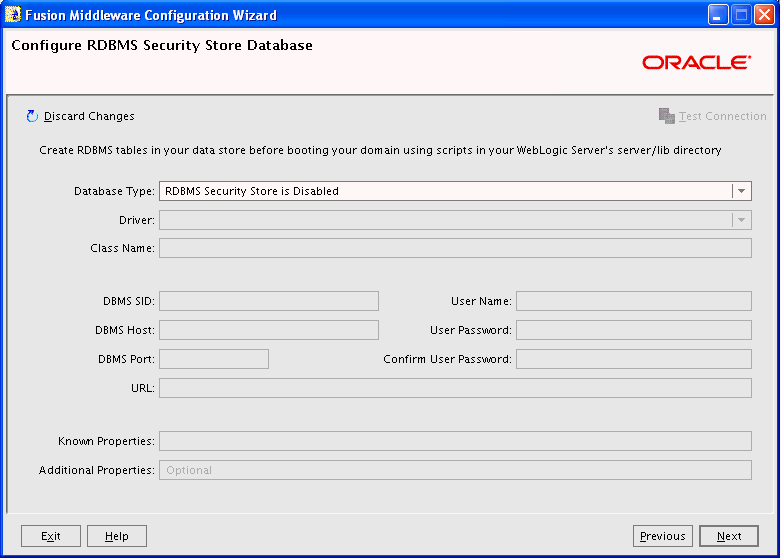
Use this screen to make changes to your security store. Make sure that your RDBMS tables are created prior to booting your domain. The scripts used by the DBA are located in server/lib directory under the Oracle WebLogic Server home directory.
Click Next to continue.
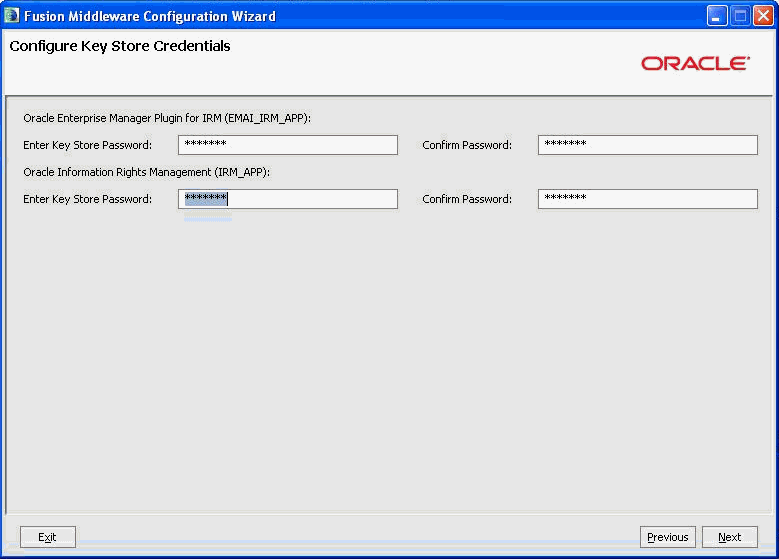
Use this screen to specify passwords for Oracle Information Rights Management (Oracle IRM) and the Oracle Enterprise Manager plug-in for Oracle IRM.
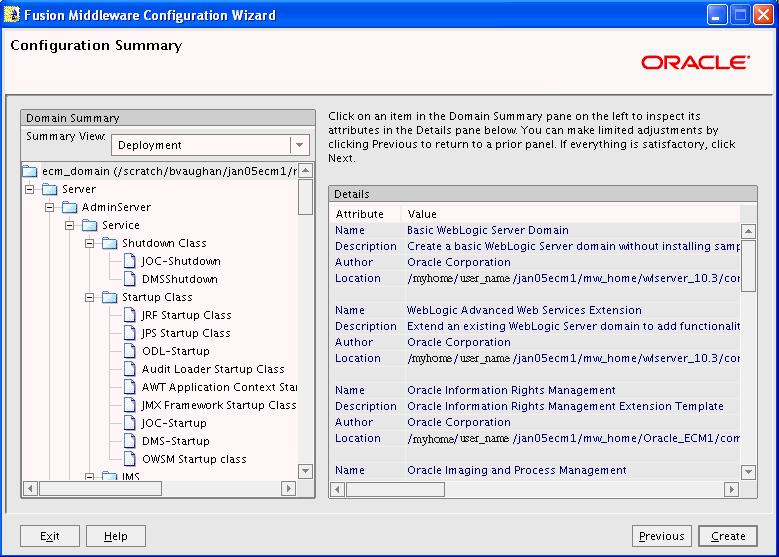
Review the contents of your domain.
Click Previous to go back and change something on a preceding screen.
Click Next to continue.
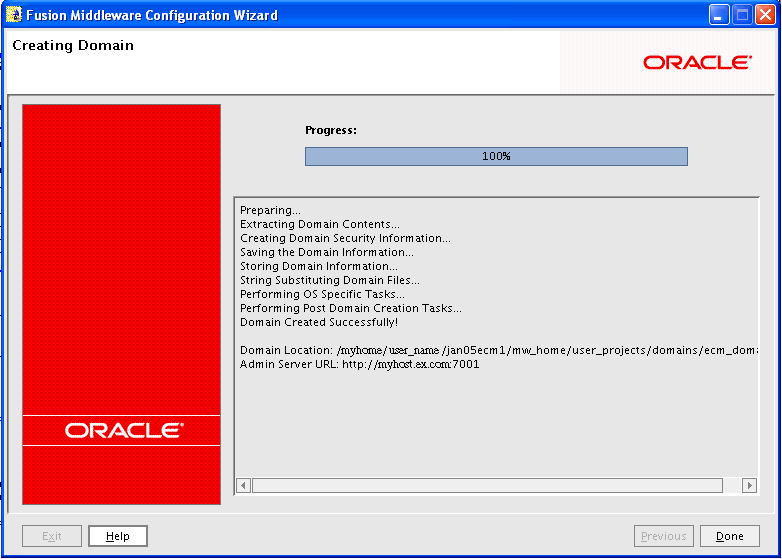
This screen shows the progress of the domain creation.
When the Progress bar shows 100%, click Done to dismiss the window.
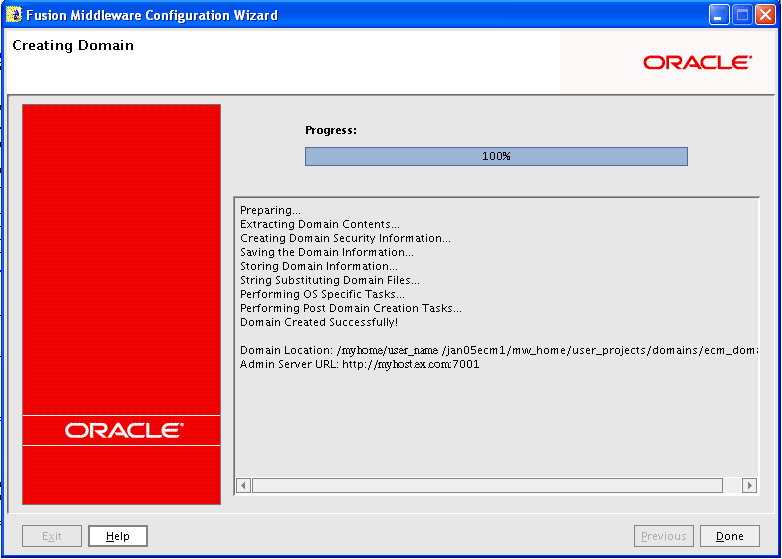
This screen shows the progress of the domain extension.
When the Progress bar shows 100%, click Done to dismiss the window.