| Oracle® Fusion Middleware Installation Guide for Oracle WebCenter 11g Release 1 (11.1.1) Part Number E12001-06 |
|
|
View PDF |
| Oracle® Fusion Middleware Installation Guide for Oracle WebCenter 11g Release 1 (11.1.1) Part Number E12001-06 |
|
|
View PDF |
This appendix contains screenshots and descriptions for all of the Oracle WebCenter installation screens:
Installation screens and instructions for WebCenter back-end components can be found in Chapter 5, "Preparing Back-End Components for WebCenter Services".
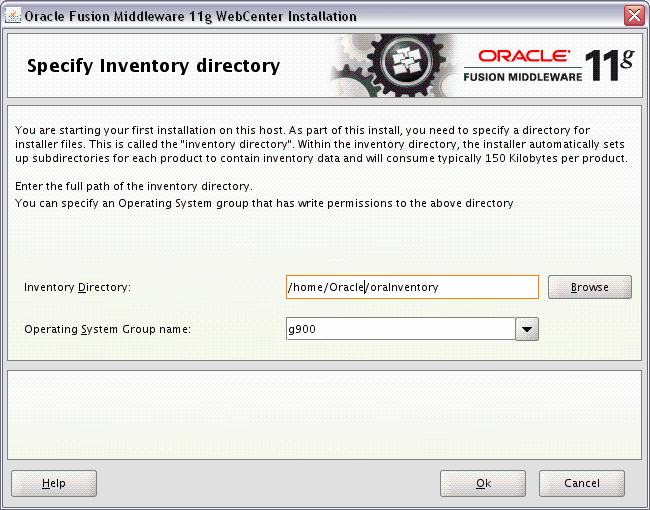
This screen appears for UNIX systems only; if this is your first Oracle installation on this host, you must specify the location of the inventory directory. This inventory directory is used by the installer to keep track of all Oracle products installed on the computer.
The default inventory location is User_Home/oraInventory.
In the Operating System Group name field, select the group whose members you want to grant access to the inventory directory; all members of this group will be able to install products on this machine.
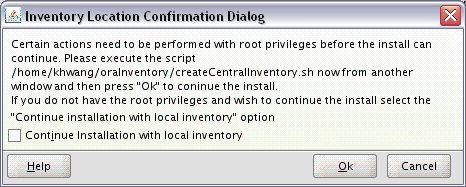
This screen appears for UNIX systems only; you are asked to run the inventory_directory/createCentralInventory.sh script as root.
If you do not have root access on this machine but wish to continue with the installation, select Continue installation with local inventory.
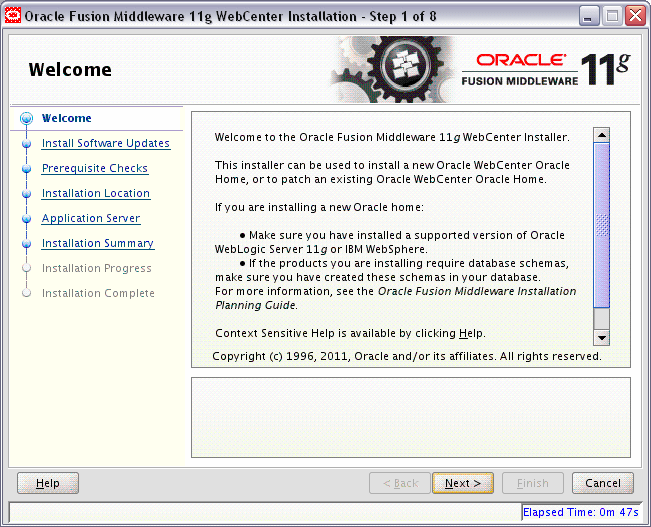
The Welcome screen is displayed each time you start the installer.
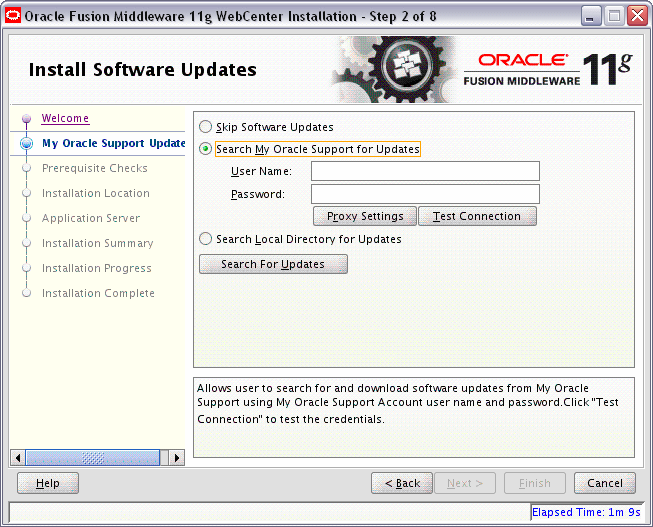
Select the method you want to use for installing software updates.
Skip Software Updates
You can choose to skip this option for now.
Search My Oracle Support for Updates.
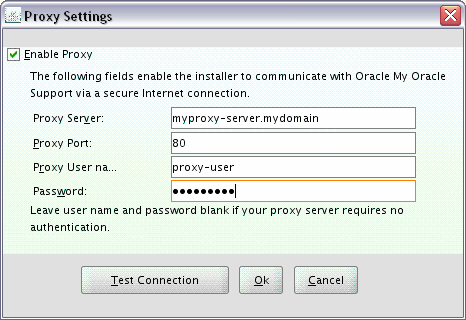
If you have a My Oracle Support account, you can specify your account name and password to have the installer automatically download applicable software updates from My Oracle Support. After entering your credentials, you can test the connection by clicking Test Connection. Click Proxy Settings if you need to configure a proxy server in order to have the installer access My Oracle Support.
Configure your proxy server with the following screen:
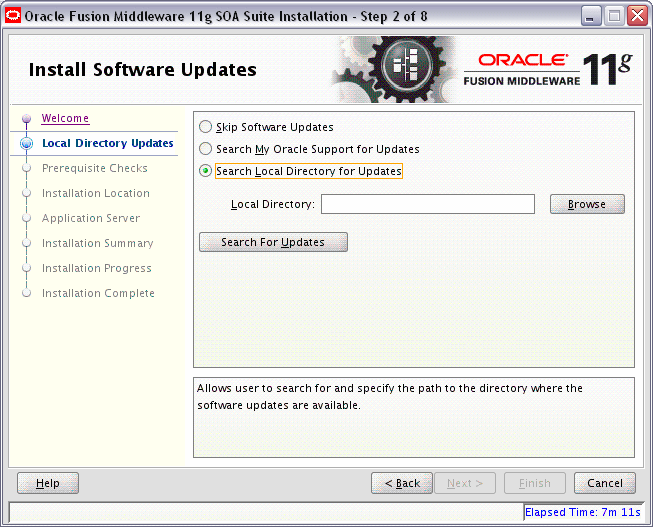
Search Local Directory for Updates.
If you have software updates available locally, you can specify the location by using this option. When you select Search Local Directory for Updates an additional "Location" field will appear, as shown below:
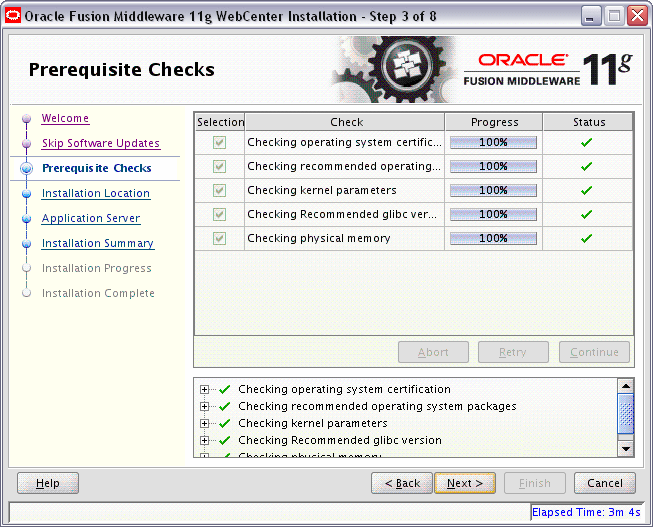
If there is a problem, a short error message appears in the bottom portion of the screen. Fix the error and click Retry to try again.
If you want to ignore the error or warning messages and continue with the installation, click Continue.
Click Abort to stop prerequisite checking for all components.
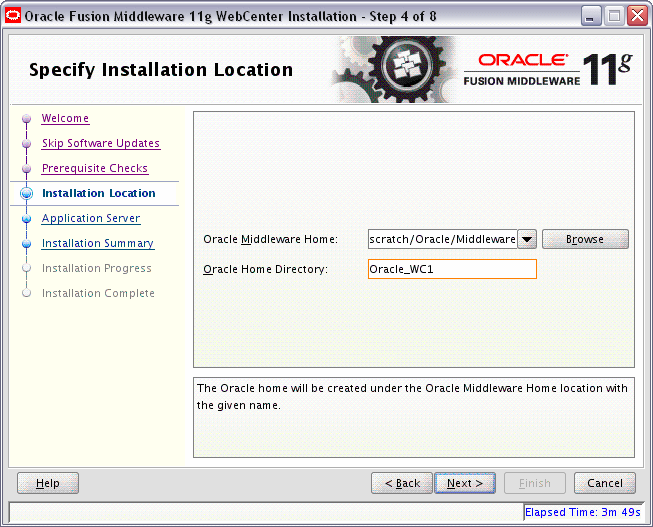
In the Oracle Middleware home field, specify the absolute path to your existing Oracle Middleware home directory. If you do not know the full path to your Middleware home, you can click Browse to select an existing directory in your system.
In the Oracle Home Directory field, specify the directory inside the Oracle Middleware home where you want to install your products:
If you specify a directory that already exists, it must be either:
An empty directory inside the Oracle Middleware home (for example, you have created an empty directory inside the Middleware home in advance of this installation and should specify this directory here).
An existing Oracle home directory (for example, you are adding Oracle Universal Content Management to an existing WebCenter Oracle home directory).
If you specify a new directory, it will be created inside the Oracle Middleware home.
Note:
You cannot specifyoracle_common as the Oracle home directory.If you are performing an installation on a Windows operating system, be sure that your directory paths are valid and do not contain double backslashes (\\).
The Oracle home directory is where your products will be installed. All software binaries will reside in this directory, and no runtime process can write to this directory.
Note:
For the remainder of this document, this directory will be referred to as your WebCenter Oracle home to avoid any confusion with the Oracle home directories of other Oracle Fusion Middleware products. For more information about Oracle home directories, refer to "Oracle Home and Oracle Common Home Directories" in Oracle Fusion Middleware Installation Planning Guide.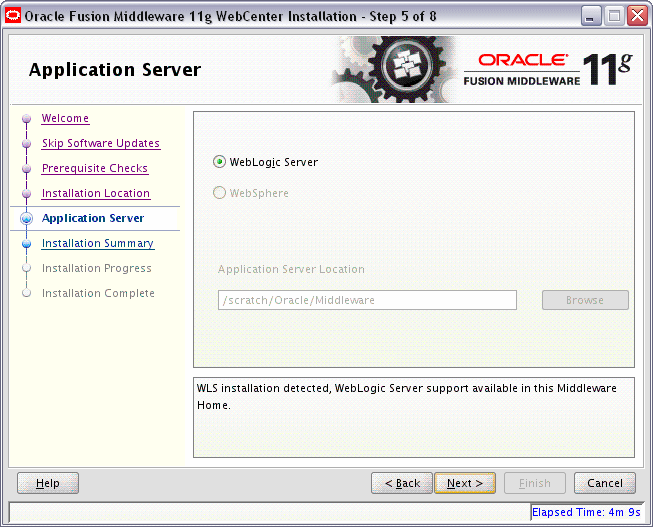
Select the application server you want to use for this installation.
If the installer detects a Middleware home with Oracle WebLogic Server installed, then this is the application server that will be used. All other fields in this screen will be inactive.
If the installer detects a Middleware home without an Oracle WebLogic Server installed, you must select one of the application server options and then provide its location in the Application Server Location field.
If the installer does not detect a Middleware home directory, the "WebLogic Server" option will be inactive. You must select "WebSphere" and then provide the location of your IBM WebSphere in the Application Server Location field.
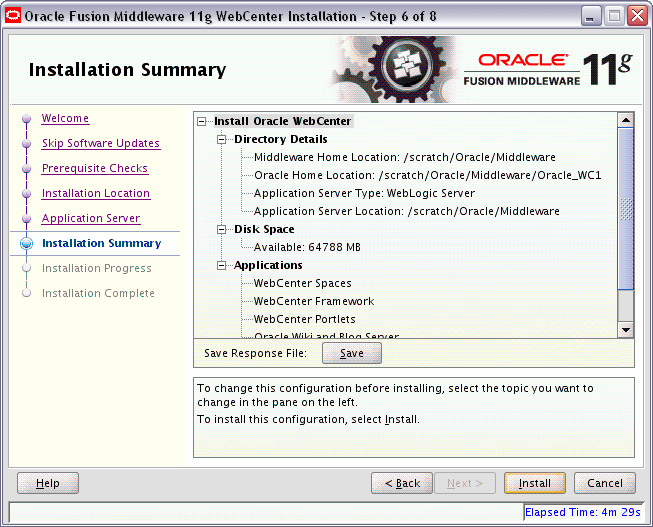
Review the information on this screen, and click Install to begin the installation. The operations summarized on this page will be performed when you click Install.
If you want to make any changes to the configuration before starting the installation, use the navigation pane and select the topic you want to edit.
If you want to save this configuration to a text file, click Save. This file can be used later if you choose to perform the same installation from the command line. See Appendix C, "Silent Installation and Deinstallation" for more information.
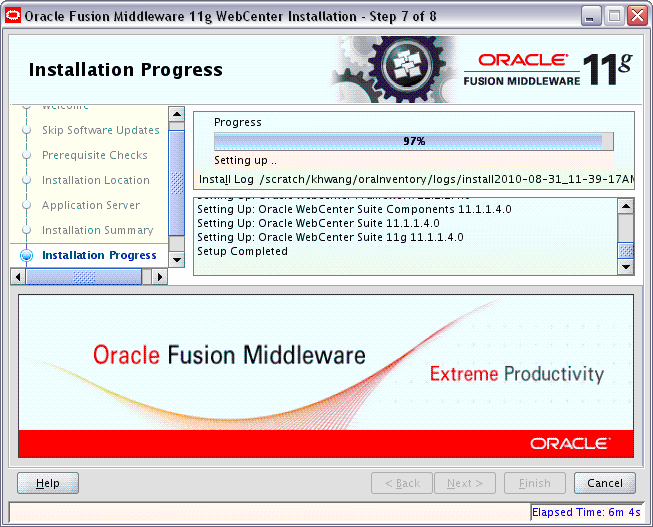
This screen shows you the progress of the installation.
If you want to quit before the installation is completed, click Cancel. Doing so will result in a partial installation; the portion of the software that was installed on your system before you click Cancel will remain on your system, and you will have to remove it manually.
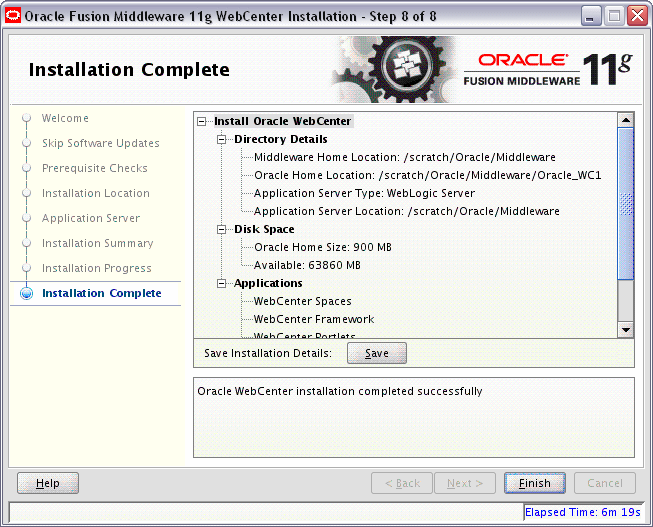
This screen summarizes the installation that was just completed.
If you want to save this summary information to a text file for future reference, click Save.