| Oracle® Fusion Middleware Installation Guide for Oracle Data Integrator 11g Release 1 (11.1.1) Part Number E16453-02 |
|
|
View PDF |
| Oracle® Fusion Middleware Installation Guide for Oracle Data Integrator 11g Release 1 (11.1.1) Part Number E16453-02 |
|
|
View PDF |
This appendix contains images and descriptions for all of the Oracle Data Integrator installation screens and post-installation configuration screens:
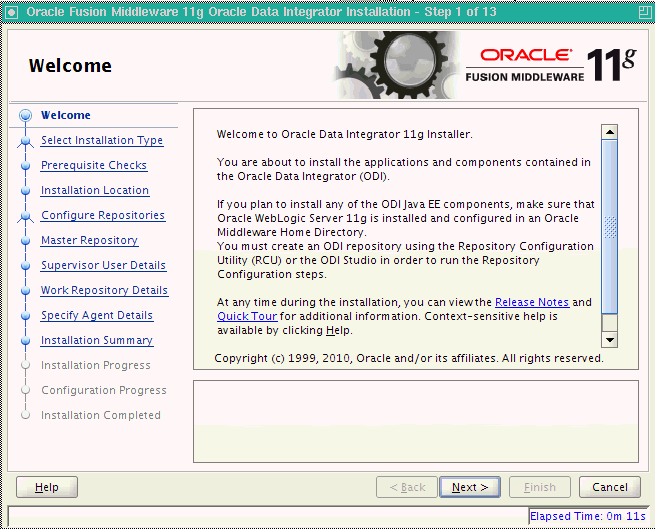
The Welcome screen is displayed each time you start the installer.
Before continuing, make sure that you have created the necessary schemas for the products you want to install, and that you have also installed and configured WebLogic Server. For more information, refer to Section 2.1, "Preparing to Install".
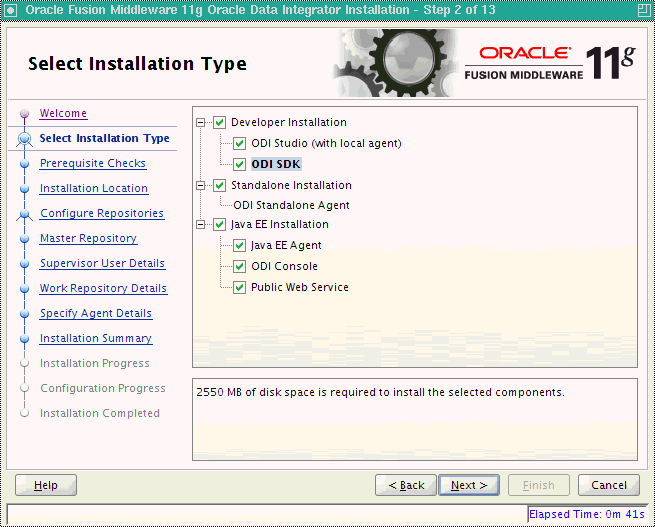
| Installation Type | Description |
|---|---|
| Developer Installation | This installation type includes the ODI Studio (with a local agent) and the Oracle Data Integrator Software Development Kit (SDK). |
| Standalone Installation | This installation type includes an Oracle Data Integrator standalone agent. |
| Java EE Installation | This installation type includes the Java EE agent, Oracle Data Integrator Console, and Public Web Services. |
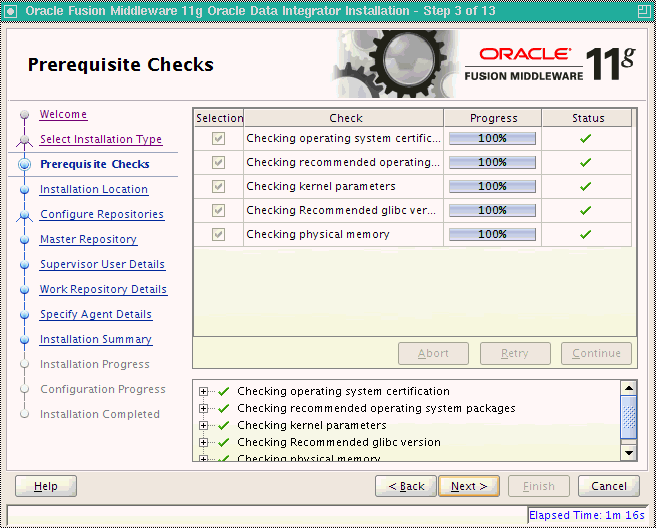
If there is a problem, a short error message appears in the bottom portion of the screen. Fix the error and click Retry to try again.
If you want to ignore the errors or warnings and continue with the installation, click Continue.
Click Abort to stop prerequisite checking for all components.
| Element | Description |
|---|---|
| Oracle Middleware Home | In the Oracle Middleware Home field, specify the absolute path to your existing Oracle Middleware Home directory; this is the directory that was created when you installed Oracle WebLogic Server. If you do not know the full path to your Middleware Home, you can click Browse to select an existing directory in your system. |
| Oracle Home Directory | In the Oracle Home Directory field, specify a directory inside the Oracle Middleware Home. This Oracle Home Directory is the root directory where the ODI products will be installed. This is also known as the ODI_HOME directory.
If you specify a directory that already exists, it must be either:
NOTE: If you specify a new directory, it will be created inside the Oracle Middleware Home. |
Click Next to continue.
| Element | Description |
|---|---|
| Oracle Home Directory | Enter the absolute path for the Oracle home location. |
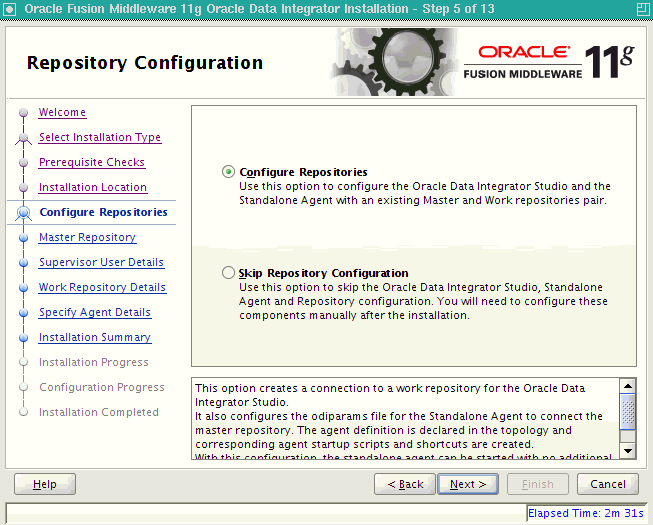
Specify which repository configuration option you want to perform:
| Option | Description |
|---|---|
| Configure Repositories | Select this option if you have existing 11g Master and Work Repositories. |
| Skip Repository Configuration | Select this option to continue with the Oracle Data Integrator installation without configuring the repositories. Once installed, you can use the Oracle Data Integrator Studio JDev Gallery to create or configure the repositories. Continue to Section A.11, "Installation Summary Screen".
NOTE: Select Skip Repository Configuration if your database is not supported by Oracle's Repository Creation Utility (RCU). You will need to configure these components manually after the installation. For more information see Appendix F, "Creating Repositories with Oracle Data Integrator Studio". For a list of supported databases, see |
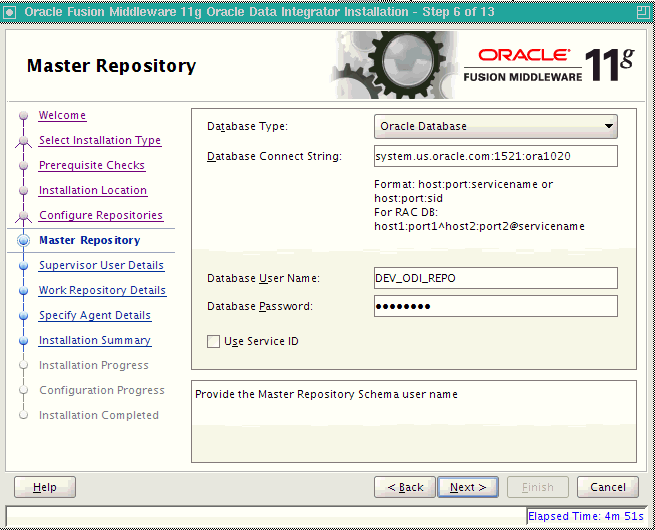
| Element | Description |
|---|---|
| Database Type | Select the database type that hosts the Oracle Data Integrator Master Repository. |
| Database Connect String | Enter the connect string for the database that contains the 11g ODI schemas.
Oracle Database Use a JDBC connect string: host:port:SID For example: odiHost:1521:odiDB Or: //host:port/service For example: //odiHost:1521/odiDB2 Microsoft SQL Server Use the following connect string: //host:port;DatabaseName=dbname For example: //odiHost:1443;DatabaseName=odiDB IBM DB2 Use the following connect string: //host:port;DatabaseName=dbname NOTE: If your database is not supported by the Oracle Universal Installer, see Appendix E, "Manual Installation and Configuration Steps". |
| Database User Name | Provide the Master Repository schema user name. |
| Database Password | Provide the Master Repository schema password. |
| Use Service ID | Select Use Service ID, if you want to use the Service ID instead of the Service Name for Oracle database. |
Click Next to continue.
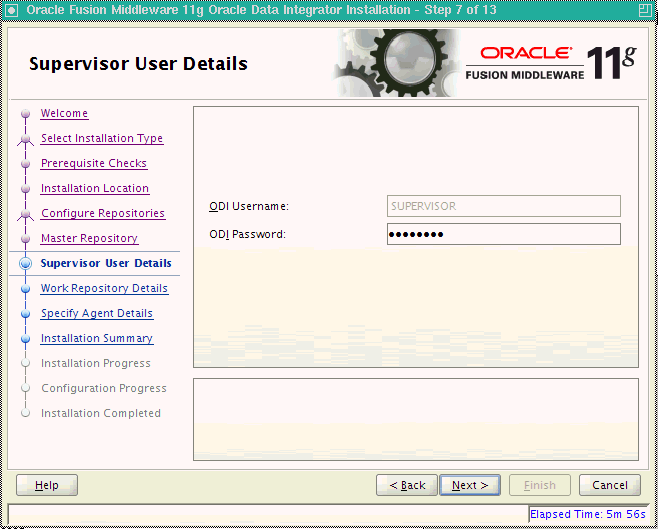
| Element | Description |
|---|---|
| ODI Username | Provide the ODI username with Supervisor privileges. |
| ODI Password | Provide the Supervisor user's password. |
Click Next to continue.
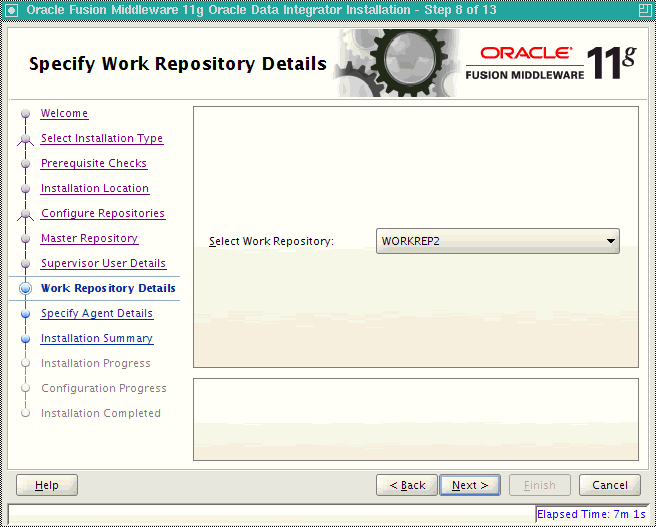
| Element | Description |
|---|---|
| Select Work Repository | Select the Oracle Data Integrator Work Repository from the drop-down list. |
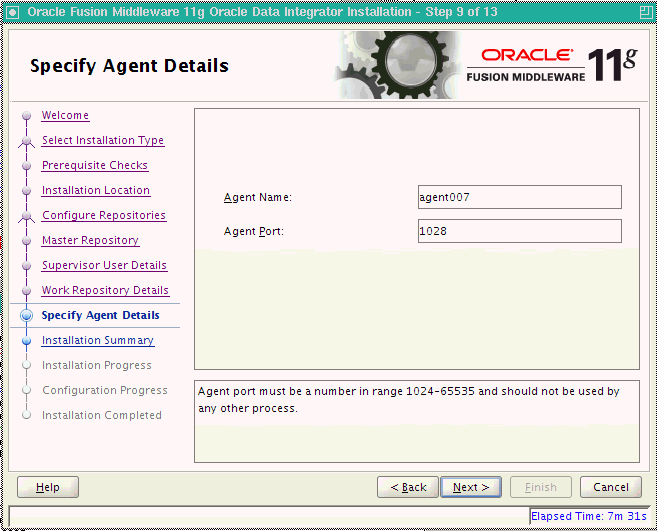
| Element | Description |
|---|---|
| Agent Name | Provide a name for the standalone or local agent. |
| Agent Port | Provide a port number between 1024 and 65535 that is not currently being used by any other Oracle home. This port defaults to 20910. |
Click Next to continue.
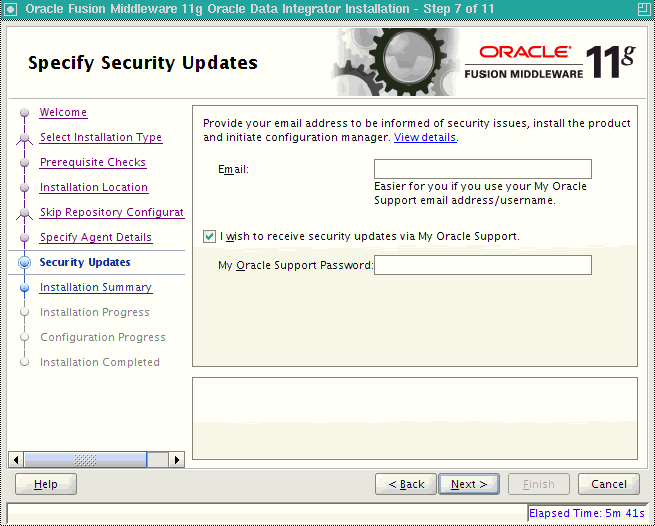
Click Next to continue.
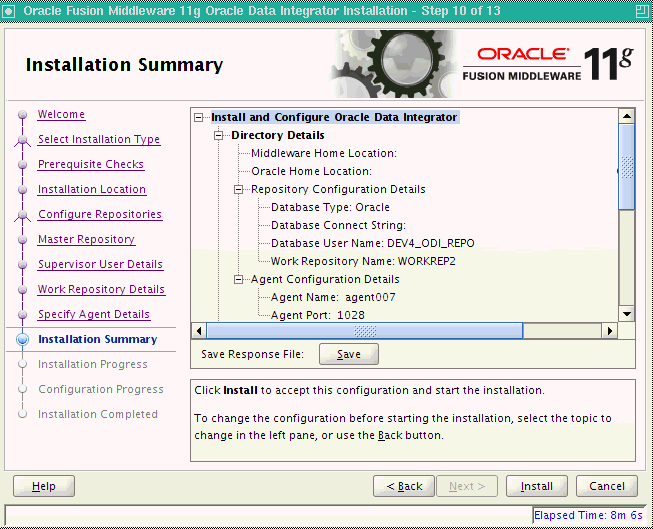
Review the information on this screen, and click Install to begin the installation. The operations summarized on this page will be performed when you click Install.
If you want to make any changes to the configuration before starting the installation, use the navigation pane and select the topic you want to edit.
If you want to save this configuration to a text file, click Save. This file can be used later if you choose to perform the same installation from the command line. See Appendix B, "Silent Installations" for more information.
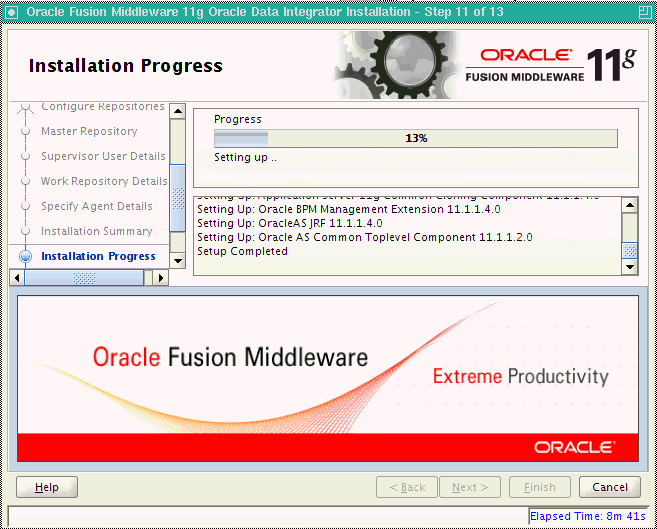
This screen shows you the progress of the installation.
If you want to quit before the installation is completed, click Cancel. Doing so will result in a partial installation; the portion of the software that was installed on your system before you click Cancel will remain on your system, and you will have to remove it manually.
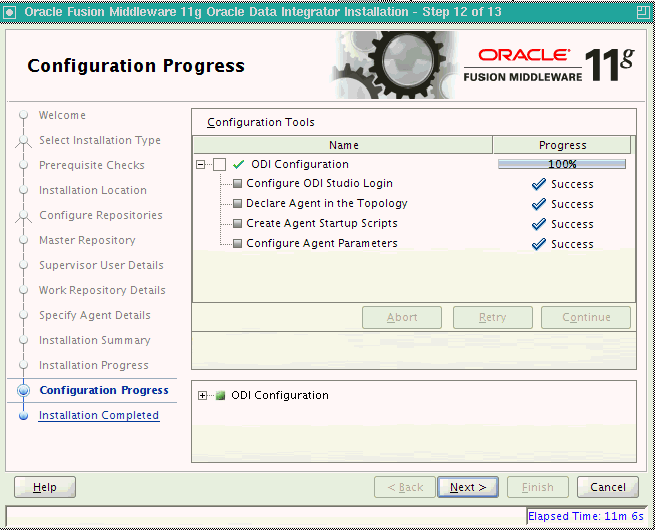
If you selected Configure Repositories on the Repository Configuration Screen, this screen shows you the progress of the component configuration. This screen will not appear if you selected Skip Repository Configuration.
If there is a problem, a short error message appears in the bottom portion of the screen. Fix the error and click Retry to try again.
If you want to ignore the error and warning messages and continue with the installation, click Continue.
Click Abort to stop prerequisite checking for all components.
If you want to quit before the installation is completed, click Cancel.
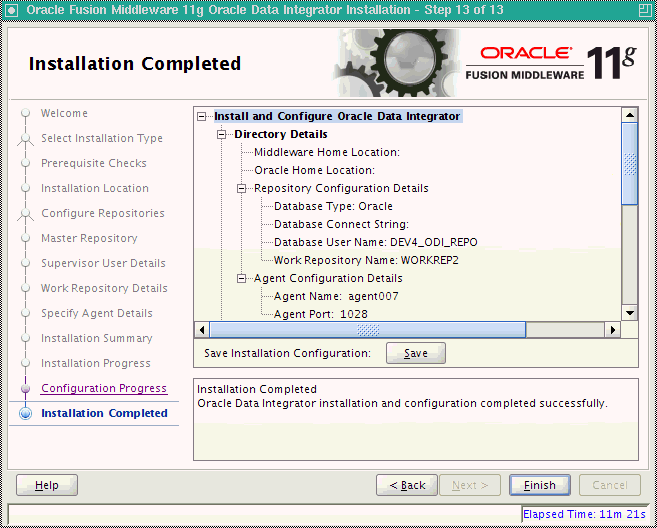
This screen summarizes the installation that was just completed. The information that you provided appears in the Directory Details section.
Click Save to save your configuration information to a file. This information includes port numbers, installation directories, disk space usage, URLs, and component names which you may need at a later time.
Click Finish to dismiss the screen.