| Oracle® Enterprise Manager Bundle Patch 1 Application Guide 12c Release 1 (12.1.0.1) Part Number E35229-03 |
|
|
PDF · Mobi · ePub |
| Oracle® Enterprise Manager Bundle Patch 1 Application Guide 12c Release 1 (12.1.0.1) Part Number E35229-03 |
|
|
PDF · Mobi · ePub |
This chapter describes how to update the existing downloaded Management Agent image in your environment to a Management Agent image with BP1 included. Once you update your image, you will not be required to apply any BP1 patches to the Management Agents that will be installed using this updated image.
At present, updated images with BP1 included are available for Linux32 and Linux 64 bit platforms only. When Management Agent binaries with BP1 included are released for other platforms, you just repeat the steps described in the following sections to update them.
The version of Management Agent binaries with BP1 included is the same as the earlier 12.1.0.1. release. The following topics are discussed:
OMS and Target Management Agent Hosts are on the Same Platform
OMS and Target Management Agent Hosts are on Different Platforms
When OMS and target Management Agent hosts are on the same platform, complete the following:
Download the Management Agent zip file from the Oracle Technology Network (OTN) at the following location:
http://www.oracle.com/technetwork/oem/grid-control/downloads/oem-upgrade-console-502238.html
Copy this file into the OMS_HOME/sysman/agent directory.
For multi OMS cases, copy the file into the Oracle Homes of all OMS instances.
When OMS and target Management Agent hosts are on different platforms, complete the following:
Log into the Cloud Control console.
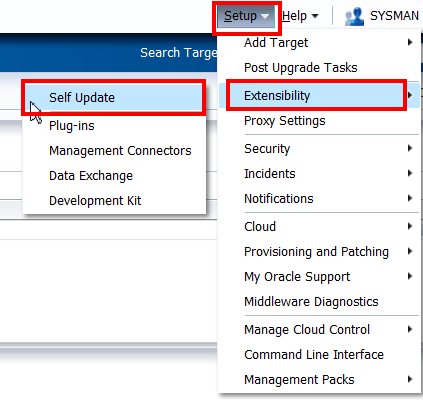
From the Setup menu, select Extensibility, then select Self Update.
Select the Agent Software entity and click Open.
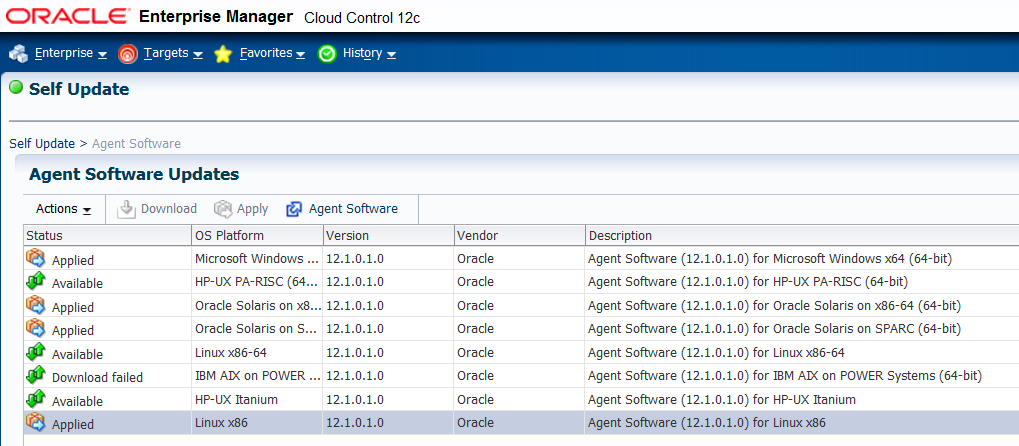
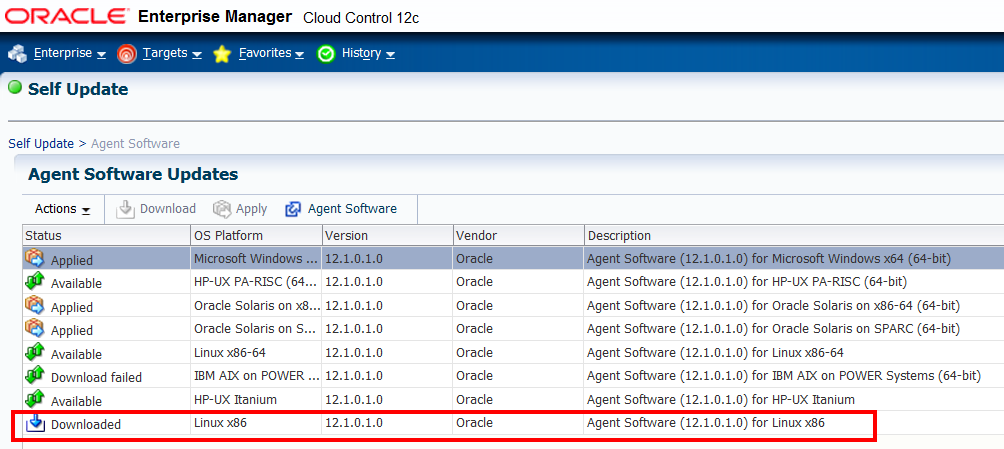
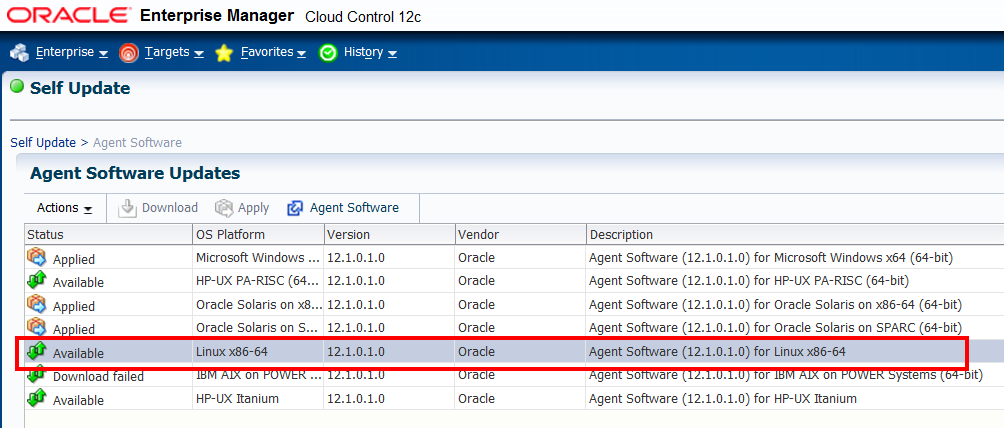
This allows you to view the Agent Software Updates page, which shows the status of the Management Agent platform binaries.
Select the platform on which the binaries are to be updated.
For the purposes of this example, Linux x86 binaries are selected. Linux x86 Management Agent binaries with Bundle Patch 1 included are now available and you want to update the existing Linux x86 Management Agent binaries with these new versions.
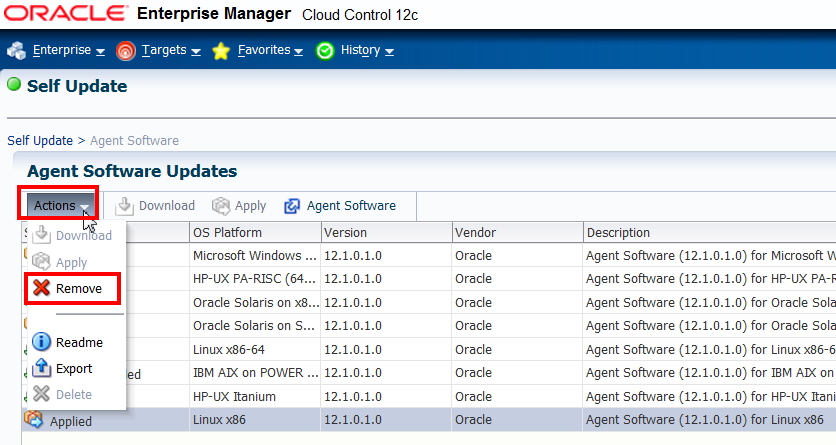
From the Actions list select Remove.
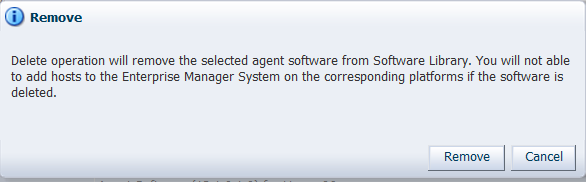
Click Remove on the confirmation message.
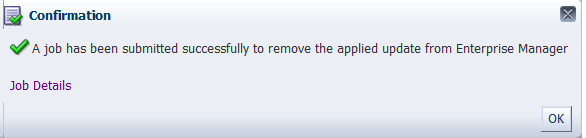
A job is triggered to remove the Management Agent binaries from the library. The figure below shows the confirmation message when this has been successfully completed.
Once the job is done, the page is refreshed and the Management Agent binaries status is changed to Downloaded. The figure below shows that the Linux x86 binaries status is now changed to Downloaded.
Select the row with the status Downloaded and from the Actions list click Delete.
Click Delete on the confirmation message.
This generates the message shown below.
Refresh the page to verify that the selected Management Agent binaries are no longer in the library.
To delete Management Agent binaries in Available status, select the row and from the Actions list click Delete.
For the purposes of this example, Linux x86 Management Agent binaries are selected.
Click Delete on the confirmation message.
This generates the message shown below.
Refresh the page to verify that the selected Management Agent binaries are no longer in the library.
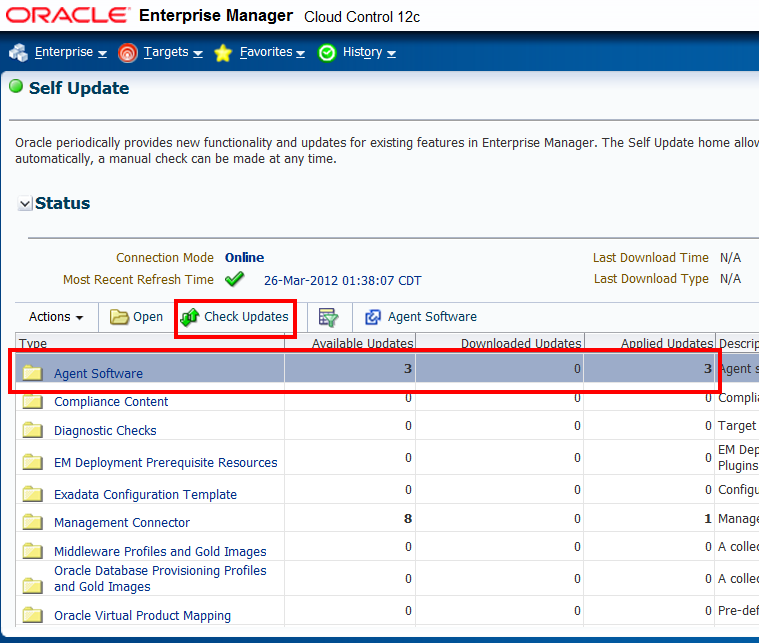
From the Self Update page, select the Agent Software entity, then click Check Updates to get the latest agent binaries.
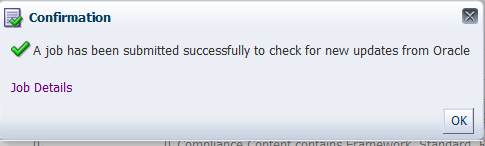
A job is triggered and once it is done, you will see that the Available Updates column has been updated. A confirmation message is also displayed.
|
Copyright © 2012, Oracle and/or its affiliates. All rights reserved. Legal Notices |
|