10g (9.0.4)
Part Number B10271-01
Home |
Contents |
Index |
| Oracle Discoverer Administrator Tutorial 10g (9.0.4) Part Number B10271-01 |
|
It will probably take you about 15 minutes to complete this lesson.
In this lesson you will connect to Discoverer Administrator, create a business area and get to know the Workarea.
This lesson consists of the following exercises:
In this exercise you will connect to Discoverer Administrator as the tutorial database user that you created in Lesson 1.
To complete other tutorial exercises you must connect to Discoverer Administrator using the tutorial database user.
To connect to Discoverer Administrator using the tutorial database user:
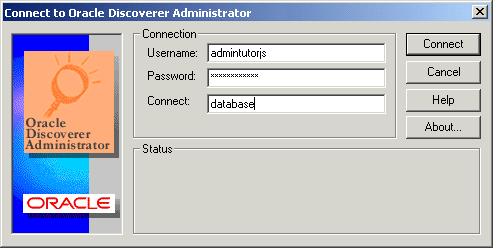
admintutor followed by your initials (e.g. admintutorjs if your name is John Smith) in the Username field.
This is the tutorial database username that you created in Lesson 1. You will use your tutorial database user when you connect to Discoverer Administrator for the other lessons in the Discoverer Administrator tutorial.
If you do not know which connect string to use, see your database administrator.
Once you are connected to Discoverer Administrator you can complete other tutorial exercises.
In this exercise you connected to Discoverer Administrator using the tutorial database user that you created in Lesson 1.
In this exercise you will create a new business area using the VIDEO5 tables created for the tutorial. The Load Wizard guides you through each step of the process.
To create a new business area using the Load Wizard:

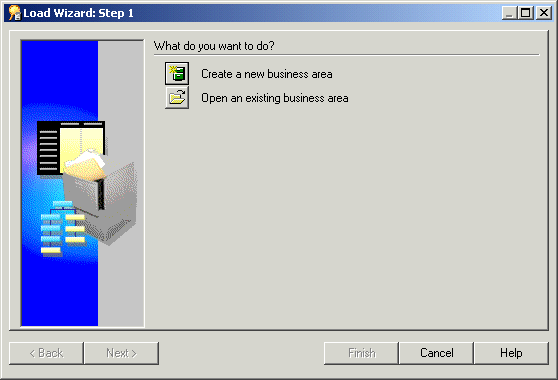
The Load Wizard prompts you to specify where you want to load the information about the tables and columns in the database from. This information is known as metadata.
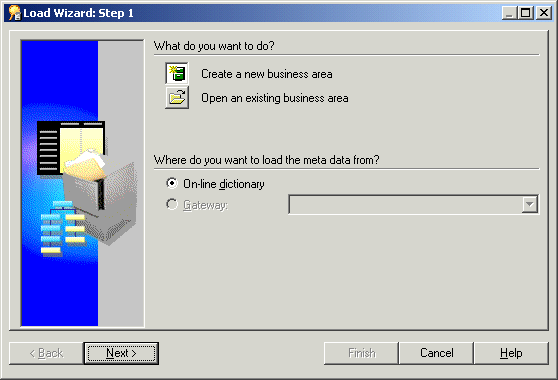
The on-line dictionary is where you will typically get information about tables and columns in an Oracle database.
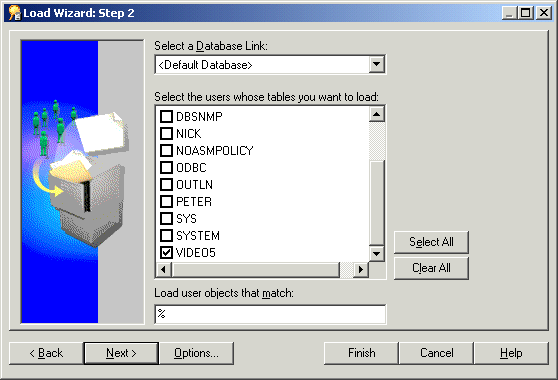
The Load Wizard: Step 2 enables you to specify a database link (if required) and identify the database users that own the tables that you want to include in the business area.
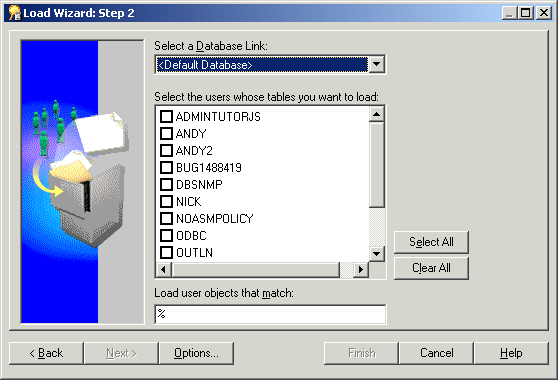
The % symbol is a wildcard. Using the % wildcard specifies that you want to include all tables and views belonging to the database user you selected.
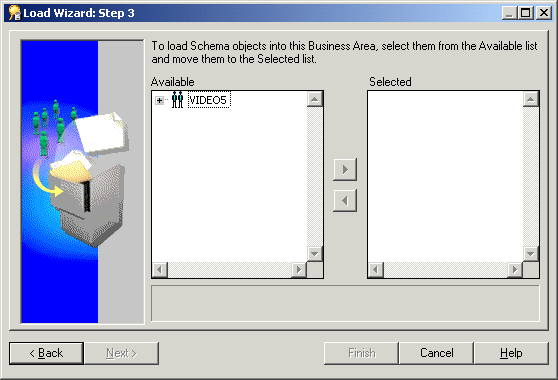
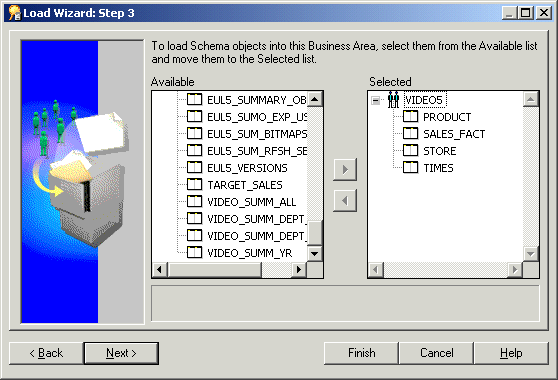
The Load Wizard: Step 3 dialog enables you to include individual tables and views in the new business area.
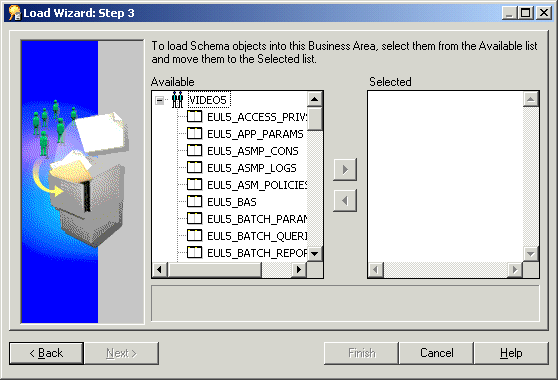
The Available list displays all of the objects that the VIDEO5 database user owns. Discoverer Administrator displays all these objects because you used the % wildcard in the Load Wizard: Step 2 dialog.
You can select more than one table at a time by holding down the Ctrl key and clicking another table.
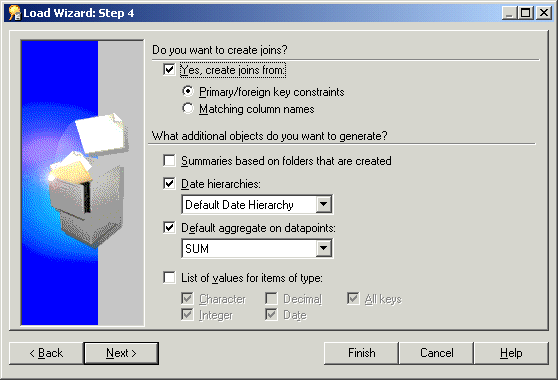
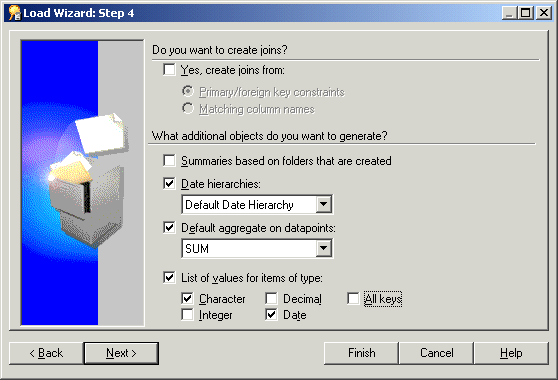
The Load Wizard: Step 4 dialog enables you to automatically generate hierarchies, lists of values, and joins for the new business area. You will be able to modify their properties to suit your users' needs later.
Note: For detailed descriptions of the controls in this dialog, click Help.
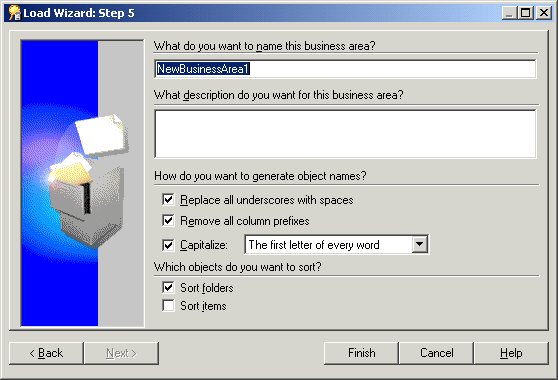
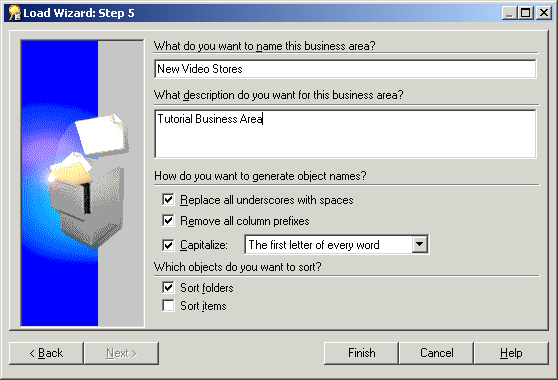
The Load Wizard: Step 5 dialog enables you to name the business area, generate object names, and sort folders and items.
New Video Stores in the What do you want to name this business area? field.
Tutorial Business Area in the What description do you want to use for this business area? field.
Discoverer Administrator displays a progress bar while creating the business area.
When the business area has been created, Discoverer Administrator displays the Workarea.
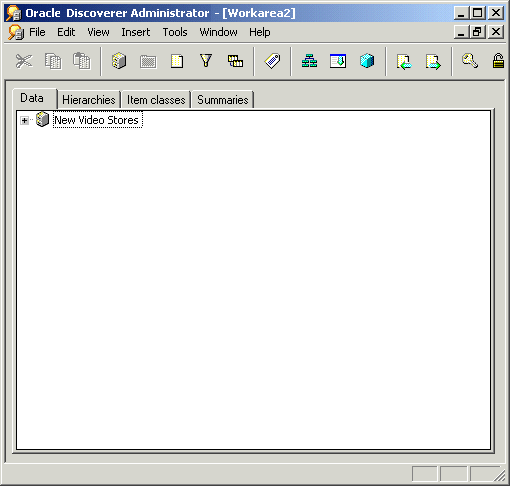
In this exercise you have created a new business area in Discoverer Administrator using the VIDEO5 tables created for the tutorial.
In the next exercise you will get to know the Workarea.
In this exercise you will look at folders, items, a list of values and the Administration Tasklist in the Workarea:Data tab.
You will look at other Workarea tabs in subsequent tutorial lessons.
The four tabs at the top of the Workarea enable you to access the pages of the Workarea. Each tab enables you to work with a different element of the business area design.
The Workarea is your primary view of the business area, where you modify folders and items to create the business view of data for the end user.
To get to know the Workarea:Data tab:

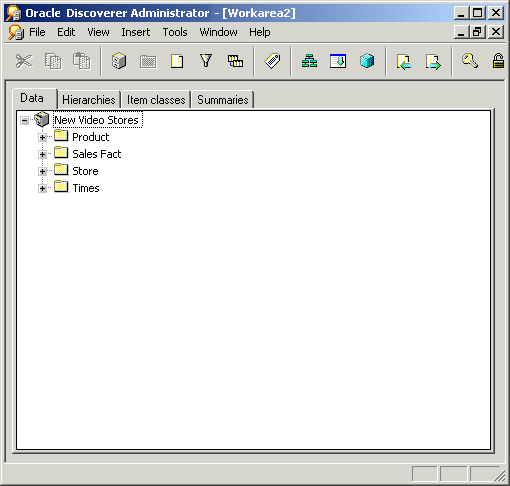
Each folder in the New Video Stores business area represents a table that you loaded from the VIDEO5 database user in "Exercise 2: Creating a new business area using the Load Wizard".
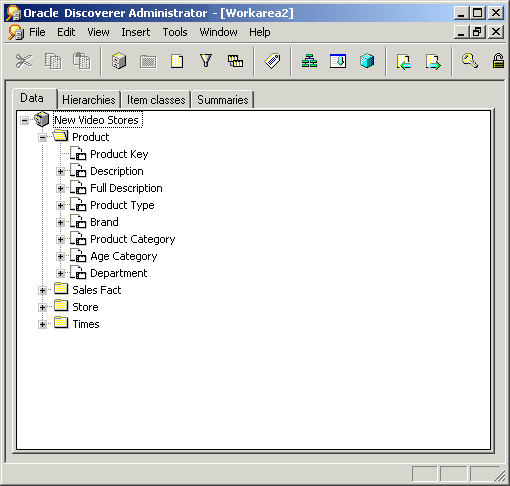
The items in the Product folder represent the columns in the Product database table.
The first time you click the + symbol next to an item, Discoverer Administrator displays a warning dialog.

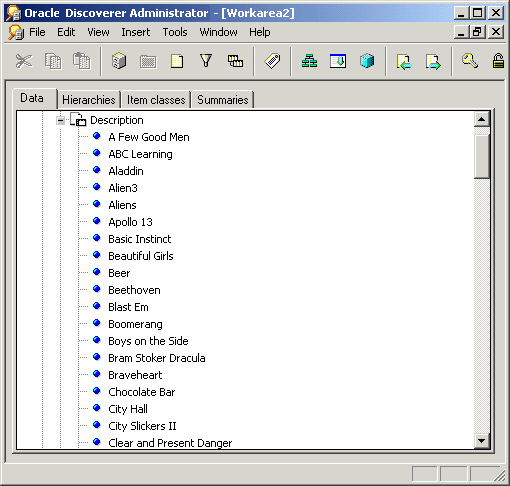
The above figure displays a list of values showing the description for each product (this example lists a description of each video tape).
By default, Discoverer Administrator also displays the Administration Tasklist.
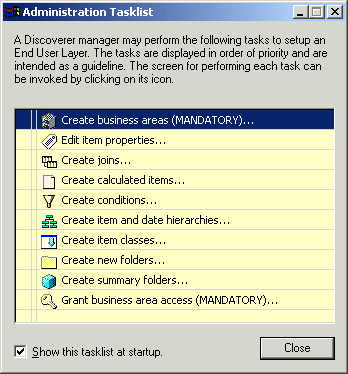
The Administration Tasklist acts as both a reminder of the basic steps involved in preparing a business area and as an interactive method of launching the listed tasks. You do not have to use the Administration Tasklist in this tutorial. However, you might find the Tasklist useful to track your progress.
In this exercise you have looked at folders, items, a list of values, and the Administration Tasklist in the Workarea:Data tab.
In this lesson you connected to Discoverer Administrator, created a business area, and got to know the Workarea.
In the next lesson you will make the business area data available to Discoverer Plus and Discoverer Viewer end users by granting access privileges.
|
|
 Copyright © 1996, 2003 Oracle Corporation. All Rights Reserved. |
|