| Oracle® Enterprise Manager Installation and Configuration Guide for Microsoft Systems Center Operations Manager Connector Release 12.1 (12.1.0.2.0) Part Number E28572-04 |
|
|
PDF · Mobi · ePub |
| Oracle® Enterprise Manager Installation and Configuration Guide for Microsoft Systems Center Operations Manager Connector Release 12.1 (12.1.0.2.0) Part Number E28572-04 |
|
|
PDF · Mobi · ePub |
This chapter provides procedures to configure the two sub-pages of the main Configure Management Connector page, then explains how to perform other tasks to complete the configuration process.
This chapter discusses the following topics:
Once the SCOM Connector is installed in Enterprise Manager, you must create one or more instances of this connector type. A connector instance refers to the configured instance of the connector with specific details, such as connector name, web-service end-points, username/password, and so forth of the SCOM system. Multiple connector instances for the same connector type are supported, which provides the flexibility to configure multiple SCOM systems with Enterprise Manager.For example, you could have a production database and test database that Enterprise Manager monitors, and you can create two different connector instances pointed to two different SCOM systems (one for production targets and one for test targets) with events from production targets sent to one SCOM instance and events from test targets sent to the another SCOM instance. You can associate each instance with separate event rules. Using this setup, you can forward Enterprise Manager events generated from these two databases to two different SCOM systems.Follow the steps below to create a connector instance:
From the Enterprise Manager console, click Setup.
Select Extensibility in the pane.
Select Management Connectors in the left pane.
Select a connector type of SCOM preR2 or SCOM R2 from the Create Connector drop-down list then click Go.
Enter the connector name and description on the next screen then click OK.
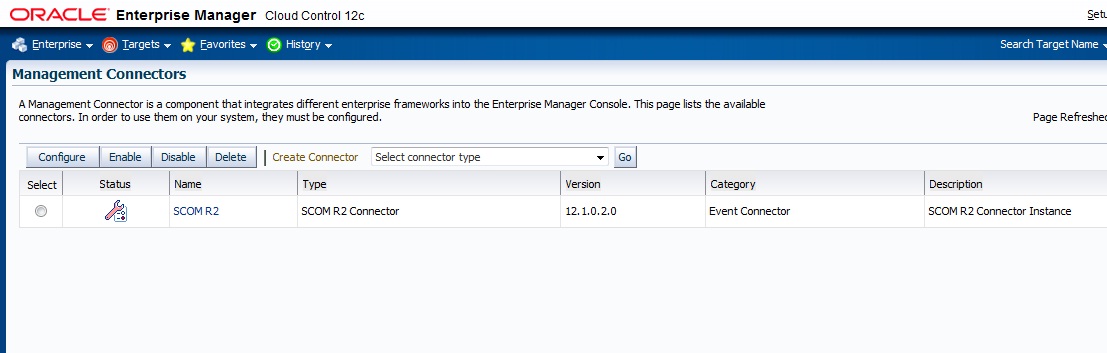
The connector instance shows up as unconfigured in the Connector Setup page. Figure 3-1 shows an unconfigured SCOM R2 connector instance.
To configure the connector, follow these steps:
As Super Administrator from the Enterprise Manager console, click Setup.
Click Extensibility, then select Management Connectors.The Management Connectors page appears and lists all created connector instances.
Note:
The status column with a green tick mark indicates that the connector is already configured.Click the name of the SCOM Connector.
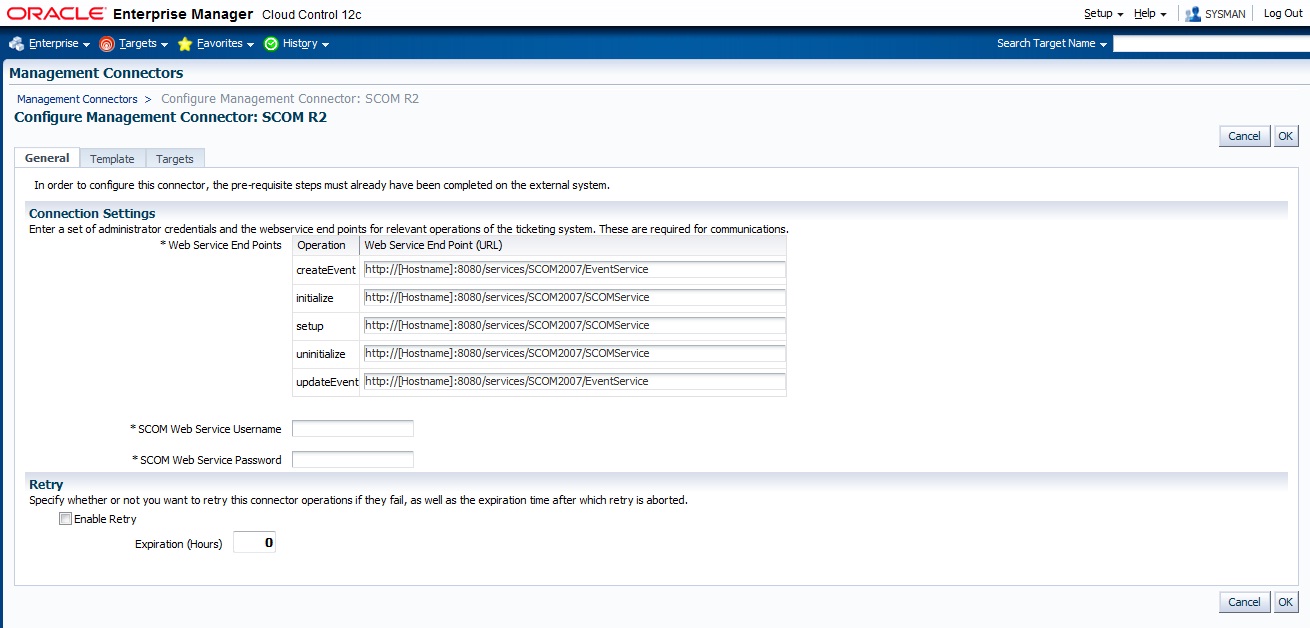
The General tab of the Configure Management Connector page appears, as shown in Figure 3-2.
Provide the required settings. See Providing General Settings for details.
Click OK.
The Management Connectors page reappears. The row for the SCOM Connector should have a check mark in the Configured column.
Note:
If you chose HTTPS as the protocol to establish a connection between SCOM and Enterprise Manager, make sure you have performed the steps specified in Configuring Enterprise Manager to use SSL.You can enable or disable a connector instance without needing to reconfigure or remove the connector from the system.You can enable or disable a connector from the Management Connector page by selecting the connector and clicking either Enable or Disable. After a connector is disabled, a red cross icon under the Status column appears. By default, the connector instance is enabled as soon as it is configured.
Note:
Only enabled connectors are available to forward events.The following sections explain how to provide various configuration details.
The SCOM Connector communicates with SCOM 2007 through the SCOM adapter installed in section 2.5. All fields are mandatory.
Web Service End Points – URL to use when performing event operations that require interaction with the SCOM adapter. The adapter uses two different URLs depending on the operation being performed. One URL is used for the registration of the SCOM Agent with Microsoft SCOM (setup, initialize, and uninitialize operations), and defaults to the following value:
http://[Hostname]:8080/services/SCOM2007/SCOMService
The other URL is used to create/update alert information in SCOM (createEvent and updateEvent operations), and defaults to the following value:
http://[Hostname]:8080/services/SCOM2007/EventService
Modify the URL for the operations based on whether the SCOM web service was set up using HTTP or HTTPS.
Replace [Hostname] in the URL with the hostname or IP address of the system where the SCOM adapter was installed.
Change the protocol from http to https.
Replace [Hostname] in the URL with the hostname or IP address of the system where the SCOM adapter was installed.
Change the port number from 8080 to 8443.
If the SCOM web service was installed on a system with a hostname of scomws, the following URLs would be configured for the createEvent and updateEvent operations.
For HTTP:
http://scomws:8080/services/SCOM2007/EventService
For HTTPS:
https://scomws:8443/services/SCOM2007/EventService
SCOM Web Service Username - User name that was configured for accessing the SCOM adapter in step 9 of the appropriate web service installation section ( Installing the Web Service on Unix and Installing the Web Service on Windows)
SCOM Web Service Password - Password that was configured for accessing the SCOM adapter in step 10 of the appropriate web service installation section ( Installing the Web Service on Unix and Installing the Web Service on Windows).
You can enable and disable the Retry option and configure its interval value. By default, the Retry is disabled. See Retry for details. This setting applies to all events that the SCOM Connector processes. The retry period interval accepts the number of hours as any integer value. For example, 1 or 2.
You can delete a connector from the Management Connector page by selecting the connector and clicking Delete. After a connector is deleted, all associated events rules are no longer configured to forward the event. Also, references to the event connector are removed from the event rules.
Additionally, if the connector deleted is the only connector instance of that connector type, the corresponding connector type is also deleted.
Perform the following steps to verify that the connector is configured correctly:
Log in to the Oracle Enterprise Manager console with an account that has Super Administrator permissions.
From the Enterprise Manager console, click Setup, then Extensibility, then Management Connectors from the drop-down menus. The Management Connectors page is displayed.
Click the name of the SCOM Connector.
The General tab of the Configure Management Connector page appears.
Select and copy the URL specified for the createEvent or updateEvent operation.
Open an internet browser on the system where the Oracle Enterprise Manager server is installed.
In the address window, enter the URL that was copied in step 4 above. Add ?wsdl to the end of the URL. The URL should appear similar to the following example:
http://[Hostname]:8080/services/SCOM2007/EventService?wsdl
[Hostname] is the actual host name or IP address where the SCOM adapter is installed.
If the WSDL is loaded, this confirms that the connector is configured correctly for sending event information to SCOM.
|
Copyright © 2012, Oracle and/or its affiliates. All rights reserved. Legal Notices |
|