
Visual Studio Code is a free and open source cross-platform code editor developed by Microsoft. It has a built-in debugging support, embedded Git control, syntax highlighting, code completion, integrated terminal, code refactoring and snippets. Visual Studio Code functionality can be extended using extensions.
This tutorial explains how to install Visual Studio Code editor on Debian using apt from the VS Code repository.
Prerequisites
The user you are logged in as must have sudo privileges to be able to install packages.
Installing Visual Studio Code on Debian
Complete the following steps to install Visual Studio Code on your Debian system:
- Start by updating the packages index and installing the dependencies by typing:
sudo apt updatesudo apt install software-properties-common apt-transport-https curl - Import the Microsoft GPG key using the following curl command:
curl -sSL https://packages.microsoft.com/keys/microsoft.asc | sudo apt-key add -Add the Visual Studio Code repository to your system:
sudo add-apt-repository "deb [arch=amd64] https://packages.microsoft.com/repos/vscode stable main" - Once the repository is added, install the latest version of Visual Studio Code with:
sudo apt update
sudo apt install code
That’s it. Visual Studio Code has been installed on your Debian desktop and you can start using it.
Starting Visual Studio Code
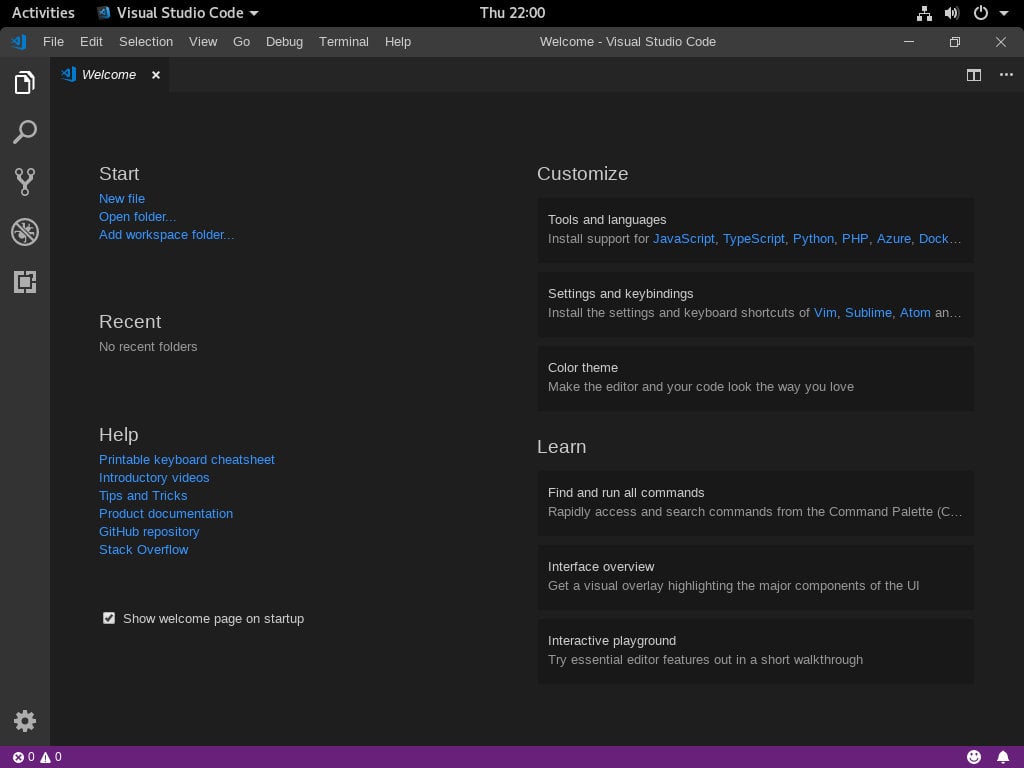
Once the VS Code is installed on your Debian system you can launch it either from the command line by typing code or by clicking on the VS Code icon (Activities -> Visual Studio Code).
When you start VS Code for the first time, a window like the following will be displayed:
You can now start installing extensions and configuring VS Code according to your preferences.
Updating Visual Studio Code
When a new version of Visual Studio Code is released you can update the package through your desktop standard Software Update tool or by running the following commands in your terminal:
sudo apt update
sudo apt upgrade
Conclusion
You have successfully installed VS Code on your Debian 9 machine. Your next step could be to install Additional Components and customize your User and Workspace Settings.