
Ever thought of using any computer which is not yours, with all your personal stuff and configuration? It is possible with any Linux distribution. Yes! You can use your own, customized Linux OS on any machine with just an USB drive.
This tutorial is all about installing Latest Linux OS on your pen-drive ( fully reconfigurable personalized OS, NOT just a Live USB ), customize it, and use it on any PC you have an access to. Here I am using Lubuntu 18.04 Bionic beaver for this tutorial (but, you can use any Linux distribution). So let’s gets started..
Requirements:
- One Pendrive 4GB or More (Let’s call it as Main USB drive/Pendrive).
- One more Pen drive or DVD disk to use as bootable Linux installation media.
- Linux OS ISO file, for example Lubuntu 18.04.
- One PC (Don’t worry, there will not be any effect on that PC).
TIP: Use 32 bit Linux OS to make it compatible with any available PC.
That’s it! Go, and collect all of these. It’s time to do something new.
Step 1: Create Bootable Linux Installation Media
Use your Linux ISO image file to create a bootable USB installation media. You can use any software like Unetbootin, Gnome Disk Utility, Yumi Multi Boot, xboot, Live USB Creator etc. to create bootable usb with the help of ISO image file.
Alternatively you can use dvd disk by writing that ISO image to it (but that is the old school method).
Step 2: Create Partitions On Main USB Drive
You have to make two partitions on your Main USB drive using Gparted or Gnome Disk Utility, etc.
- Root partition of format ext4 of size according to your use.
- Optionally you can use rest of the space as a FAT partition for using it as a normal USB drive.
I am having 16GB USB drive and I have created one root partition of 5GB and using rest 11GB as normal FATpartition. So my 16 GB USB drive is converted to 11GB drive for normal use on any PC. Sounds good!!!
This step you can do while installing Linux also, but it will be very complex while installing Operating System’s like Arch Linux.
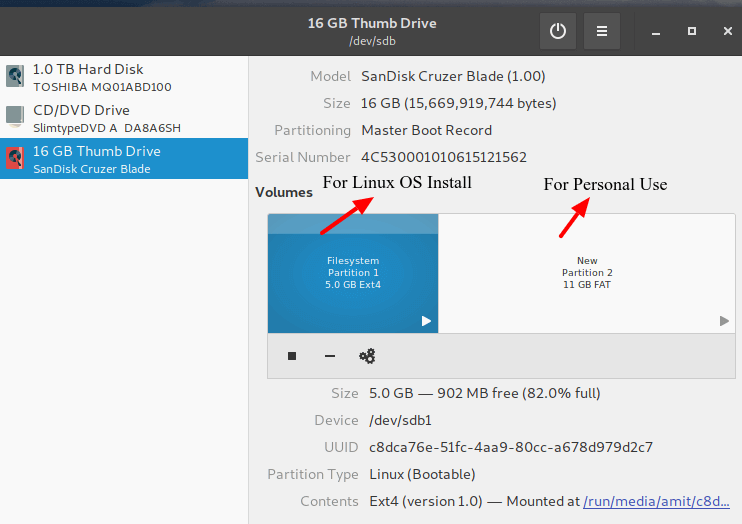
Main USB Drive Partitions
Once you have created required partitions on Main USB drive. Now take a deep breath because it’s time to go for Linux installation section.
Step 3: Install Linux on USB Drive
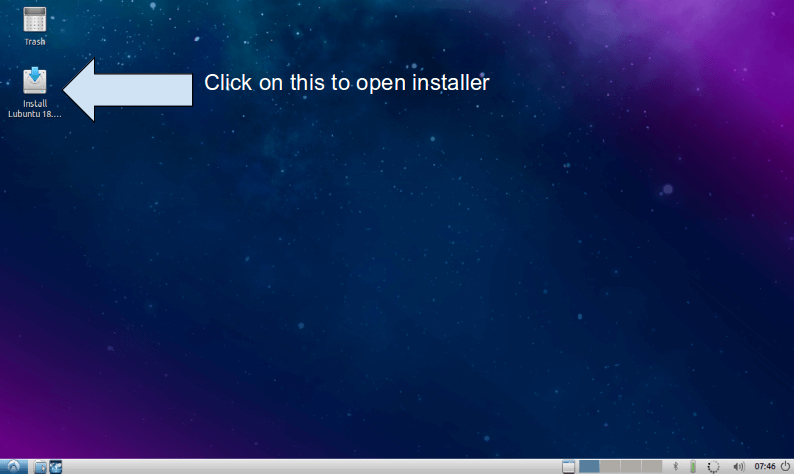
1. First boot Linux OS (Lubuntu 18.04) from your bootable installation media and launch installation application from live session. Live session of Lubuntu 18.04 will look like this.
Lubuntu Live Boot
2. Installer welcome screen will appear, select Language there and hit Continue.
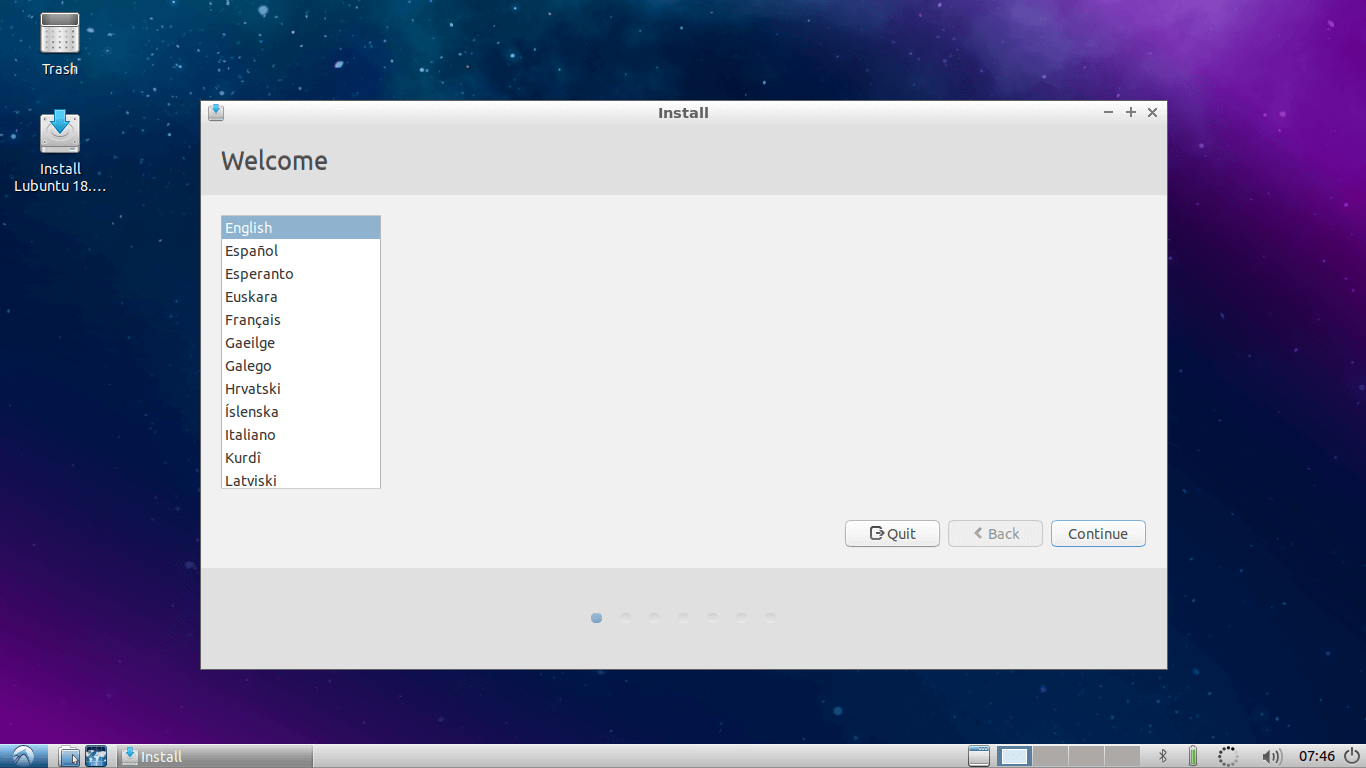
Select Lubuntu Installation Language
3. Select Keyboard Layout and continue…

Select Lubuntu Keyboard Layout
4. Select Wifi internet if you want to update Lubuntu while installation. I will skip it..
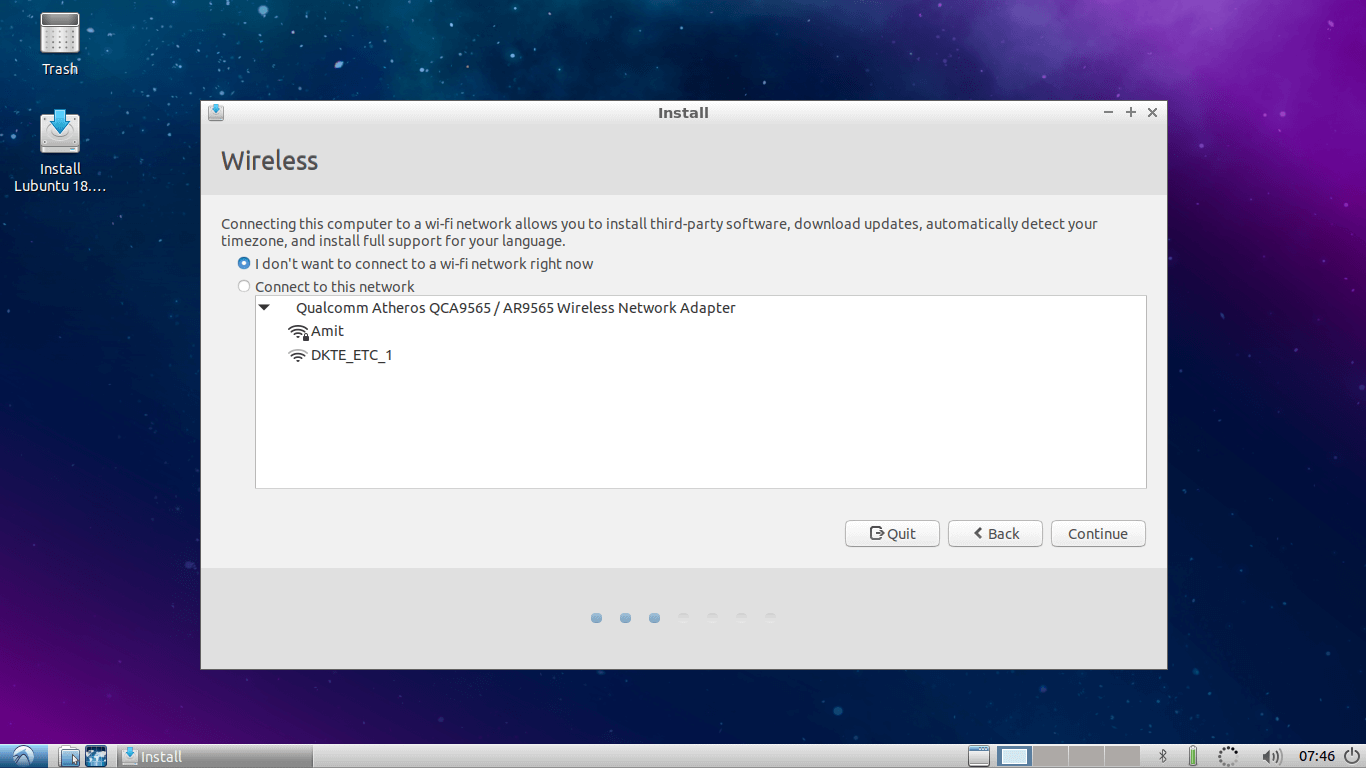
Select Wifi to Update Lubuntu
5. Select Installation Type and Third party installation as per your choice and go to next..
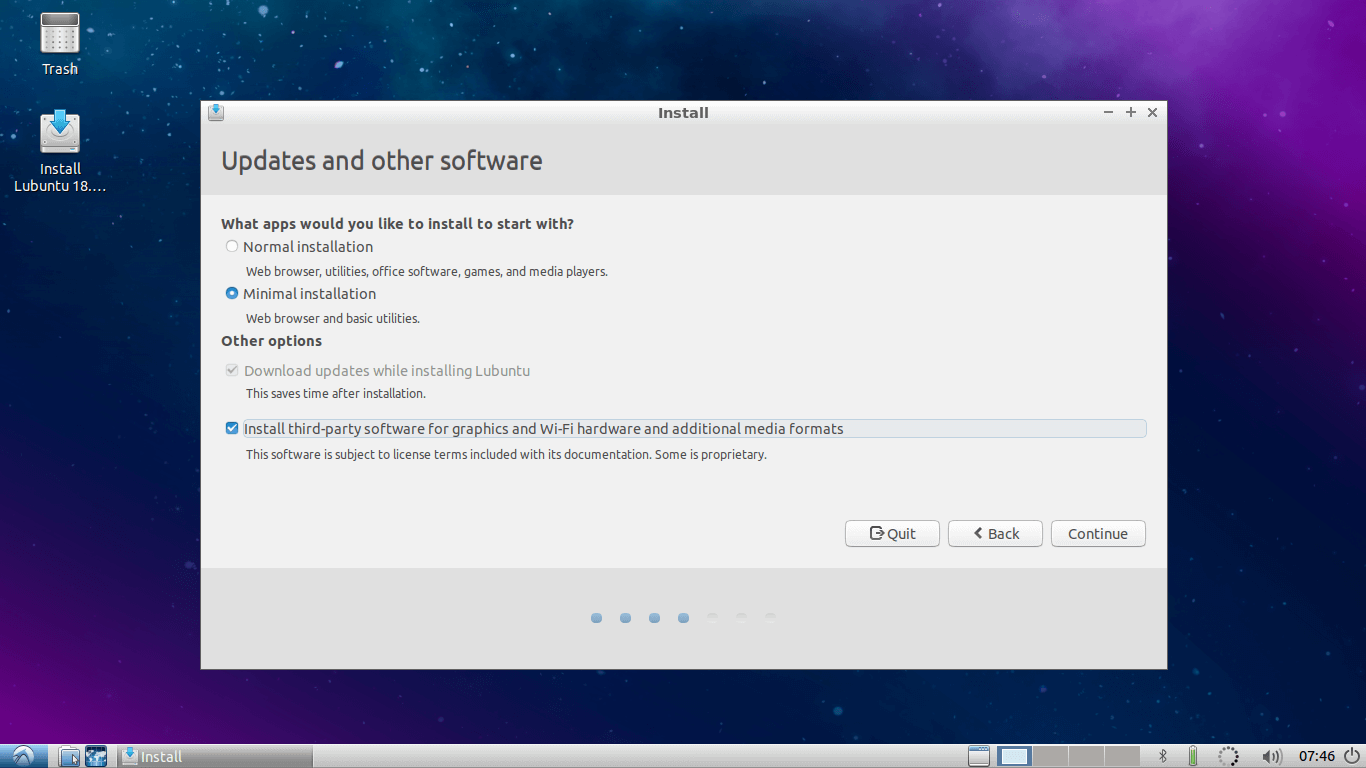
Select Lubuntu Software Updates
6. Here select Something Else Option (It is Mandatory) and go to next…
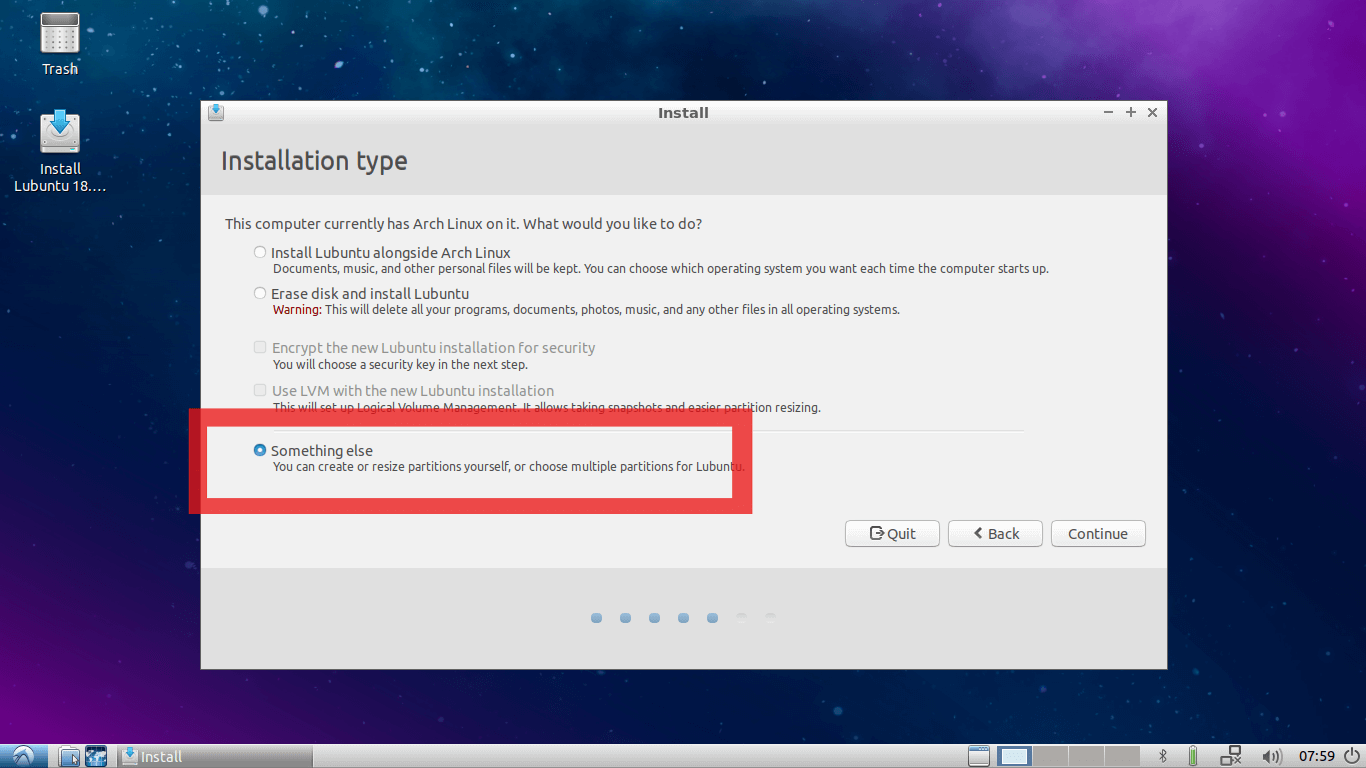
Select Lubuntu Installation Type
7. This is an an Important step, here you need to find out where your Main USB drive is mounted.
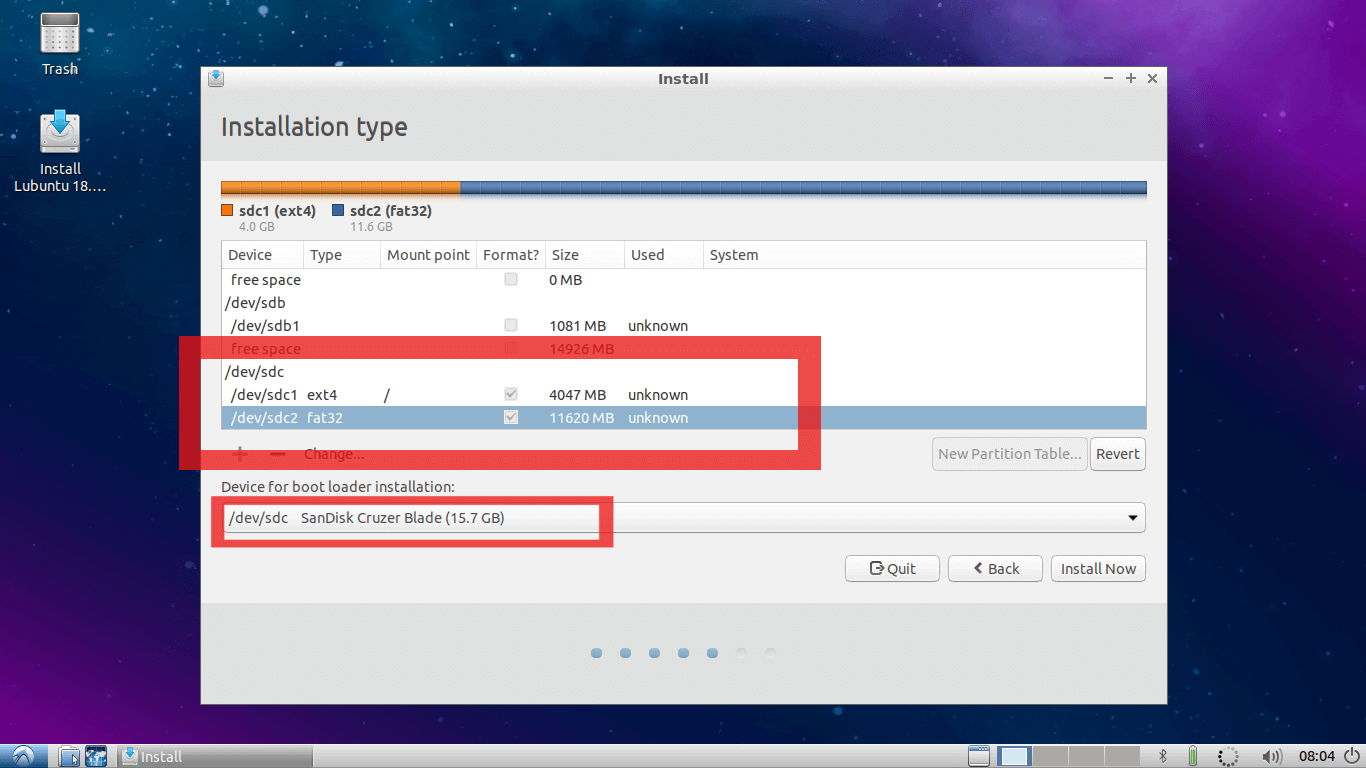
Find Main USB Drive
In my case /dev/sda is internal hard disk of the PC and I am using /dev/sdb is USB Lubuntu Installation media from where this live session is booted.
And /dev/sdc is my Main USB drive where I want to install my Linux system and where I have made two partition in step number 2. If you have skipped step 2, you can also make partitions in this window.
First change mount point of First partition on this Main USB drive to ROOT (i.e. “ / ”). And as shown in second red square select bootloader installation device as the Main USB drive.
In my case it is /dev/sdc. This is the most important step in this tutorial. If it is not done correctly your system will boot only on the current PC you are using, which is exactly opposite of your motivation to follow this tutorial.
Once it is completed, double check it and hit continue. You will get a small window showing devices and drive which will be affected.
8. Make sure that the device and drives shown on this window are of your Main USB drive, which is in my case /dev/sdc. Hit continue…
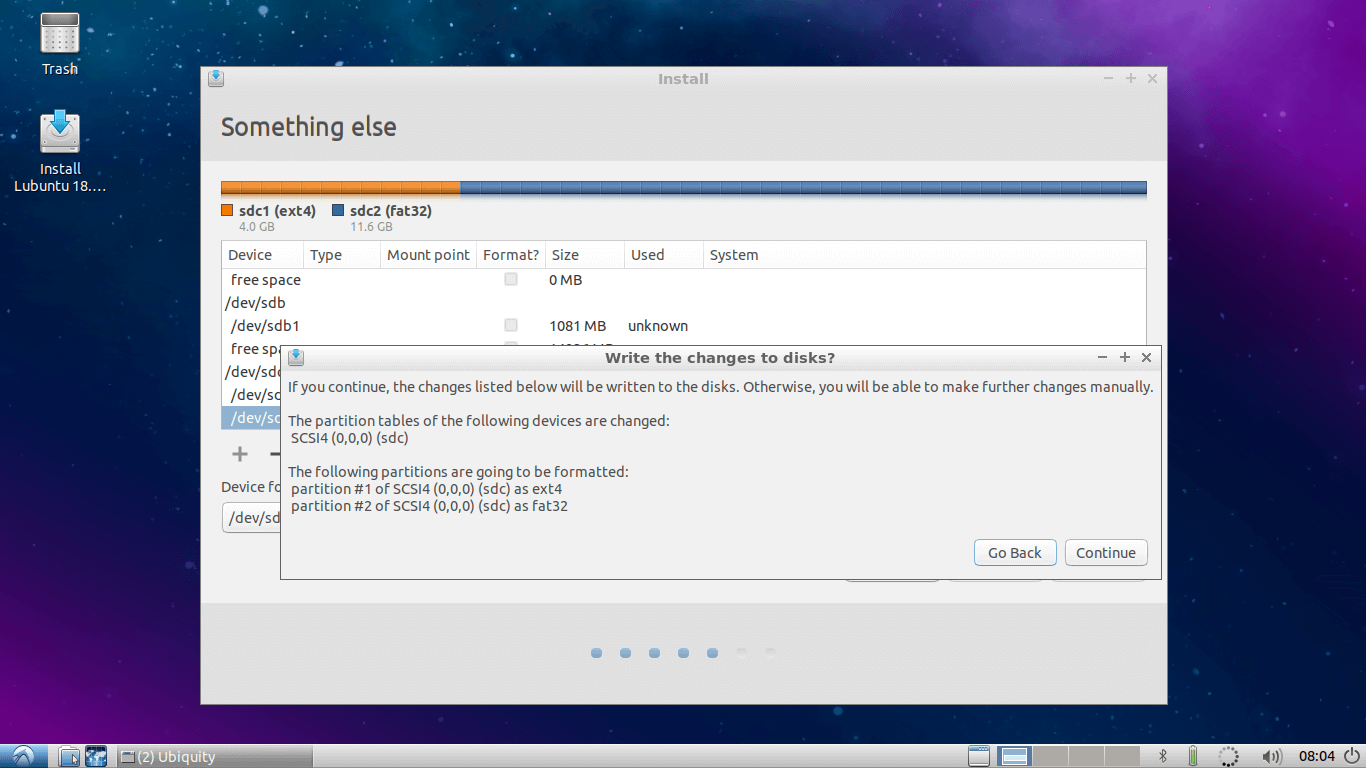
Write Partition Changes to Disk
9. Now select your Region and hit Continue…
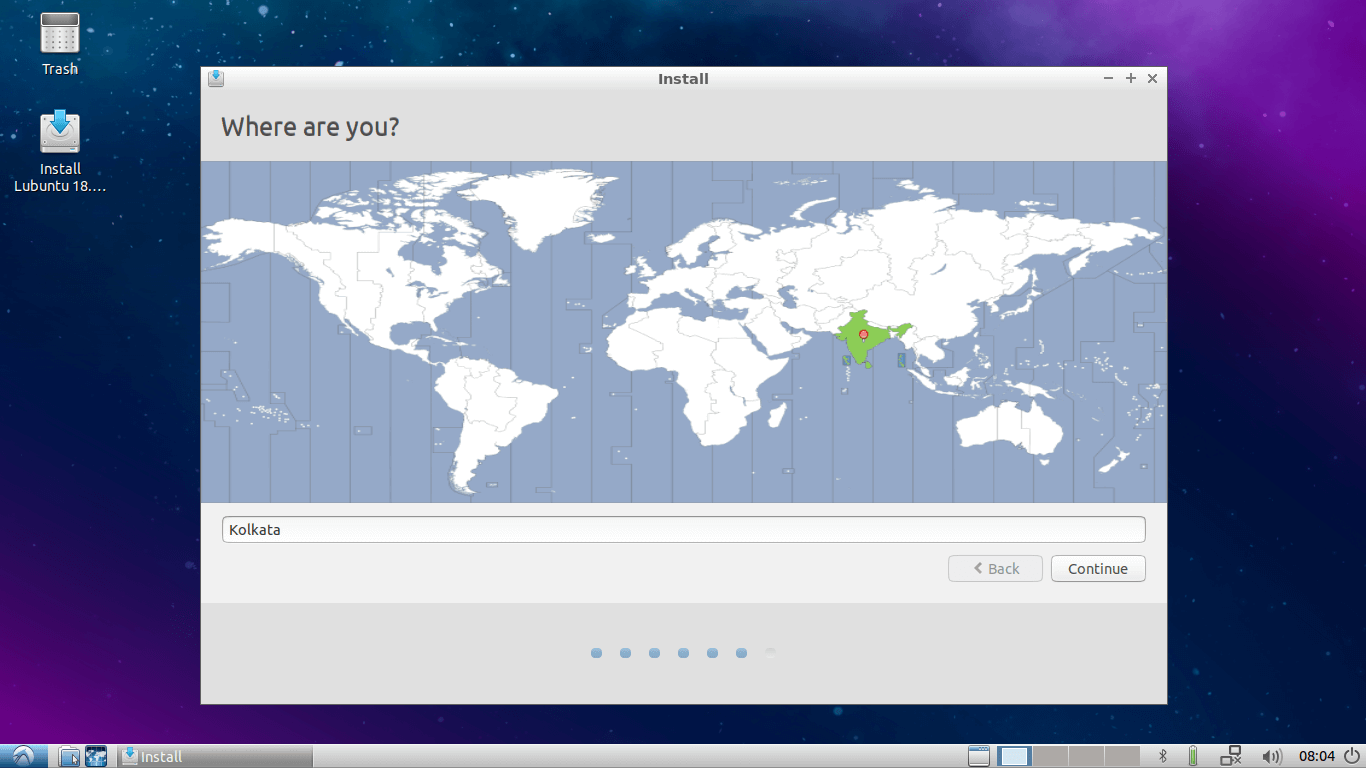
Select Lubuntu Region
10. Add username, password and hostname etc…
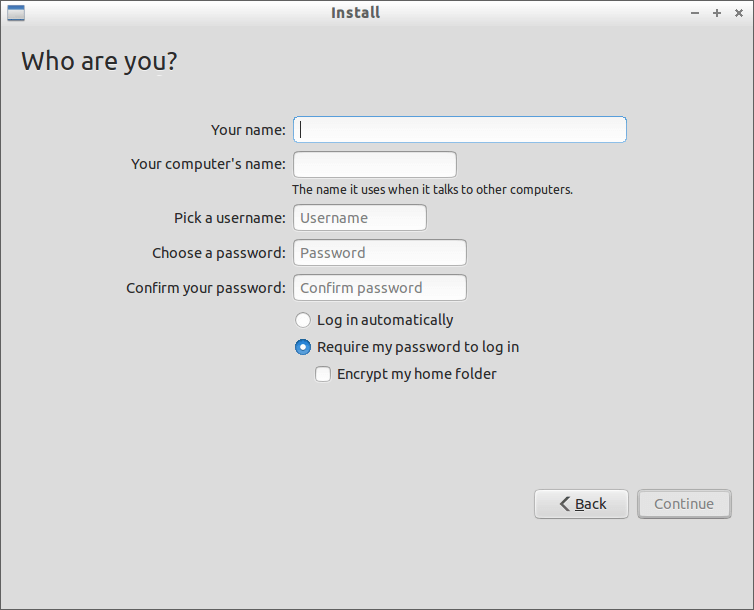
Create Lubuntu User
11. Let the installation finish..
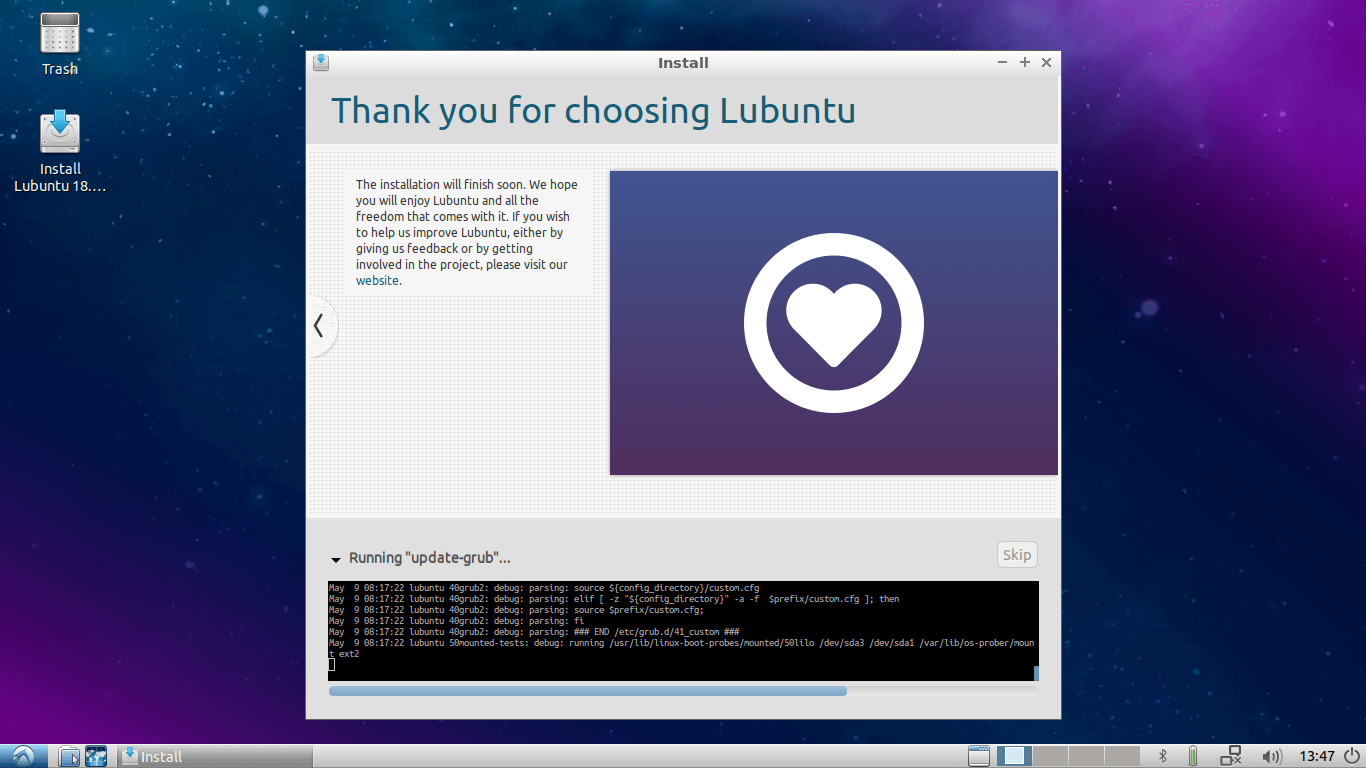
Lubuntu Installation
12. After completing installation hit restart and remove your installation media and press Enter.
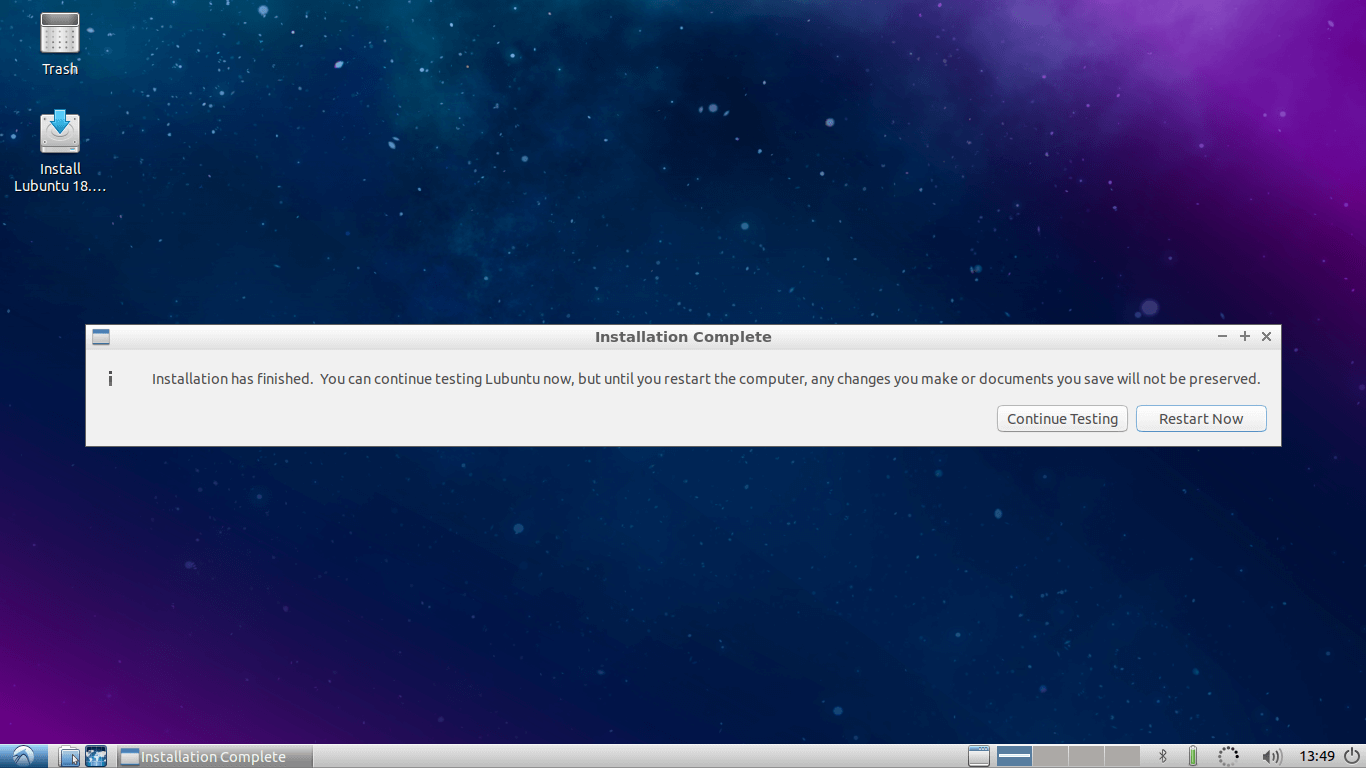
Lubuntu Installation Completes
13. Congratulations, you have successfully installed your own Linux OS on your pen drive to use it on any PC. Now you can connect USB drive to any PC and start your system on that PC by simply selecting boot from usb option while booting.
Step 4: Customize Lubuntu System
Now it’s time for fun. Just boot your system on any PC and start customizing. You can install any softwares you want. You can change Themes, Icon themes, install docker.
You can add and store your online accounts on it. Install / modify / customize whatever you want. All the changes will be permanent. They will not change or reset after rebooting or booting on other PCs.
Following figure shows my customized Lubuntu 18.04.
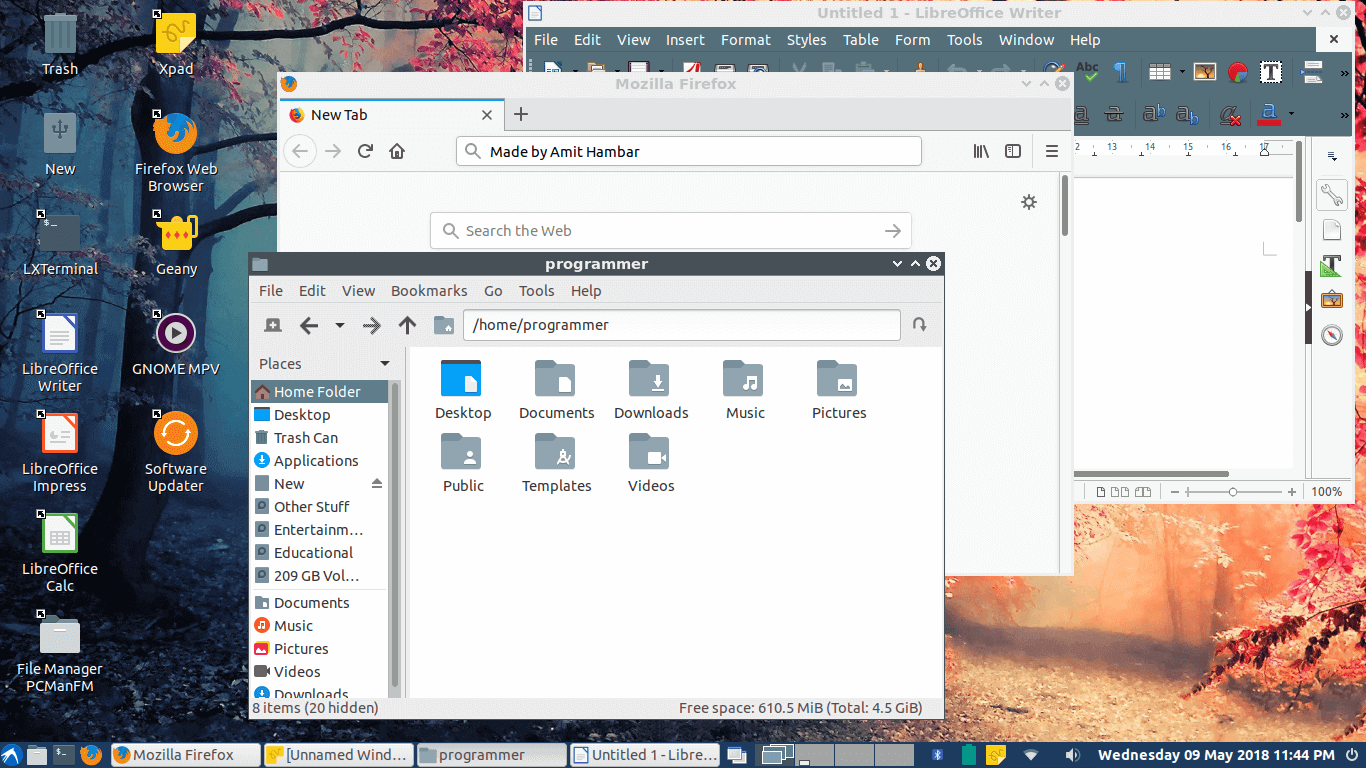
Lubuntu Running on USB Drive
The main advantage of this method is you can use your personal stuff, your online accounts securely on any PC. You can even do secure online transactions as well on any available PC.
I hope it will be helpful for you, if you have questions regarding this article, please feel free to ask in the comment section below.