This tutorial will guide you on the first basic steps you need to configure on a new installed Ubuntu server in order to increase security and reliability for your server.
The configurations explained in this topic are almost the same for all Ubuntu server systems, regarding of the underlying OS platform, whether Ubuntu is installed on a bare-metal server, in a private virtual machine or a virtual machine spinned-out in a VPS public cloud.
Requirements
Update and Upgrade Ubuntu System
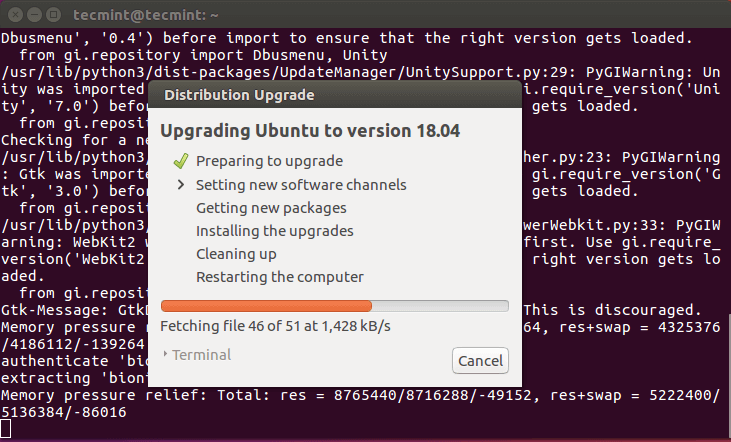
The first step you need to take care of in case of fresh installation of Ubuntu server or a new deployed Ubuntu VPS is to make sure the system and all system components, such as the kernel, the package manager and all other installed packages are up-to-date with the latest released versions and security patches.
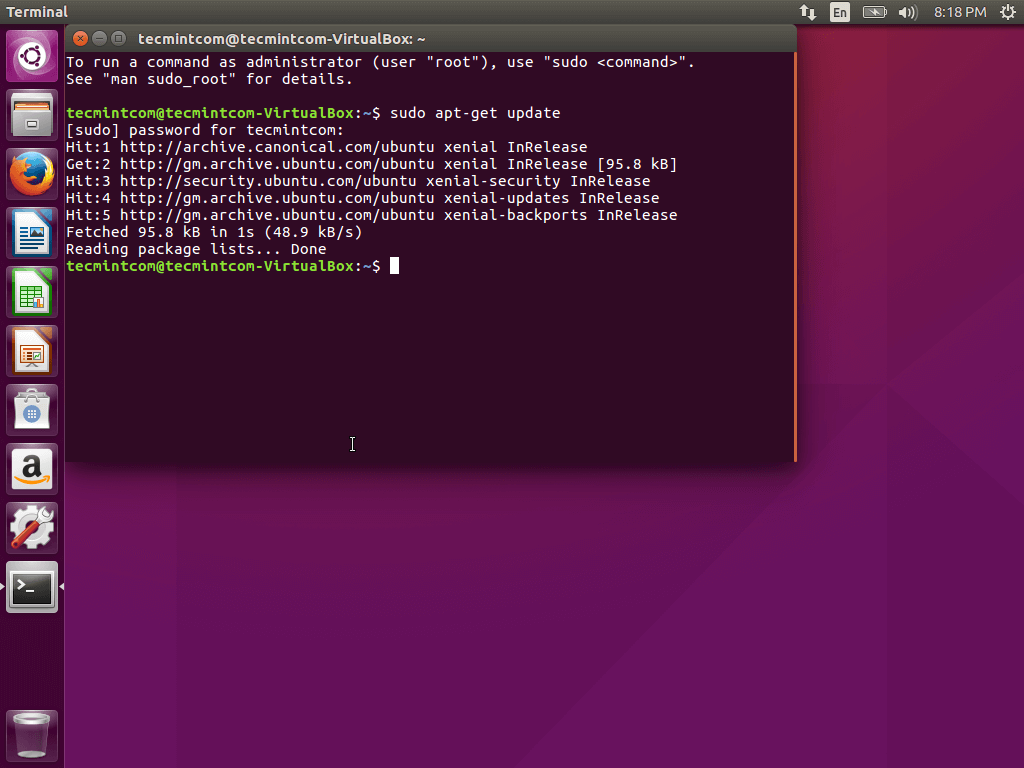
To update Ubuntu server, to log in to server’s console with an account with root privileges or directly as root and run the below commands in order to perform the update and upgrade process.
$ sudo apt update
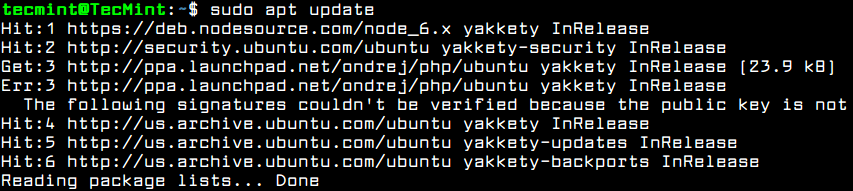
Update Ubuntu Server
After running the update command, you will see the number of available packages for upgrading process and the command used for listing the packages upgrades.
$ sudo apt list --upgradable
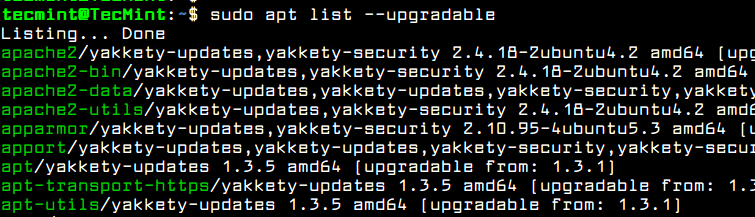
List Upgrade Ubuntu Packages
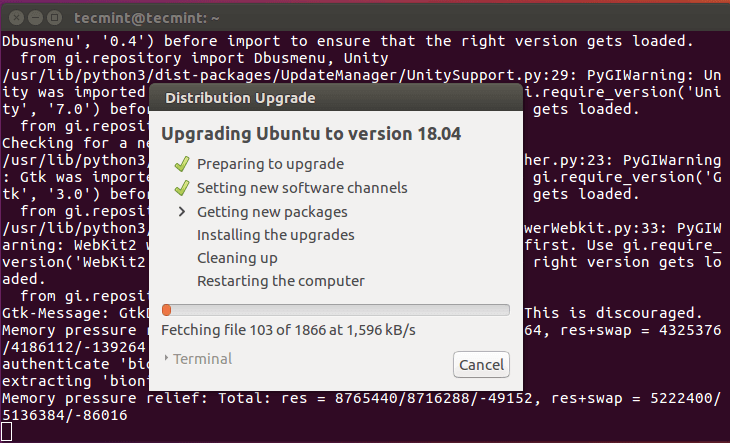
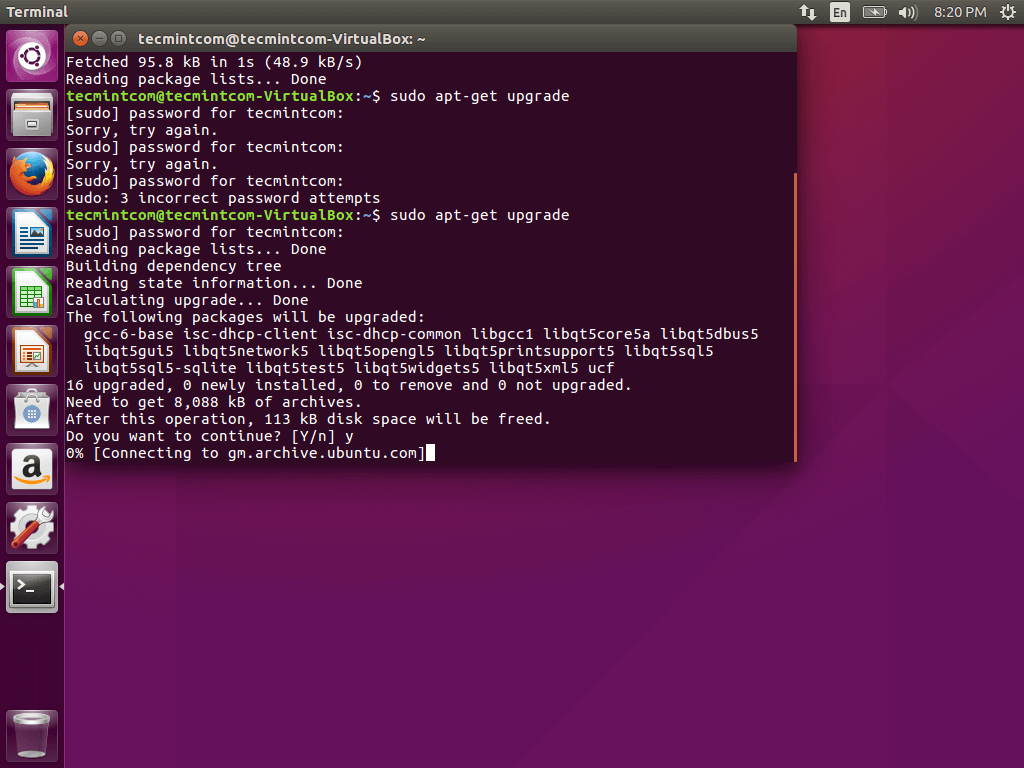
After you’ve consulted the list of packages available for upgrading, issue the below command to start system upgrade process.
$ sudo apt upgrade
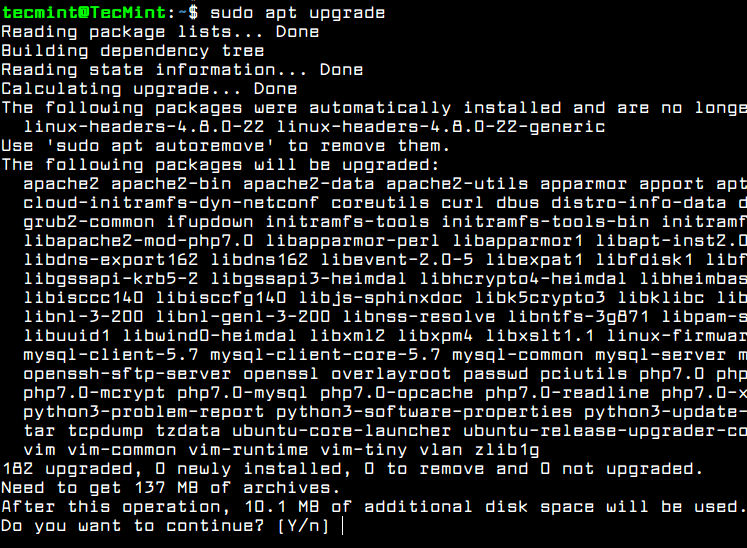
Upgrade Ubuntu Server Packages
In order to remove all locally downloaded deb packages and all other apt-get caches, execute the below command.
$ sudo apt autoremove
$ sudo apt clean
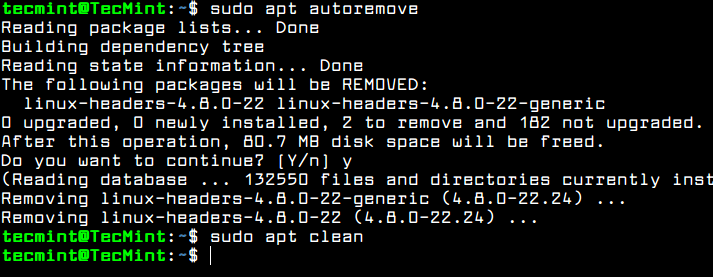
Autoremove APT Packages and Cache
Create New Account in Ubuntu
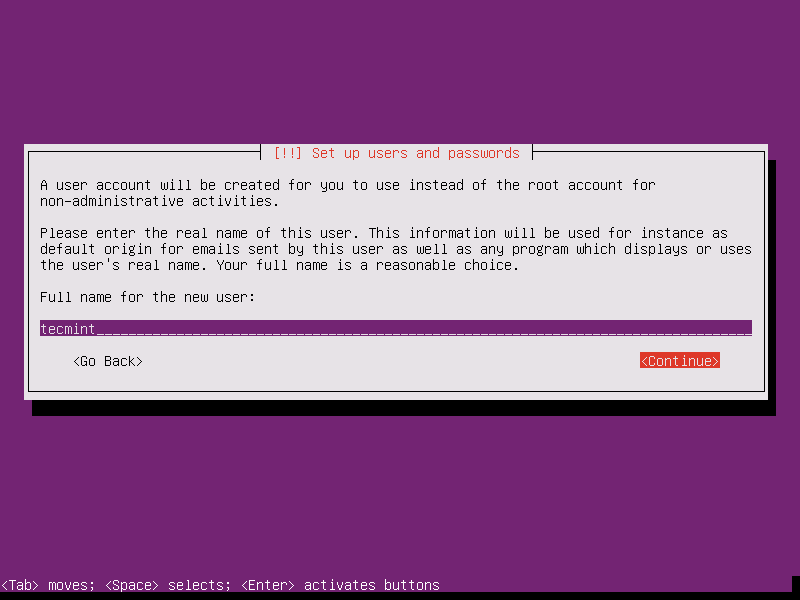
By default, as a security measure, the root account is completely disabled in Ubuntu. In order to create a new account on the system, log in to the system with the account user with root privileges and create a new account with the below command.
This new account will be granted with root powers privileges via sudo command and will be used to perform administrative tasks in the system. Make sure you setup a strong password to protect this account. Follow the adduser prompt to setup the user details and password.
$ sudo adduser ubuntu_user

Create User in Ubuntu
If this account will be assigned to another system admin, you can force the user to change its password at the first log in attempt by issuing the following command.
$ sudo chage -d0 ubuntu_user
For now, the new added user cannot perform administrative tasks via sudo utility. To grant this new user account with administrative privileges you should add the user to “sudo” system group by issuing the below command.
$ sudo usermod -a -G sudo ubuntu_user
By default, all users belonging to the “sudo” group are allowed to execute commands with root privileges via sudo utility. Sudo command must be used before writing the command needed for execution, as shown in the below example.
$ sudo apt install package_name
Test if the new user has the root privileges granted, by logging in to the system and run the apt updatecommand prefixed with sudo.
$ su - ubuntu_user
$ sudo apt update
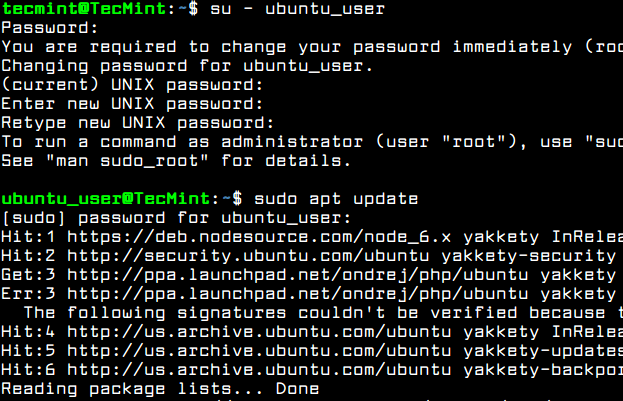
Verify New User
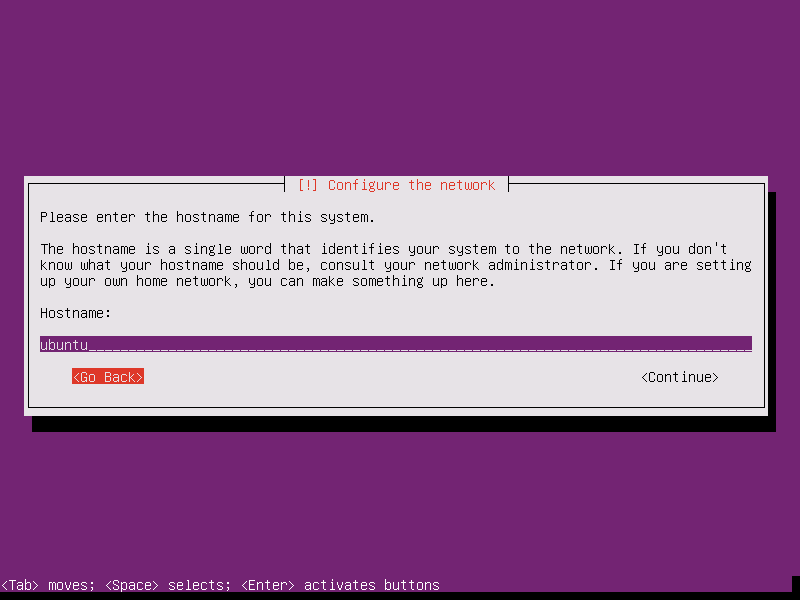
Configure System Hostname in Ubuntu
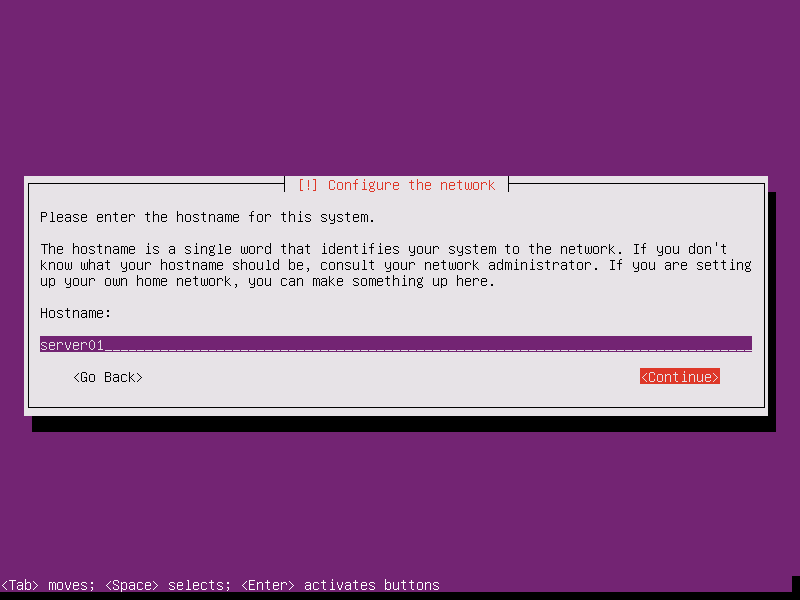
Usually, the machine hostname is set-up during the system installation process or when the VPS is created in the cloud. However, you should change the name of your machine in order to better reflect the destination of your server or to better describe its final purpose.
In a large company, machines are named after complex naming schemes in order to easily identify the machine in datacenter’s racks. For instance, if your Ubuntu machine will operate a mail server, the name of the machine should reflect this fact and you can setup machine hostname as mx01.mydomain.lan, for example.
To show details about your machine hostname run the following command.
$ hostnamectl
In order to change the name of your machine, issue hostnamectl command with the new name you will configure for your machine, as illustrated in the below excerpt.
$ sudo hostnamectl set-hostname tecmint
Verify the new name of your system with one of the below commands.
$ hostname
$ hostname -s
$ cat /etc/hostname

Set Hostname in Ubuntu Server
Setup SSH with Public Key Authentication in Ubuntu
To increase system security degree of an Ubuntu server, you should set-up SSH public key authentication for an local account. In order to generate SSH Key Pair, the public and private key, with a specifying a key length, such as 2048 bits, execute the following command at your server console.
Make sure you’re logged in to the system with the user you’re setting up the SSH key.
$ su - ubuntu_user
$ ssh-keygen -t RSA -b 2048
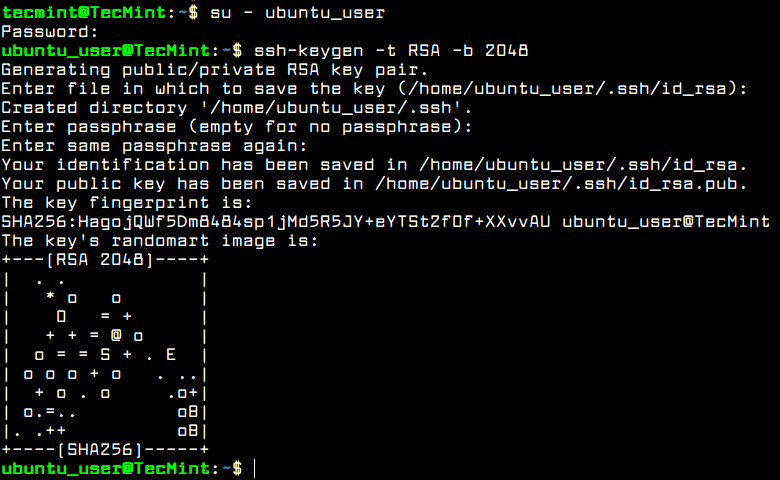
Setup SSH Keys in Ubuntu
While the key is generated, you will be prompted to add passphrase in order to secure the key. You can enter a strong passphrase or choose to leave the passphrase blank if you want to automate tasks via SSH server.
After the SSH key has been generated, you can copy the public key to a remote server by executing the below command. To install the public key to the remote SSH server you will need a remote user account with the proper permissions and credentials to log in to remote server.
$ ssh-copy-id remote_user@remote_server
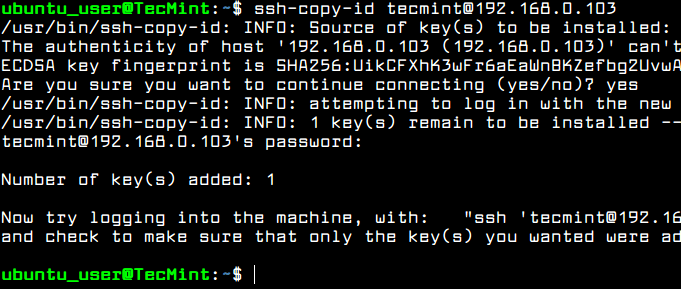
Copy SSH Key to Remote Server
You should be able to automatically log in via SSH to the remote server using the public key authentication method. You won’t need to add the remote user password while using SSH public key authentication.
After you’ve logged in to the remote server, you can start to execute commands, such as w command to list ssh remote logged in users, as shown in the below screenshot.
Type exit in the console to close the remote SSH session.
$ ssh remote_user@remote_server
$ w
$ exit
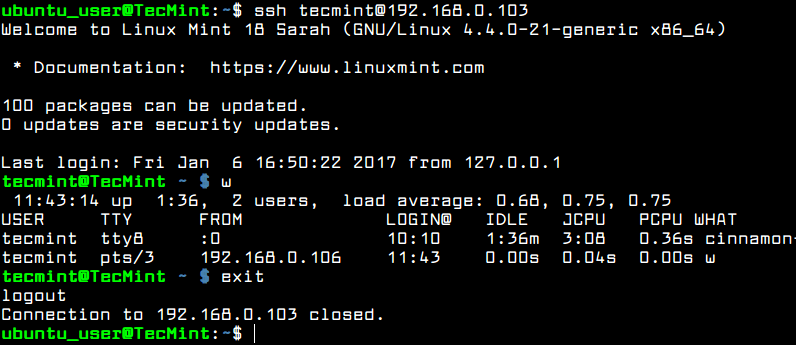
Verify SSH Passwordless Login
To see the content of your public SSH key in order to manually install the key to a remote SSH server, issue the following command.
$ cat ~/.ssh/id_rsa.pub

View SSH Key
Secure SSH Server in Ubuntu
In order to secure the SSH daemon you should change the default SSH port number from 22 to a random port, higher than 1024, and disallow remote SSH access to the root account via password or key, by opening SSH server main configuration file and make the following changes.
$ sudo vi /etc/ssh/sshd_config
First, search the commented line #Port22 and add a new line underneath (replace the listening port number accordingly):
Port 2345
Don’t close the file, scroll down and search for the line #PermitRootLogin yes, uncomment the line by removing the # sign (hashtag) from the beginning of the line and modify the line to look like shown in the below excerpt.
PermitRootLogin no
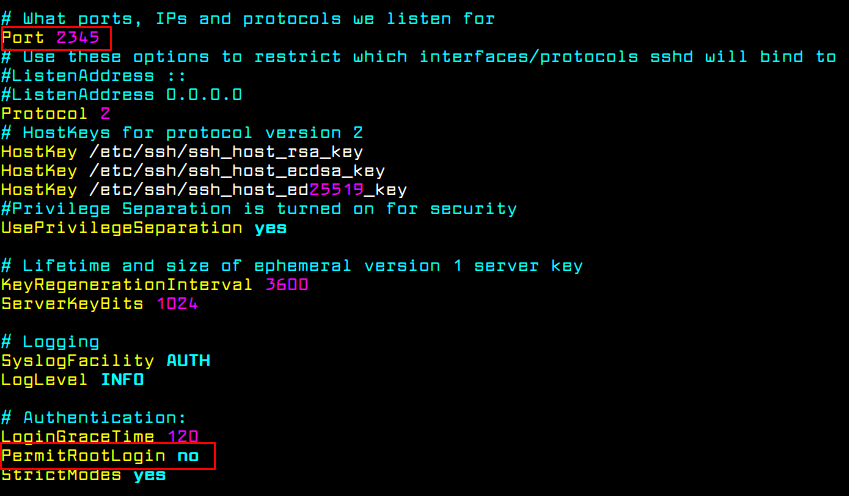
Secure SSH Service
Afterwards, restart the SSH server to apply the new settings and test the configuration by trying to log in from a remote machine to this server with the root account via the new port number. The access to root account via SSH should be restricted.
$ sudo systemctl restart sshd
Also, run netstat or ss command and filter the output via grep in order to show the new listening port number for SSH server.
$ sudo ss -tlpn| grep ssh
$ sudo netstat -tlpn| grep ssh
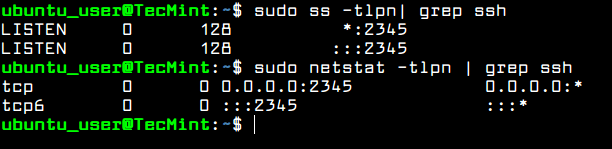
Verify SSH Port
There are situations where you might want to automatically disconnect all remote SSH connections established into your server after a period of inactivity.
In order to enable this feature, execute the below command, which adds the TMOUT bash variable to your account .bashrc hidden file and forces every SSH connection made with the name of the user to be disconnected or dropped-out after 5 minutes of inactivity.
$ echo 'TMOUT=300' >> .bashrc
Run tail command to check if the variable has been correctly added at the end of .bashrc file. All subsequent SSH connections will be automatically closed after 5 minutes of inactivity from now on.
$ tail .bashrc
In the below screenshot, the remote SSH session from drupal machine to Ubuntu server via ubuntu_user account has been timed out and auto-logout after 5 minutes.

Auto Disconnect SSH Sessions
Configure Ubuntu Firewall UFW
Every server needs a well configured firewall in order to secure the system at network level. Ubuntu server uses UFW application to manage the iptables rules on the server.
Check the status of UFW firewall application in Ubuntu by issuing the below commands.
$ sudo systemctl status ufw
$ sudo ufw status
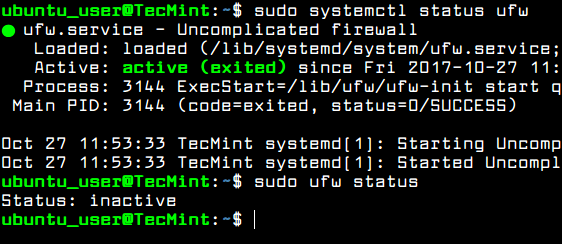
Check UFW Firewall Status
Usually, the UFW firewall daemon is up and running in Ubuntu server, but the rules are not applied by default. Before enabling UFW firewall policy in you system, first you should add a new rule to allow SSH traffic to pass through firewall via the changed SSH port. The rule can be added by executing the below command.
$ sudo ufw allow 2345/tcp
After you’ve allowed SSH traffic, you can enable and check UFW firewall application with the following commands.
$ sudo ufw enable
$ sudo ufw status

Open SSH Port and Verify
To add new firewall rules for other network services subsequently installed on your server, such as HTTP server, a mail server or other network services, use the below firewall commands examples as guide.
$ sudo ufw allow http  #allow http traffic
$ sudo ufw allow proto tcp from any to any port 25,443  # allow https and smtp traffic
To list all firewall rules run the below command.
$ sudo ufw status verbose
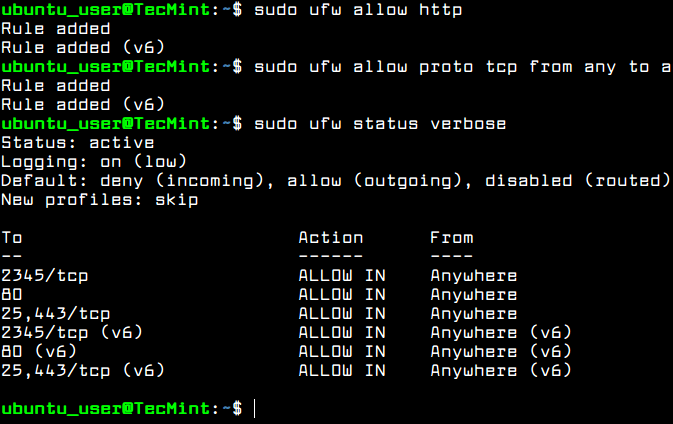
Check UFW Firewall Rules
Set Ubuntu Server Time
To control or query Ubuntu server clock and other related time settings, execute timedatectl command with no argument.
In order to change your server’s time zone settings, first execute timedatectl command with list-timezones argument to list all available time zones and, then, set the time zone of your system as shown in the below excerpt.
$ sudo timedatectl
$ sudo timedatectl list-timezones
$ sudo timedatectl set-timezone Europe/Vienna
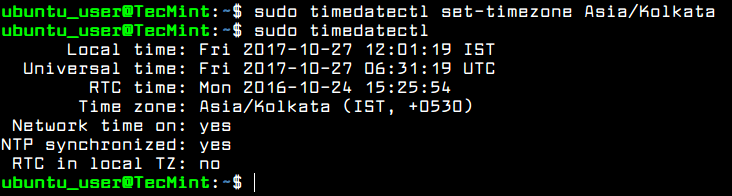
Set Ubuntu Timezone
The new systemd-timesyncd systemd daemon client can be utilized in Ubuntu in order to provide an accurate time for your server across network and synchronize time with an upper time peer server.
To apply this new feature of Systemd, modify systemd-timesyncd daemon configuration file and add the closest geographically NTP servers to NTP statement line, as shown in the below file excerpt:
$ sudo nano /etc/systemd/timesyncd.conf
Add following configuration to timesyncd.conf file:
[Time]
NTP=0.pool.ntp.org 1.pool.ntp.org
FallbackNTP=ntp.ubuntu.com
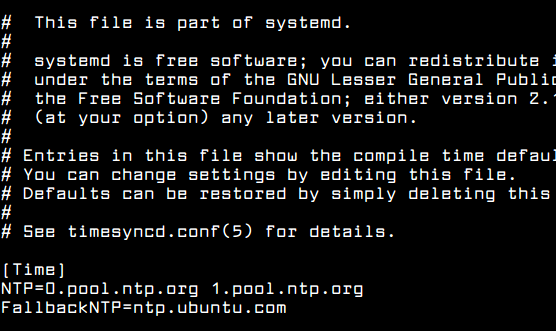
NTP Time Configuration
To add your nearest geographically NTP servers, consult the NTP pool project server list at the following address: http://www.pool.ntp.org/en/
Afterwards, restart the Systemd timesync daemon to reflect changes and check daemon status by running the below commands. After restart, the daemon will start to sync time with the new ntp server peer.
$ sudo systemctl restart systemd-timesyncd.service
$ sudo systemctl status systemd-timesyncd.service
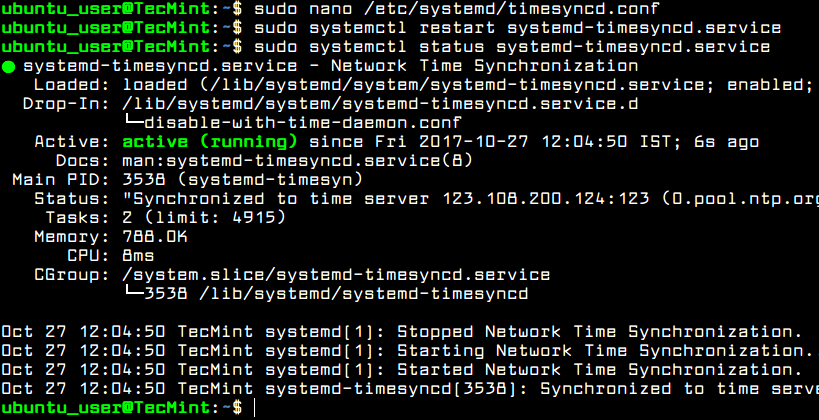
Start TimeSyncd Service
Disable and Remove Unneeded Services in Ubuntu
In order to get a list of all TCP and UDP network services up-and-running by default in your Ubuntu server, execute the ss or netstat command.
$ sudo netstat -tulpn
OR
$ sudo ss -tulpn
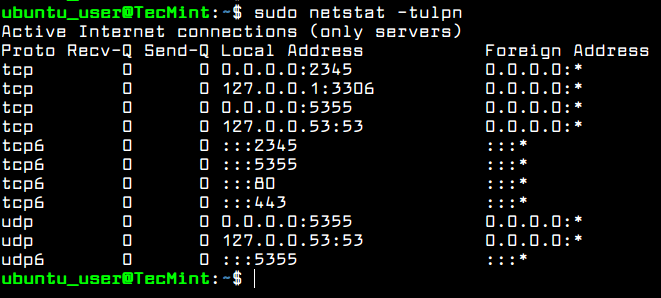
List All Running Services
Staring with Ubuntu 16.10 release, the default DNS resolver is now controlled by systemd-resolved service, as revealed by the output of netstat or ss commands.
You should also check the systemd-resolved service status by running the following command.
$ sudo systemctl status systemd-resolved.service
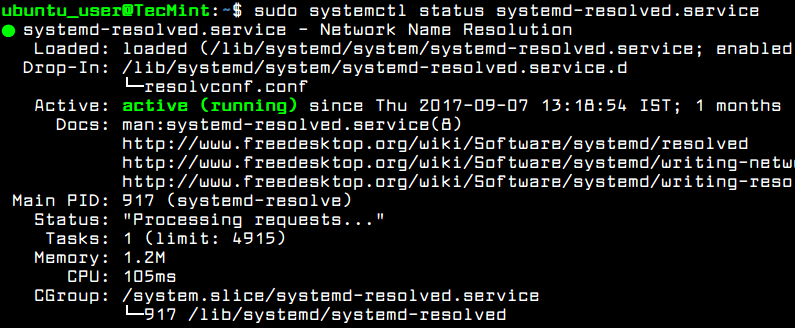
Check Systemd Resolved Status
The systemd-resolved service binds on all enabled network interfaces and listens on ports 53 and 5355 TCPand UDP.
Running system-resolved caching DNS daemon on a production server can be dangerous due to the numerous number of DDOS attacks performed by malicious hackers against unsecured DNS servers.
In order to stop and disable this service, execute the following commands.
$ sudo systemctl stop systemd-resolved
$ sudo systemctl disable systemd-resolved

Disable Systemd Resolved Service
Verify if the service has been stopped and disabled by issuing ss or netstat command. The systemd-resolved listening ports, 53 and 5355 TCP and UDP, should not be listed in netstat or ss command output, as illustrated in the below.
You should also reboot the machine in order to completely disable all systemd-resolved daemon services and restore the default /etc/resolv.conf file.
$ sudo ss -tulpn
$ sudo netstat -tulpn
$ sudo systemctl reboot

Verify All Running Services
Although, you’ve disabled some unwanted networking services to run in your server, there are also other services installed and running in your system, such as lxc process and snapd service. These services can be easily detected via ps, top or pstree commands.
$ sudo ps aux
$ sudo top
$ sudo pstree
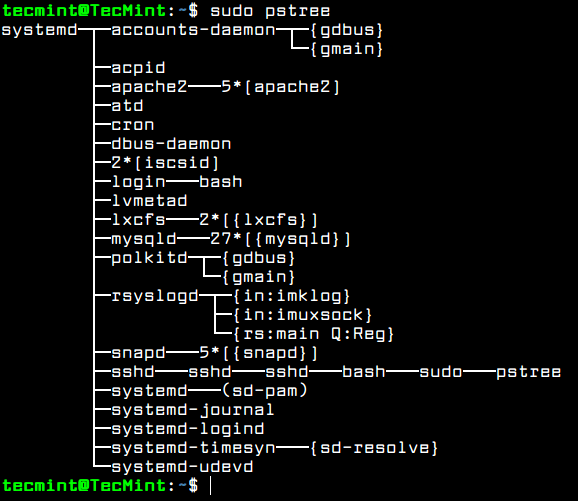
List Running Services in Tree Format
In case you’re not going to use LXC container virtualization in your server or start installing software packaged via Snap package manager, you should completely disable and remove these services, by issuing the below commands.
$ sudo apt autoremove --purge lxc-common lxcfs
$ sudo apt autoremove --purge snapd
That’s all! Now, Ubuntu server is now prepared for installing additional software needed for custom network services or applications, such as installing and configuring a web server, a database server, a file share service or other specific applications.