Mondo Rescue is an open source, free disaster recovery and backup utility that allows you to easily create complete system (Linux or Windows) Clone/Backup ISO Images to CD, DVD, Tape, USB devices, Hard Disk, and NFS. And can be used to quickly restore or redeploy working image into other systems, in the event of data loss, you will be able to restore as much as entire system data from backup media.
Mondo program is available freely for download and released under GPL (GNU Public License) and has been tested on a large number of Linux distributions.
This article describes Mondo installation and usage of Mondo Tools to backup of your entire systems. The Mondo Rescue is a Disaster Recovery and Backup Solutions for System Administrators to take full backup of their Linux and Windows file system partitions into CD/DVD, Tape, NFS and restore them with the help of Mondo Restore media feature that uses at boot-time.
Installing MondoRescue on RHEL / CentOS / Scientific Linux
The latest Mondo Rescue packages (current version of Mondo is 3.0.3-1) can be obtained from the “MondoRescue Repository“. Use “wget” command to download and add repository under your system. The Mondo repository will install suitable binary software packages such as afio, buffer, mindi, mindi-busybox, mondo and mondo-doc for your distribution, if they are available.
For RHEL/CentOS/SL 6,5,4 – 32-Bit
Download the MondoRescue repository under “/etc/yum.repos.d/” as file name “mondorescue.repo“. Please download correct repository for your Linux OS distribution version.
# cd /etc/yum.repos.d/

## On RHEL/CentOS/SL 6 - 32-Bit ##
# wget ftp://ftp.mondorescue.org/rhel/6/i386/mondorescue.repo

## On RHEL/CentOS/SL 5 - 32-Bit ##
# wget ftp://ftp.mondorescue.org/rhel/5/i386/mondorescue.repo

## On RHEL/CentOS/SL 4 - 32-Bit ##
# wget ftp://ftp.mondorescue.org/rhel/4/i386/mondorescue.repo
For RHEL/CentOS/SL 6,5,4 – 64-Bit
# cd /etc/yum.repos.d/

## On RHEL/CentOS/SL 6 - 64-Bit ##
# wget ftp://ftp.mondorescue.org/rhel/6/x86_64/mondorescue.repo

## On RHEL/CentOS/SL 5 - 64-Bit ##
# wget ftp://ftp.mondorescue.org/rhel/5/x86_64/mondorescue.repo

## On RHEL/CentOS/SL 4 - 64-Bit ##
# wget ftp://ftp.mondorescue.org/rhel/4/x86_64/mondorescue.repo
Once you successfully added repository, do “yum” to install latest Mondo tool.
# yum install mondo
Installing MondoRescue on Debian / Ubuntu / Linux Mint
Debian user’s can do “wget” to grab the MondoRescue repository for Debain 6 and 5 distributions. Run the following command to add “mondorescue.sources.list” to “/etc/apt/sources.list” file to install Mondo packages.
On Debian
## On Debian 6 ##
# wget ftp://ftp.mondorescue.org/debian/6/mondorescue.sources.list
# sh -c "cat mondorescue.sources.list >> /etc/apt/sources.list"
# apt-get update
# apt-get install mondo
## On Debian 5 ##
# wget ftp://ftp.mondorescue.org/debian/5/mondorescue.sources.list
# sh -c "cat mondorescue.sources.list >> /etc/apt/sources.list"
# apt-get update
# apt-get install mondo
On Ubuntu/Linux Mint
To install Mondo Rescue in Ubuntu 12.10, 12.04, 11.10, 11.04, 10.10 and 10.04 or Linux Mint 13, open the terminal and add the MondoRescue repository in “/etc/apt/sources.list” file. Run these following commands to install Mondo Resuce packages.
# wget ftp://ftp.mondorescue.org/ubuntu/`lsb_release -r|awk '{print $2}'`/mondorescue.sources.list
# sh -c "cat mondorescue.sources.list >> /etc/apt/sources.list"
# apt-get update
# apt-get install mondo
Creating Cloning or Backup ISO Image of System/Server
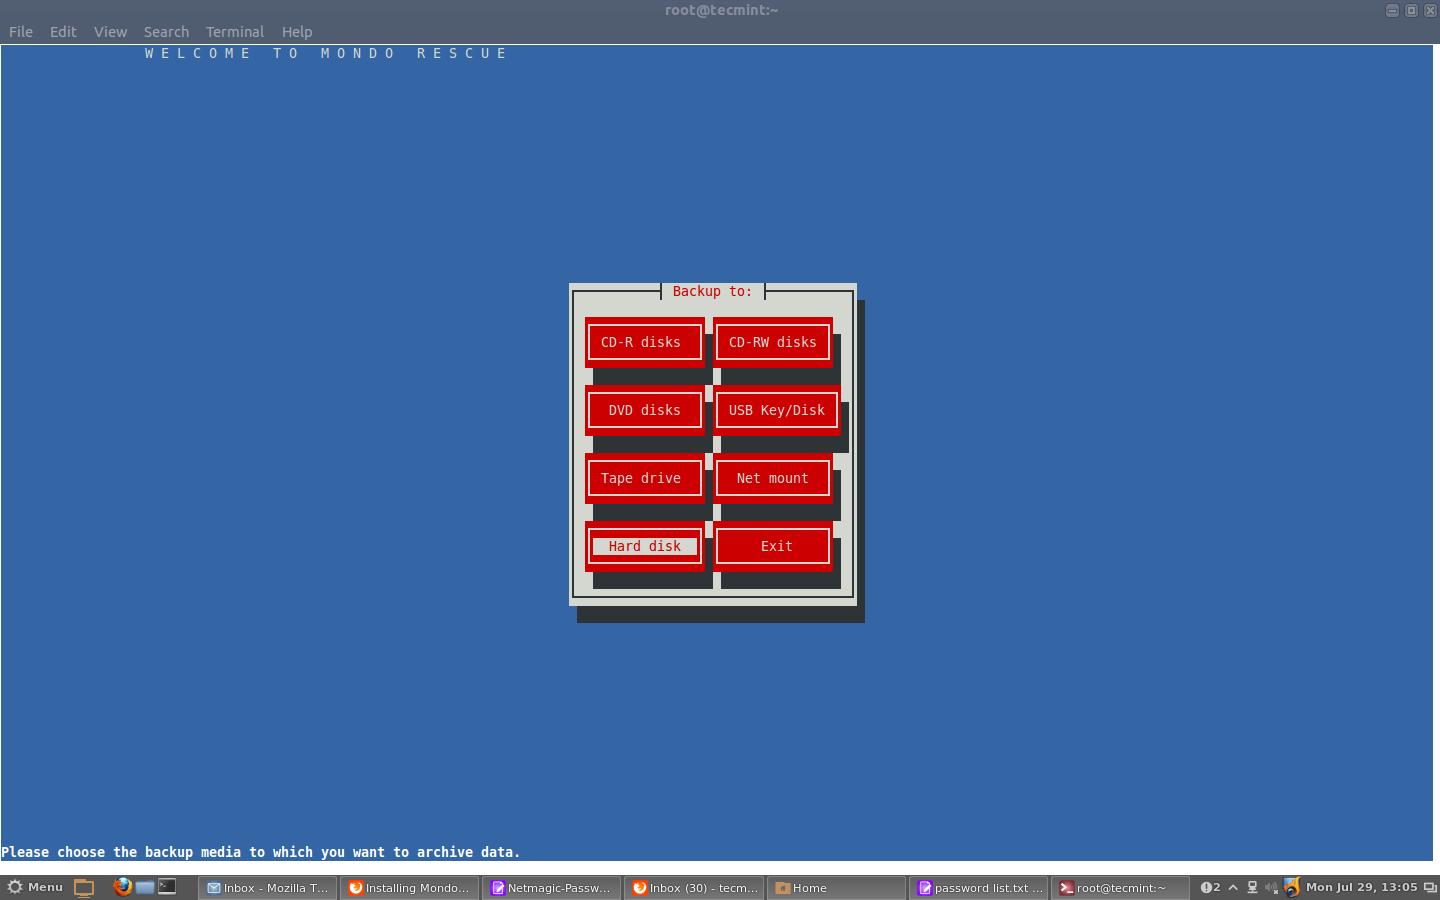
After installing Mondo, Run “mondoarchive” command as “root” user. Then follow screenshots that shows how to create an ISO based backup media of your full system.
# mondoarchive
Welcome to Mondo Rescue
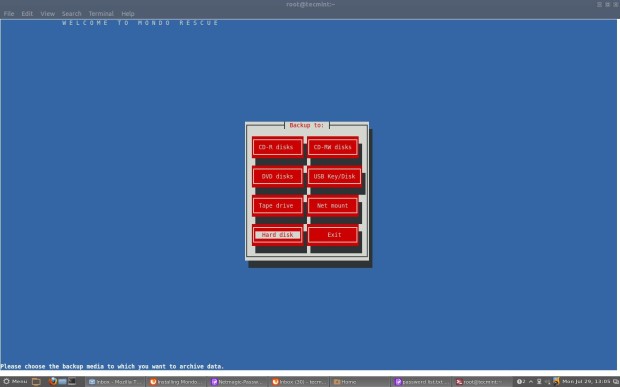
Mondo Rescue Welcome Screen
Please enter the full path name to the directory for your ISO Images. For example: /mnt/backup/
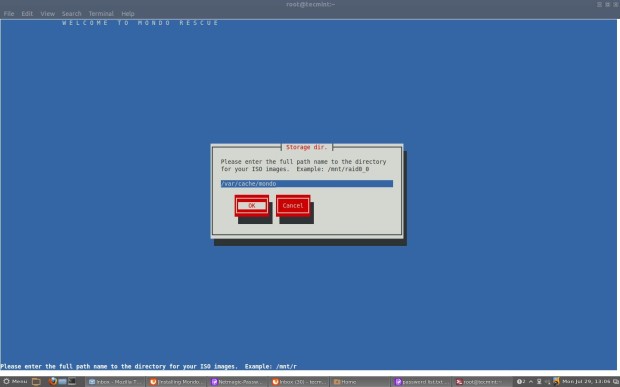
Mondo Rescue Storage Directory
Select Type of compression. For example: bzip, gzip or lzo.

Select Type of Compression
Select the maximum compression option.
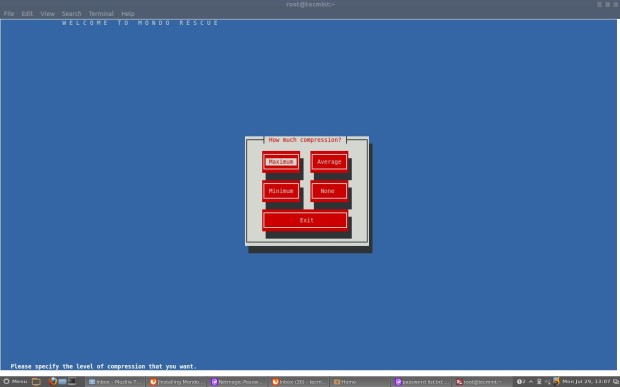
Select Compression Speed
Please enter how large you want each ISO image in MB (Megabytes). This should be less than or equal to the size of the CD-R(W)’s (i.e. 700) and for DVD’s (i.e. 4480).

Define Mondo Rescue ISO Size
Please give a name of your ISO image filename. For example: tecmint1 to obtain tecmint-[1-9]*.iso files.
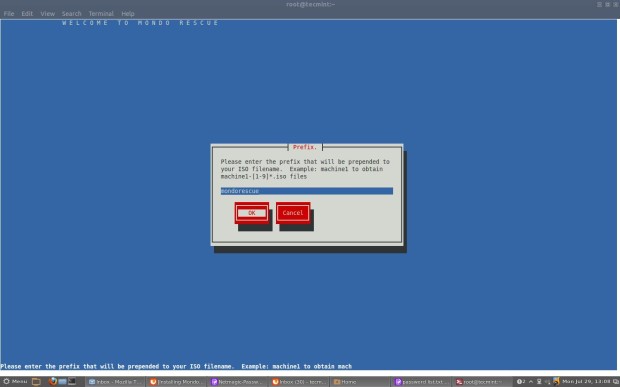
Enter Name of Mondo Rescue
Please add the filesystems to backup (separated by “|“). The default filesystem is “/” means full backup.
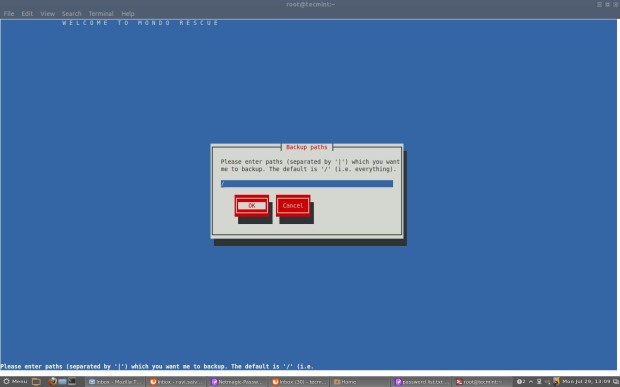
Enter Backup Paths
Please exclude the filesystem that you don’t want to backup (separated by “|“). For example: “/tmp” and “/proc” are always excluded or if you want full backup of your system, just hit enter.
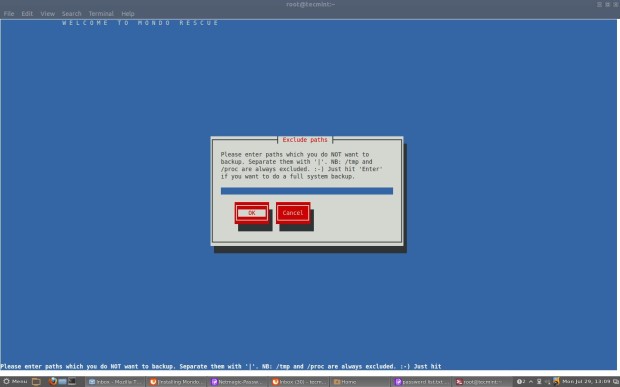
Enter Exclude File System
Please enter your temporary directory path or select default one.

Enter Temporary Directory Name
Please enter your scratch directory path or select default one.
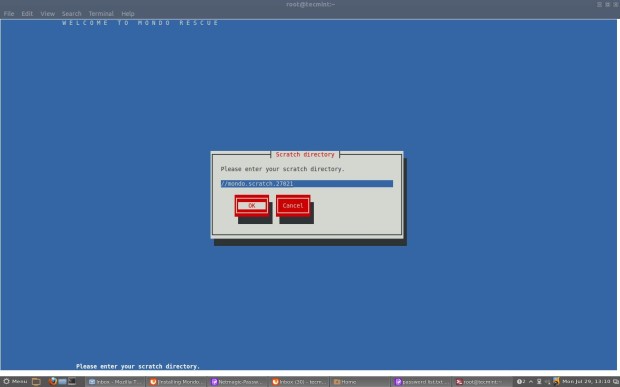
Enter Scratch Directory Name
If you would like to backup extended attributes. Just hit “enter“.
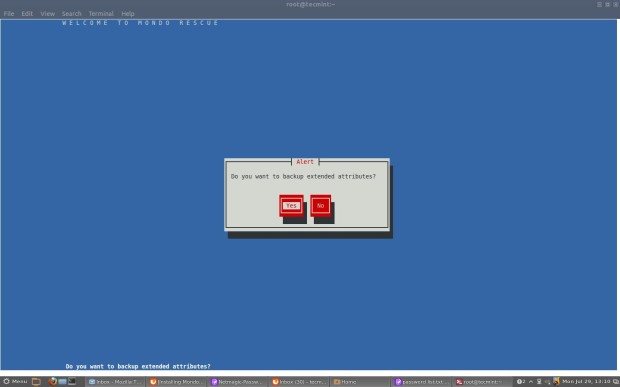
Enter Extended Backup Attributes
If you want to Verify your backup, after mondo has created them. Click “Yes“.
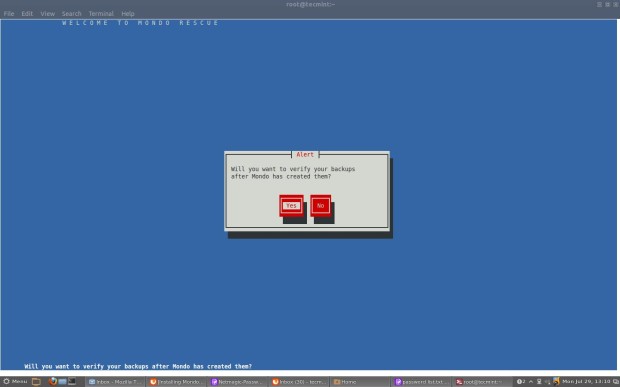
Verify Backups
If you’re using stable standalone Linux Kernel, click “Yes” or if you using other Kernel say “Gentoo” or “Debain” hit “No“.
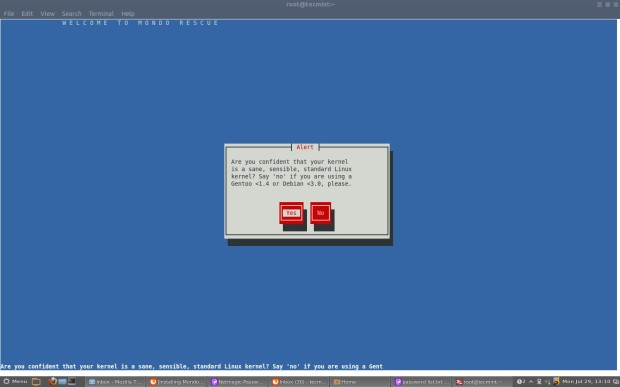
Select Stable Linux Kernel
Click “Yes” to proceed further.
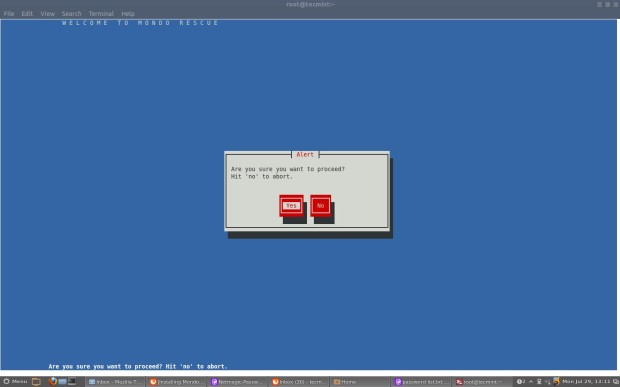
Proceed Cloning Process
Creating a catalog of “/” filesystem.
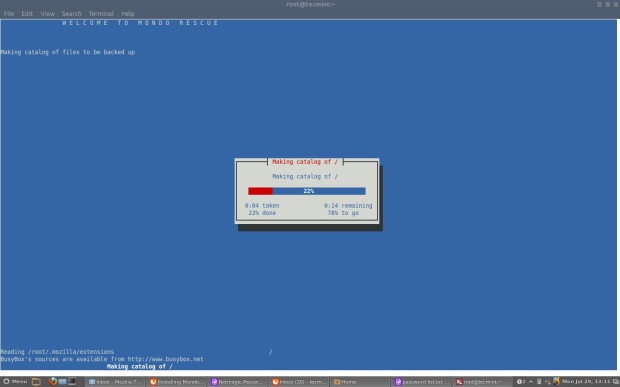
Creating Catalog for File System
Dividing filelist into sets.
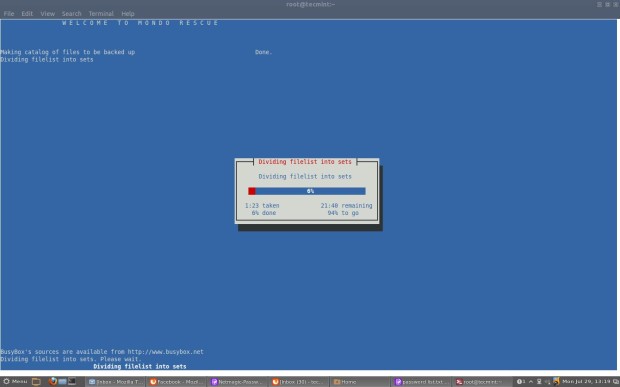
Dividing File List
Calling MINDI to create boot+data disk.
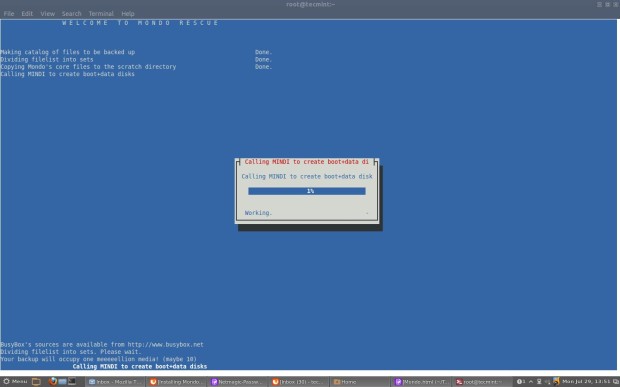
Creating Boot Data Disk
Backing up filesytem. It may take a couple of hours, please be patient.
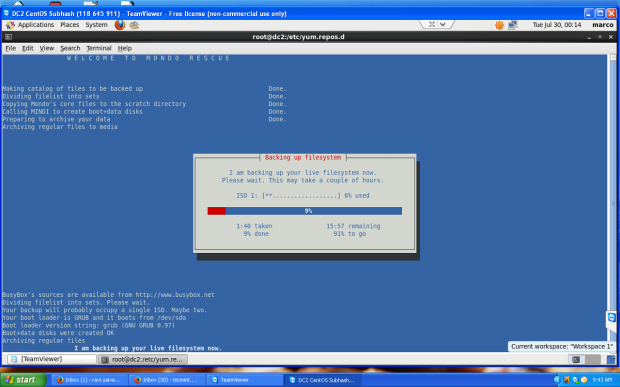
Backing up File System
Backing up big files.
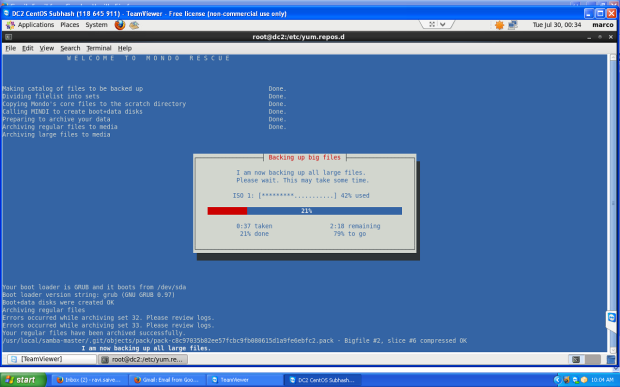
Big Files Backup
Running “mkisofs” to make ISO Image.
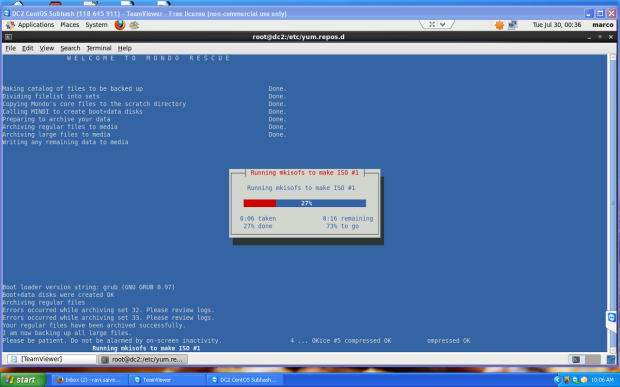
Making ISO Image
Verifying ISO Image tarballs.
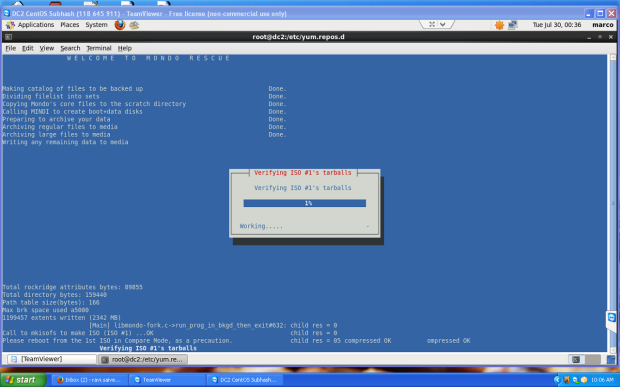
Verify ISO
Verifying ISO Image Big files.
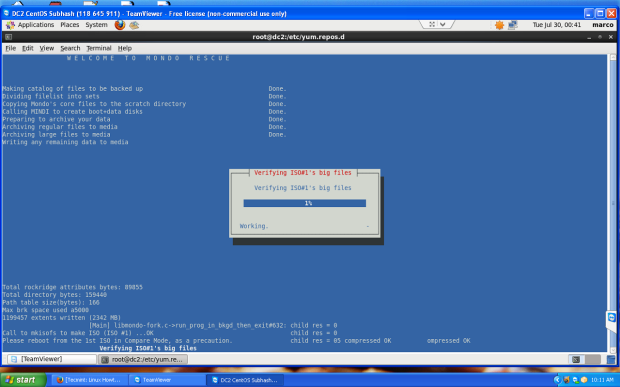
Verify Big Files
Finally, Mondo Archive has completed. Please hit “Enter” to back to the shell prompt.
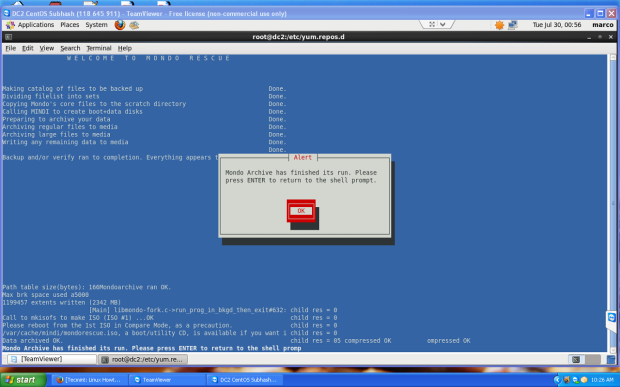
Backup Completed
If you’ve selected default backup path, you will see an ISO image under “/var/cache/mondo/“, that you can burnt into a CD/DVD for later restore.
To restore all files automatically, boot the system with Mondo ISO Image and at boot prompt type “nuke” to restore files. Here is the detailed video that demonstrates how to restore files automatically from CD/DVDmedia.
For other distributions, you can also grab Mondo Rescue packages at mondorescue.org download page.