In today’s digital world, staying ahead in your career often means acquiring new skills. With the rapid evolution of technology, it’s crucial to keep up with the latest trends and tools to remain competitive.
Google, one of the tech giants, recognizes the importance of skill development and offers a range of free courses to help you stay relevant in 2023 and beyond.
Skill development enables individuals to adapt to changing environments and excel in their careers. In this highly competitive job market, employers are constantly seeking individuals with up-to-date skills. Whether you’re a recent graduate, a working professional, or someone looking to switch careers, improving your skill set is essential.
Google, a company renowned for innovation, has extended its support to skill development by enabling individual free courses in various domains such as digital marketing, IT support, cybersecurity, data analytics, project management, and UX design etc that are suitable for beginners as well as experienced professionals.
These free courses provide an ideal learning platform with practical knowledge and hands-on experience to upskill or supplant their knowledge in their line of profession. They are also a great choice for professionals looking for upward mobility in their careers or those transitioning into a different line of work.
Contents:
Key Benefits of Free Google Courses
10 Best FREE Google Courses
1. Application Development-Python
2. Applied Data Science with Python
3. Build Apps & Websites with Firebase
4. Google Ads Search Certification
5. YouTube Music Certification
6. Fundamentals of Digital Marketing
7. Build Apps with Flutter
8. Google Ads Display Certification
9. Introduction to ML: Language Processing
10. Build Interactive Apps with Google Assistant
How to Enroll in Free Google Courses
How to Obtain a Free Certificate From Google
Tips And Tricks To Crack The Interview Round
Best Free Google Courses to Become Skilled FAQs
1. Are Google certifications worth it?
2. How long does it take to complete a Google course?
3. What is the Process of Applying For A Job At Google?
4. What are the prerequisites for Google courses?
5. Are Google courses recognized by employers?
Conclusion
Key Benefits of Free Google Courses
- Cost-Effective: These courses are entirely free, eliminating financial barriers to education.
- Self-Paced Learning: Google’s courses allow you to learn at your own pace, accommodating to your busy schedules.
- Certifications: Upon successful completion, you receive a certificate from Google, a well-recognized credential that will help you get employment in industries with high rates of growth.
- Hands-on Experience: Many courses include practical assignments and real-world projects.
10 Best FREE Google Courses
This tutorial features some of the top free Google courses you can enroll in to boost your skills.
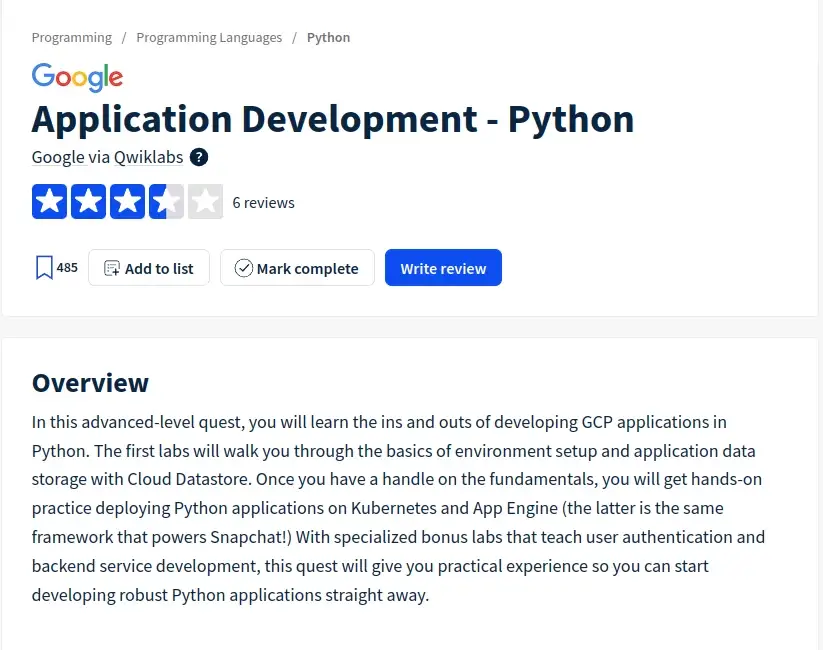
1. Application Development-Python
In this advanced course, you will learn how to Develop Python applications for Google Cloud Platform (GCP). In addition to receiving practical experience in deploying Python apps on Kubernetes and App Engine, you will study the fundamentals of setting up environments and storing application data with Cloud Datastore.
Moreover, the course incorporates special bonus labs that cover backend service development and user authentication. This course can be accessed through Google on Class Central.
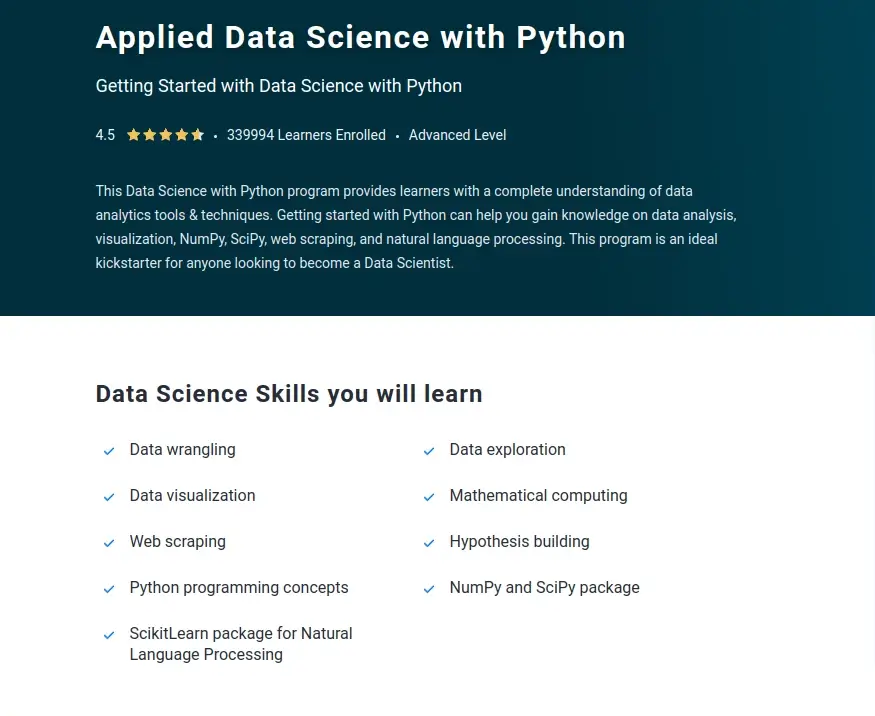
2. Applied Data Science with Python
This course includes a Data Science with Python curriculum that equips learners with data science skills, including knowledge of popular data science libraries in Python such as Numpy, SciPy, Plotly, and Pandas.
Anyone who wants to launch a career as a data scientist. this course material is a vaulable resource for Kickstarter with.
Learners who have a basic understanding of Python programming and want to get their hands dirty by using Python toolkits to apply social network analysis techniques, machine learning, information visualization, and text analysis to their data will find this course beneficial.
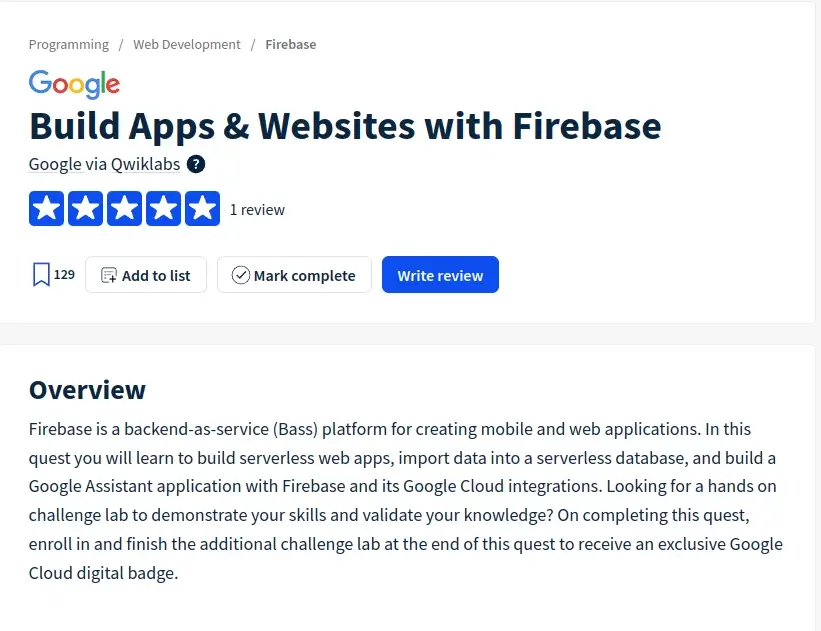
3. Build Apps & Websites with Firebase
The fundamentals of the Firebase application development platform are covered in this Google course. You will discover how to use Firebase and its Google Cloud connectors to create Google Assistant applications, construct serverless web apps, and load data into serverless databases.
To verify your knowledge and showcase your abilities, the course also contains a challenge lab. You will obtain a special digital badge from Google Cloud upon fulfilling this task.
4. Google Ads Search Certification
Google Ads (previously Google Adwords) is the most widely used PPC system and a significant source of revenue for Google. To help marketers make the most of Google Ads’ features, they created several certification courses that are all freely accessible through Google Skillshop.
The Google Ads Search Certification is one of the Google Ads courses that will equip you with solid skills to manage Google search marketing campaigns.

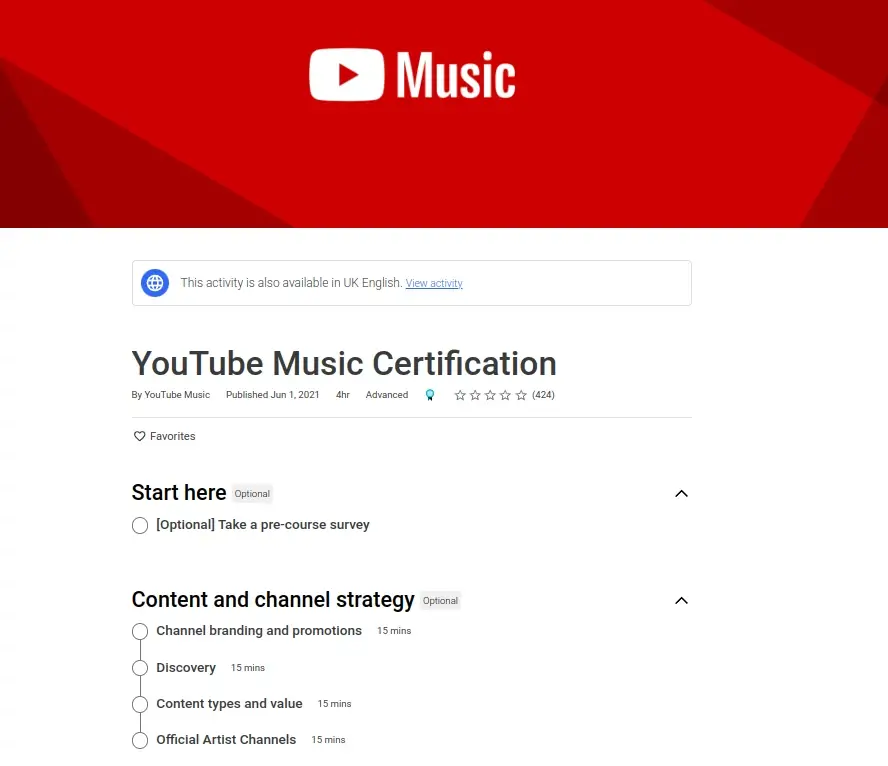
5. YouTube Music Certification
The YouTube Music Certification course is tailored for music content owners and examines the tactics and tools needed for teams to deliver content and manage musical assets at scale efficiently. The training addresses key elements such as rights management, commercialization, and promotion.
The certification is free, and you can add it to your LinkedIn profile upon completion.
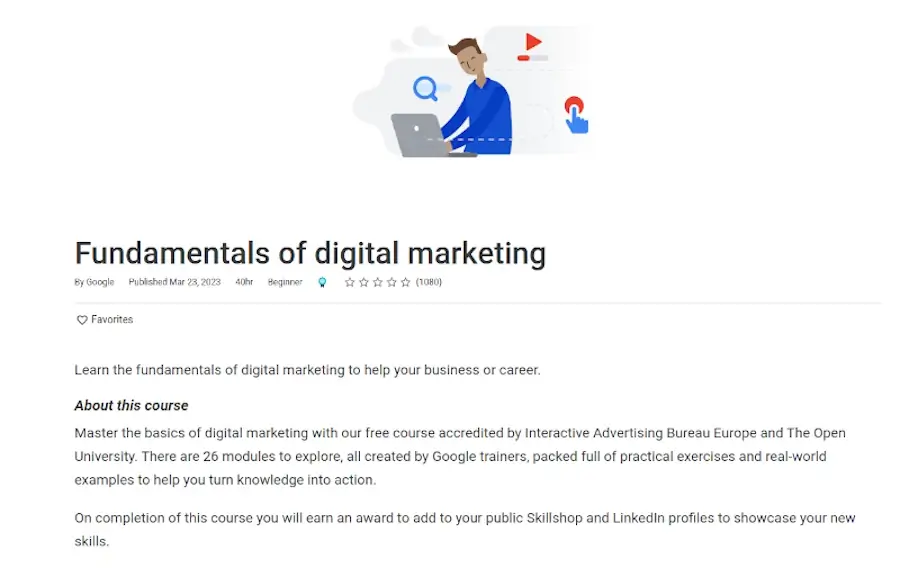
6. Fundamentals of Digital Marketing
Google offers a free course on the Fundamentals of Digital Marketing, which Interactive Advertising Bureau Europe and the Open University have accredited.
By enrolling in this course, you’ll acquire the skills needed to manage multiple digital marketing channels, such as:
- Online Marketing Strategy
- Email Marketing
- Content Marketing
- Display Advertising
- Mobile Marketing
- eCommerce Marketing
This certification course is meant for beginners and requires a total of 40 hours of time commitment. To become certified, you must complete all 26 modules and ace the 40-question Google Garage exam.
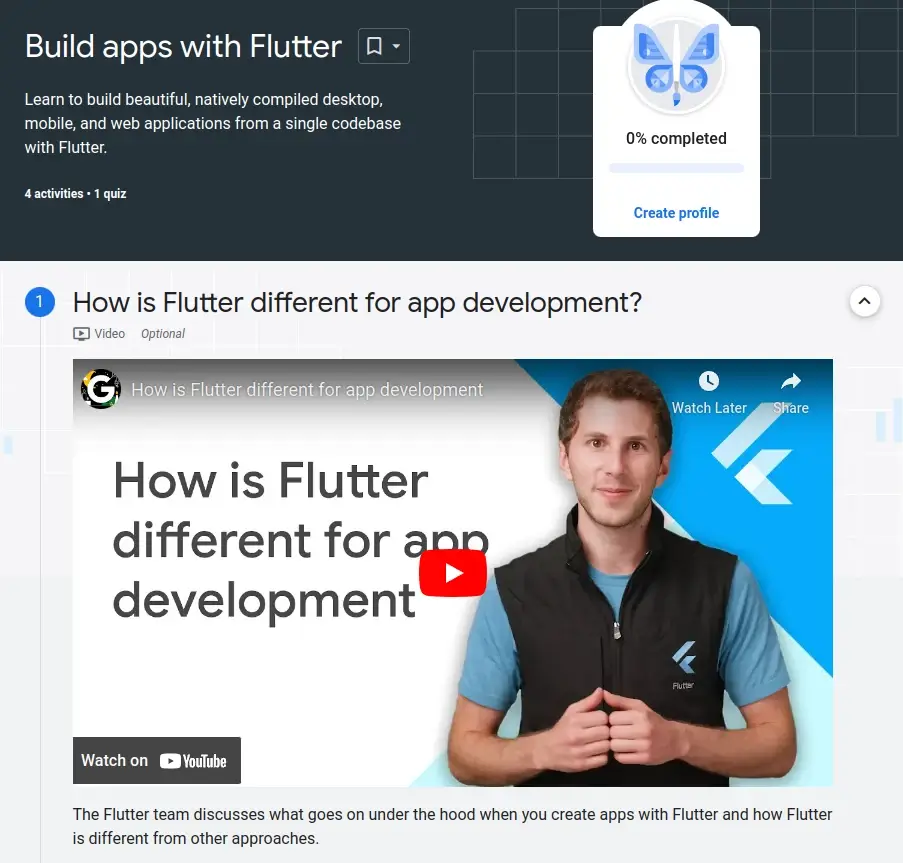
7. Build Apps with Flutter
Developed by Google, Flutter is a popular open-source framework for creating beautiful, responsive cross-platform web and mobile applications from a shared codebase.
Google is offering a free course called Build Apps with Flutter which comprises two codelabs, one quiz, and four activities. You will learn how to create your first Flutter app, how stateful widgets work best, and how Flutter differs from other app development frameworks.
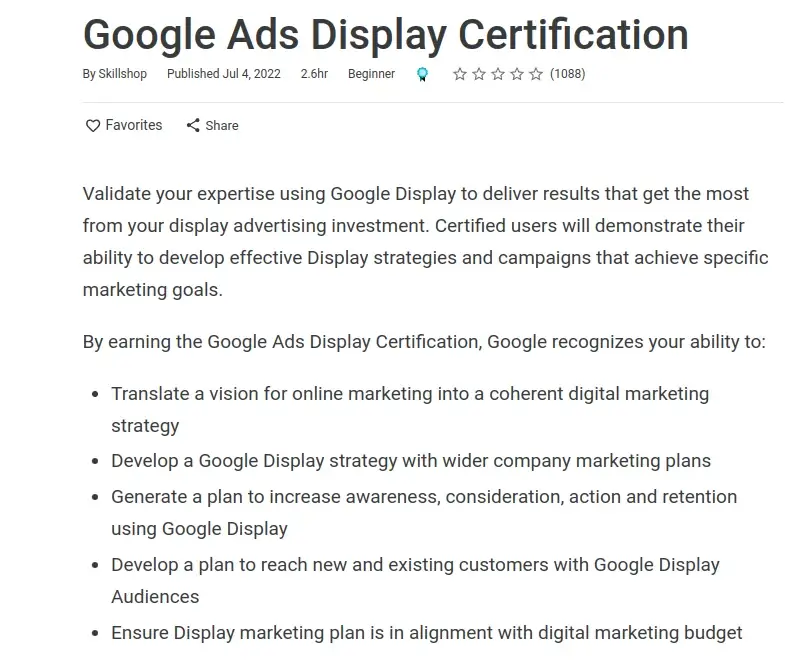
8. Google Ads Display Certification
The Google Ads Display Certification is provided by Google and is aimed at helping digital marketers prove their capacity to create successful Display strategies and campaigns that accomplish particular marketing objectives.
Upon earning this certification, you will have the skills to:
- Develop a comprehensive strategy to enhance awareness, consideration, action, and retention.
- Effectively target audiences, reaching both existing and prospective customers.
- Make sure that the display marketing plan aligns properly with the digital marketing budget.
- Initiate/start permission marketing campaigns.
9. Introduction to ML: Language Processing
With Intro to ML: Language Processing, course you will learn about machine learning in the context of language processing and get practical experience with the technology. You’ll discover how to use the Speech-to-Text API for transcription, perform sentiment and syntactic analysis, and extract entities from text.
Through a series of labs, the course will teach you how to use AI Platform, Google Cloud Speech API, and Cloud Natural Language API to fully utilize machine learning. Upon completion, you will receive a special digital badge from Google Cloud.
10. Build Interactive Apps with Google Assistant
This Build Interactive Apps with Google Assistant is a free course offered by Google through Qwiklabs, which awards a skill badge upon completion.
The course teaches learners how to create Actions projects, integrate Dialogflow into Actions projects, test their applications using Actions Simulator, build Assistant apps using flash card templates, integrate customer MP3 files into Assistant apps, add Cloud Translation API to Assistant apps, and use APIs and integrate.
How to Enroll in Free Google Courses
The Free Google Courses are available online without any cost. Getting started with Google’s free courses is very simple, Go to Google’s free online Courses, create an account, choose your course, and begin learning.
How to Obtain a Free Certificate From Google
Obtaining a free certificate from Google is a valuable accomplishment that can enhance your skills and boost your career prospects. Here’s a step-by-step guide on how to get a free certificate from Google.
- Choose and Enroll in the Course: Select the course that aligns with your interests and career goals. and Enroll it. This involves creating an account on the Google learning platform.
- Complete the Course: Google’s courses are designed to allow users to study at their own pace that suits their schedule.
- Pass Project and Quiz: Complete the assessments and quizzes with a passing score.
- Finish Practical Assignments: Some Google courses require you to complete practical projects.
- Receive Certificate: After completing the course, you will be awarded a certificate from Google. You can view and print the certification on your profile page, and add it to your resume, and LinkedIn to maximize the value of the Google certificate.
Tips And Tricks To Crack The Interview Round
You can use Google Careers tips and techniques to prepare for a Google job interview. The tips include:
- Do your homework before applying for the position and the company.
- Use a whiteboard or paper to practice coding.
- Expect behavioral inquiries; be ready.
- Ask questions when necessary
Best Free Google Courses to Become Skilled FAQs
This FAQ section answers commonly asked questions about the Best Free Google Courses to Become Skilled.
1. Are Google certifications worth it?
Yes, Google certificates are worth pursuing because according to Google, 75% of certificate holders report achieving a good career outcome such as a new job, promotion, or raise, all within six months of completing the certificate.
For those with 0–5 years of professional experience, the median pay in various fields stands at $76,000 or higher.
Also, thanks to the value that employers and academic institutions place on Google certifications, you can find work in a variety of industries, including IT and digital marketing. The majority of certificates are free, and those that cost money are fairly priced.
2. How long does it take to complete a Google course?
The duration varies depending on the course, but they are self-paced, allowing you to learn at your speed.
3. What is the Process of Applying For A Job At Google?
Now, once you’ve gained the relevant skills needed and want to get employment at Google, you must register for a Google Careers account and submit your application online to apply for a job at Google. Your resume and cover letter must both be included in the application.
If your application is chosen for further consideration, you will receive an invitation to take part in an interview process that may involve several rounds of interviews with various teams.
4. What are the prerequisites for Google courses?
Most courses have no specific prerequisites, making them accessible to learners of all levels.
5. Are Google courses recognized by employers?
Yes, Google’s certifications are highly regarded by employers and can enhance your job prospects.
Conclusion
The free courses scheduled for 2023 are a priceless resource for students looking to advance or hone their knowledge in a variety of subject areas. Participants who acquire certification are acknowledged for their efforts and successes, in addition to learning new information.
Join Google Free Courses right away to begin your journey toward development and lifelong learning.