Haemimont Games along with Paradox Interactive have released the Surviving Mars: Space Race expansion today and it’s great.
Note: DLC key provided by TriplePoint PR.
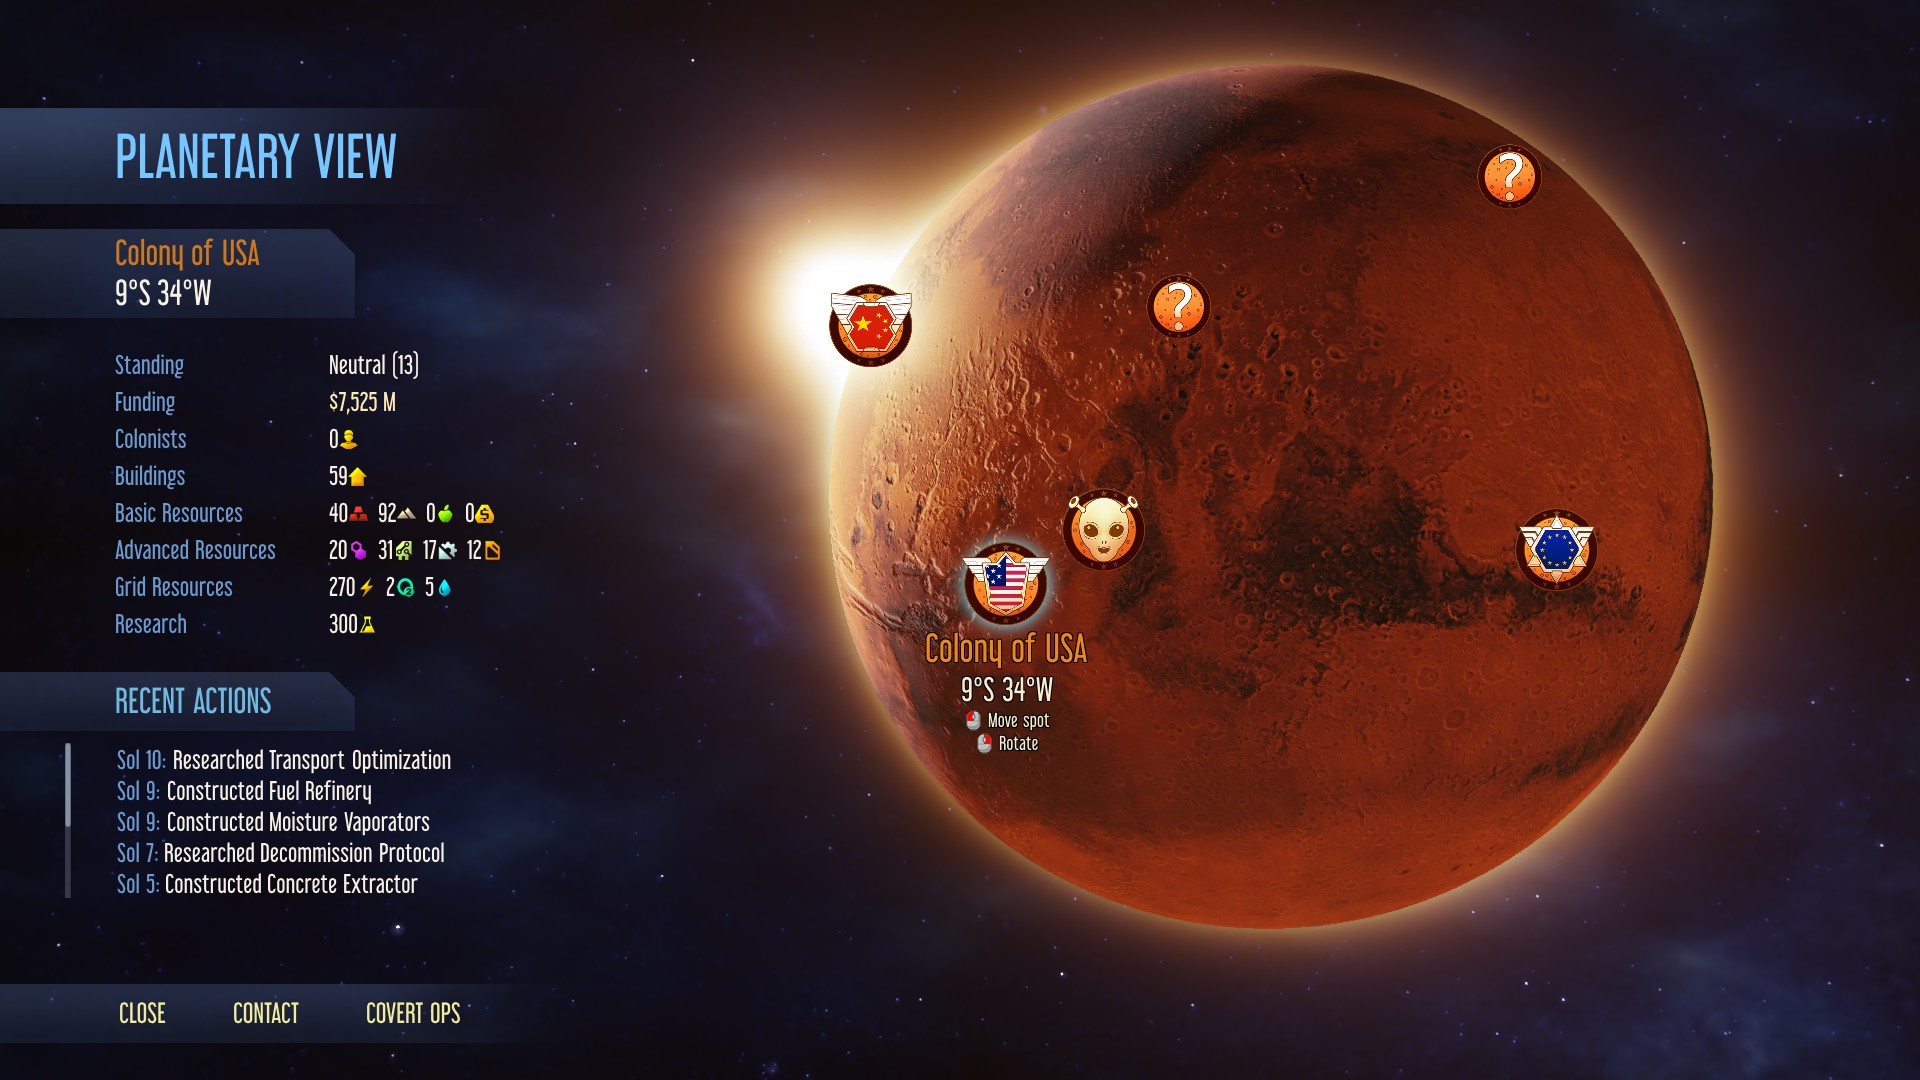
The Surviving Mars: Space Race expansion expands the game in some rather interesting ways. One of the biggest obviously being the AI controlled colonies which are optional. Being able to trade with them, deal with distress calls and do covert ops against them has certainly added an interesting layer into the game. While I enjoyed the game anyway, this actually gives it a little bit more of a purpose outside of trying to stave off starvation and not get blown into tiny pieces by meteorites. It’s interesting though, that this could pave the way for a full multiplayer feature, since they have things you can actually do with/against other colonies now. Although, you can’t directly view AI colonies, only see them on the world map which is a bit of a shame.
There’s also the free Gagarin content update which has released at the same time, which includes some interesting goals from each Sponsor. They each have their own special list of goals for you to achieve, which will give you rewards for completing them. For example, with the International Mars Mission sponsor, one such goal is to have a colonist born on Mars which will give you a bunch of supply pods for free. They’re worth doing, but not essential.
Another fun free feature our planetary anomalies, which will require you to send a rocket stocked with Drones, Rovers or Colonists across Mars outside of your colony to investigate, they’re pretty good too since they offer some pretty big rewards at times. There’s also Supply Pods now which cost a bit more, but you don’t need to wait for them to get prepped and so they’re really good for an emergency situation and can end up saving your colony should the worst happen.
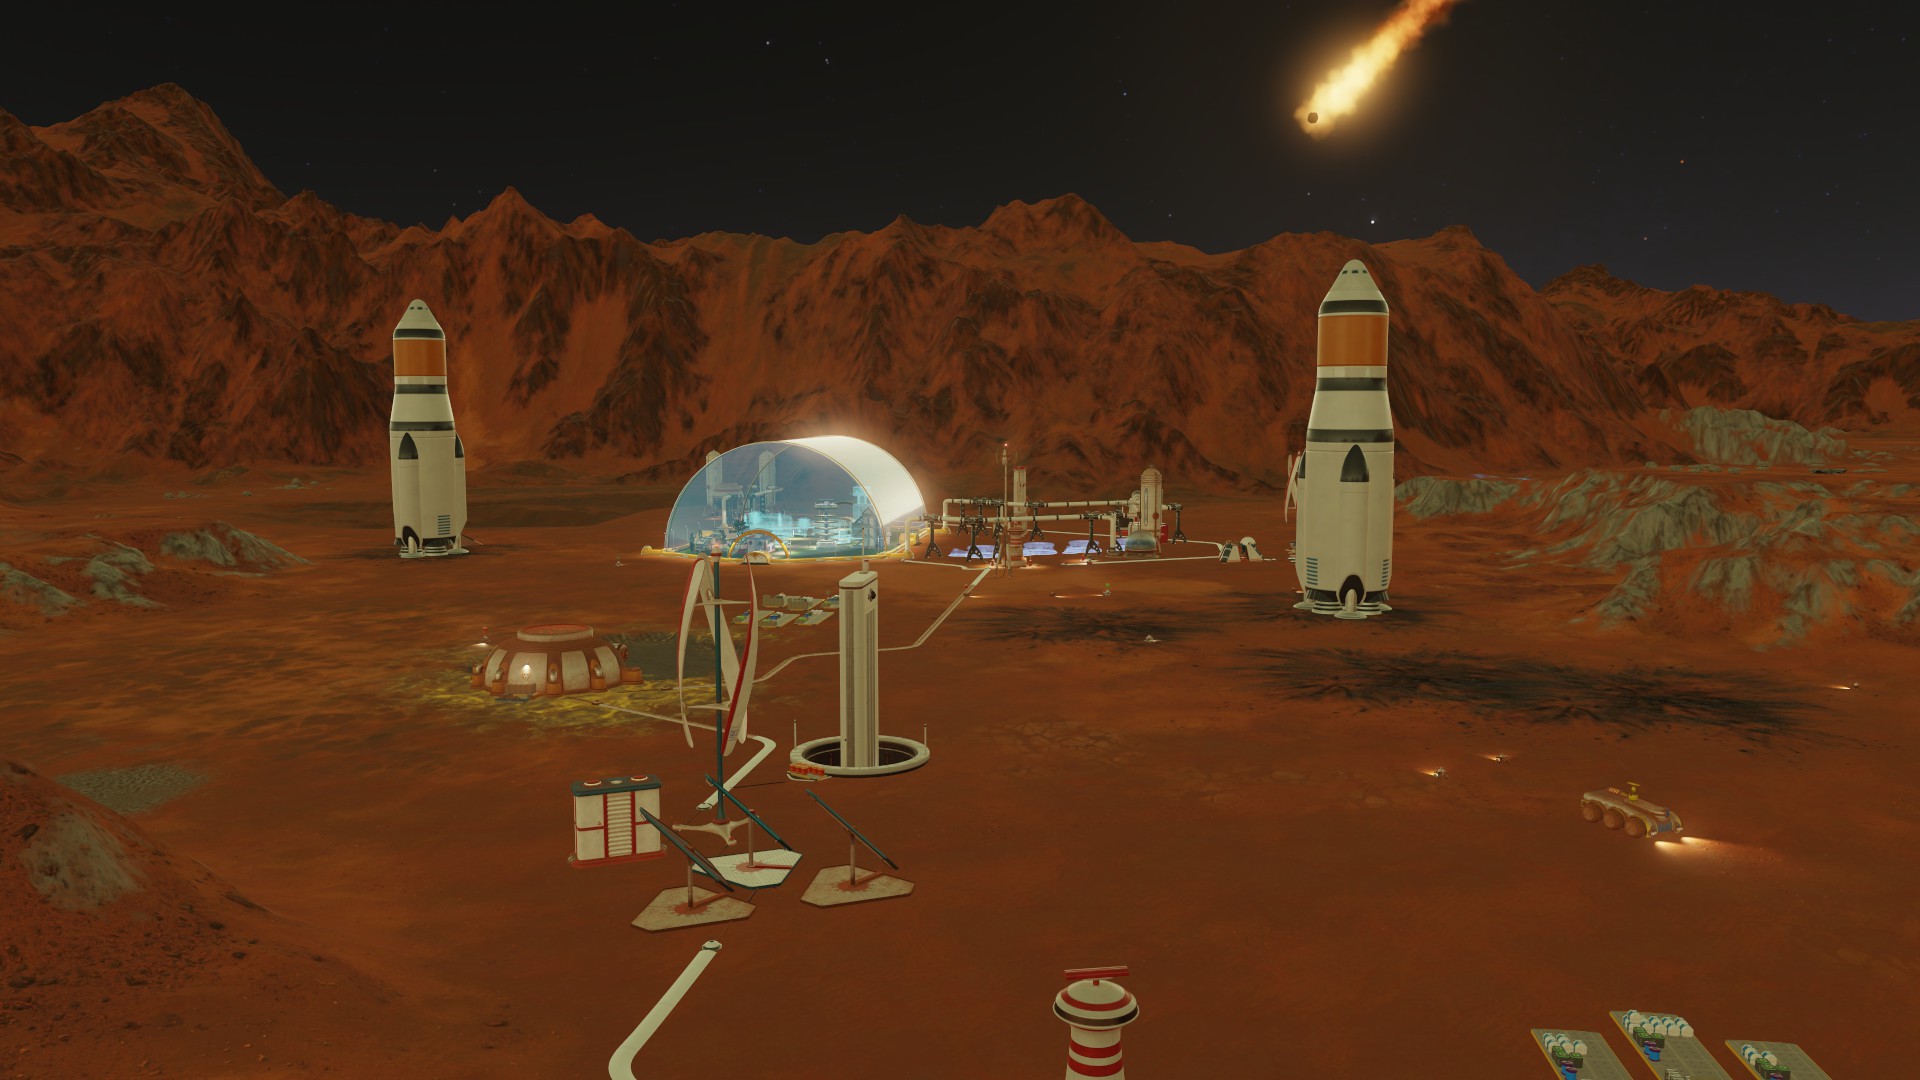
Bringing Surviving Mars closer to games like Stellaris, there’s also now special events that will happen. The game was a little, how do I put it, empty? Empty is perhaps too harsh, it’s hard to explain properly. I enjoyed the game in the initially released form, but it did feel lacking in places. Not so much now since there’s around 250 events that will come up at various points throughout the game. Some good, some bad, some completely terrible and so it just makes the game a lot more fresh. Considering this was added in free, it’s quite a surprise. It goes to show how much they care about the game I think.
I was actually having the game freeze up on me a few times in previous version, since I’ve put many hours into this latest update I haven’t seen a single one so that’s really welcome. The game has been running like an absolute dream on maximum settings, incredibly smooth and (as weird as it is to say this about Mars) it looks great too. On top of that, the Linux version got a fix for switching between fullscreen and windowed mode with the patch.

One thing to note, is that there’s a few new keybinds and so I do suggest resetting them or checking them over as I had one or two that were doubled up.
As a whole, the game has changed quite dramatically with this expansion and free update. I liked it a lot before, now I absolutely love it. Even going with just the free update, it’s so much more worthwhile playing! I’m very content with it and I plan to play a lot more in my own personal free time now.
This exciting expansion will be available from Humble Store, GOG and Steam. It’s also having a free weekend on Steam.