A Terminal emulator is a computer program that reproduces a video terminal within some other display structure. In other words the Terminal emulator has an ability to make a dumb machine appear like a client computer networked to the server. The terminal emulator allows an end user to access console as well as its applications such as text user interface and command line interface.

20 Linux Terminal Emulators
You may find huge number of terminal emulators to choose from this open source world. Some of them offers large range of features while others offers less features. To give a better understanding to the quality of software that are available, we have gathered a list of marvelous terminal emulator for Linux. Each title provides its description and feature along with screenshot of the software with relevant download link.
1. Terminator
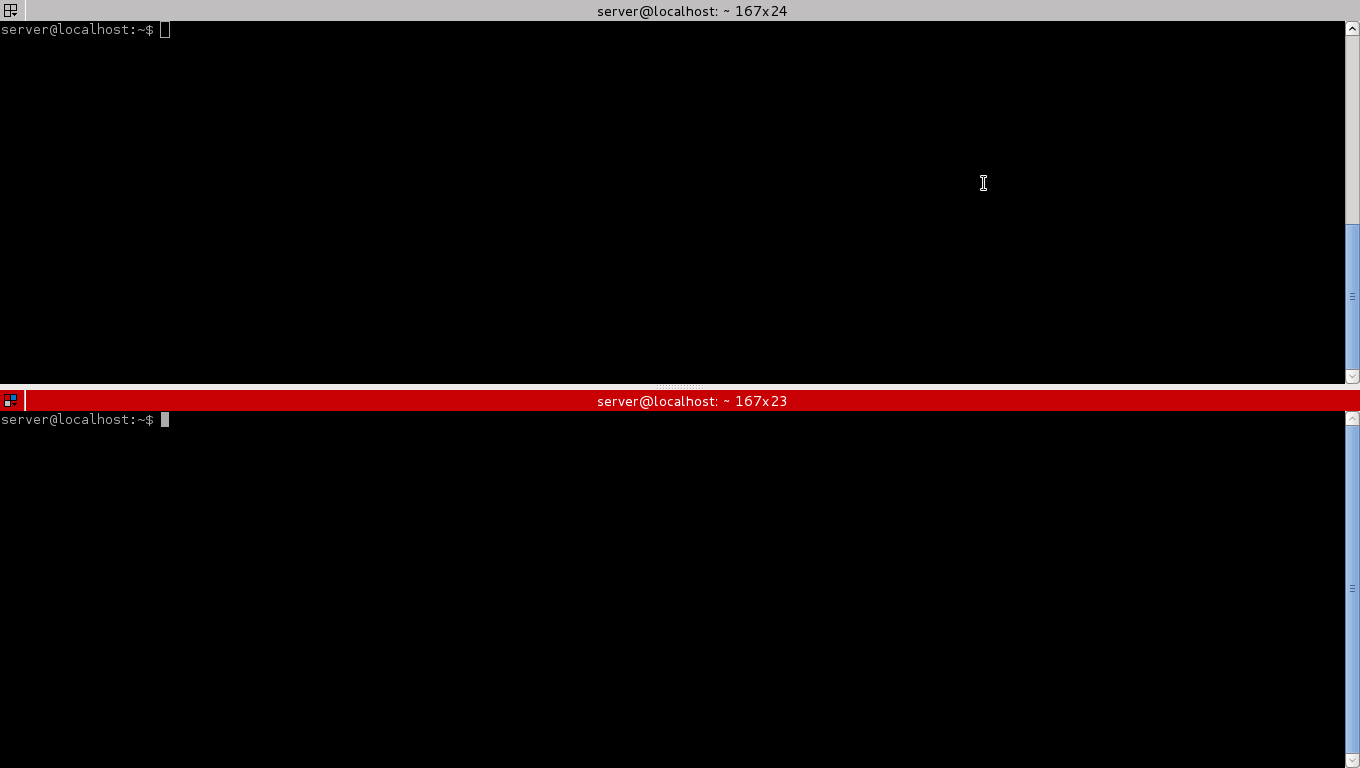
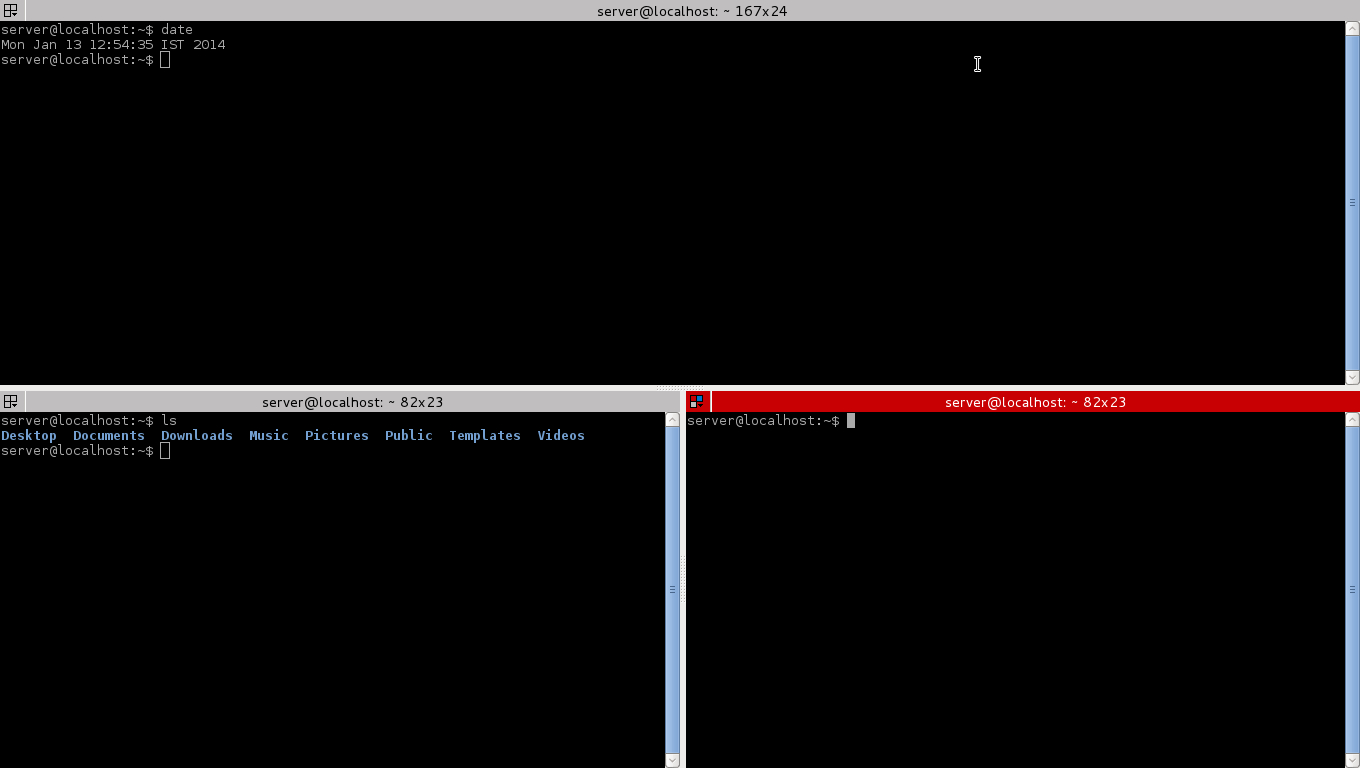
Terminator is an advanced and powerful terminal emulator which supports multiple terminals windows. This emulator is fully customizable. You can change the size, colour, give different shapes to the terminal. Its very user friendly and fun to use.
Features of Terminator
- Customize your profiles and colour schemes, set the size to fit your needs.
- Use plugins to get even more functionality.
- Several key-shortcuts are available to speed up common activities.
- Split the terminal window into several virtual terminals and re-size them as needed.

Terminator Terminal
Terminator Homepage
Download and Installation Instructions
2. Tilda
Tilda is a stylish drop-down terminal based on GTK+. With the help of a single key press you can launch a new or hide Tilda window. However, you can add colors of your choice to change the look of the text and Terminal background.
Features of Tilda
- Interface with Highly customization option.
- You can set the transparency level for Tilda window.
- Excellent built-in colour schemes.

Tilda Terminal
3. Guake
Guake is a python based drop-down terminal created for the GNOME Desktop Environment. It is invoked by pressing a single keystroke, and can make it hidden by pressing same keystroke again. Its design was determined from FPS (First Person Shooter) games such as Quake and one of its main target is be easy to reach.
Guake is very much similar to Yakuaka and Tilda, but it’s an experiment to mix the best of them into a single GTK-based program. Guake has been written in python from scratch using a little piece in C (global hotkeys stuff).

Guake Terminal
4. Yakuake
Yakuake (Yet Another Kuake) is a KDE based drop-down terminal emulator very much similar to Guake terminal emulator in functionality. It’s design was inspired from fps consoles games such as Quake.
Yakuake is basically a KDE application, which can be easily installed on KDE desktop, but if you try to install Yakuake in GNOME desktop, it will prompt you to install huge number of dependency packages.
Yakuake Features
- Fluently turn down from the top of your screen
- Tabbed interface
- Configurable dimensions and animation speed
- Customizable

Yakuake Terminal
5. ROXTerm
ROXterm is yet another lightweight terminal emulator designed to provide similar features to gnome-terminal. It was originally constructed to have lesser footprints and faster start-up time by not using the Gnome libraries and by using a independent applet to bring the configuration interface (GUI), but over the time it’s role has shifted to bringing a higher range of features for power users.
However, it is more customizable than gnome-terminal and anticipated more at “power” users who make excessive use of terminals. It is easily integrated with GNOME desktop environment and provides features like drag & drop of items into terminal.

Roxterm Terminal
6. Eterm
Eterm is a lightest color terminal emulator designed as a replacement for xterm. It is developed with a Freedom of Choice ideology, leaving as much power, flexibility, and freedom as workable in the hands of the user.

Eterm Terminal
7. Rxvt
Rxvt stands for extended virtual terminal is a color terminal emulator application for Linux intended as an xterm replacement for power users who don’t need to have a feature such as Tektronix 4014 emulation and toolkit-style configurability.

Rxvt Terminal
8. Wterm
Wterm is a another light weight color terminal emulator based on rxvt project. It includes features such as background images, transparency, reverse transparency and an considerable set or runtime options are accessible resulting in a very high customizable terminal emulator.

wterm Terminal
9. LXTerminal
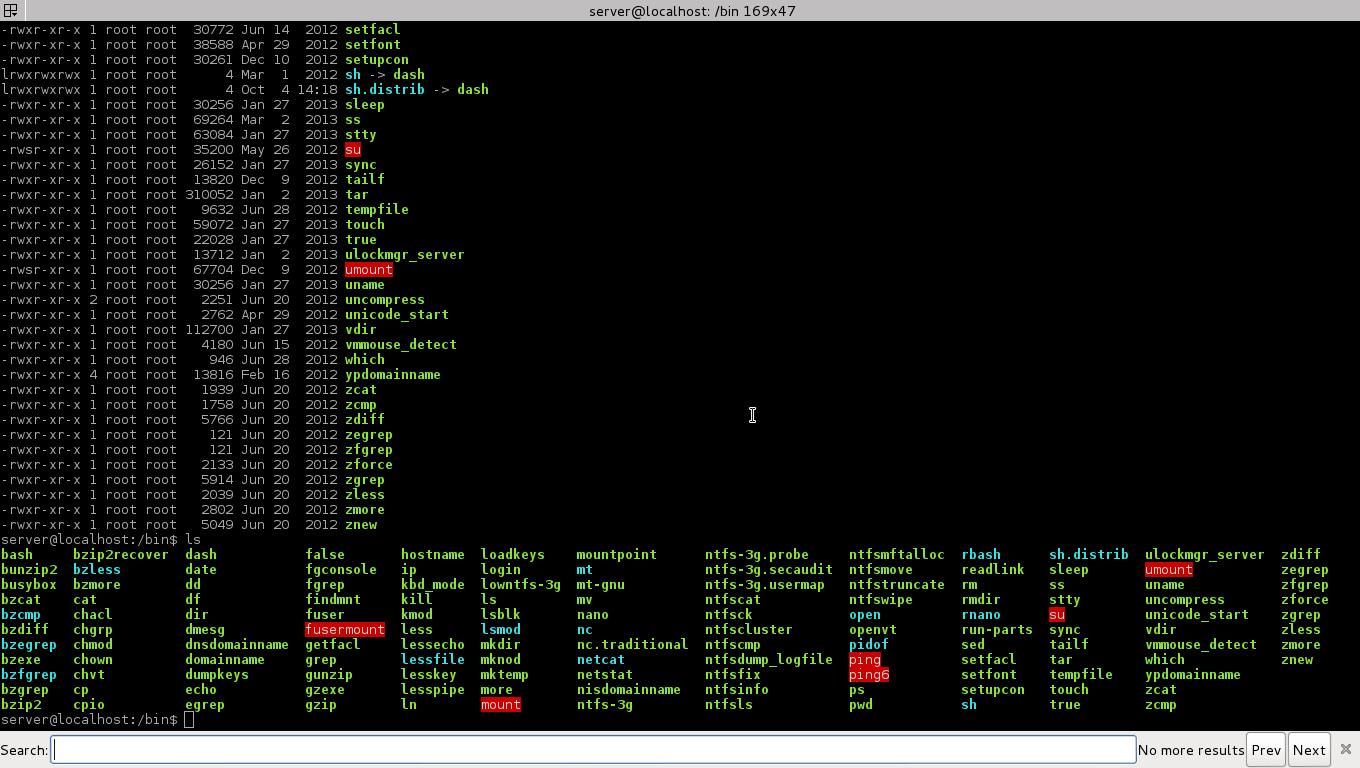
LXTerminal is a default VTE-based terminal emulator for LXDE (Lightweight X Desktop Environment) without any unnecessary dependency. The terminal has got some nice features such as.
LXTerminal Features
- Multiple tabs support
- Supports common commands like cp, cd, dir, mkdir, mvdir.
- Feature to hide the menu bar for saving space
- Change the color scheme.

lxterminal Terminal
10. Konsole
Konsole is yet another powerful KDE based free terminal emulator was originally created by Lars Doelle.
Konsole Features
- Multiple Tabbed terminals.
- Translucent backgrounds.
- Support for Split-view mode.
- Directory and SSH bookmarking.
- Customizable color schemes.
- Customizable key bindings.
- Notification alerts about activity in a terminal.
- Incremental search
- Support for Dolphin file manager
- Export of output in plain text or HTML format.

Konsole Terminal
11. TermKit
TermKit is a elegant terminal that aims to construct aspects of the GUI with the command line based application using WebKit rendering engine mostly used in web browsers like Google Chrome and Chromium. TermKit is originally designed for Mac and Windows, but due to TermKit fork by Floby which you can now able to install it under Linux based distributions and experience the power of TermKit.
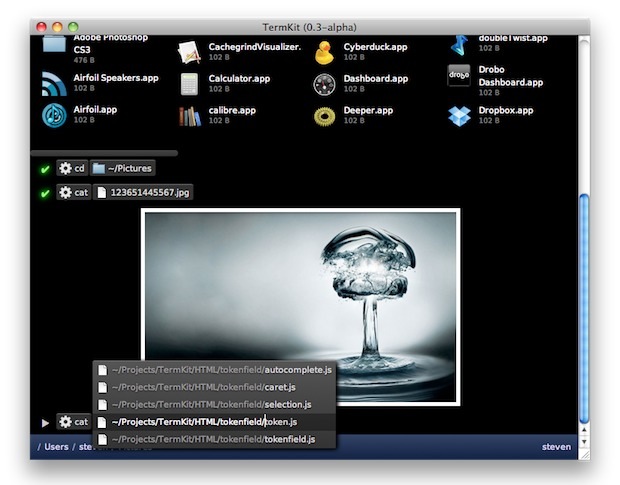
TermKit Terminal
12. st
st is a simple terminal implementation for X Window.

st terminal
13. Gnome-Terminal
GNOME terminal is a built-in terminal emulator for GNOME desktop environment developed by Havoc Pennington and others. It allow users to run commands using a real Linux shell while remaining on the on the GNOME environment. GNOME Terminal emulates the xterm terminal emulator and brings a few similar features.
The Gnome terminal supports multiple profiles, where users can able to create multiple profiles for his/her account and can customize configuration options such as fonts, colors, background image, behavior, etc. per account and define a name to each profile. It also supports mouse events, url detection, multiple tabs, etc.

Gnome Terminal
14. Final Term
Final Term is a open source stylish terminal emulator that has some exciting capabilities and handy features into one single beautiful interface. It is still under development, but provides significant features such as Semantic text menus, Smart command completion, GUI terminal controls, Omnipotent keybindings, Color support and many more. The following animated screen grab demonstrates some of their features. Please click on image to view demo.

FinalTerm Terminal
15. Terminology
Terminology is yet another new modern terminal emulator created for the Enlightenment desktop, but also can be used in different desktop environments. It has some awesome unique features, which do not have in any other terminal emulator.
Apart features, terminology offers even more things that you wouldn’t assume from a other terminal emulators, like preview thumbnails of images, videos and documents, it also allows you to see those files directly from Terminology.
You can watch a following demonstrations video created by the Terminology developer (the video quality isn’t clear, but still it’s enough to get the idea about Terminology).
16. Xfce4 terminal
Xfce terminal is a lightweight modern and easy to use terminal emulator specially designed for Xfce desktop environment. The latest release of xfce terminal has some new cool features such as search dialog, tab color changer, drop-down console like Guake or Yakuake and many more.

Xfce Terminal
17. xterm
The xterm application is a standard terminal emulator for the X Window System. It maintain DEC VT102 and Tektronix 4014 compatible terminals for applications that can’t use the window system directly.

xterm Terminal
18. LilyTerm
The LilyTerm is a another less known open source terminal emulator based off of libvte that desire to be fast and lightweight. LilyTerm also include some key features such as:
- Support for tabbing, coloring and reordering tabs
- Ability to manage tabs through keybindings
- Support for background transparency and saturation.
- Support for user specific profile creation.
- Several customization options for profiles.
- Extensive UTF-8 support.

Lilyterm Terminal
19. Sakura
The sakura is a another less known Unix style terminal emulator developed for command line purpose as well as text-based terminal programs. Sakura is based on GTK and livte and provides not more advanced features but some customization options such as multiple tab support, custom text color, font and background images, speedy command processing and few more.

Sakura Terminal
20. rxvt-unicode
The rxvt-unicode (also known as urxvt) is a yet another highly customizable, lightweight and fast terminal emulator with xft and unicode support was developed by Marc Lehmann. It got some outstanding features such as support for international language via Unicode, the ability to display multiple font types and support for Perl extensions.

rxvt unicode