
When working with Linux, especially on the professional and enterprise environment, there’s always the necessity of downloading a number of files from the internet time to time. Especially in the professional environment that requires a lot of scripting, a suitable download manager is always welcome.
For the enterprise, RHEL is the most suitable one as it’s well maintained with tons of support from both the community and the developers. CentOS, on the other hand, is the free edition of RHEL that offers a great ground for practicing and getting a grab of the enterprise environment.
Are you a CentOS user? So am I! I recently started my journey with CentOS on my virtual machine.
For scripting and other purposes, “wget” is an extremely suitable choice. Wget is a part of the GNU Project software that offers a very basic download manager. It’s free and open-source and capable of handling all the popular Internet protocols like HTTP, HTTPS, FTP and FTPS.
Wget is a non-interactive command-line tool. That makes it extremely suitable for almost any purpose. Let’s get wget in our CentOS!
By default, CentOS should come up with wget. Make sure that your system comes up with wget by running the following command –
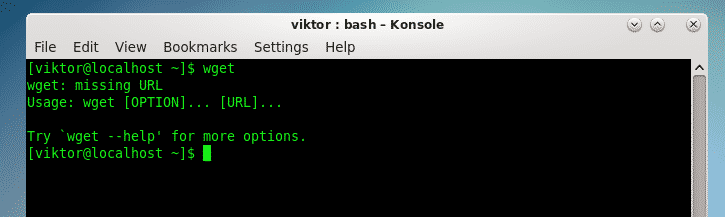
If you didn’t get the result, you should install wget into your system right now!
Installing Wget
There are 2 different ways of installing wget into your system – installing from CentOS repository or, building it from source.
Grabbing wget from CentOS repo
At first, make sure that your system is up-to-date –
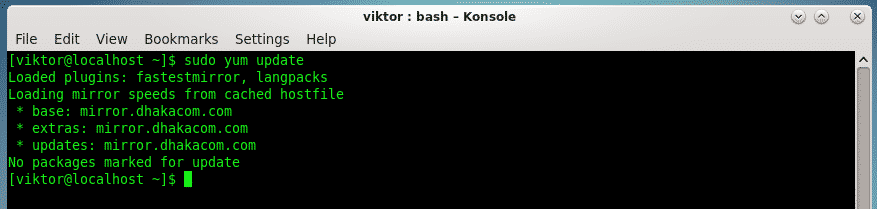
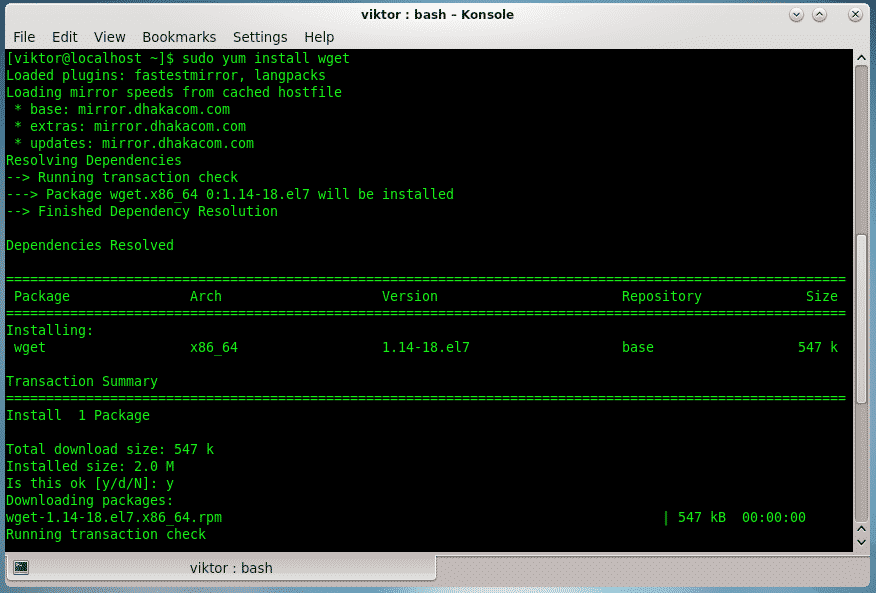
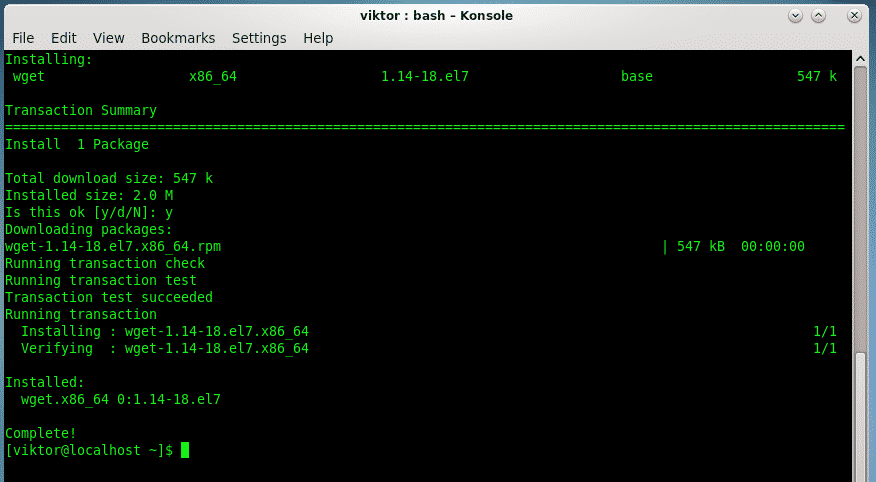
Then, run the command for installing wget –
- Installing from source
This method applies to all the other Linux distros as well. We have to grab the source code and build it in our system.
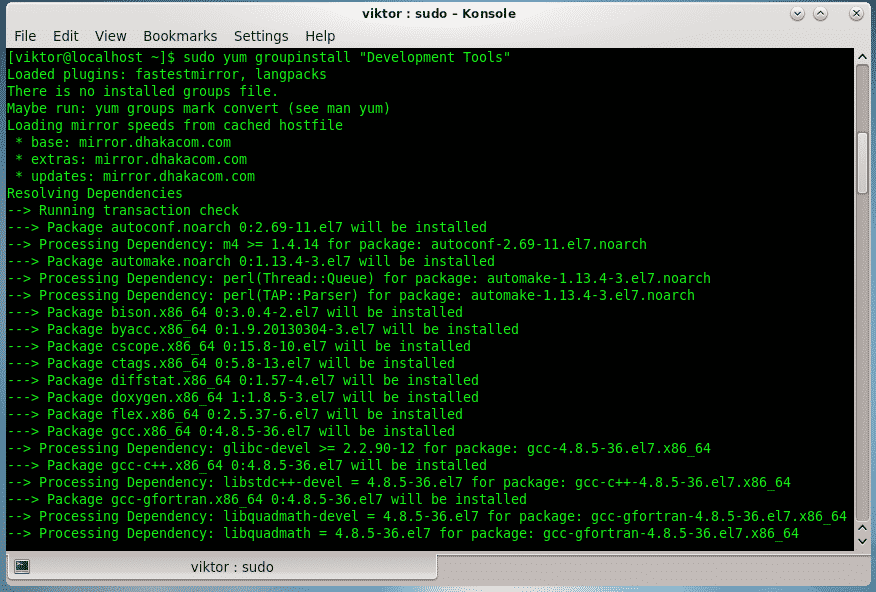
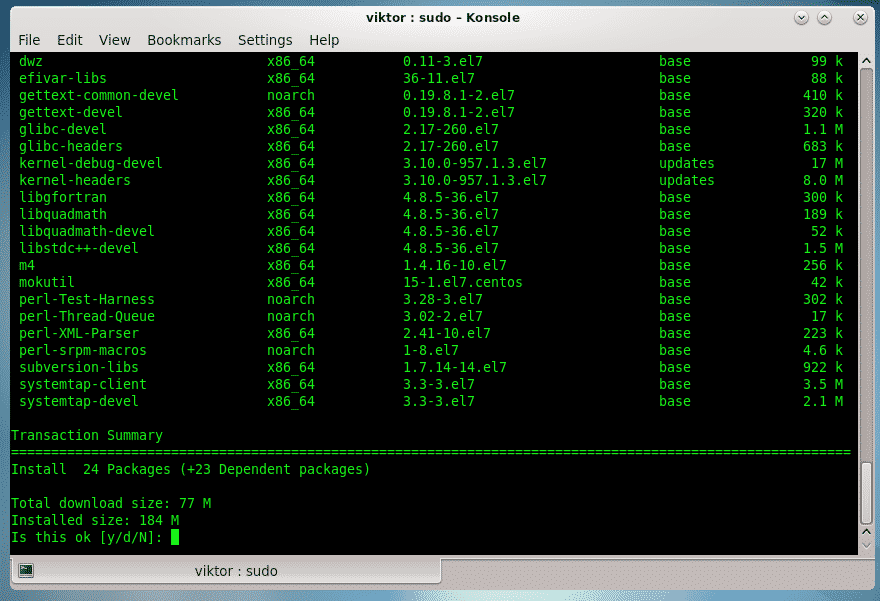
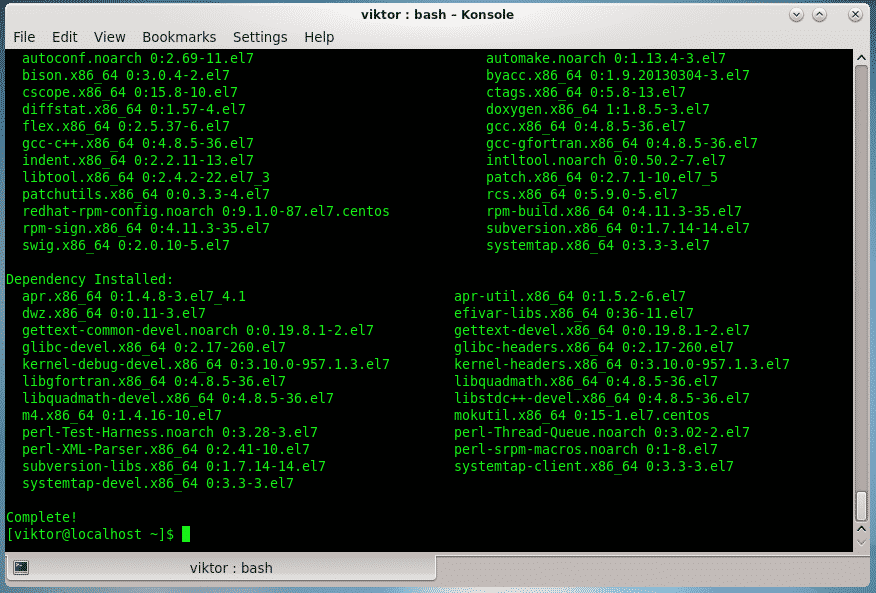
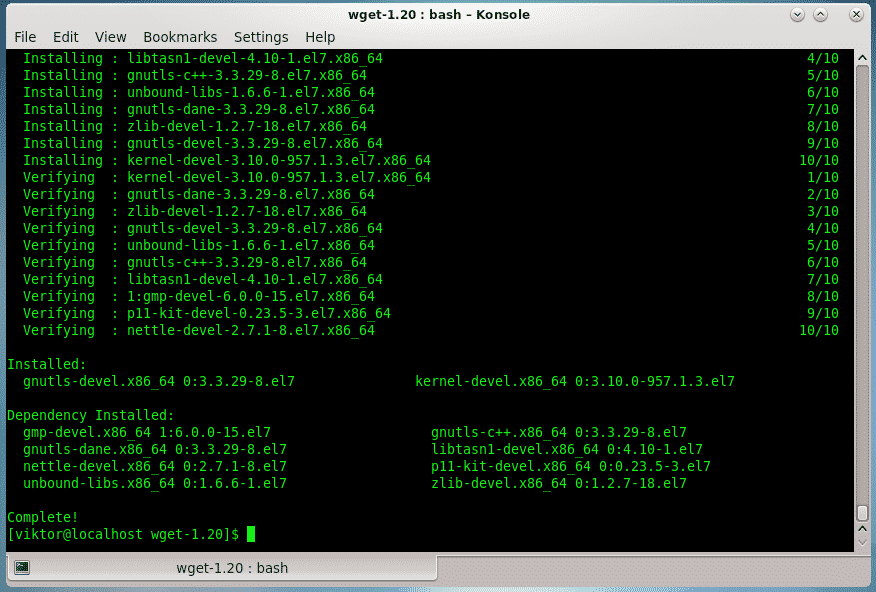
Make sure that your CentOS system comes up with all the necessary development tools –
sudo yum groupinstall “Development Tools”
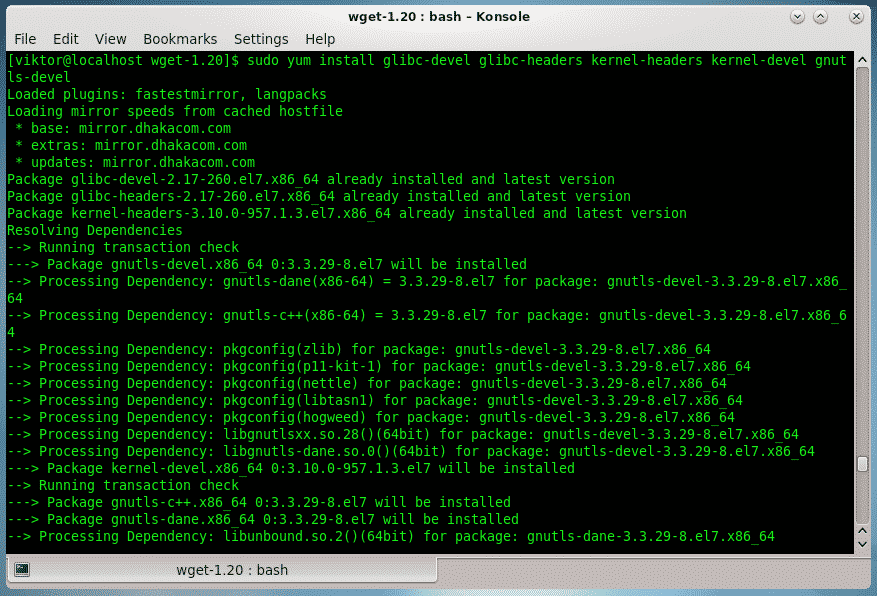
sudo yum install glibc-devel glibc-headers kernel-headers kernel-devel gnutls-devel
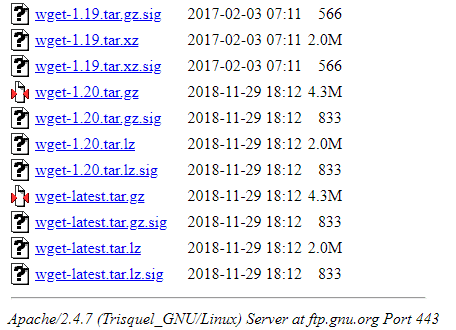
Grab the source code from the official GNU FTP server –
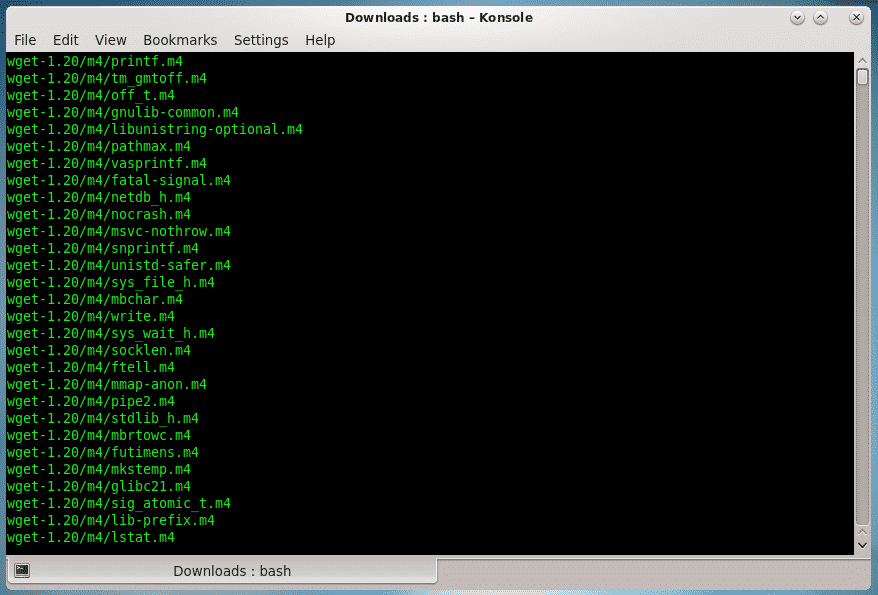
Then, extract the source code –
tar -xvzf wget-latest.tar.gz
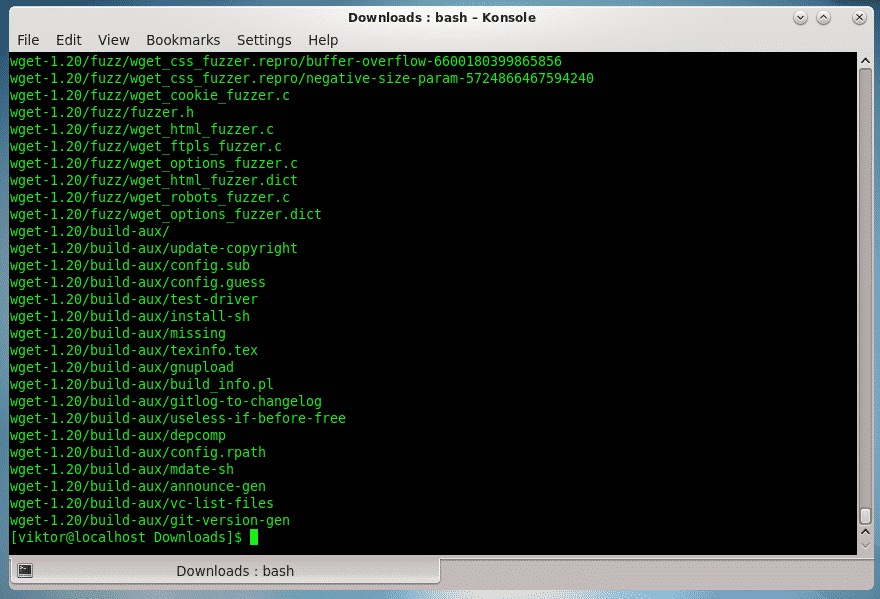
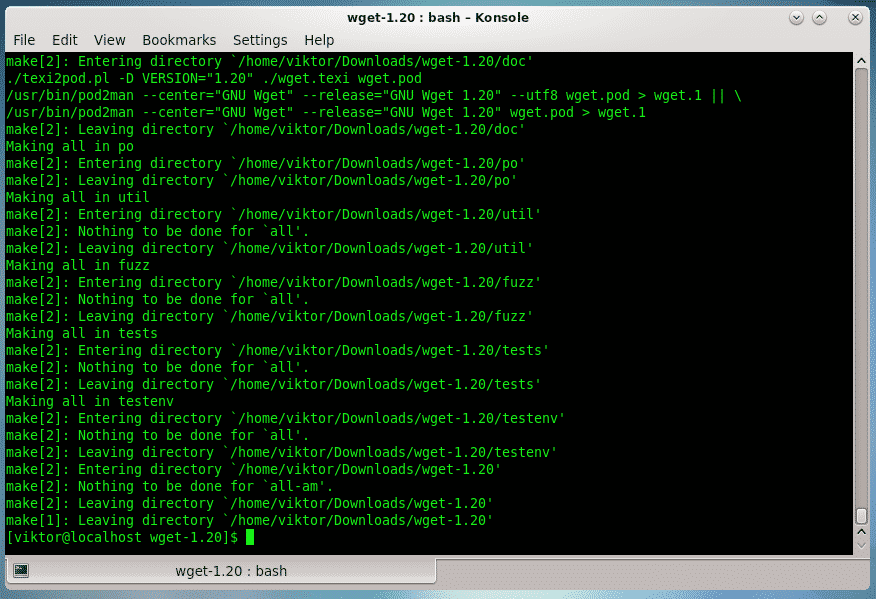
Now, start the building process –
cd wget-1.20/
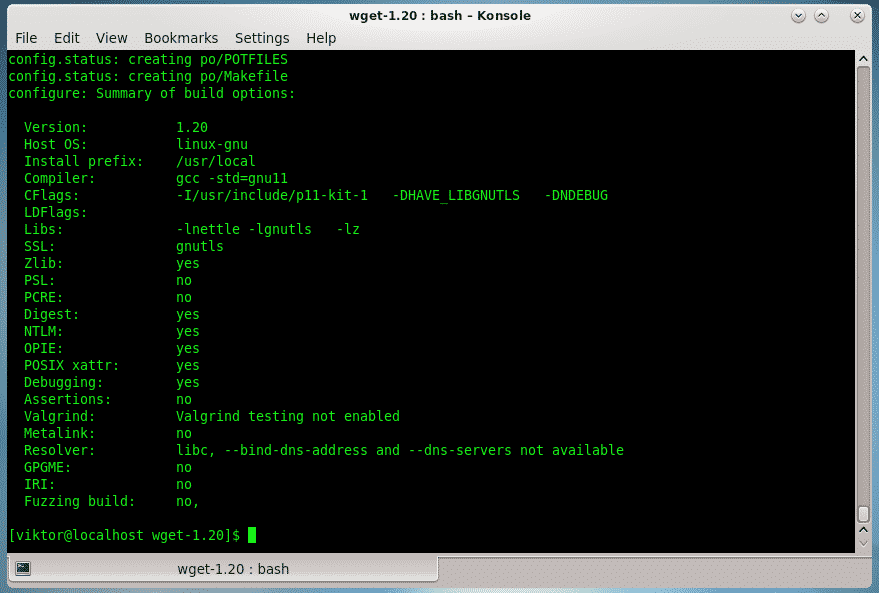
./configure
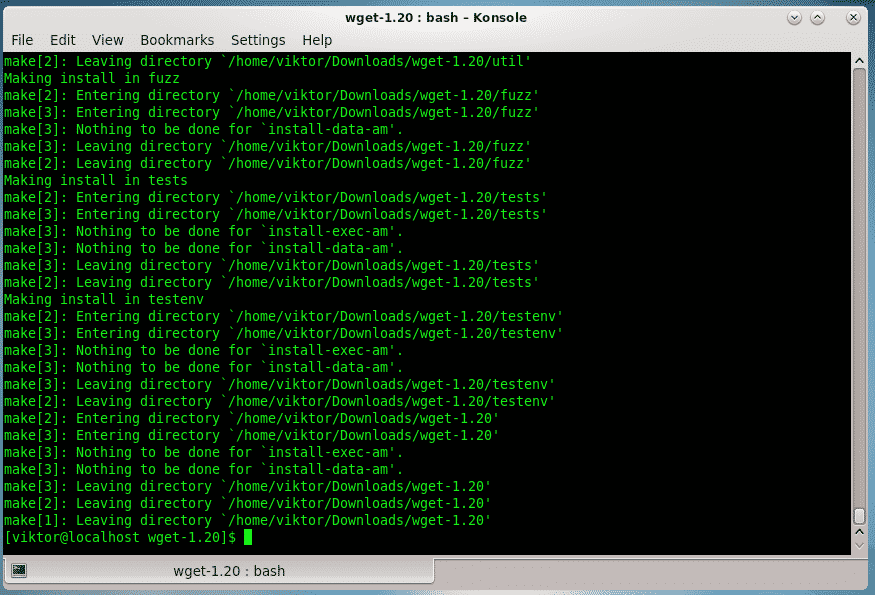
Finally, perform the installation –
Wget usage
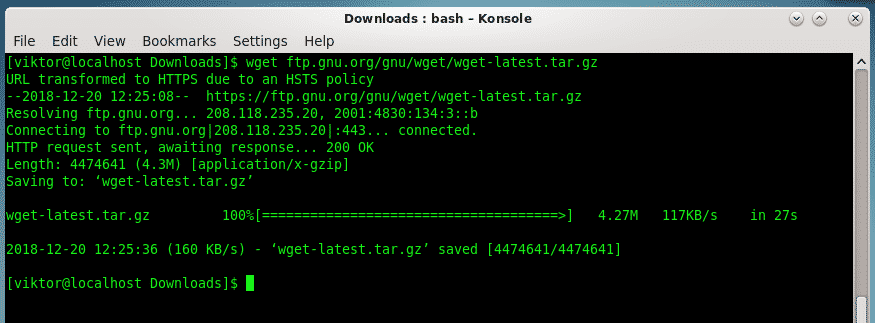
Wget is a very simple tool to use. Generally, all you need to tell is the download link of the file. For example, let’s download the source code of “wget” once again –
wget ftp.gnu.org/gnu/wget/wget-latest.tar.gz
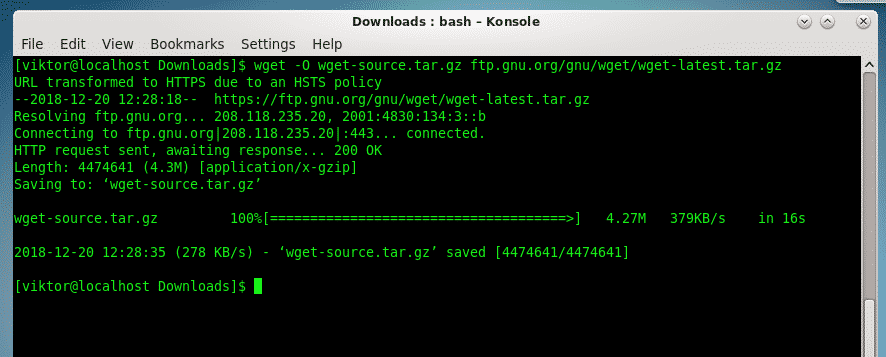
There are also a number of other advanced options available. For example, you can set the file name of the download into a different one using “-O” flag.
wget -O wget-source.tar.gz ftp.gnu.org/gnu/wget/wget-1.19.tar.gz
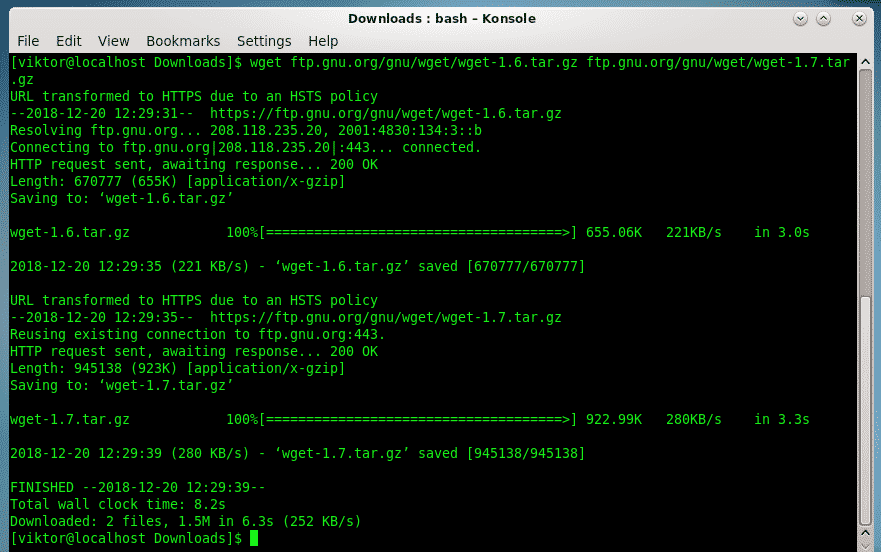
Need to download multiple files? Just state their respective download URLs one after another!
wget ftp.gnu.org/gnu/wget/wget-1.6.tar.gz ftp.gnu.org/gnu/wget/wget-1.7.tar.gz
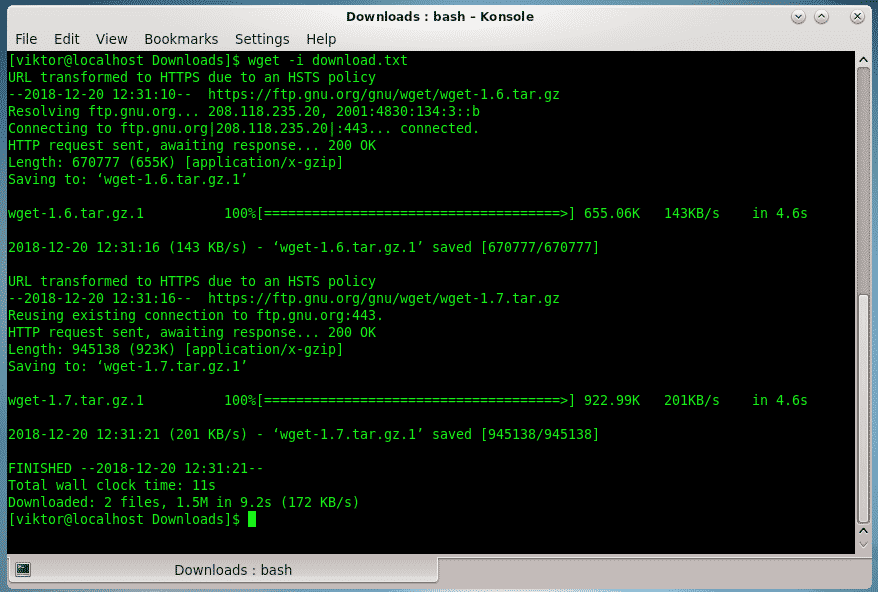
It’s also possible to download all the links from a file. For example,
# download.txt
https://ftp.gnu.org/gnu/wget/wget-1.6.tar.gz
https://ftp.gnu.org/gnu/wget/wget-1.7.tar.gz

Now, tell wget to use the file as the source of download URLs –
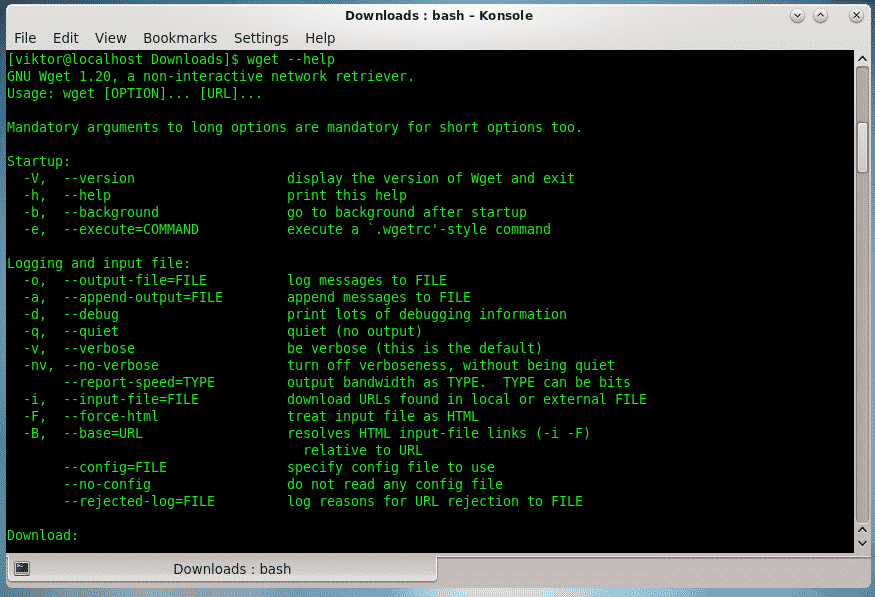
For an in-depth guide on wget, you should use the “wget” help page.
Enjoy!