
It is that time of the year where we are earnestly anticipating the release of the next LTS version of what is undoubtedly one of the world’s most popular free operating system and if you’re a keen reader of Tecmint, you’ll know by now that we already covered the installation of the next iteration of Ubuntu’s desktop operating system in great detail – if you missed it, we have the link right down below.
Here, I have compiled the things that you will most likely need to do after you might have completed the installation of Ubuntu 16.10 (Yakkety Yak) and installation of Ubuntu 16.04 Xenial Xerus so you might have a stable and safe system to play with.
I’ll try to keep this as concise as possible and not bore you with a terribly long list and you can be sure that this article comprises just about everything you’ll need to have to system humming as you’d like it.
Like I mentioned in the previous install article, the best practice for any Linux user or any PC user for that matter, is to have their PC updated once it’s installed so it may have all the latest security updates, patches and features.
You can either choose to update your system via the GUI-enabled inbuilt system update tool (image below) or if you’d rather do it the terminal way of things, below are self-descriptive images on how to but for the sake of newbies reading through with this, we’ll add a few notes with the images just to makes things a little.
Now let’s get on with this already.
1. Update Ubuntu 16.10/16.04 Xenial Xerus
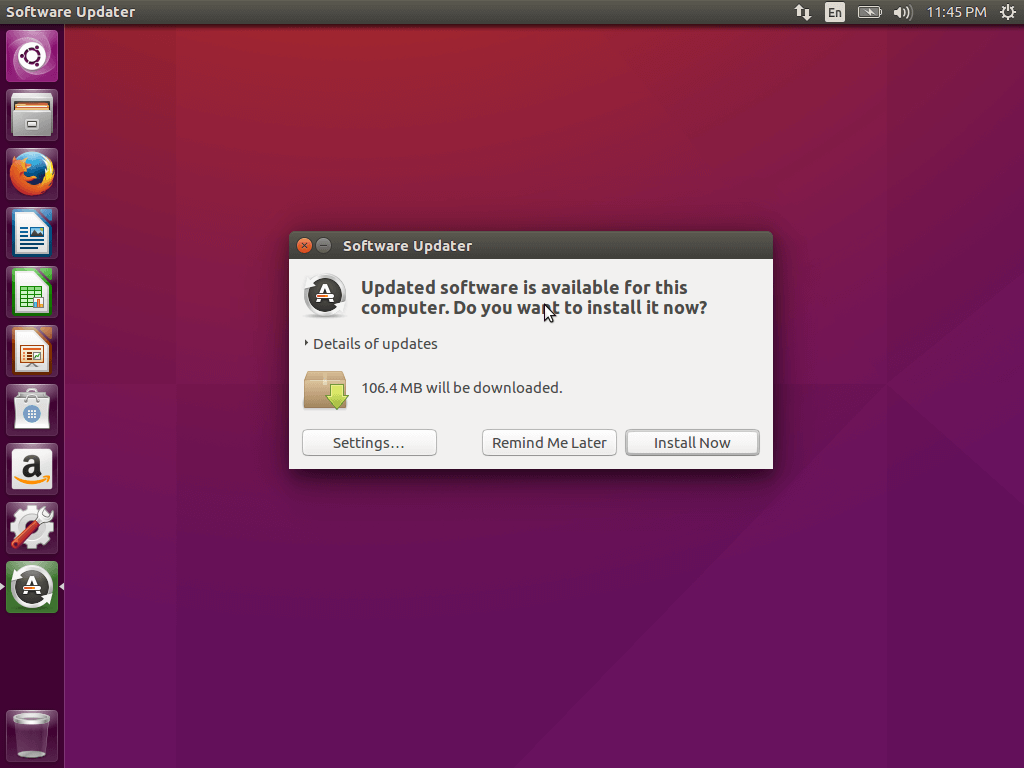
1. First and foremost, we must update our sources; head on to the Unity dash on the top left corner and type in “software and updates”; open the app, and select the “other software” tab, tick both options, close the app (you’ll be prompted to enter you root PW) and go back to the same dash; this time around, type in “software updater” open the app and it should auto-update sources and show the available update size.
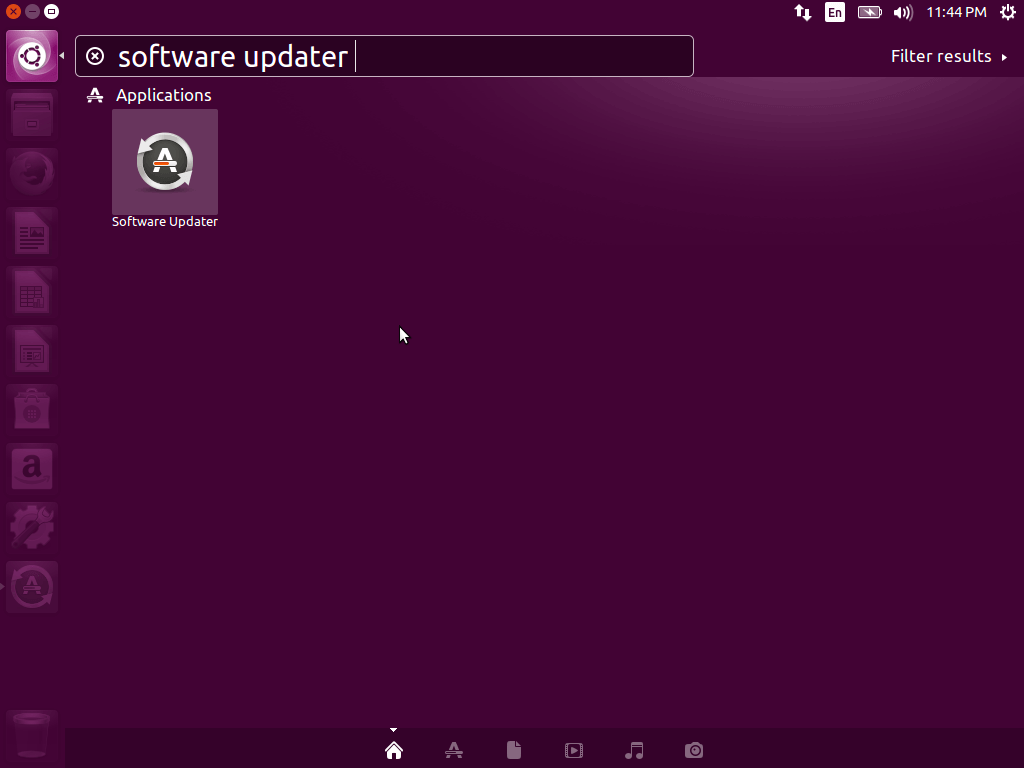
Ubuntu Software Updater
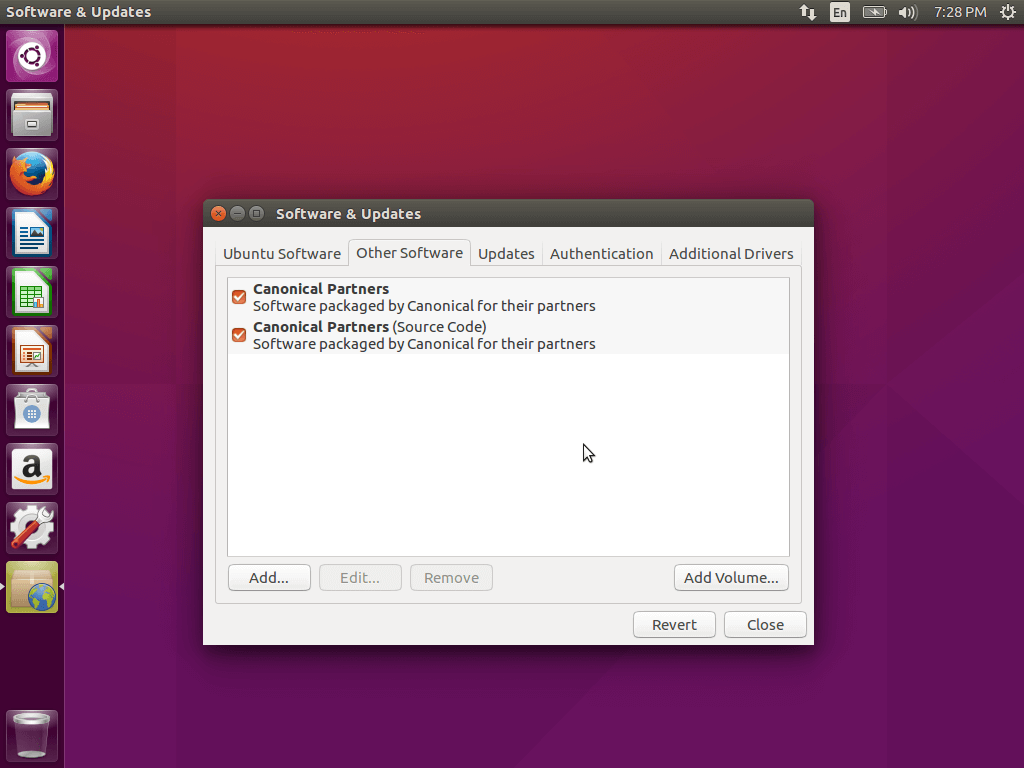
Ubuntu 16.04 Other Software Sources
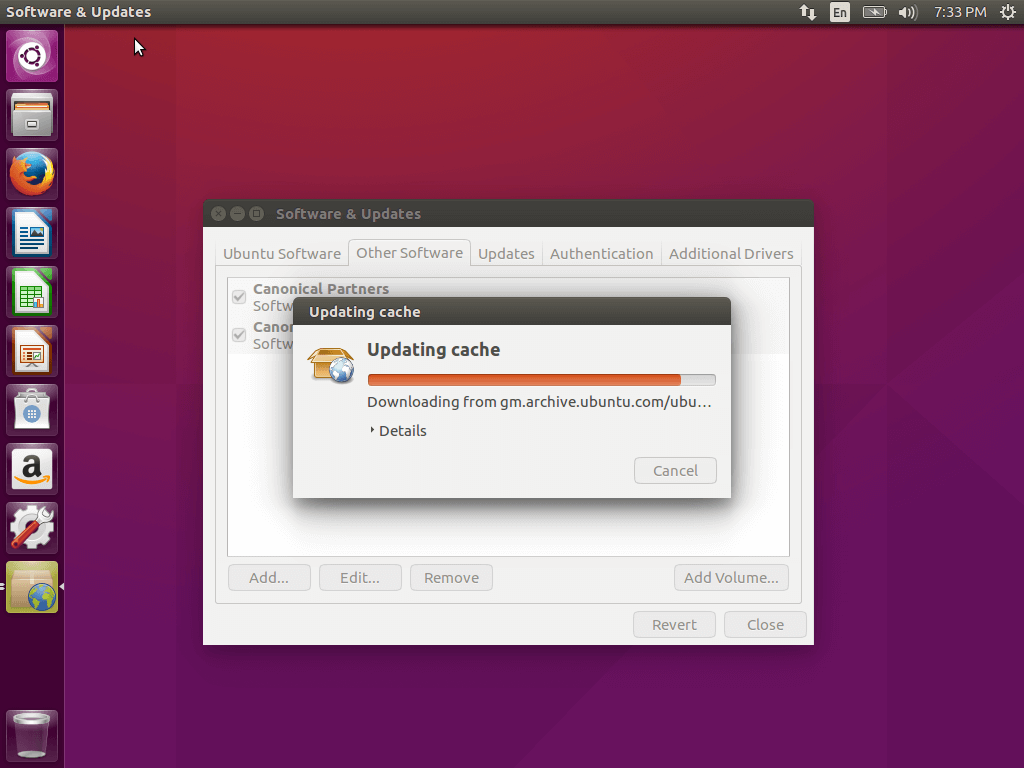
Ubuntu 16.04 Updating Cache
Using the preinstalled “software updater”.
Ubuntu Software Updater
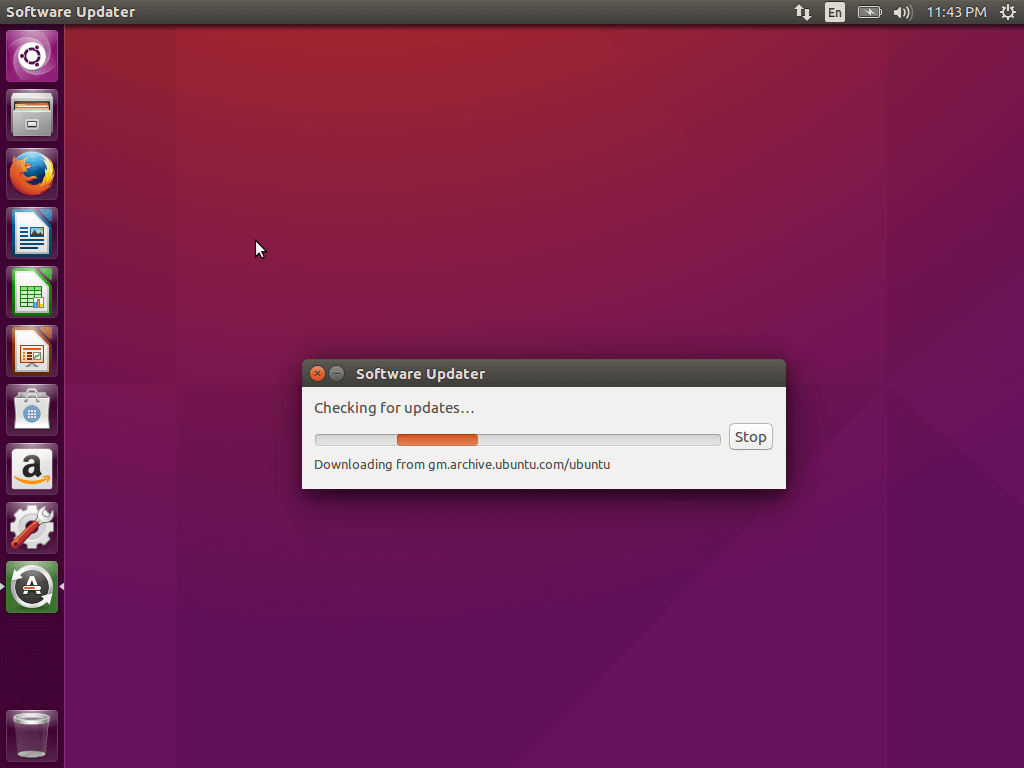
Checking for Ubuntu Updates
Install Ubuntu Software Updates
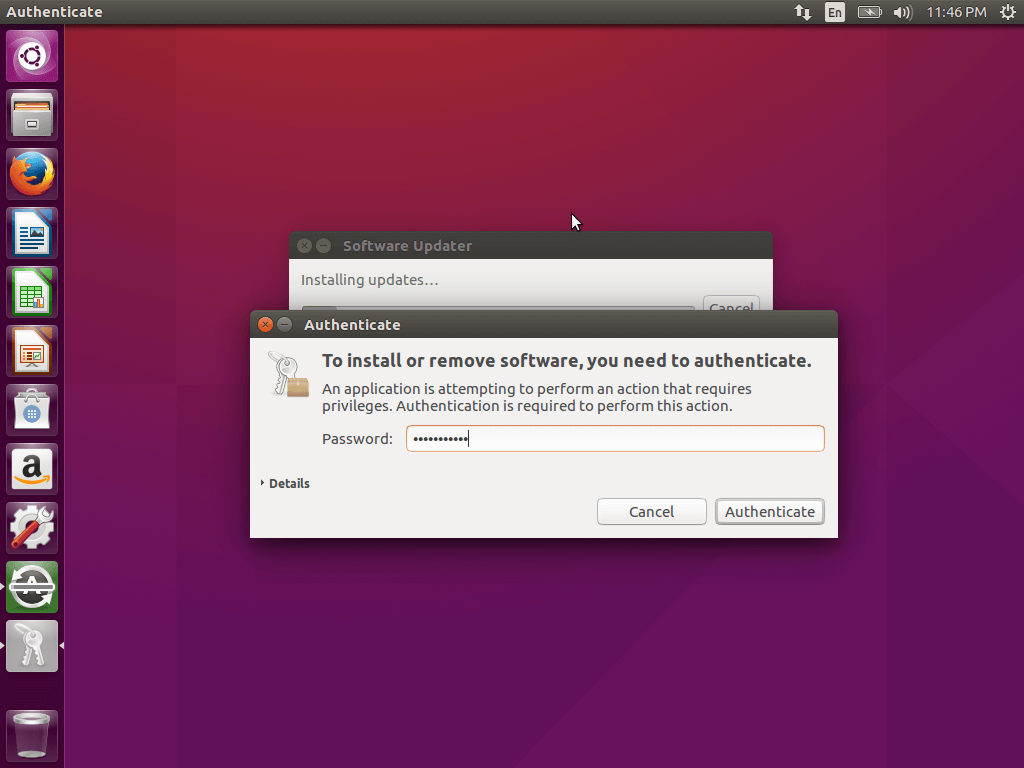
Enter Root Password to Update Ubuntu
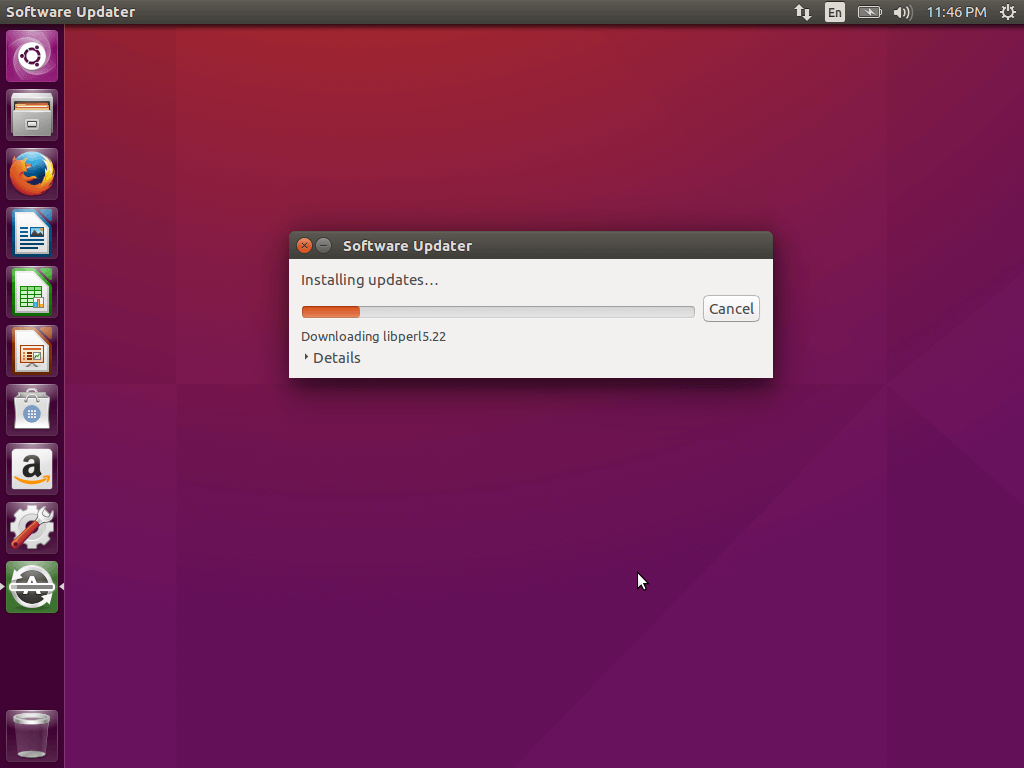
Installing Ubuntu Updates
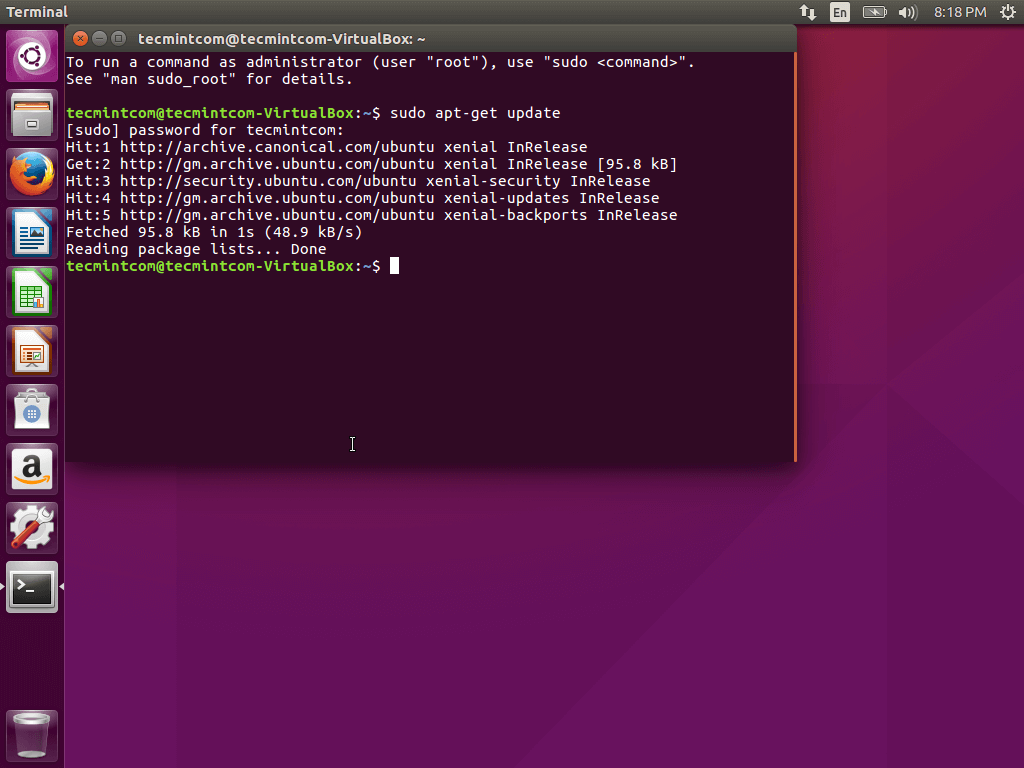
Using the terminal; you’ll need to enter these commands consecutively.
$ sudo apt-get update
$ sudo apt-get upgrade
Ubuntu 16.04 Update
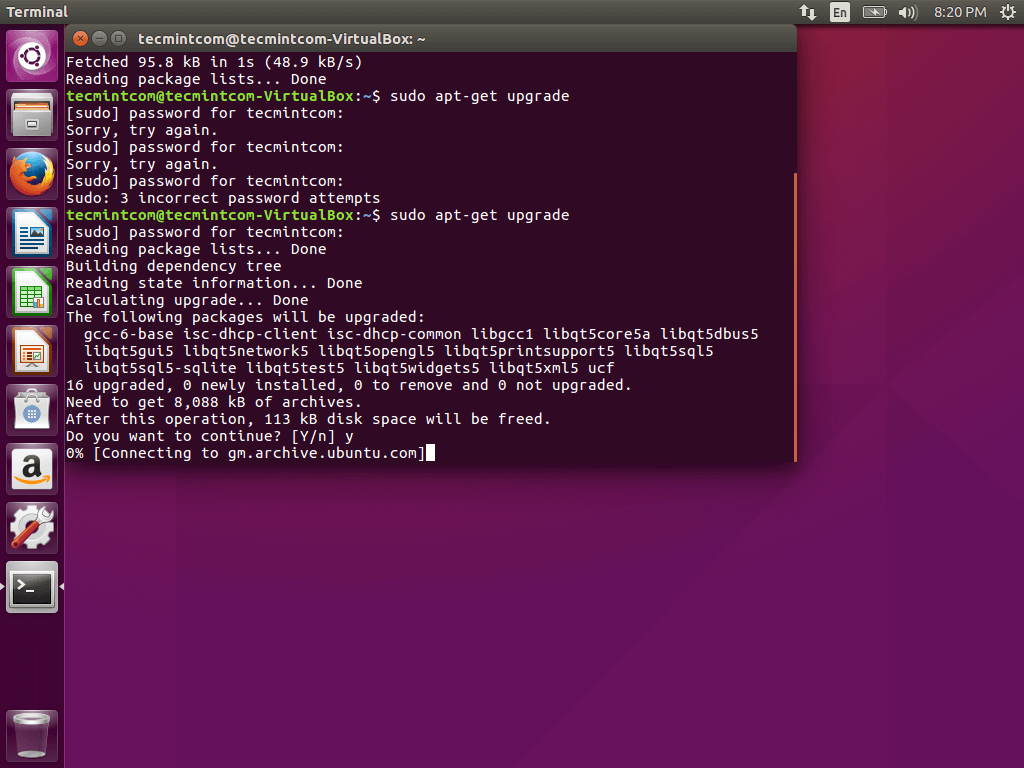
Ubuntu 16.04 Upgrade
If you are still feeling a little lost, you may watch the video below that shows how to update Ubuntu 16.04 Xenial Xerus.
2. Install Core Internet Applications
Install some core internet applications; Ubuntu 16.04 Xenial Xerux somes preinstalled with Firefox like every other Ubuntu distro before it however, it’s not the world’s most used browser and still lags behind Chromium – the open source version of Chrome — in terms of features and functionality.
You’ll find Chromium in the new Gnome application manager that ships with Ubuntu Xenial Xerux 16.04 LTS.
The other recommended applications to download include but not limited to:
- Skype – One if the world’s most popular VOIP service.
- Pidgin – Probably the best IM client.M
- Deluge – One of the best torrenting app.
- Mega – Free cloud backup with 50GB storage.
- CrashPlan – Always have your system backed up either locally or in the cloud for easy recovery later.
- Telegram – Privacy-centric multi-platform service.
- Uget – Easily one of the best download manager for Linux.
- Tor – Download the Tor browser for a complete anonymity online.
3. Install a Replacement Music App – Clementine
Clementine is by far the most superior multi-platform music playing app out there for Linux and it’s feature set is unmatched; it blows every other app out of the water be it VLC, Rthythmbox, Audacious etc.
Perhaps the most prominent feature of Clementine is its ability to connect you to online music streaming services without the need of firing up a web browser or a specific third party app for each service.
You can simply connect your (Premium) Spotify account, Last.fm, Sky.fm, Google Drive, Onedrive, just to name a few.
Clementine also has its own built-in equalizer and you can download it via the Software center of open up the terminal, input:
$ sudo apt-get install clementine
and should be done in no time.
Don’t Miss: 21 Music Players for Linux Lovers – Worth Trying on Linux
Other noteworthy media applications that we almost always recommend you download include:
- VLC – the universal media player that has an extensive list of supported formats.
- Audacity – a simple minimalistic audio editing tool for both beginners and pro alike; comes with quite the list of features that will allow you maximize the extent at which you can modify an audio file or even create.
- Kodi (formerly XBMC) – the open source home theater submerges you in an entire media-centric universe that will has an extensive support for media files; ranging from your standard .MP3 files to the most obscure formats you can think of, be it under the music, video or photos category; Kodi will most likely have support for it.
Don’t Miss: 10 Best Linux Video Players of Year 2015
Even better, you can customized it to your heart’s content and enjoy an unparalled media experience.
- Handbrake – this is another cross platform application that should come in handy whenever you need to quickly convert a video file while still effectively shrinking the size.
- Spotify – for those of you that don’t have a premium Spotify subscription but will still like to enjoy the services it provides, then you’re mostly better off with official client for Linux that has a somewhat sub-par experience when compared to the clients on other platforms but should mostly suffice for whatever you throw at it.
Install Spotify on Ubuntu 16.10/16.04
To install Spotify, open up your terminal and enter the follow up commands from the first to the last; one after the other.
$ sudo apt-key adv --keyserver hkp://keyserver.ubuntu.com:80 --recv-keys BBEBDCB318AD50EC68650906
$ sudo apt-get update
$ sudo apt-get install spotify-client
Openshot – this is by far the most basic and straightforward video editing app available for Linux, that will allow just about anybody to start their hands out at video editing.
The interface is clean and it will help you quickly get things done. Mind you, Openshot does not come anywhere close in term of feature set and functionality when compared other well established tools like Adobe Premiere Pro on Windows, Kdenlive etc.
Don’t Miss: 8 Best Video Editing Softwares for Linux I Found in 2015
It’s just as basic as you can think.
Ubuntu restricted extras – you want to have this installed so you don’t have to worry about any missing codecs that will otherwise not allow some media files to play nice with the defaults of your system if not installed.
GIMP is by far the most popular free image manipulation tool (and perhaps the best alternative to Photoshop) available for Linux.
Don’t Miss: 15 Best Image or Photo Editing Softwares for Linux I Found in 2015
All of the aforementioned applications (except Spotify) are available in the new software center as a free install.
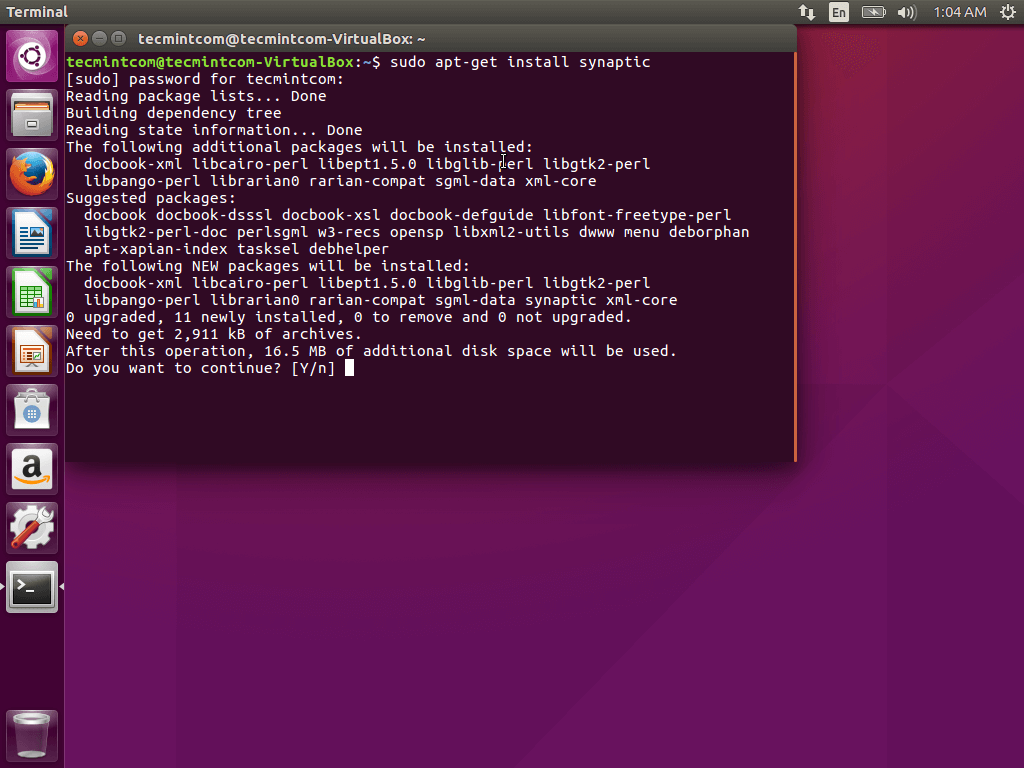
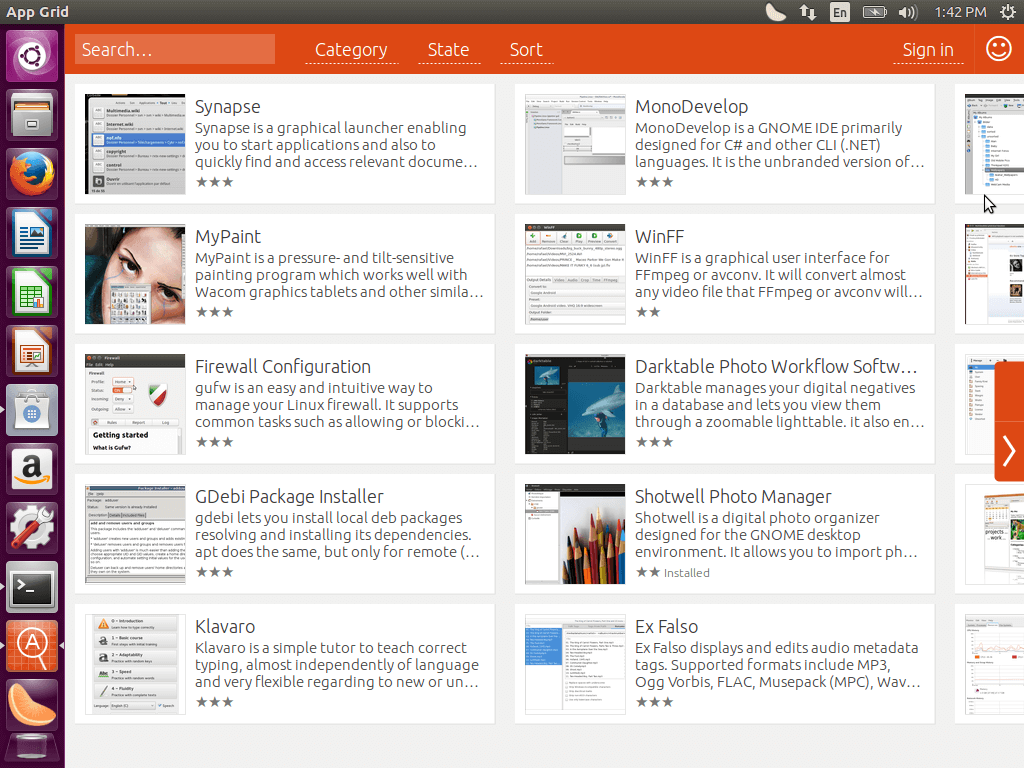
4. Install Synaptics and AppGrid
It is always nice to have alternative sources when it comes to application installation; particularly if you’re not a big fan of the new Software center or maybe you just want something minimalistic without all the bells and whistles? …. Or you just care for something more aesthetically pleasing.
Synaptics has always been there for as long as I can remember and it gives you a similar experience to that of Pamac and Octopi which are frontends for Arch Linux’s package manager.
You still get a GUI that is pretty stripped of all the usuals you’ll normally find on other app sources like comments, ratings and the likes.
CTRL+ALT+T to open up the terminal and type in:
$ sudo apt-get install synaptic
Alternatively, you can download it from the Software center.
Install Synaptic Package Manager

Synaptic Package Manager on Ubuntu 16.04
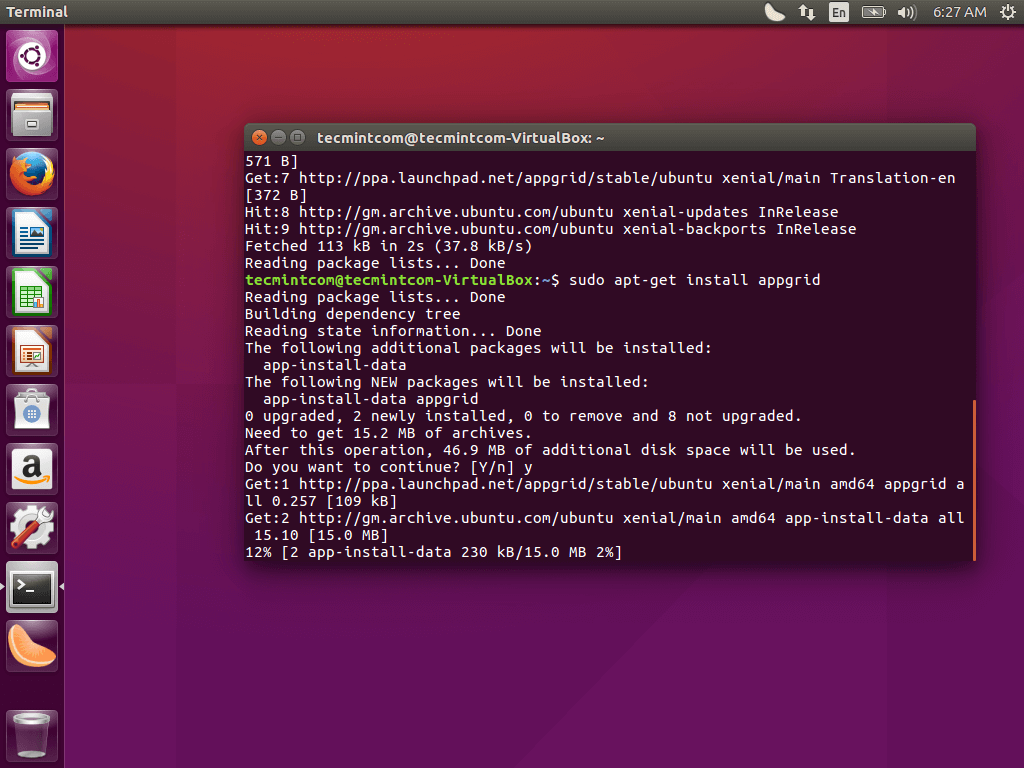
AppGrid on the other hand, can be installed via the terminal by typing in the following commands consecutively.
$ sudo add-apt-repository ppa:appgrid/stable
$ sudo apt-get update
$ sudo apt-get install appgrid
Install Appgrid in Ubuntu 16.04
Appgrid in Ubuntu 16.04
So depending on what you really want, you can have as many as four options to install your apps from – Terminal, Gnome software center, AppGrid, and Synaptics (which is mostly used by power users).
5. Turn Off Online Search Results
The unity dash search results still include options from sources like Wikipedia and Amazon by default which can pose some security threats to the user of the system.
Thankfully though, Canonical has included an option to turn it off since 15.10. Just go to settings ->security and privacy -> select the search tab and turn off include online search results.

Ubuntu Settings Privacy Change
6. Install Unity Tweak Tool to Customize Ubuntu
Ubuntu’s stock Unity interface has always been barebone and hardly does anything change regards the general look and feel of it with every iteration – I really like to think of it as boring – (especially as an Android fanboy) hence, the need for some cool customization.
Which is where Unity’s tweak tool comes in; it’s available in the Gnome Software center. Download it and make your desktop your OWN.
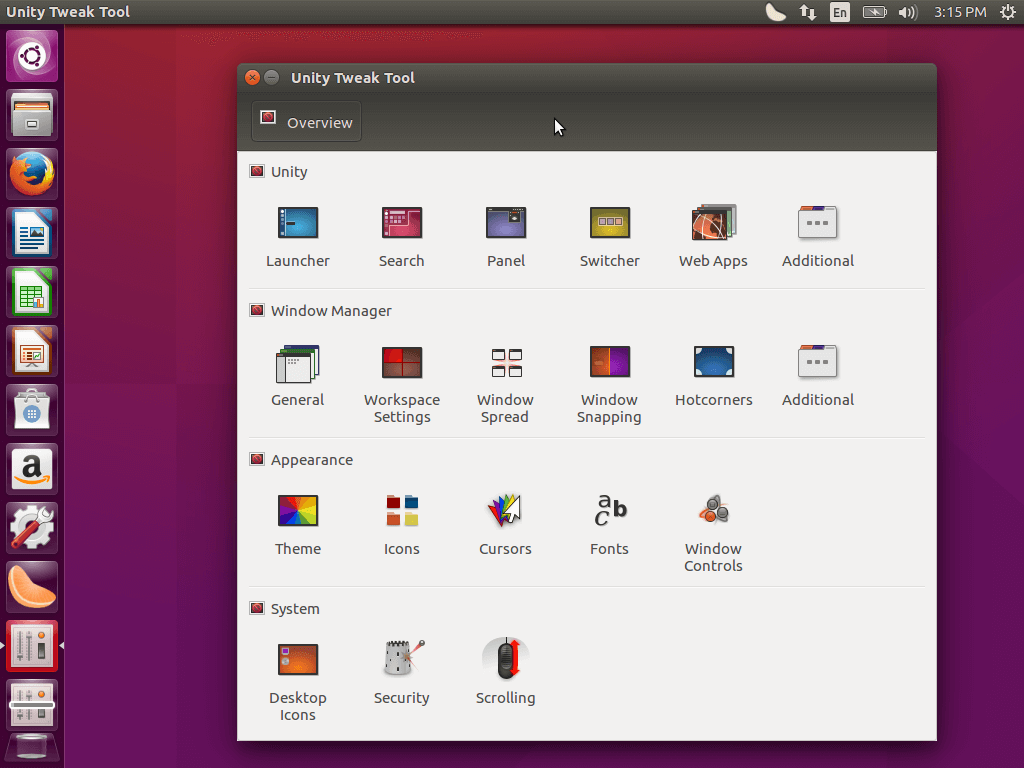
Install Unity Tweak Tool on Ubuntu 16.04
7. Install Graphics Driver in Ubuntu
Lastly, you want to install the proper graphics driver of your system to enable smooth rendering of the GUI; this would mostly be required too if you’re looking to game with your PC via Steam, Video editing and so on.
Type in “software and updates” in the dash and go to the “additional drivers tab”; select as needed and apply changes.
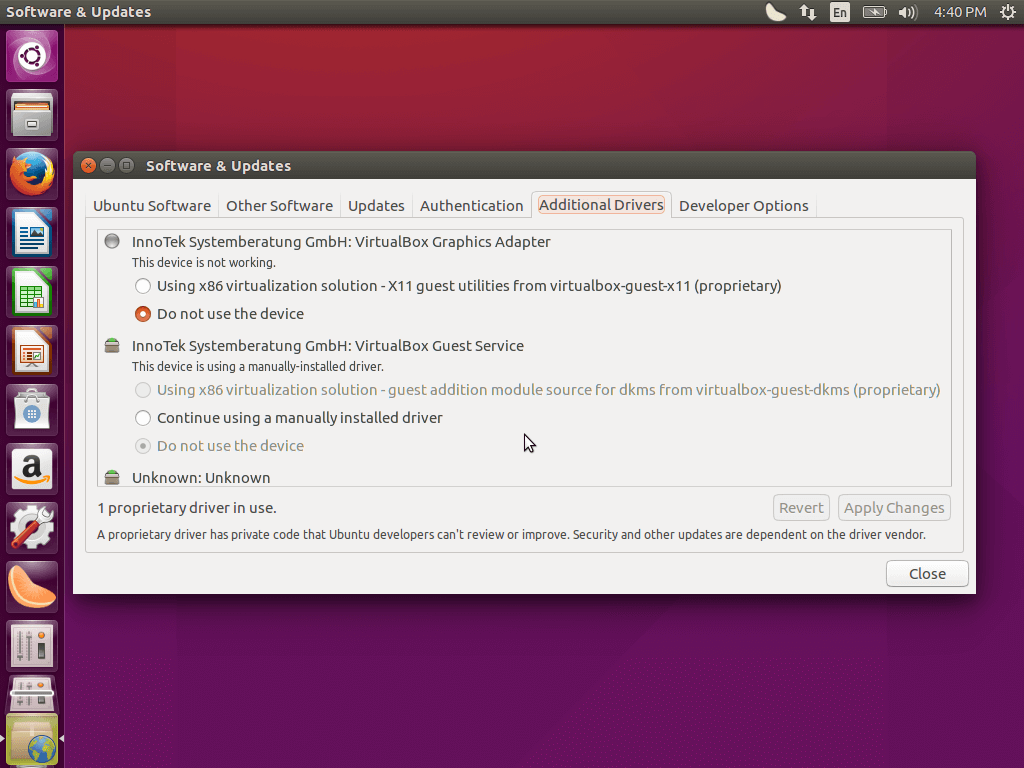
Install Graphics Driver in Ubuntu 16.04
We recommend that you go through with the list and you’ll just be ready to enjoy the rest of the Ubuntu Xenial Xerus experience as long as you need to.
From this point, you can now tailor the system to some other specific needs you might have; thereafter, it’s silky smooth sailing with this LTS release. If you do encounter any problems installing, or configuring the system as guided above, kindly let us know in the comments below.