
This tutorial describes the installation process of the latest release of Ubuntu Desktop 18.04, codename Bionic Beaver, on a dedicated machine or a virtual machine alongside a pre-installed Windows 10 Operating System. The installation process can be done via the Ubuntu Desktop DVD ISO image or via a bootable Ubuntu USBdrive.
The Ubuntu Bionic OS will be installed on a UEFI motherboard with Legacy Mode or CSM (Compatibility Support Module) option disabled.
Requirements
- Download Ubuntu Desktop 18.04 ISO image for x86_64bit architecture.
- A direct or a proxy internet connection.
- Rufus utility in order to create an Ubuntu Desktop bootable USB drive compatible with UEFI motherboards.
Create Free Space on Windows for Ubuntu Install
On a pre-installed machine with a single Windows 10 partition, you need to create some free space in Windowspartition in order to install Ubuntu 18.04.
First login to the system using an account with administrator privileges, open a Command Prompt window with admin rights and execute diskmgmt.msc command to open Disk Management utility.
diskmgmt.msc
Select the Windows partition, usually C: volume, right click on this partition and select Shrink Volume option in order to reduce the partition size.
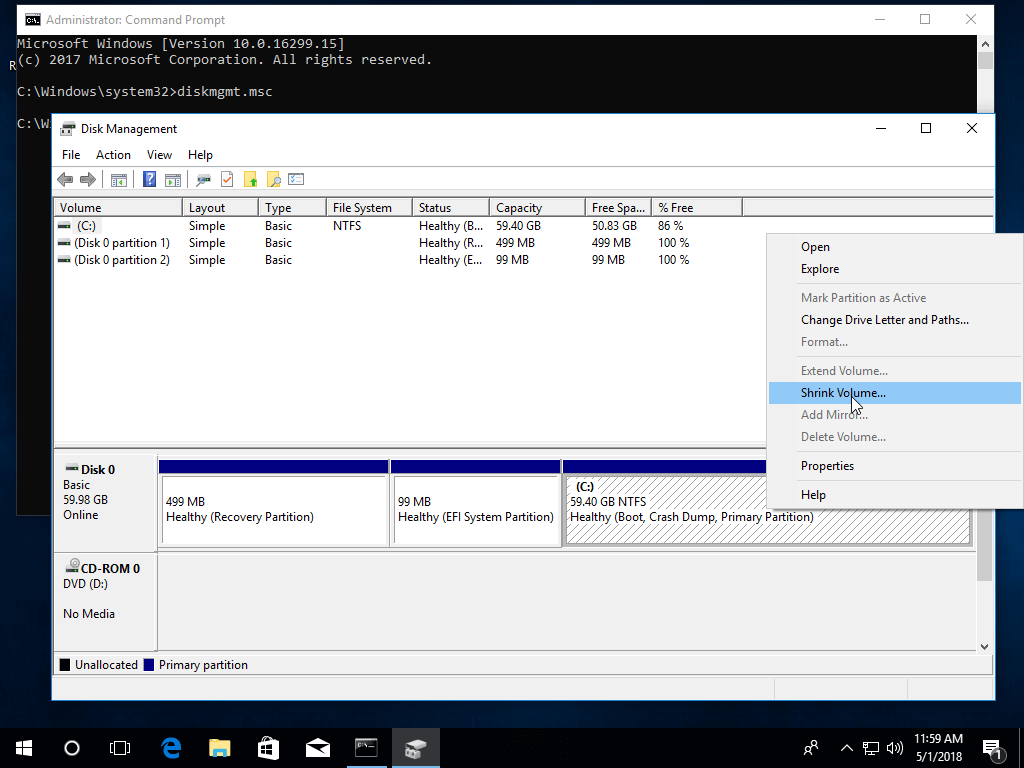
Windows Disk Management Utility
Wait for the system to collect partition size data, add the desired amount of space you want to shrink and hit in Shrink button. After the shrink process completes, a new unallocated space will be present in your drive. We’ll use this free space to install Ubuntu alongside Windows 10.
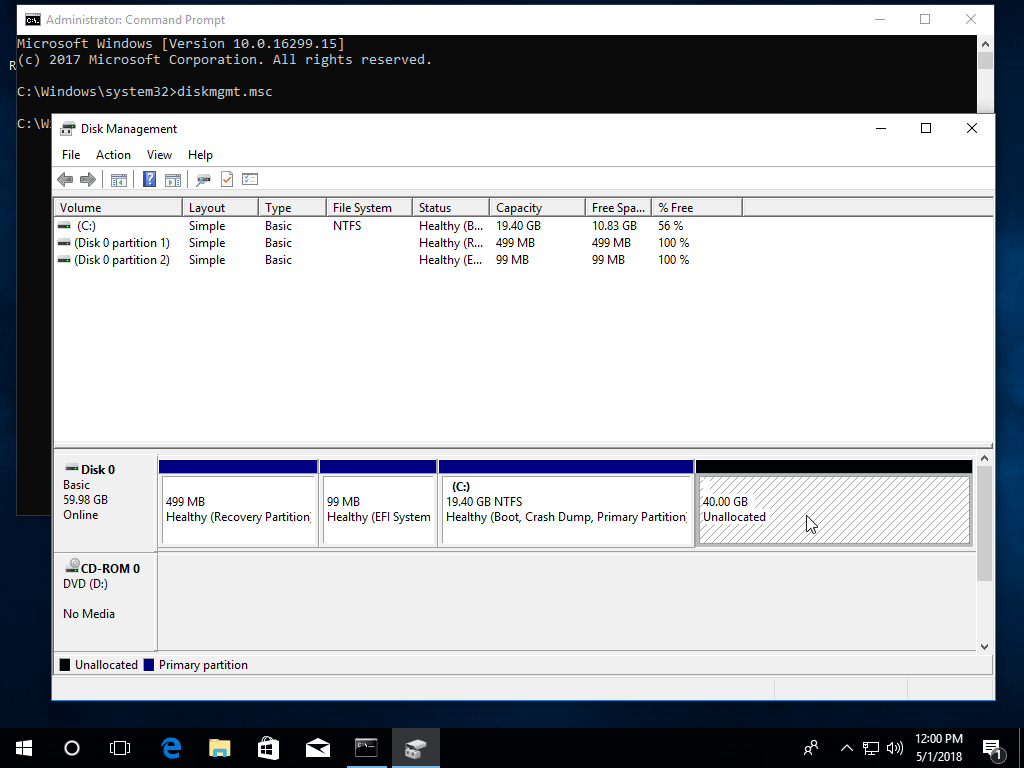
New Windows Partition for Ubuntu Install
Install Ubuntu 18.4 Alongside with Windows
On the next step, place Ubuntu Desktop DVD ISO image or the bootable USB stick into the appropriate motherboard drive and, reboot the machine and hit the appropriate bootable key ((usually F12, F10 or F2) in order to boot the Ubuntu installer DVD or USB bootable image.
On the first installation screen select Install Ubuntu and hit Enter key to start the installation process.

Select Install Ubuntu
In the ”Welcome” screen, select your installation language and hit on Continue button.
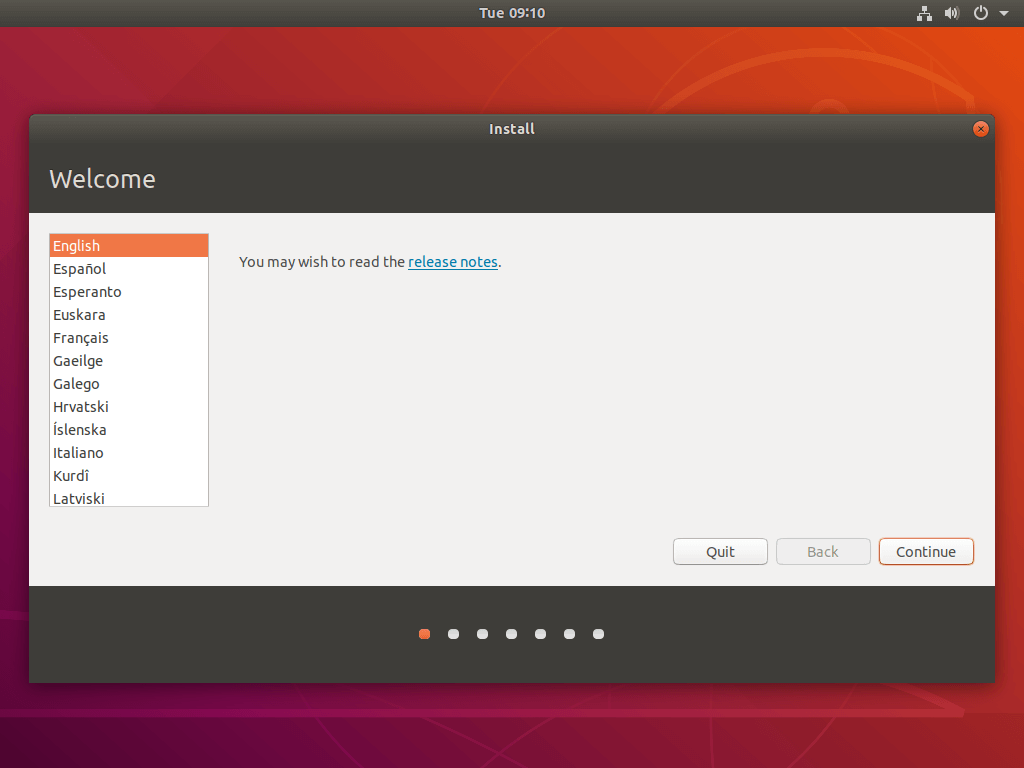
Select Ubuntu Installation Language
On the next screen, select the keyboard layout for your system and hit on Continue button.
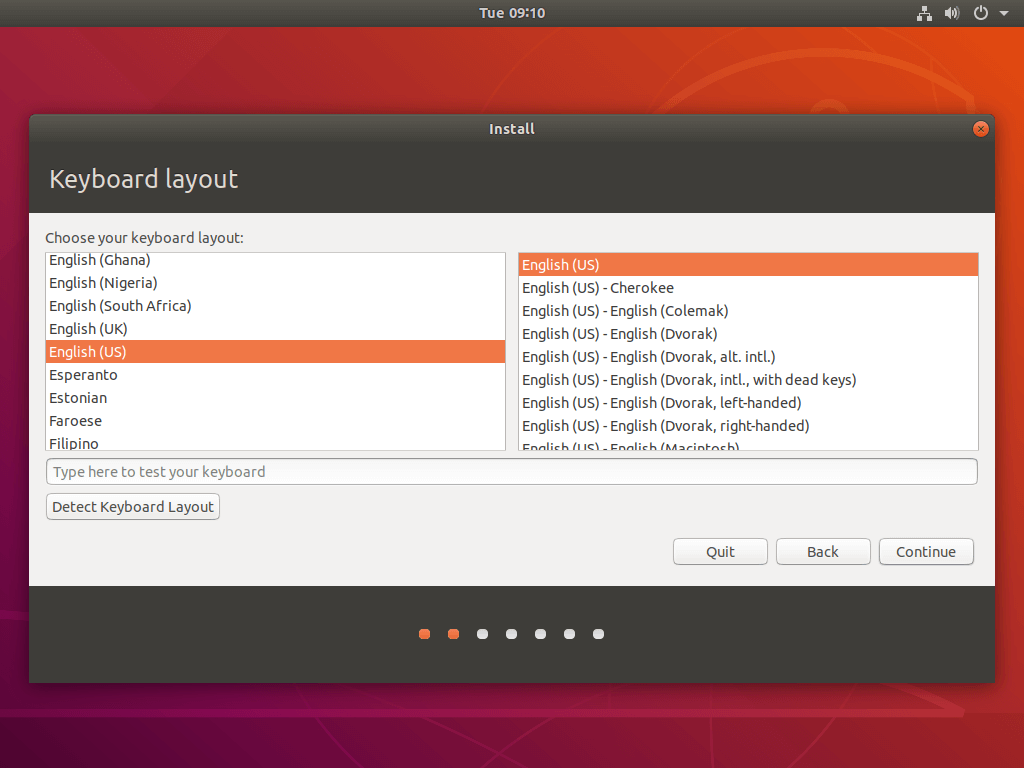
Select Ubuntu Keyboard Layout
In the next installation screen, choose Normal installation and hit on Continue button. In this screen you also have the option to perform a Minimal installation of Ubuntu Desktop, which includes only some basic system utilities and a web browser.
You can also turn off Secure Boot option, if this option is enabled in motherboard UEFI settings in order to install third-party software for graphic card, Wi-Fi or additional media formats. Be aware that turning off Secure Boot option requires a password.
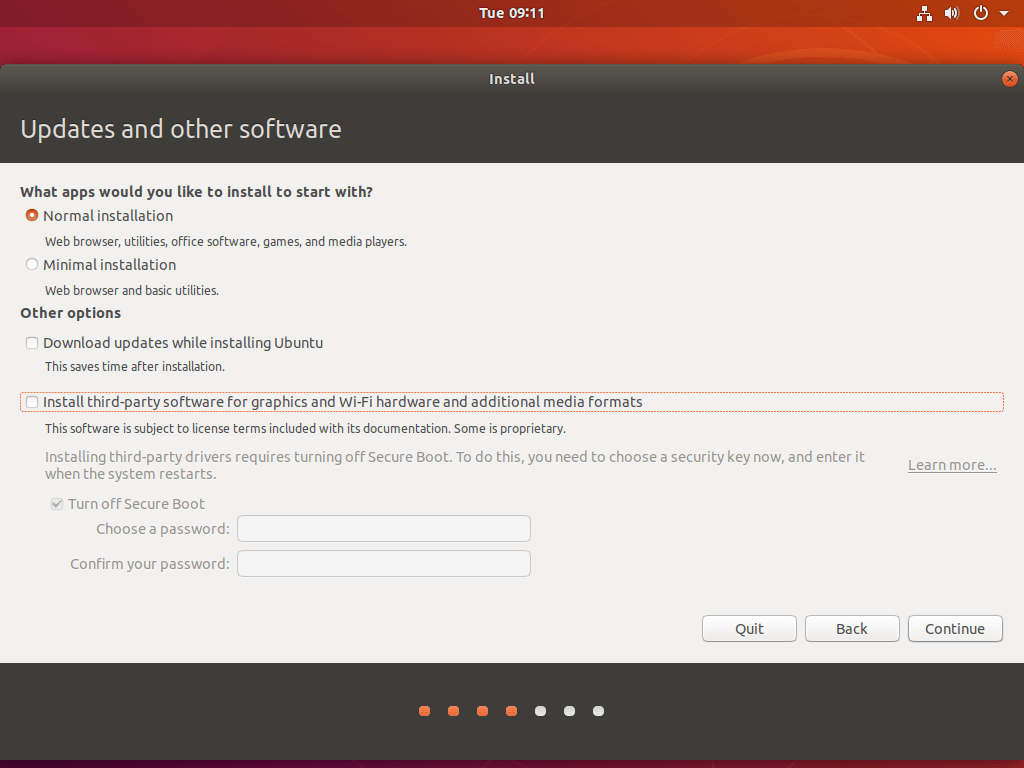
Select Ubuntu Install Type
Next, In Installation type menu, choose Something else option in order to manually partition the hard disk and hit on Continue button.

Ubuntu Manual Partition
In hard disk partition table menu, select the hard drive free space and hit on + button in order to create the Ubuntu partition.
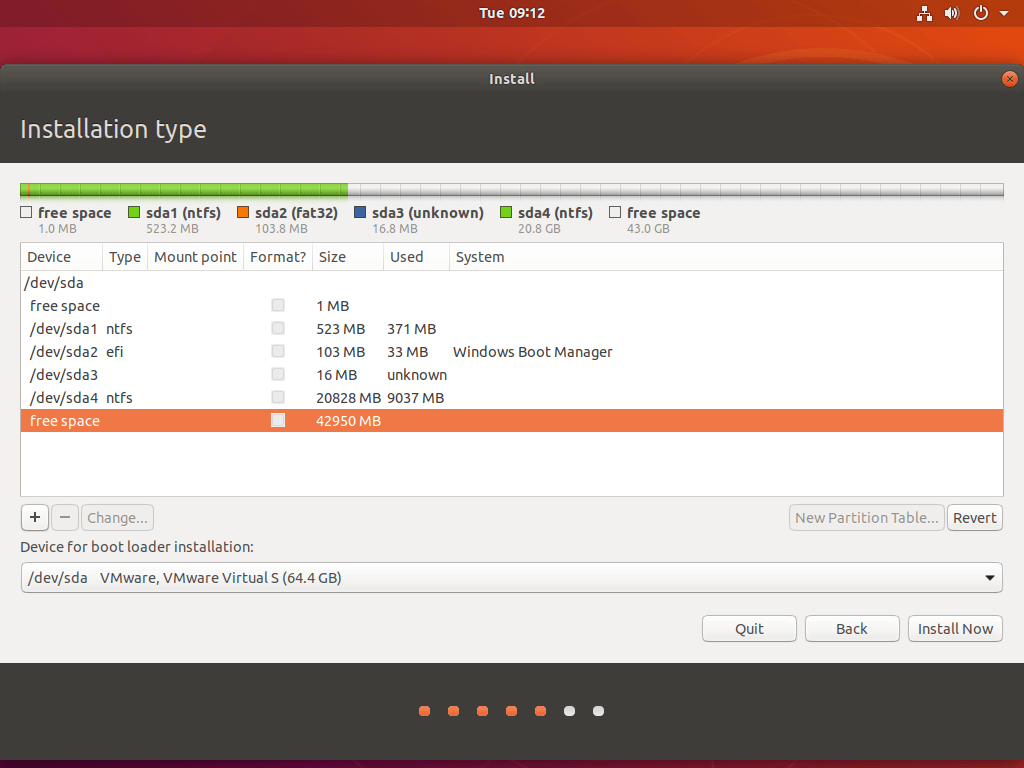
Select Ubuntu Install Drive
In the partition pop-up window, add the size of the partition in MB, choose the partition type as Primary and the partition location at the Beginning of this space.
Next, format this partition with ext4 filesystem and use / as partition mount point. The /(root) partition summary is described below:
- Size = minimum 30000 MB recommended
- Type for the new partition = Primary
- Location for the new partition = Beginning of this space
- Use as = EXT4 journaling file system
- Mount point =
/

Create Ubuntu Root Partition
After completing this step, hit on OK button to return to disk utility. Other partitions, such as /home or Swap are optional in Ubuntu Desktop and should be created only for special purposes.
However, if you still want to add a home partition, select free space, hit on + button and use the below scheme to create the partition.
- Size = size allocated as per your requirements, depending on the size of remaining disk free space
- Type for the new partition = Primary
- Location for the new partition = Beginning
- Use as = EXT4 journaling file system
- Mount point =
/home
In this guide we’ll install Ubuntu alongside Windows 10 with only the /(root) partition set. After you’ve created the required root partition on the disk, select Windows boot Manager as device for the boot loader installation and hit on Install Now button.
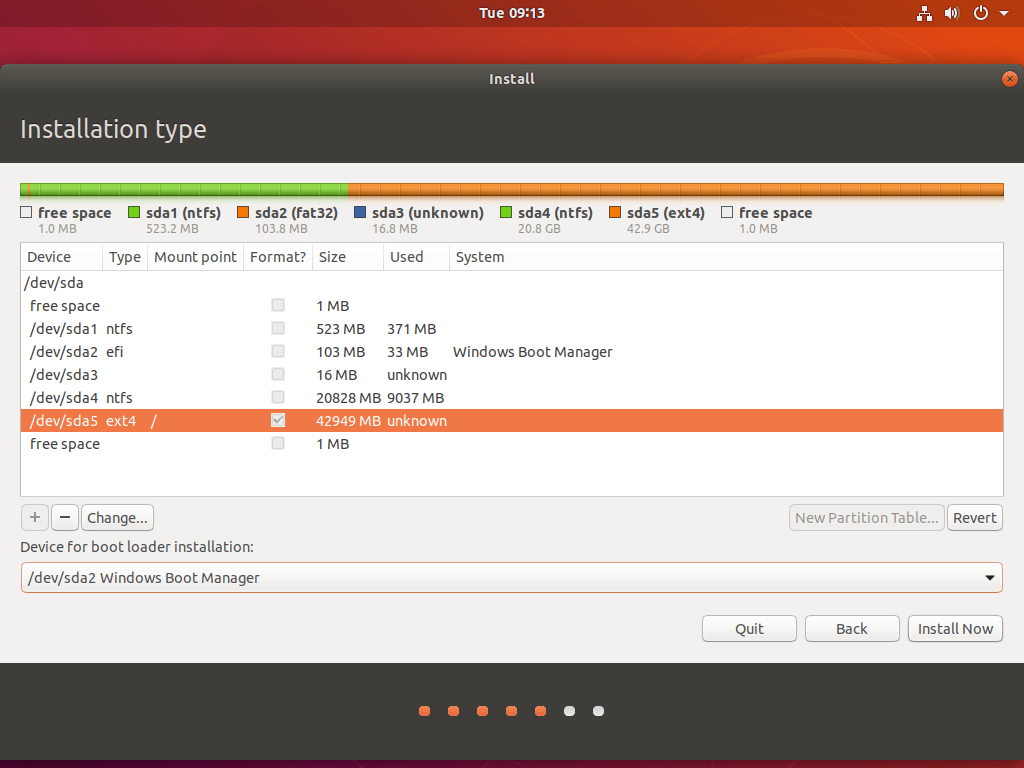
Select Ubuntu Boot Manager
In the pop-up window, hit on Continue button in order to commit the changes that will be written to disk and start the installation.
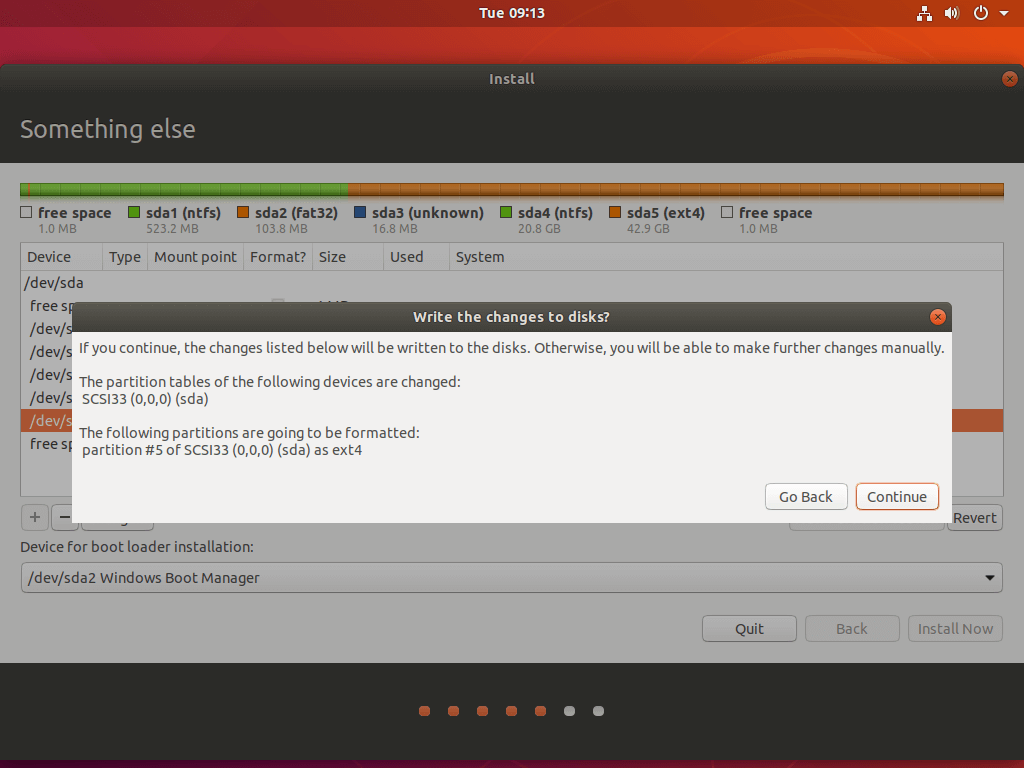
Confirm Ubuntu Partition Changes
On the next screen, select your location from the provided map and hit on Continue button.
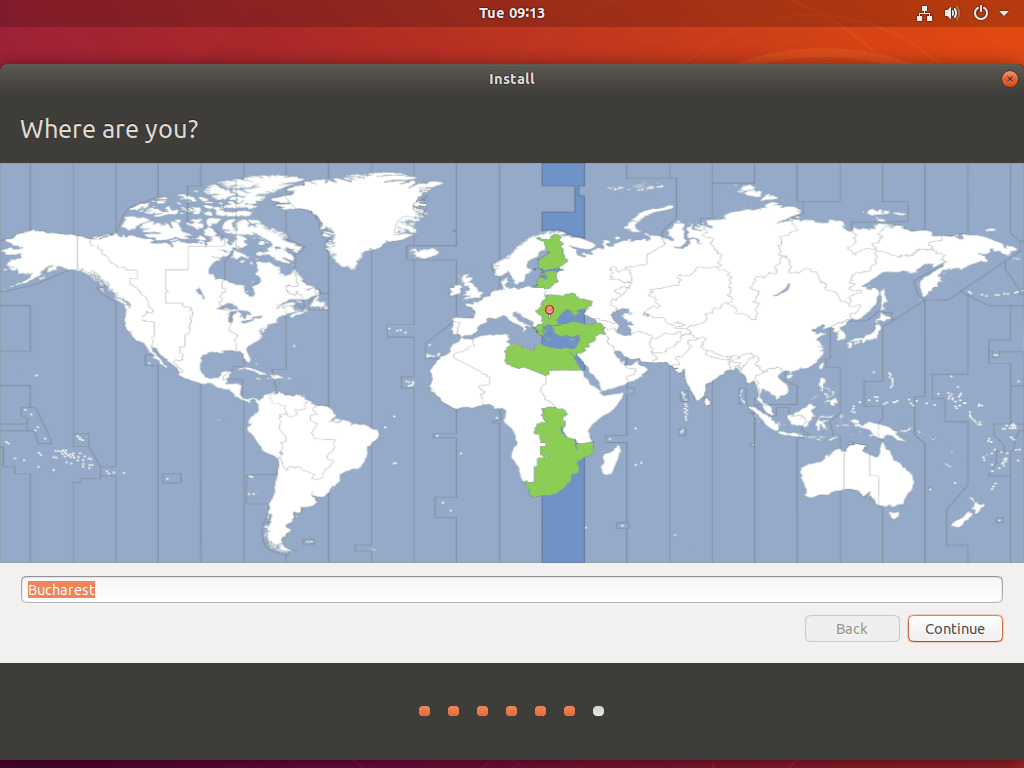
Select Your Country Location
Next, insert your name, the name of your desktop, a username with a strong password and choose the option with ‘Require my password to log in’. When you finish, hit on Continue button and wait for the installation process to complete.
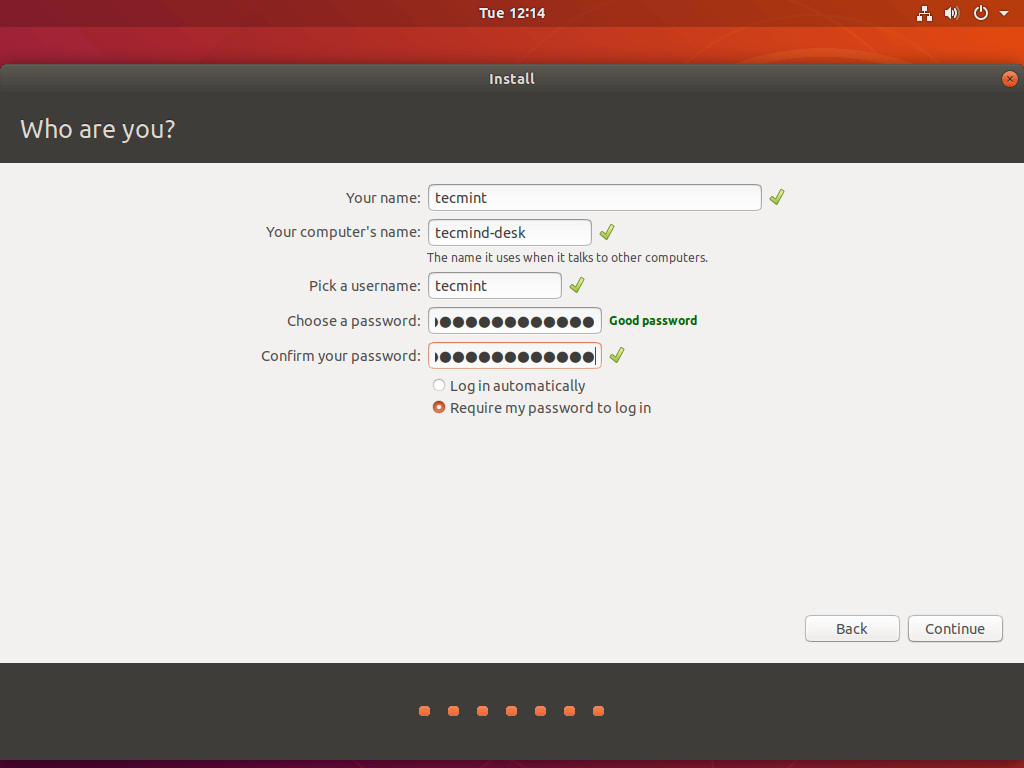
Create Ubuntu User Account
During the installation process, a series of screens which describe Ubuntu Desktop and the installation progress bar will be displayed on your screen. You cannot interfere with the installation process in this final stage.
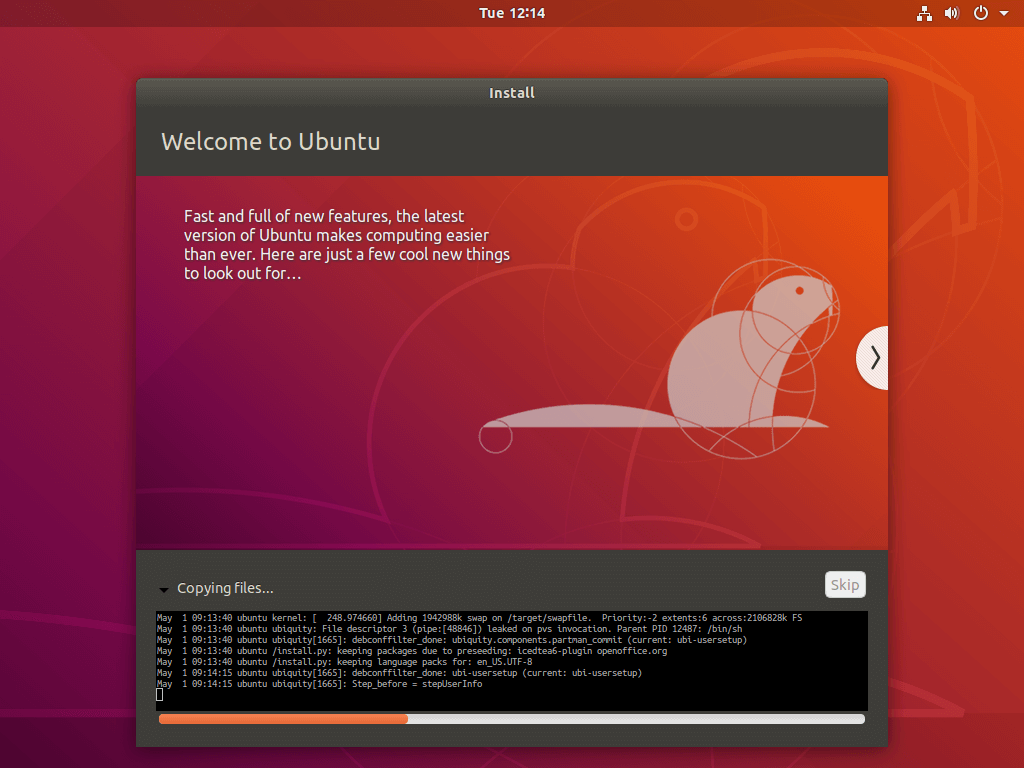
Ubuntu Installation Progress
After the installation completes, eject the installation medium and hit on Restart now button in order to reboot the machine.
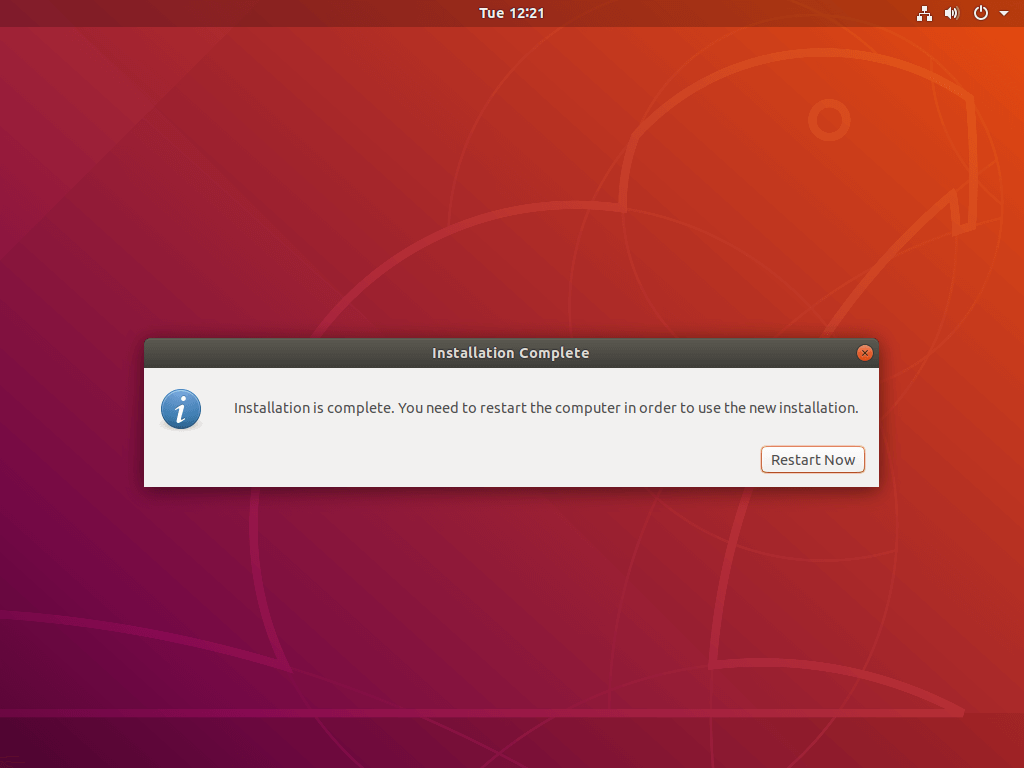
Ubuntu Installation Finishes
After reboot, the system should boot into GNU GRUB menu. In case the GRUB menu is not displayed, restart the machine, go to motherboard UEFI settings and change boot order or Boot Options -> BBS priority.
The settings to enable GRUB menu highly depends on your machine motherboard UEFI settings. You should consult motherboard documentation in order to identify the settings that need to be changed in order to display GRUB menu.
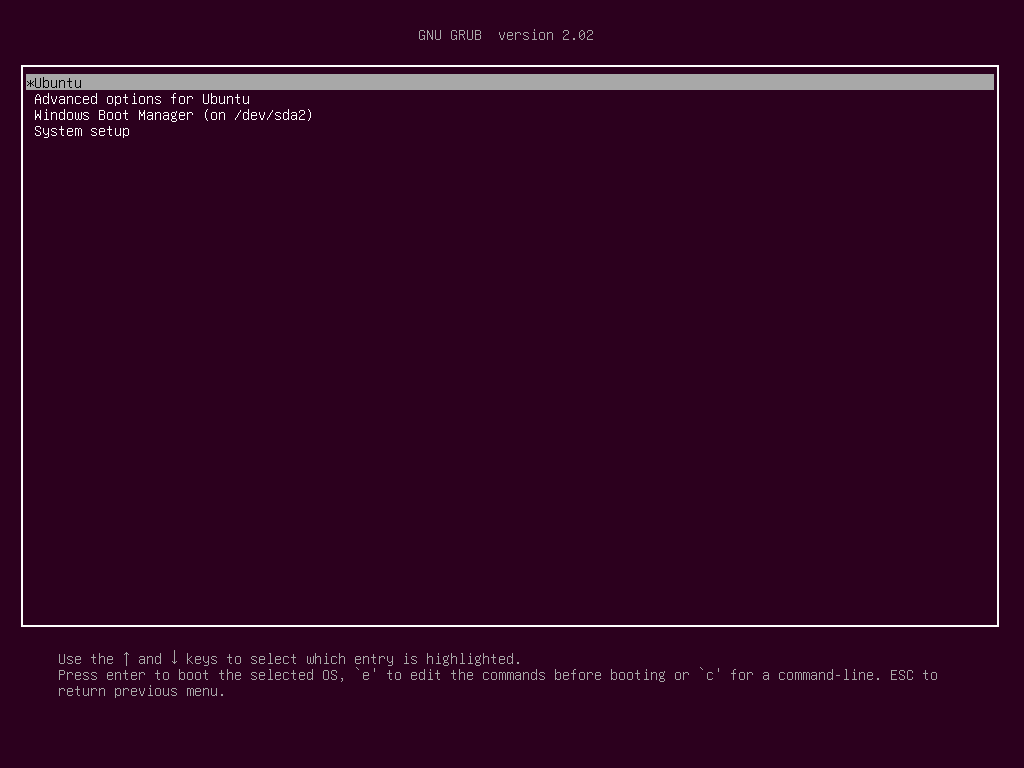
Ubuntu Boot Grub Menu
Finally, login to Ubuntu 18.04 Desktop with the credentials configured while installing the system and follow the initial Ubuntu welcome screen in order to start using Ubuntu Desktop.
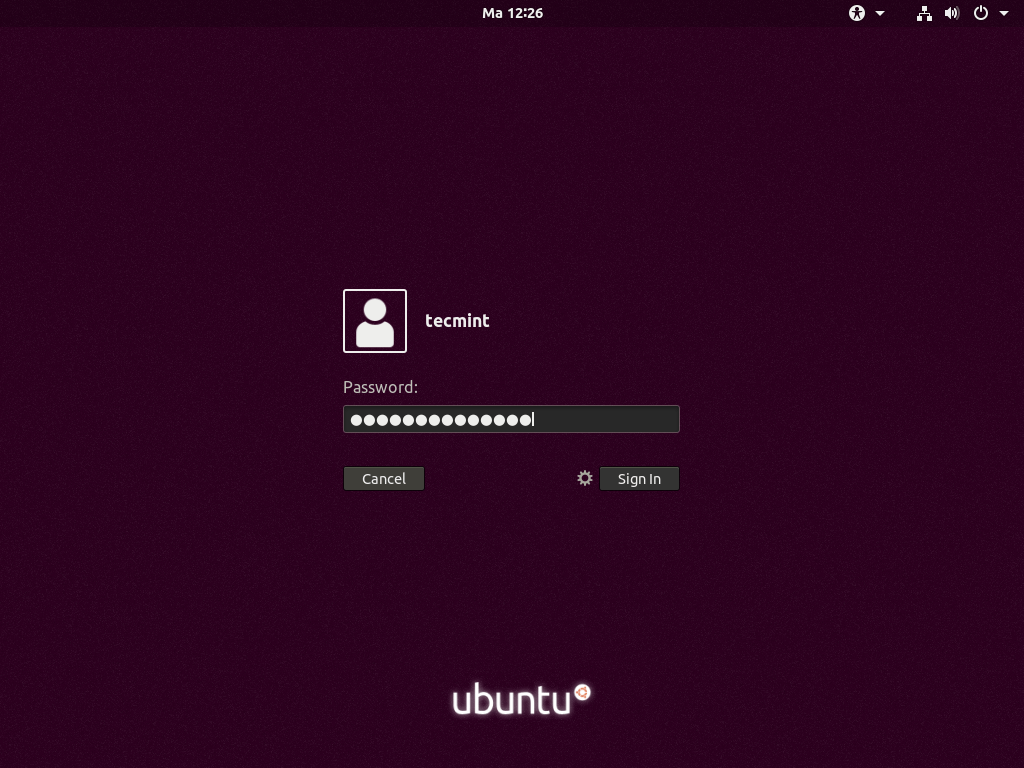
Ubuntu Login Screen
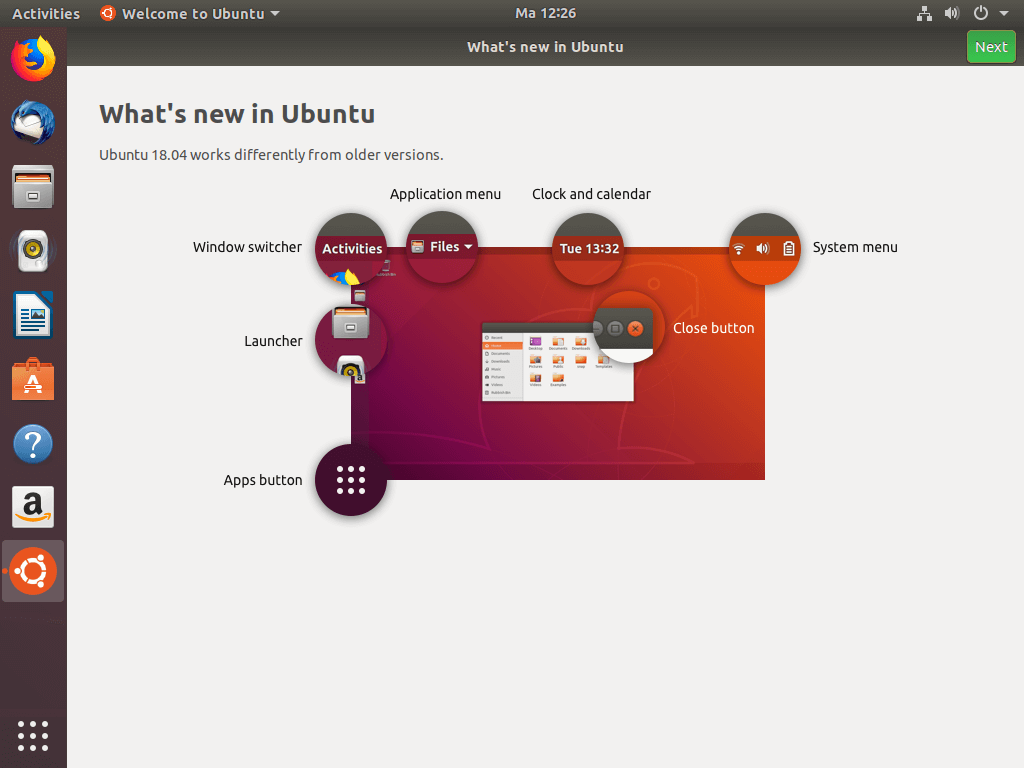
Ubuntu New Features
Congratulations! You have successfully installed Ubuntu 18.04 Bionic Desktop alongside Windows 10 on your machine.