
CRM (Customer Relationship Management) refers to assortment of practices, policies and technologies that companies use to handle and review interaction with current and potential customers; with the major aim of boosting business relationships with customers, customer retention and driving sales growth.
SuiteCRM is a free and open source, fully-featured and highly-extensible CRM system that runs on any operating system with PHP installed. It is a fork of the well known open source SugarCRM Community Edition.
Do try out SuiteCRM Demo using credentials below to sign in:
Username: will
Password: will
SuiteCRM Features:
- Cross-platform: runs on Linux, Windows, Mac OSX and any system that runs PHP.
- Efficient, powerful, and flexible workflow module.
- Supports automation of repetitive tasks.
- Supports quick and easy modeling of sales pipeline.
- Enables creation of beautifully templated Quotations.
- Allows managing of pricing strategies.
- Supports customer self-service via an easy to setup and use website.
- Instant notification of customer issues plus so much more.
Requirements:
- Debian/Ubuntu or CentOS system installed with LAMP Stack.
- PHP (JSON, XML Parsing, MB Strings, ZIP Handling, IMAP, cURL) modules.
- ZLIB Compression library.
- Sprite support.
In this article, we will explain how to install and configure SuiteCRM in CentOS/RHEL 7 and Debian/Ubuntu based systems.
Step 1: Installing LAMP Stack Environment
1. First update the system software packages to the latest version.
$ sudo apt update        [On Debian/Ubuntu]
$ sudo yum update        [On CentOS/RHEL]
2. Once software packages updated, now you can install LAMP (Linux, Apache, MySQL & PHP) stack with all the required PHP modules as shown.
-------------- On Debian/Ubuntu --------------
$ sudo apt install apache2 apache2-utils libapache2-mod-php php php-common php-curl php-xml php-json php-mysql php-mbstring php-zip php-imap libpcre3 libpcre3-dev zlib1g zlib1g-dev mariadb-server

-------------- On CentOS/RHEL/Fedora --------------
# yum install httpd php php-common php-curl php-xml php-json php-mysql php-mbstring php-zip php-imap pcre pcre-devel zlib-devel mariadb-server
3. Once LAMP stack has been installed, start the Apache and MariaDB service and enable it to start automatically at system boot.
-------------- On Debian/Ubuntu --------------
$ sudo systemctl start apache mysql
$ sudo systemctl enable apache mariadb

-------------- On CentOS/RHEL/Fedora --------------
# systemctl start httpd mysql
# systemctl enable httpd mariadb
4. Now secure and harden database server installation by running the script below.
$ sudo mysql_secure_installation
OR
# mysql_secure_installation
After running the security script above, you will be asked to enter the root password, simply press [Enter]without providing it:
Enter current password for root (enter for none):
Again, you will also be asked to answer the questions below, simply type y to all the questions to set a root password, remove anonymous users, turn off remote root login, remove the test database and reload privilege tables:
Set root password? [Y/n]yRemove anonymous users? [Y/n]yDisallow root login remotely? [Y/n]yRemove test database and access to it? [Y/n]yReload privilege tables now? [Y/n]y
5. Now you need to configure PHP to allow files of at least 6MB to be uploaded. Open your PHP configuration file (/etc/php.ini or /etc/php5/apache2/php.ini) with your choice of editor, search for the upload_max_filesize and set it like so.
upload_max_filesize = 6M
Save the file and close it, then restart the HTTP server.
$ sudo systemctl restart apache   [On Debian/Ubuntu]
# systemctl restart httpd         [On CentOS/RHEL]
Step 2: Create SuiteCRM Database
6. In this step, you can create a database which will store data for suiteCRM. Run the command below to access the MariaDB shell (remember to use your own values for the database name, user and password).
$ mysql -u root -p
MariaDB [(none)]> CREATE DATABASE suitecrm_db;
MariaDB [(none)]> CREATE USER 'crmadmin'@'localhost' IDENTIFIED BY 'crmsys@dmin$12';
MariaDB [(none)]> GRANT ALL PRIVILEGES ON suitecrm_db.* TO 'crmadmin'@'localhost';
MariaDB [(none)]> FLUSH PRIVILEGES;
MariaDB [(none)]> exit;
Step 3: Install and Setup SuiteCRM
7. First install Git to fetch and clone the latest version of SuiteCRM from its Github repository under Apache root directory (/var/www/html/) with appropriate permissions on the SuiteCRM folder.
$ sudo apt -y install git      [On Debian/Ubuntu]
$ sudo yum -y install git      [On CentOS/RHEL]

$ cd /var/www/html
$ git clone https://github.com/salesagility/SuiteCRM.git
$ sudo mv SuiteCRM suitecrm
$ sudo chown -R www-data:www-data suitecrm   [On Debian/Ubuntu]
$ sudo chown -R apache:apache suitecrm       [On CentOS/RHEL]
$ sudo chmod -R 755 suitecrm
$ ls -ld suitecrm
8. Now open your web browser and type the URL below to access the SuiteCRM web installer wizard.
http://SERVER_IP/suitecrm/install.php
OR
http://localhost/suitecrm/install.php
You will see the welcome page, which includes the SuiteCRM License Agreement. Read the license and check “I Accept”, and set the installation language. Click Next to continue.
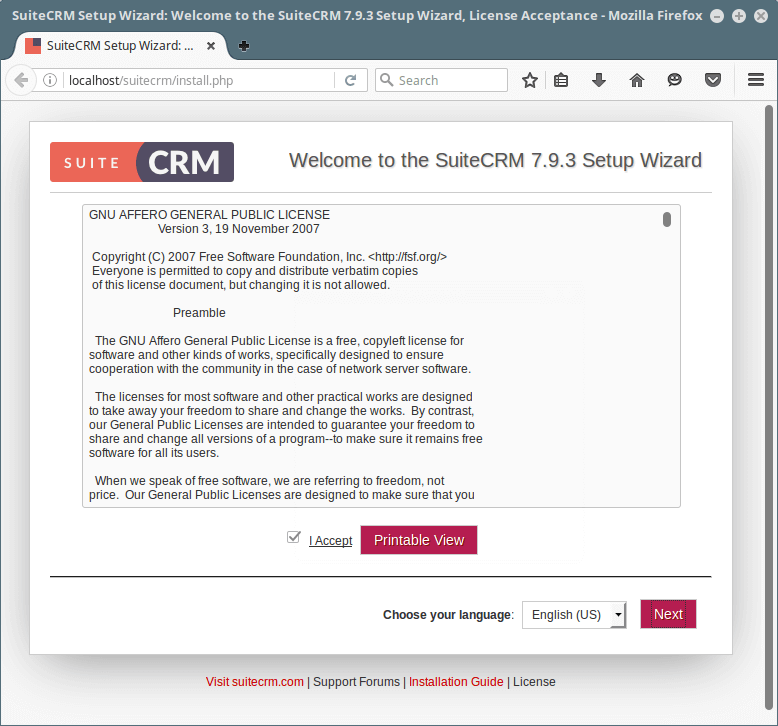
SuiteCRM Web Installer
9. You will see the pre-installation requirements page below. If everything is fine as shown in the screenshot below, click Next to proceed.

SuiteCRM System Environment Check
11. Next, provide the SuiteCRM database settings (database name, host, username and password).
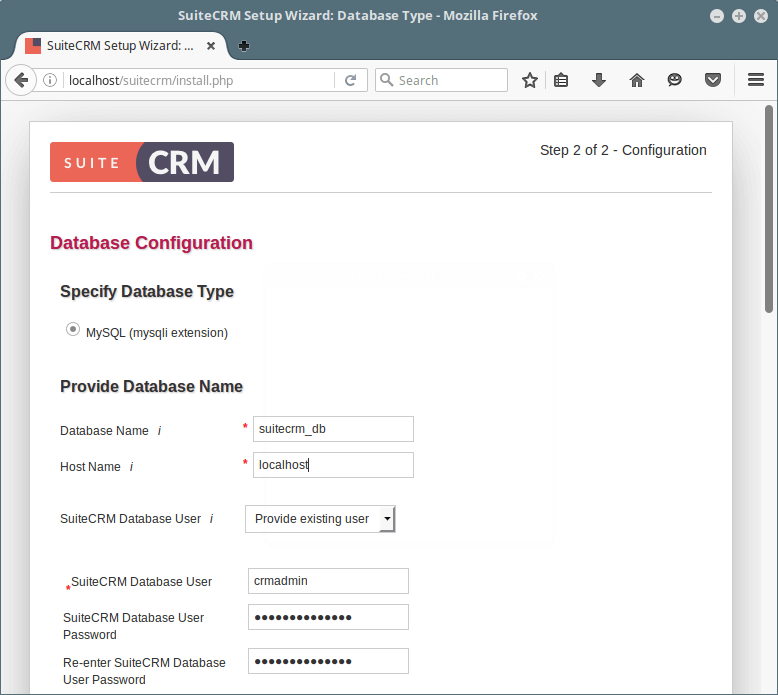
SuiteCRM Database Settings
In the same page, enter the site configurations (site name, admin username, password and email address).
You can as well configure more options:
- Demo data (choose yes if you want to populate site with demo data).
- Scenario selection – such as sales, marketing etc.
- SMTP server specification – choose your Email provider, SMTP server, port, user authentication details.
- Branding details – Organization name and logo.
- System locale settings – date format, time format, timezone, currency, currency symbol and ISO 4217 Currency Code.
- Site security settings.
Once you are done, click Next to start the actual installation process where the installer will create database tables and default settings.
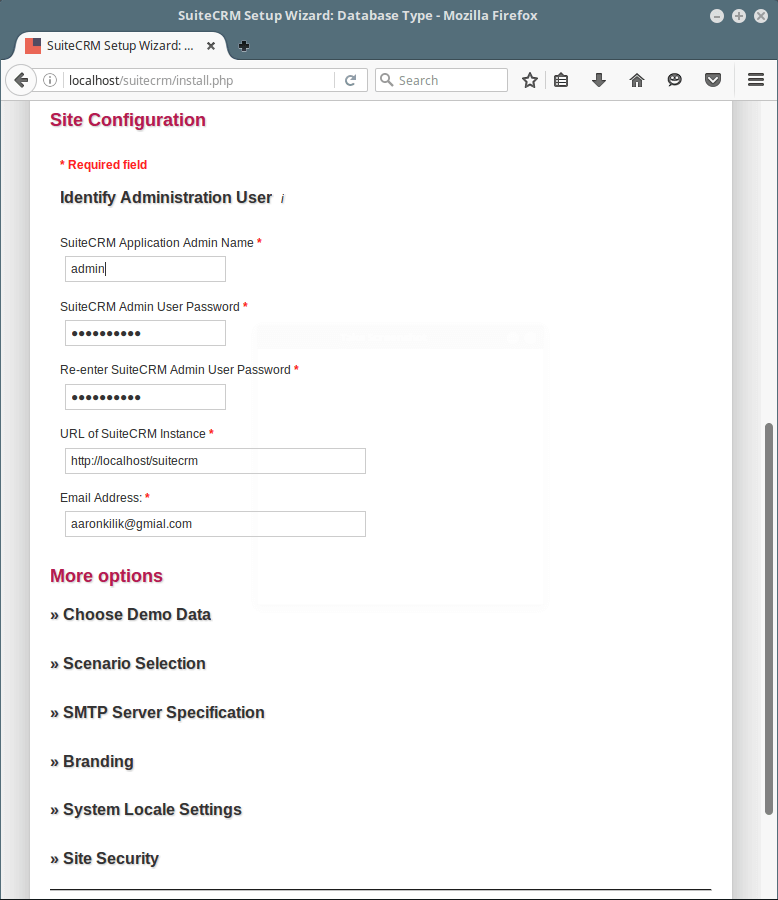
SuiteCRM Site Configuration
12. Once the installation is complete, you are ready to login. Provide the admin username and password, then click on “Log In”.
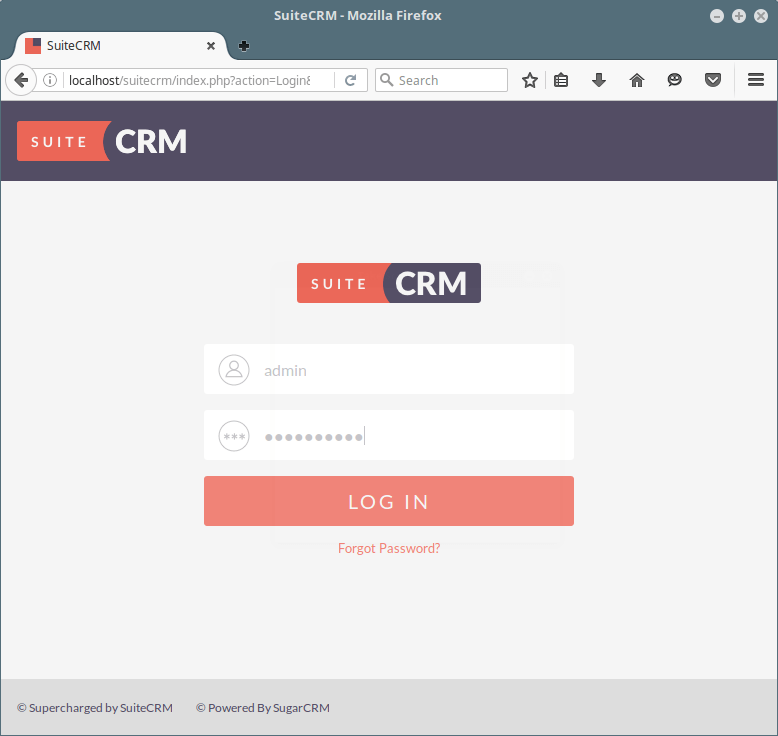
SuiteCRM Login Interface
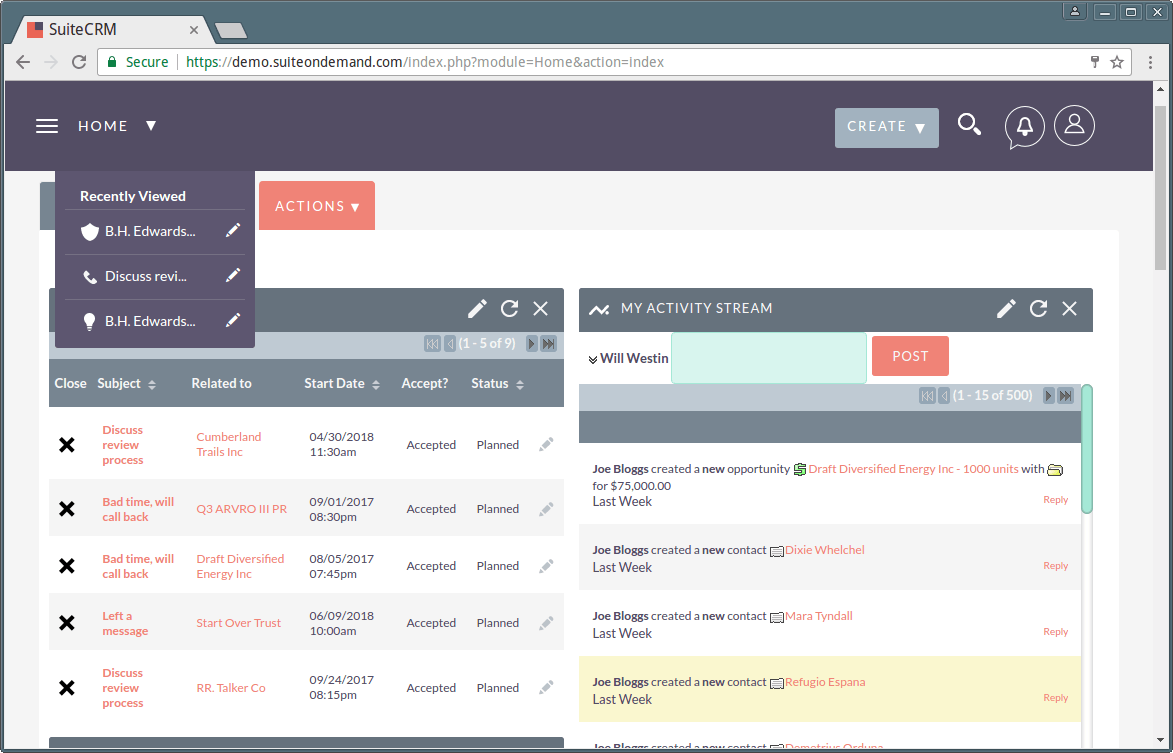
SuiteCRM Dashboard
SuiteCRM Homepage: https://suitecrm.com/
Enjoy! For any queries or thoughts that you want to share, please hit us up via the comment section below.