
Much of the power behind Linux comes from the command line and the ability for a system to be managed easily remotely. However, for most users from the Windows world or novice Linux administrators, there may be a preference to have access to the graphical user interface for remote management functionality.
Other users may simply have a desktop at home that may need to have graphical applications managed remotely as well. Which ever situation may be the case, there are some inherent security risks such as the remote traffic not being encrypted thus allowing malicious users to sniff the remote desktop session.

Install X2Go Server and Client in Debian
To solve this common issue with remote desktop systems, X2Go tunnels the remote desktop session through secure shell (SSH). While only one of many of the benefits of X2Go, it is a very important one!
Features of X2Go
- Graphical remote desktop control.
- Tunneled through SSH.
- Sound support.
- File and printer sharing from client to server.
- Ability to access a single application rather than a whole desktop session.
Environment Setup
- This guide assumes a working Debian 8 (Jessie) setup with LXDE (other desktop environments are support however; please see this link).
- Another Linux client to install the X2Go client software (This guide uses Linux Mint 17.1 with the Cinnamon desktop environment).
- Working network connection with openssh-server already installed and working.
- Root access
Installation of X2Go Server and Client on Debian 8
This part of the process will require setting up the X2Go server as well as an X2Go client in order to have a remote desktop connection. The guide will start first with the server setup and then proceed to the client setup.
X2Go Server Installation
The server in this tutorial will be the Debian 8 system running LXDE. The start of the installation process, is to install the X2Go Debian repository and obtain the GPG keys. The first step is to obtain the keys which can be easily accomplished the apt.
# apt-key adv --recv-keys --keyserver keys.gnupg.net E1F958385BFE2B6E
Once the keys have been obtained, a repository file needs to be created for apt to look for the X2Go packages at a specific repository location. This can all be accomplished with one simple command that creates the needed apt list file and puts the appropriate entry into that file.
# echo "deb http://packages.x2go.org/debian jessie main" >> /etc/apt/sources.list.d/x2go.list
# apt-get update
The above commands will instruct apt to search this newly provided repository for packages and more specifically the X2Go packages. At this point, the system is ready to have the X2Go server installed using the apt meta-packager.
# apt-get install x2goserver
At this point the X2Go server should be installed and started. It is always a good idea to confirm that installed servers are running though.
# ps aux | grep x2go
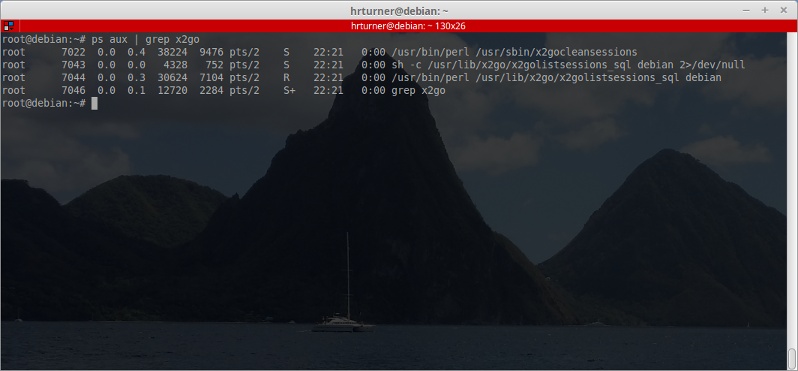
Confirm X2Go Server Installed and Running
In the event that the system doesn’t automatically start X2Go, run the following command to attempt to start the service.
# service x2goserver start
At this point the basic server configuration should be done and the system should be waiting for connections from the X2Go client system.
X2Go Client Installation
The client installation is easier than the server installation. Most distributions already have the client in their provided repositories and this package can easily be installed with the apt meta-packager.
NOTE: Remember that this is done on a computer that is going to connect to the server setup in the previous paragraphs.
# apt-get install x2goclient
Assuming that apt doesn’t return any issues, the X2Go client should be ready to go. Navigate to the X2Goexecutable via the client’s distribution’s file explorer or launch the utility from the command line with the following command.
# x2goclient
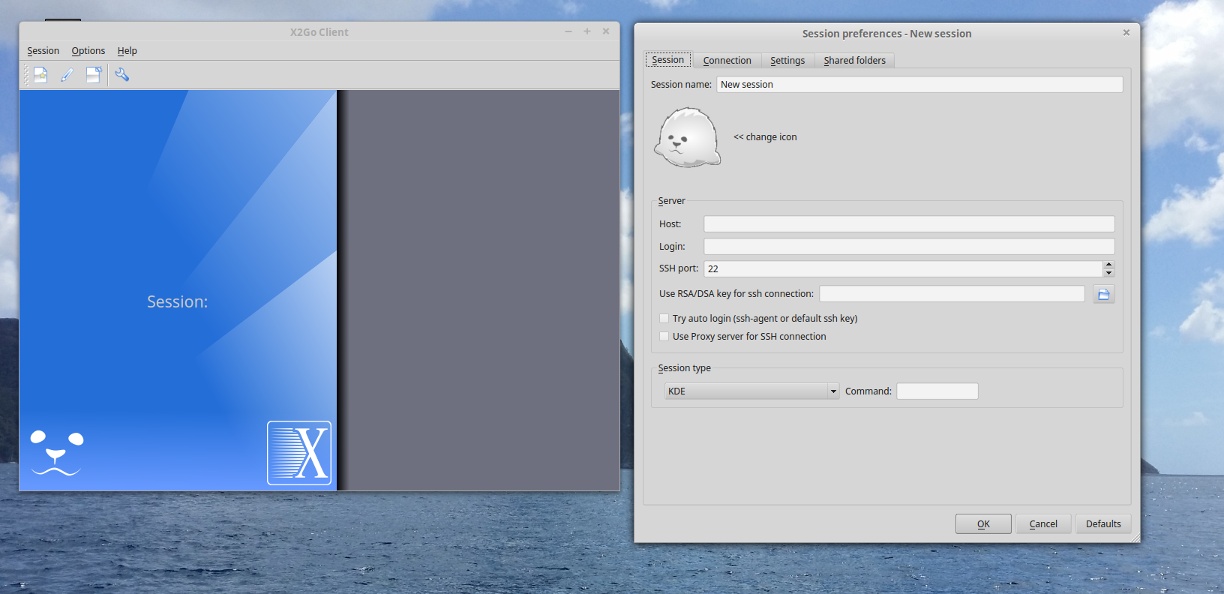
X2Go Client Session
The above windows are the initial windows once the X2Go client is launched. Let’s connect to the Debian Servernow!
In the server field in the window on the right, enter the Debian system’s ip address. The next box needs to have the user name of someone who can SSH into the Debian system.
The next thing to change is the Session Type at the bottom. Since the Debian server is using LXDE, it is a good idea to select LXDE from the drop down.
Again, not all desktop environments are supported at the moment, please reference the link at the top of this guide to see what desktop environments are supported or if any work-arounds are needed.
Once the above information have been input, click the “Ok” button at the bottom of the window to finish setting up the session profile. The next step is to click and activate the newly created session. To do this simply click on the session just created on the right in the X2Go Client window.
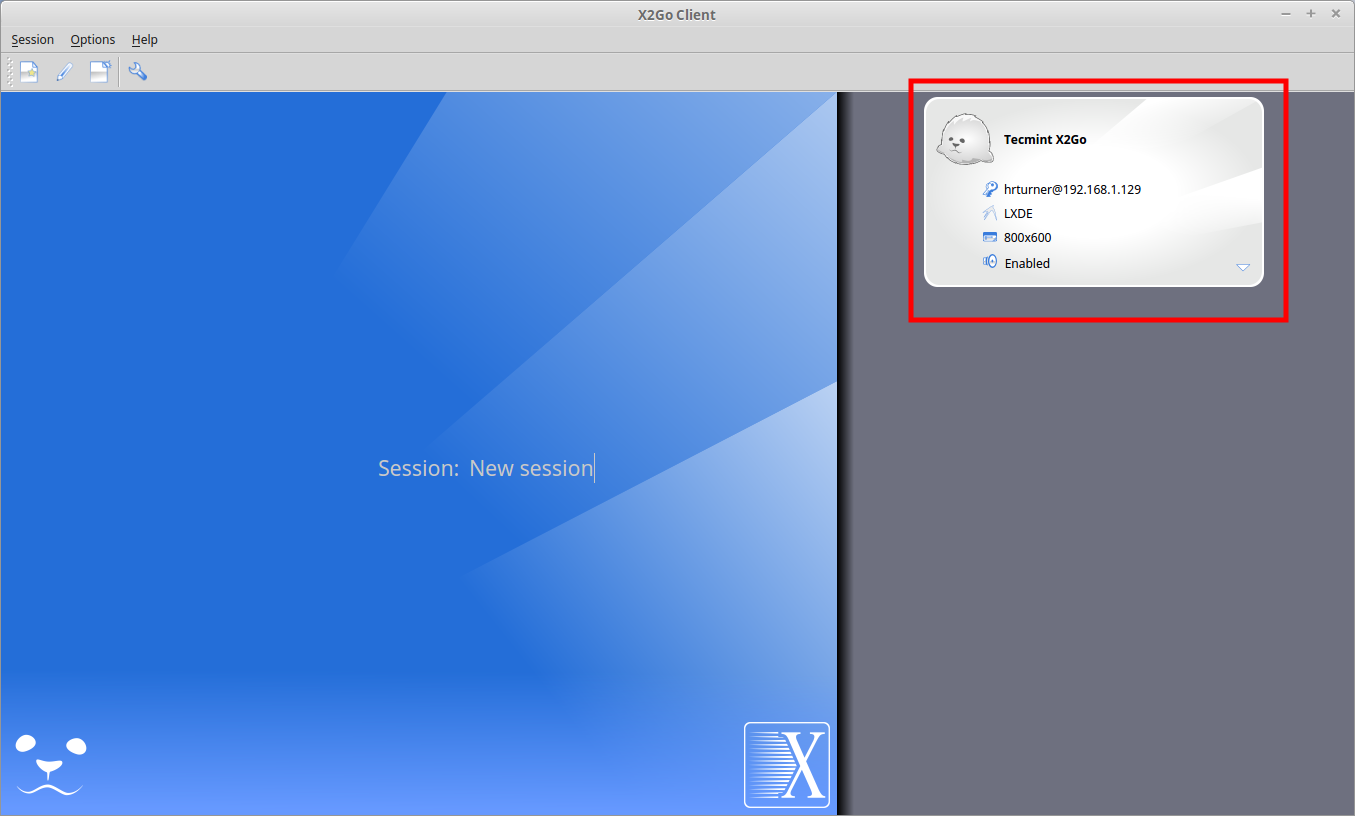
Connect Remote Debian Desktop
Once this session is selected, it will prompt for the user on the remote machine’s credentials. Again these credentials will be the user on the Debian server’s credentials!
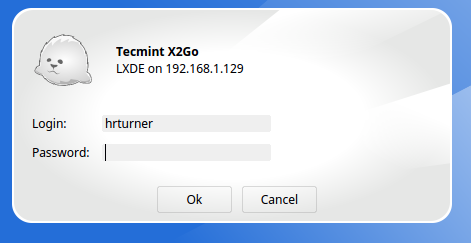
Remote Debian Desktop Login
Once the correct password is provided the system will then display the remote system’s graphical display in a scalable window on the client system!
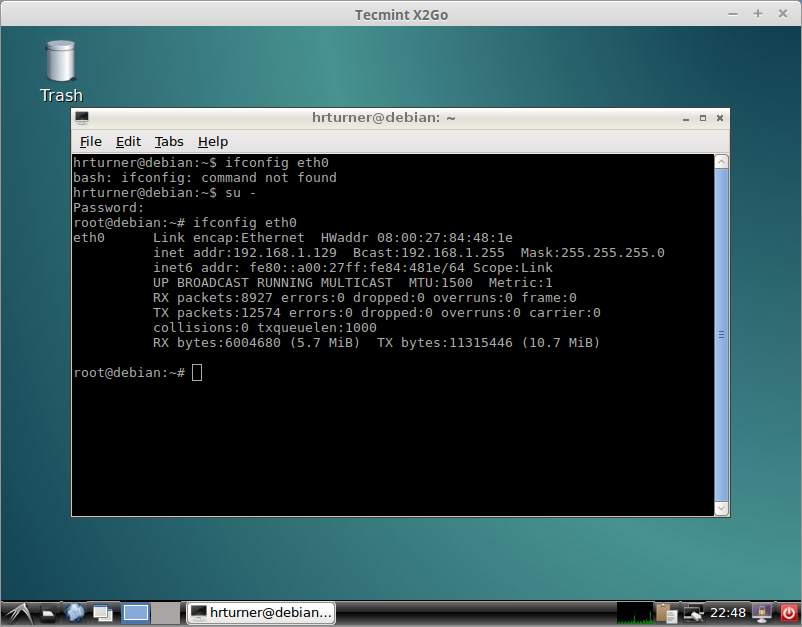
Debian Remote Desktop Access
Hopefully at this point, your X2Go system is working like the above systems and you are enjoying a secure remote desktop connection to a Debian server!
Best of luck with this new (and more secure) remote desktop solution for a Debian Linux system! Please feel free to share any comments or questions below and we’d be happy to assist.