Redo Backup and Recovery software is a complete backup and disaster recovery solution for systems. It provides simple and easy to use functions that anyone can use. It supports bare-metal restore, means even if your computer hard drive totally melts or damaged by a virus, you can still able to restore a completely-functional system running in less than 10 minutes.
All your files and settings will be restored to the exact same situation they were in when the most recent snapshot was taken. Redo Backup and Recovery is a live ISO image is built on Ubuntu to give a graphical user interface for users. You can use this tool to backup and restore every system, it doesn’t matter whether you use Windows or Linux, it works on both platforms, because it is open source and completely free to use for personal and commercial use.
Features
Redo Backup and Recovery tool key features are:
- No Installation Needed : You don’t need to install Redo Backup or even you don’t need an operating system installed to restore. Just put the CD device into your system and reboot. No need to re-install Windows again!
- Boots in Seconds : The system boots in 30 seconds from CD, and it automatically detect all your hardware. It consumes less space and resources, the download size is only 250MB, and you can download it freely. No serial key or license required.
- It’s Pretty : Redo Backup gives an easy to use interface with network access and a complete system via Ubuntu. Operate other applications while your operating system backup is being transferred.
- Works with Linux or Windows : Redo Backup works on both operating systems and any computer user can backup and restore all machines with this tool.
- Finds Network Shares : Redo Backup automatically search and locate your local area network for drives to backup to or restore from. No need to bother about shared drive or attached network storage device, it detects automatically.
- Recover Lost Data : Redo Backup provides a file recovery tool that automatically finds deleted files and save them to another drive.
- Easy Internet Access : Is your computer crashed or broken, but you needing an internet access to download drivers? Doesn’t worry just insert Redo Backup CD, reboot, and start browsing the Internet.
- Drive Configuration Tools : Redo Backup start menu provides a powerful graphical drive management and partition editing tools to edit, manage and resize partitions.
Download Redo Backup
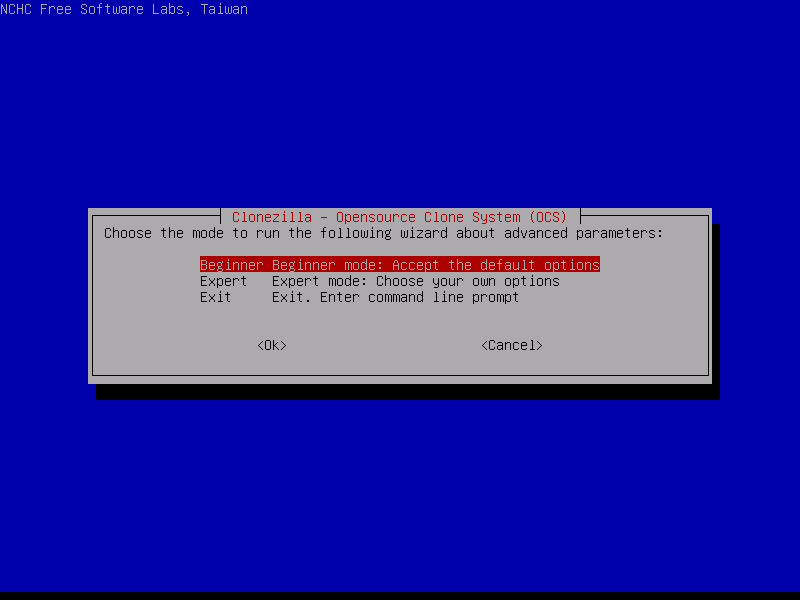
As I said it’s a Live CD image, so you cannot directly run this program from within the operating system. You need to follow our steps as described below in order to use Redo Backup.
Getting Started
Download the latest version of the Redo Backup live CD.
You will need to burn the ISO disc image using a CD burning software such as KDE Burning Tool for Linux and for Windows there are plenty search for it.
After creating ISO CD image, put the CD in and reboot your computer to use Redo Backup. While system is starting you may need to press F8 or F12 keys to boot from the CD-ROM drive.
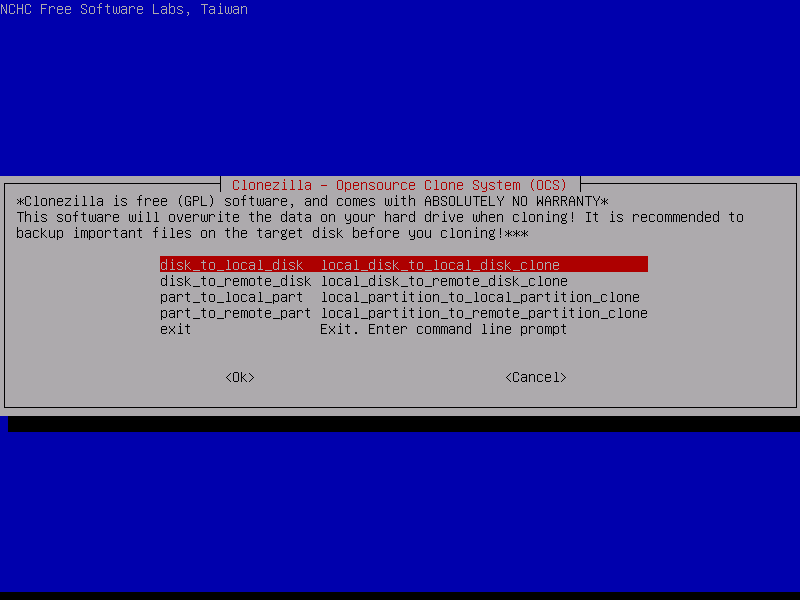
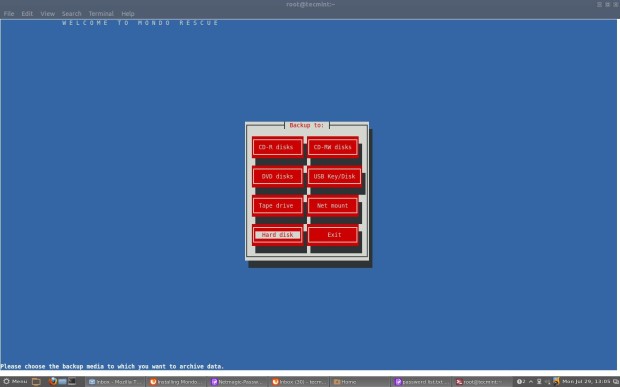
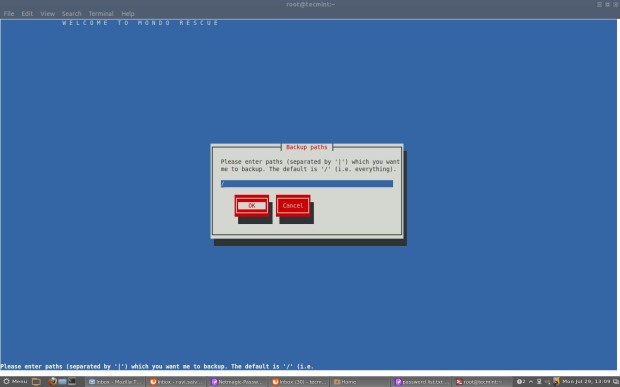
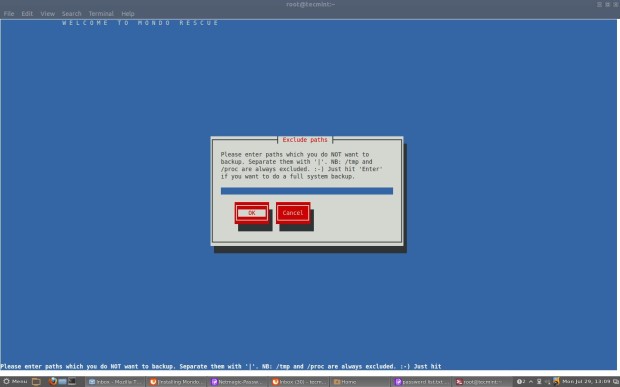
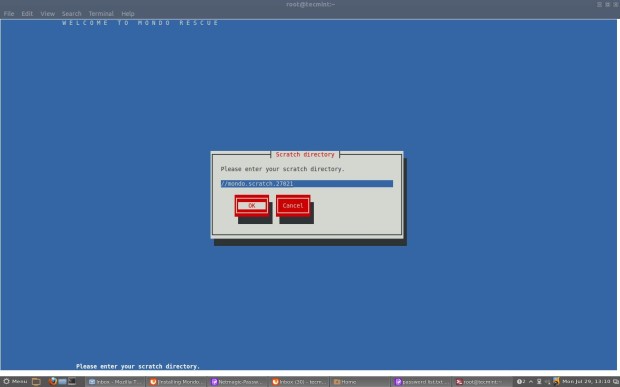
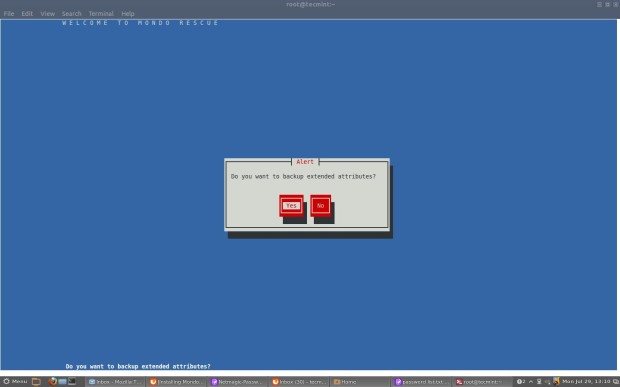
Once you boots up system with Live CD, a mini operating system will loaded into memory which will launch Redo Backup. Now decide what you want to do, Backup machines or Restore machines from last saved images. For example, Here I’m taking my own Ubuntu 12.10 system backup, follow the screen grabs below for your reference.
Click on “Start Redo Backup“.
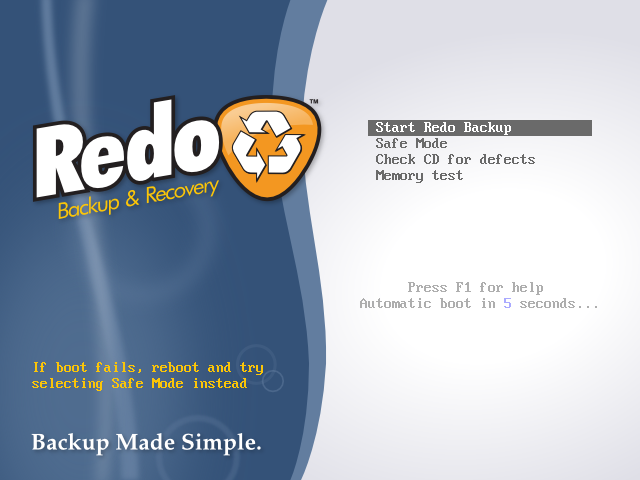
Redo Backup Boot Screen
Welcome Screen of “Redo Backup“.
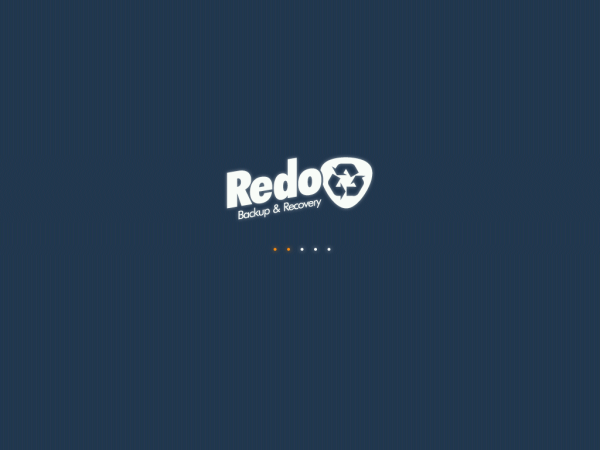
Redo Backup Welcome Screen
Easily create a backup image of your computer or completely restore from one. Click on “Backup” to create full system backup.

Select Backup
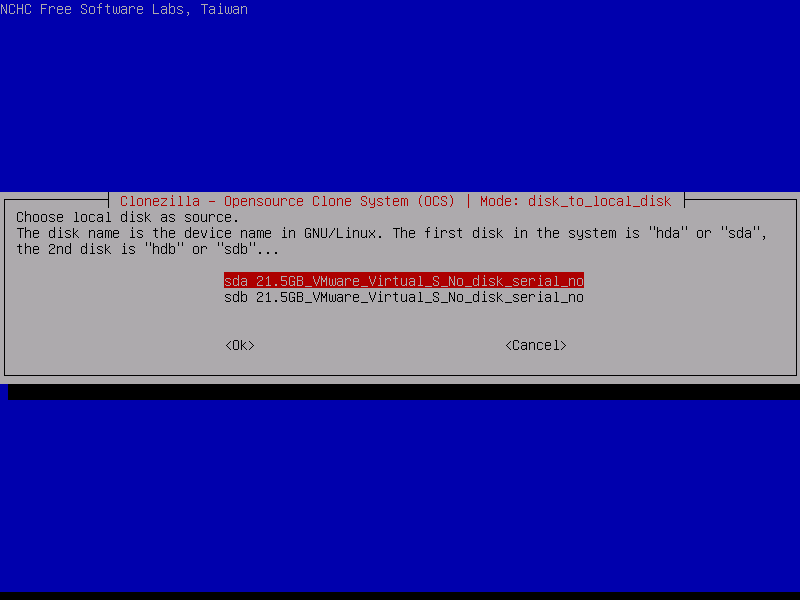
Select the source drive from the drop-down list that you would like to create a backup image from. Click on “Next“.
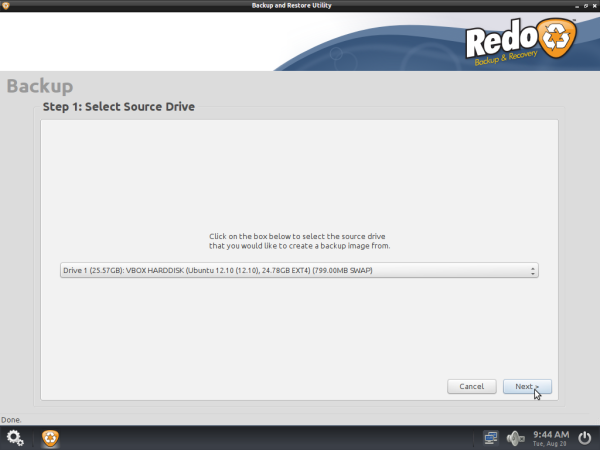
Select Partition
Select which parts of the drive to create backup of. Leave all parts selected if you are unsure. Click on “Next“.
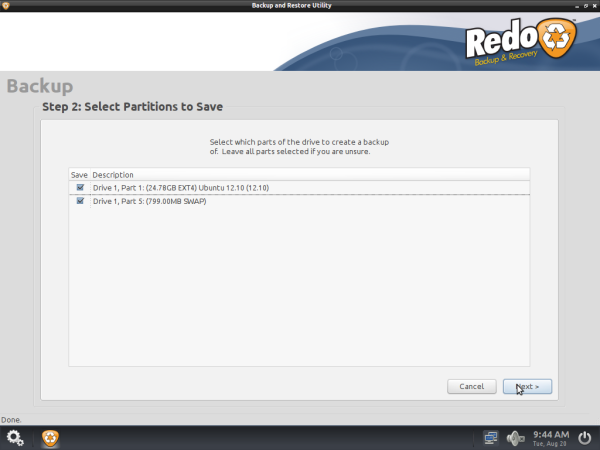
Select Partition Backup Drive
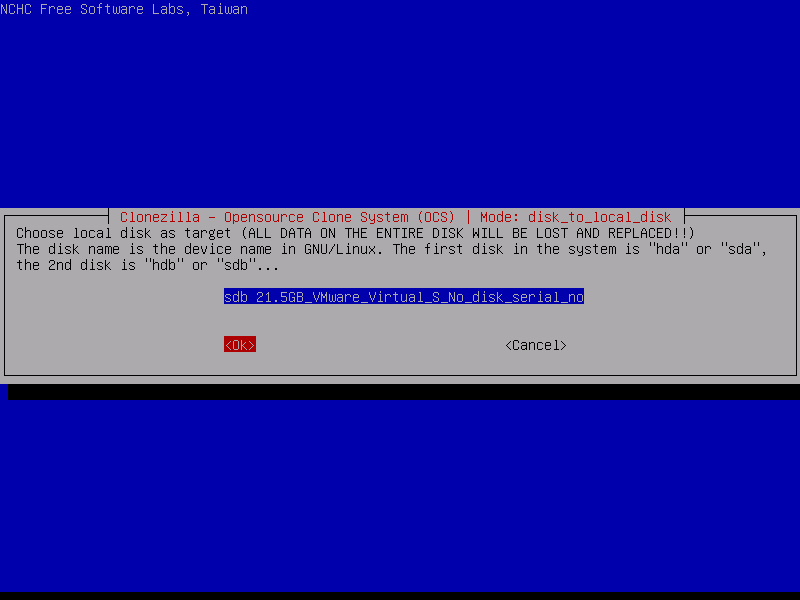
Select Destination Drive it could be local drive connected to your computer or shared network drive.
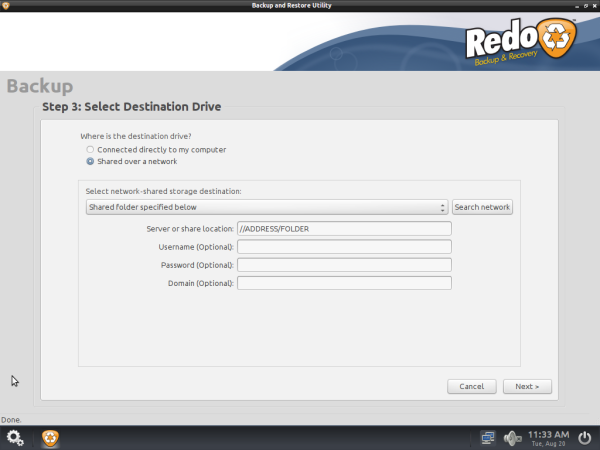
Select Backup Destination Drive
Next it will ask you to give unique name for this backup image, such as the “date“. Today’s date is automatically entered for you like “20130820“.
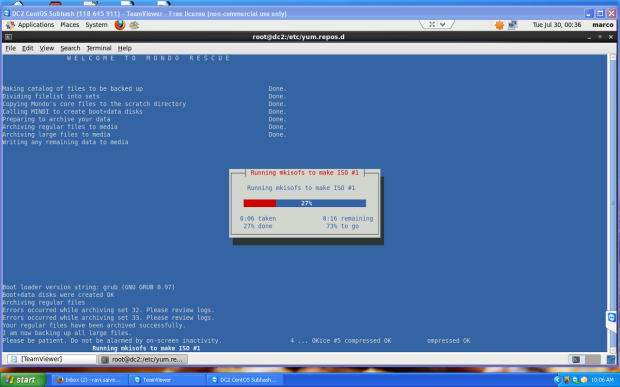
Next it will backing up your system to the location you selected. This may take an hour or more depending on the speed of your computer and the amount of data you have.
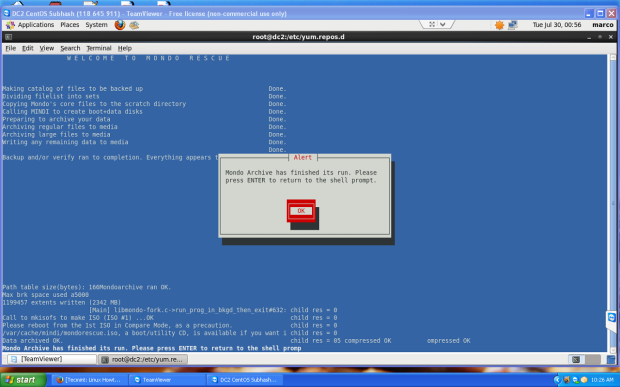
That’s it, you successfully created backup image for your computer. If you would like to Restore this image on any other computer follow the same procedure and select “Restore“, then follow on-screen instructions.