One important thing to master under Linux System/Server Administration is package management using different package management tools.
Different Linux distributions install applications in a pre-compiled package that contain binary files, configuration files and also information about the application’s dependencies.
Read Also: Learn 25 ‘apt-get’ and ‘apt-cache’ Command Examples in Debian based Systems
Package management tools help System/Server Administrators in many ways such as:
- Downloading and installing software
- Compile software from source
- Keeping track of all software installed, their updates and upgrades
- Handling dependencies
- and also keeping other information about installed software and many more
In this guide, we are going to look at 15 examples of how to use the new APT (Advanced Package Tool) on your Ubuntu Linux systems.
APT is a command-line based tool that is used for dealing with packages on a Ubuntu based Linux systems. It presents a command line interface to the package management on your system.
1. Installing a Package
You can install a package as follows by specify a single package name or install many packages at once by listing all their names.
$ sudo apt install glances
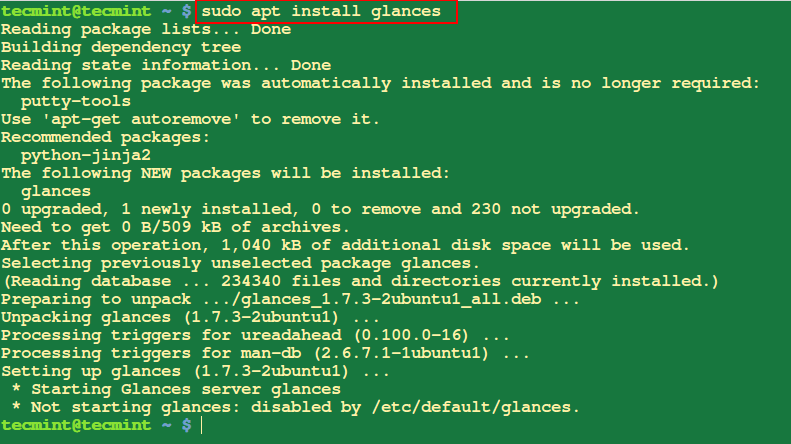
Install a Package
2. Find Location of Installed Package
The following command will help you to list all the files that are contained in a package called glances (advance Linux monitoring tool).
$ sudo apt content glances
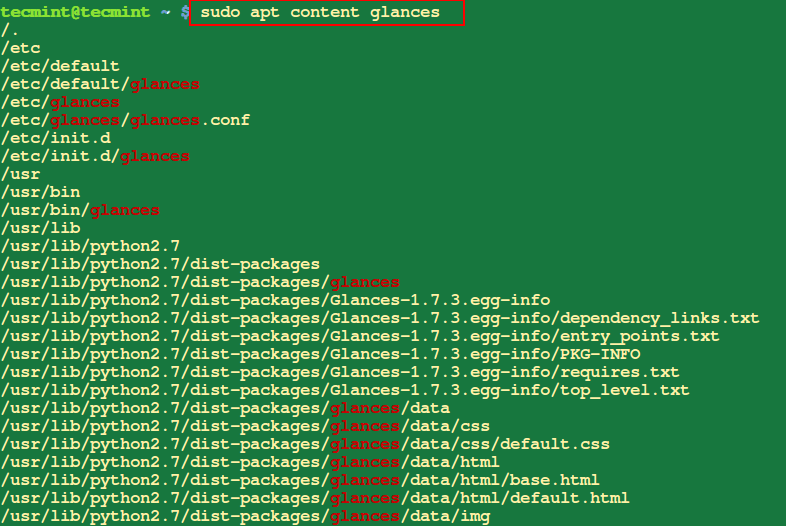
Find Installed Package Files Location
3. Check All Dependencies of a Package
This will help you to display raw information about dependencies of a particular package that you specify.
$ sudo apt depends glances
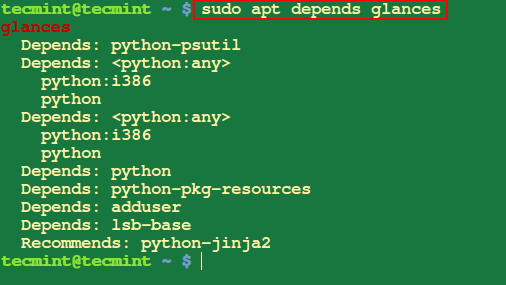
Check Dependencies of Package
4. Search for a Package
The search option searches for the given package name and show all the matching packages.
$ sudo apt search apache2
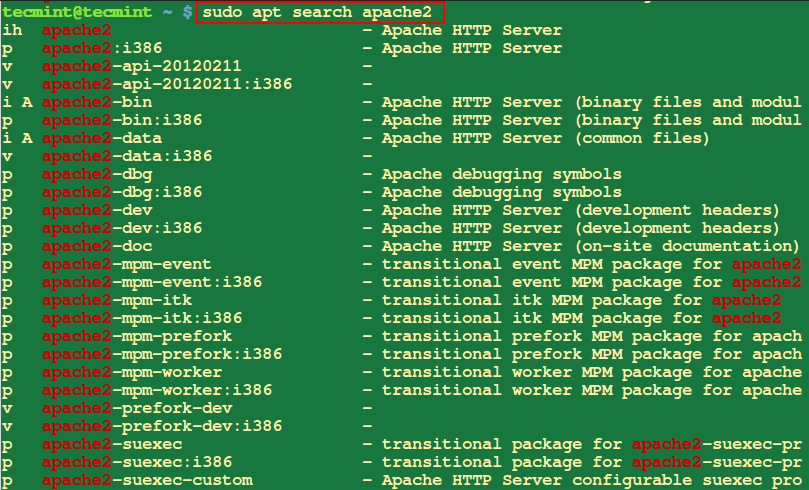
Search For a Package
5. View Information About Package
This will help you display information about package or packages, run the command below by specifying all the packages that you want to display information about.
$ sudo apt show firefox
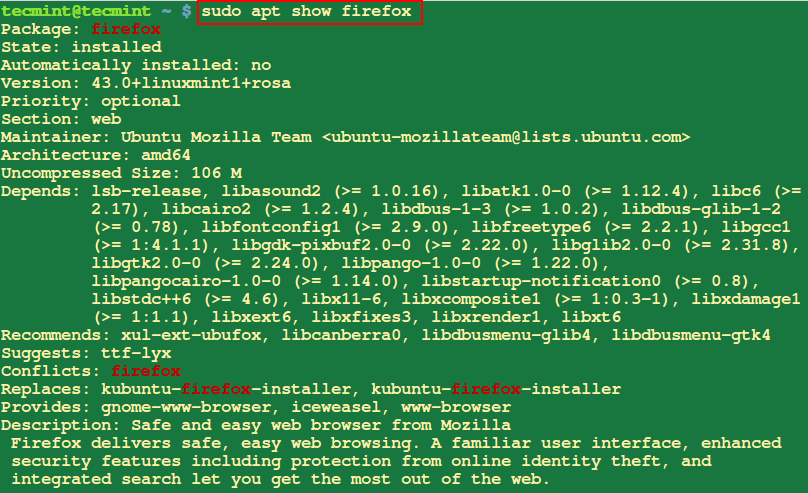
Show Package Information
6. Verify a Package for any Broken Dependencies
Sometimes during package installation, you may get errors concerning broken package dependencies, to check that you do not have these problems run the command below with the package name.
$ sudo apt check firefox

Check Package for Broke Dependencies
7. List Recommended Missing Packages of Given Package
$ sudo apt recommends apache2

View Recommended Missing Packages
8. Check Installed Package Version
The ‘version’ option will show you the installed package version.
$ sudo apt version firefox
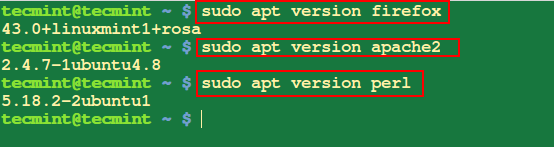
Check Installed Package Version
9. Update System Packages
This will help you to download a list of packages from different repositories included on your system and updates them when there are new versions of packages and their dependencies.
$ sudo apt update
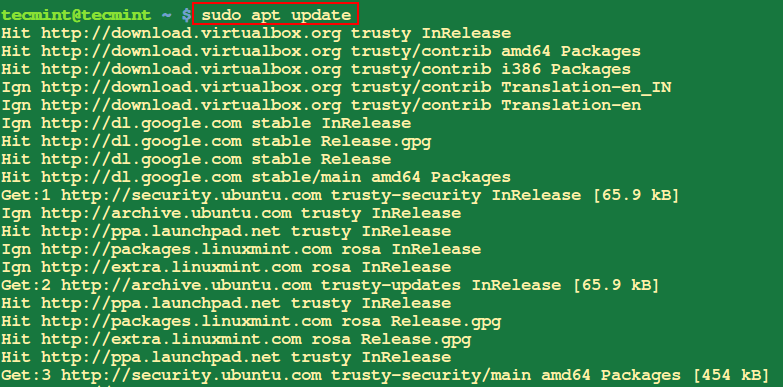
Update System Packages
10. Upgrade System
This helps you to install new versions of all the packages on your system.
$ sudo apt upgrade
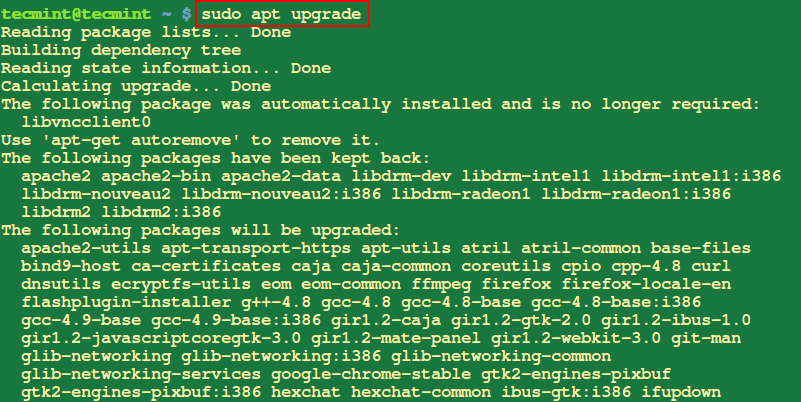
Upgrade System
11. Remove Unused Packages
When you install a new package on your system, it’s dependencies are also installed and they use some system libraries with other packages. The after removing that particular package, it’s dependencies will remain on the system, therefore to remove them use autoremove as follows:
$ sudo apt autoremove

Remove Unwanted Packages
12. Clean Old Repository of Downloaded Packages
The option ‘clean’ or ‘autoclean’ remove all old local repository of downloaded package files.
$ sudo apt autoclean
or
$ sudo apt clean
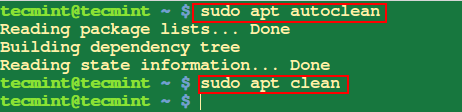
Clean Package Repository
13. Remove Packages with its Configuration Files
When you run apt with remove, it only removes the package files but configuration files remain on the system. Therefore to remove a package and it’s configuration files, you will have to use purge.
$ sudo apt purge glances

Remove Package Configuration Files
14. Install .Deb Package
To install a .deb file, run the command below with the filename as an argument as follows:
$ sudo apt deb atom-amd64.deb
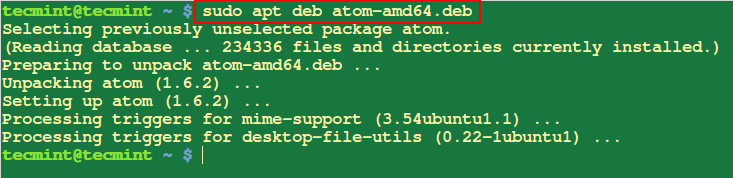
Install Deb Package
15. Find Help While Using APT
The following command will list you all the options with it’s description on how to use APT on your system.
$ apt help
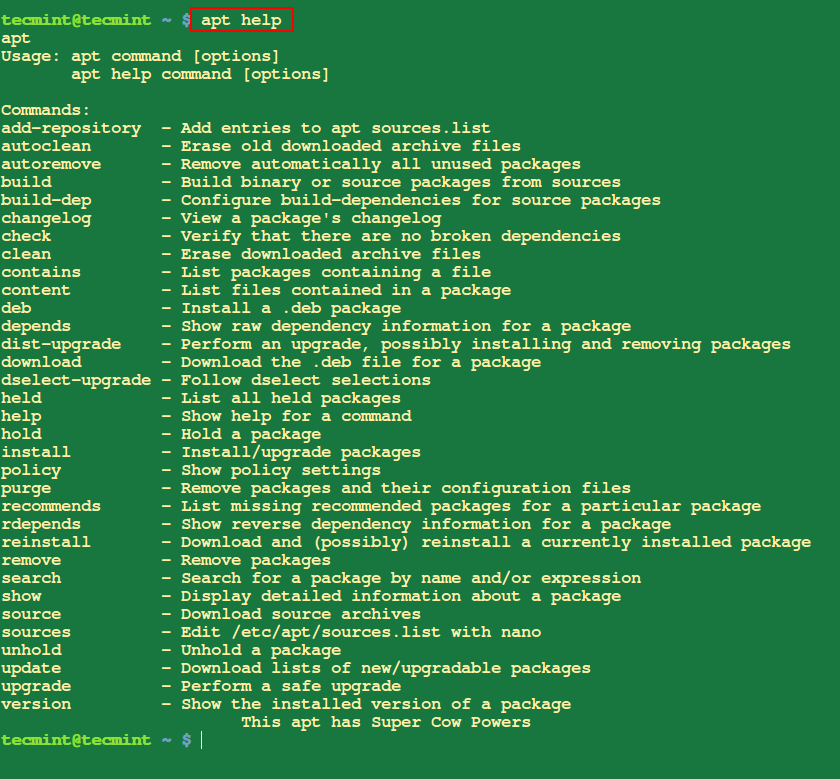
APT Command Help
Summary
Always remember that good Linux package management, can help you avoid breaking your system. There are so many other package management tools that you can use in Linux.
You can share with us what you use and your experience with it. I hope the article is helpful and for any additional information, leave a comment in the comment section.