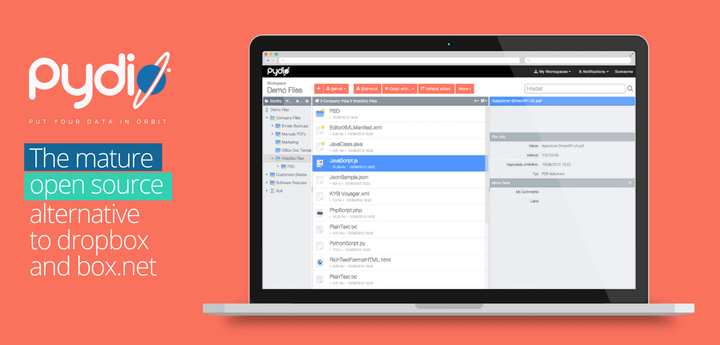
Pydio – Create Own File Sharing and Synchronization Platform
Pydio is an Open source, secure and powerful online file sharing and synchronization software solution that can be an alternative to many online cloud storage systems. It can be accessed from the web, desktop or mobile platforms and hosting is private therefore you can implement your own security measures.
12 Open Source Cloud Storage Solutions to Sync Your Data Safely
Pydio Features
Pydio offers the following features:
- Secure links with passwords with an expiration date.
- Integration with LDAP/AD server for user authentication.
- Monitor user activities in real time on the system.
- Creation of workspace from shared folders among different users.
- Notify users of file or folder modifications.
- Supports SSO with many Content Management Systems (CMS) such as WordPress, Joomla, Drupal, Xibo and many others including custom designed CMS.
- Preview user files such as audio, video and documents such as Office documents, PDFs and many more.
In this tutorial, I am going to take you through the process of setting up Pydio file sharing and synchronization portal on RHEL/CentOS and Fedora.
Step 1: Installing Web Server and Dependencies
1. Pydio only requires a web server (Apache, Nginx or Lighttpd) with PHP 5.1 or higher along with some dependencies such as GD, MCrypt, Mbstring, DomXML, etc. In most of the today’s distributions, these libraries are pre-installed on standard PHP installation. If not, let’s install them using following series of commands.
Before installing dependencies, first you need to enable EPEL repository under your Linux system and update the repository database using yum package manager:
# yum install epel-release
# yum update
Once the repository has been enabled, you can now install the Apache web server and php libraries as shown:
# yum -y install httpd
# yum -y install php php-gd php-ldap php-pear php-xml php-xmlrpc php-mbstring curl php-mcrypt* php-mysql

--------------- On Fedora 22+ ---------------
# dnf -y install php php-gd php-ldap php-pear php-xml php-xmlrpc php-mbstring curl php-mcrypt* php-mysql
2. Once all the required PHP extensions are installed properly, it’s time to open Apache HTTP and HTTPS ports on firewall.
--------------- On FirewallD for CentOS 7 and Fedora 22+ ---------------
# firewall-cmd --permanent --zone=public --add-service=http
# firewall-cmd --permanent --zone=public --add-service=https
# firewall-cmd --reload
--------------- On IPtables for CentOS 6 and Fedora ---------------
# iptables -A INPUT -p tcp -m tcp --dport 80 -j ACCEPT
# iptables -A INPUT -p tcp -m tcp --dport 443 -j ACCEPT
# /etc/init.d/iptables save
Step 2: Create Pydio Database
3. To create pydio database, you must have MySQL/MariaDB server installed on the system, if not let’s install it.
# yum install mysql mysql-server            [On CentOS/RHEL 6 and Fedora]
# yum install mariadb mariadb-server        [On CentOS 7]
# dnf install mariadb mariadb-server        [On Fedora 22+]
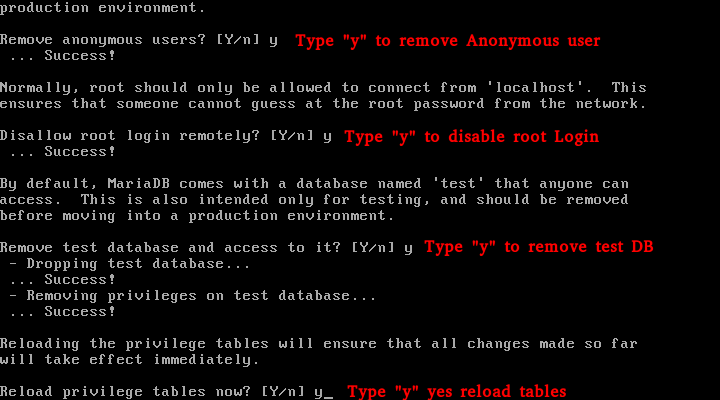
Next secure mysql installation using command mysql_secure_installation and follow on screen instructions as shown.
MySQL Secure Installation
Now connect to MySQL and create a new pydio user and set grant privileges as shown:
create database pydio;
create user pydio@localhost identified by 'tecmint';
grant all privileges on pydio.* to pydio@'localhost' identified by 'tecmint';
Step 3: Installing Pydio File Hosting Server
4. Here, we will use official Pydio repository to install most recent version of Pydio package with the help of following series of commands.
# rpm -Uvh http://dl.ajaxplorer.info/repos/pydio-release-1-1.noarch.rpm
# yum update
# yum --disablerepo=pydio-testing install pydio
Step 4: Configuring Pydio File Hosting Server
5. Next open and add the following configuration to .htaccess file to enable Pydio access over web as shown:
# vi /var/lib/pydio/public/.htaccess
Add the following configuration.
Order Deny,Allow
Allow from all
<Files ".ajxp_*">
deny from all

RewriteEngine on
RewriteBase pydio_public
RewriteCond %{REQUEST_FILENAME} !-f
RewriteCond %{REQUEST_FILENAME} !-d
RewriteRule ^([a-zA-Z0-9_-]+)\.php$ share.php?hash=$1 [QSA]
RewriteRule ^([a-zA-Z0-9_-]+)--([a-z]+)$ share.php?hash=$1&lang=$2 [QSA]
RewriteRule ^([a-zA-Z0-9_-]+)$ share.php?hash=$1 [QSA]
In CentOS 7.x and Fedora 22+ distributions, you need to modify and add the following lines to pydio.conf file.
Alias /pydio /usr/share/pydio
Alias /pydio_public /var/lib/pydio/public

<Directory "/usr/share/pydio">
        Options FollowSymLinks
        AllowOverride Limit FileInfo
	Require all granted
      	php_value error_reporting 2
</Directory>


<Directory "/var/lib/pydio/public">
        AllowOverride Limit FileInfo
	Require all granted
      	php_value error_reporting 2
</Directory>
6. Next configure php.ini to allow max file upload, disable php output buffering and increase memory_limit to boost performance of Pydio as shown:
# vi /etc/php.ini
post_max_size = 1G
upload_max_filesize = 1G
output_buffering = Off
memory_limit = 1024M
7. Now set correct charset encoding in your locale definition in the form: en_us.UTF-8. First find out current charset lang of system by running following command.
# echo $LANG
Next open /etc/pydio/bootstrap_conf.php file and add the following line.
define("AJXP_LOCALE", "en_US.UTF-8");
8. It is recommended to use SSL encryption to secure all Pydio connections of data over secure HTTPS network. To do this, first install the mod_ssl package and open the following file and modify as shown:
# yum install mod_ssl
# vi /etc/pydio/bootstrap_conf.php
Now uncomment the following line at the bottom of the file. This will automatically redirect all connection via HTTPS.
define("AJXP_FORCE_SSL_REDIRECT", true);
9. Finally restart Apache web server to take new changes into effect.
# systemctl restart httpd.service       [On CentOS 7 and Fedora 22+]
# service httpd restart                 [On CentOS 6 and Fedora]
Step 5: Start Pydio Web Installer Wizard
10. Now open your web browser and type the url to load the web installer.
http://localhost/pydio/
OR
http://ip-address/pydio/
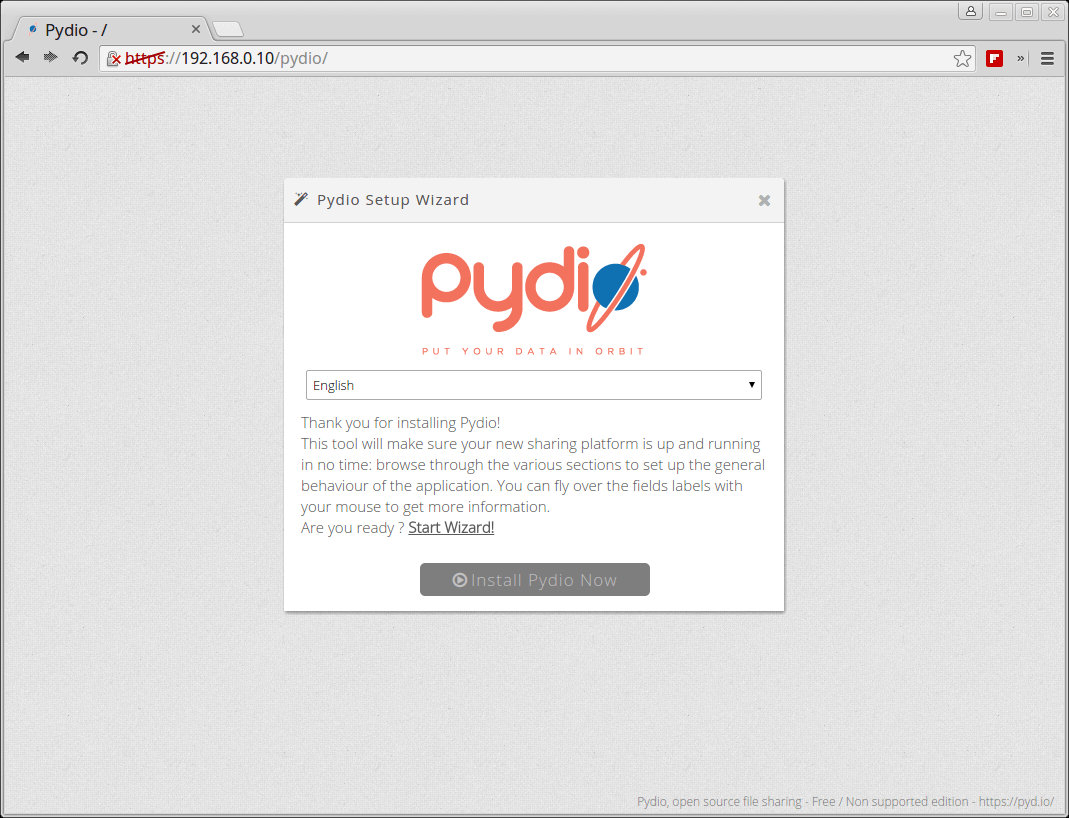
Pydio Installer
Click on the “Start Wizard” and follow on screen installer instructions….
Create Pydio Admin Account
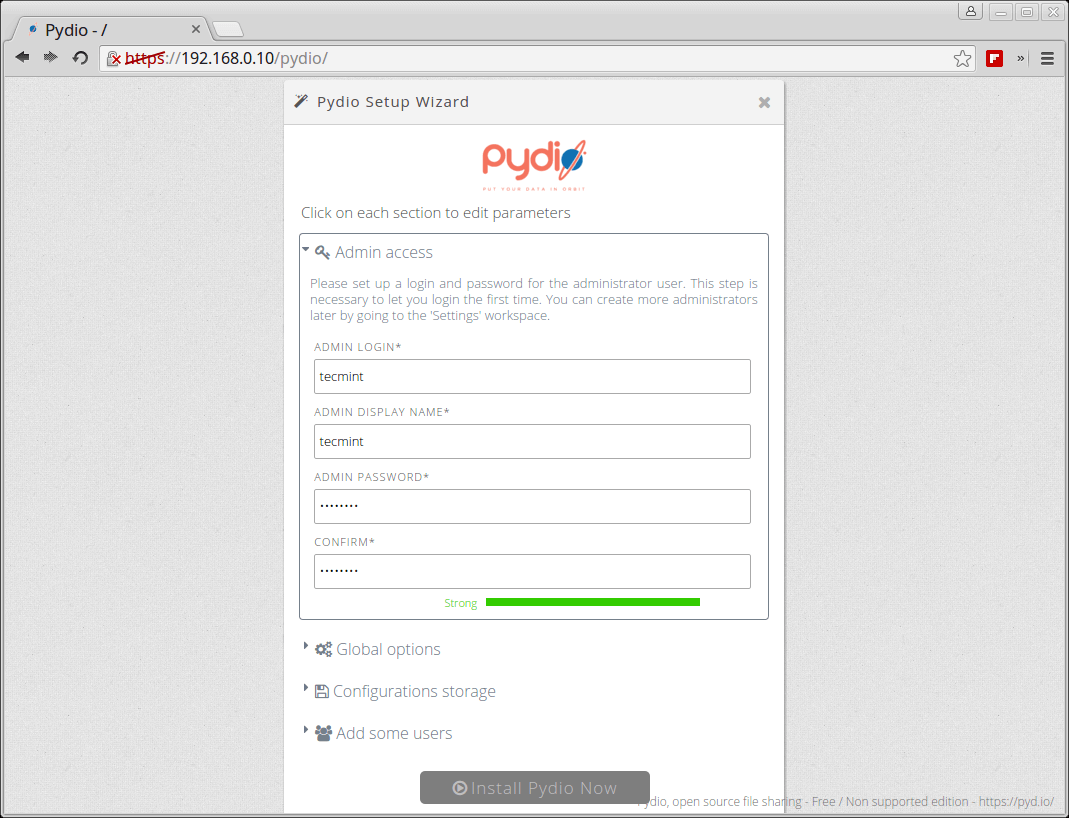
Create Pydio Admin Account
Setup Global Options
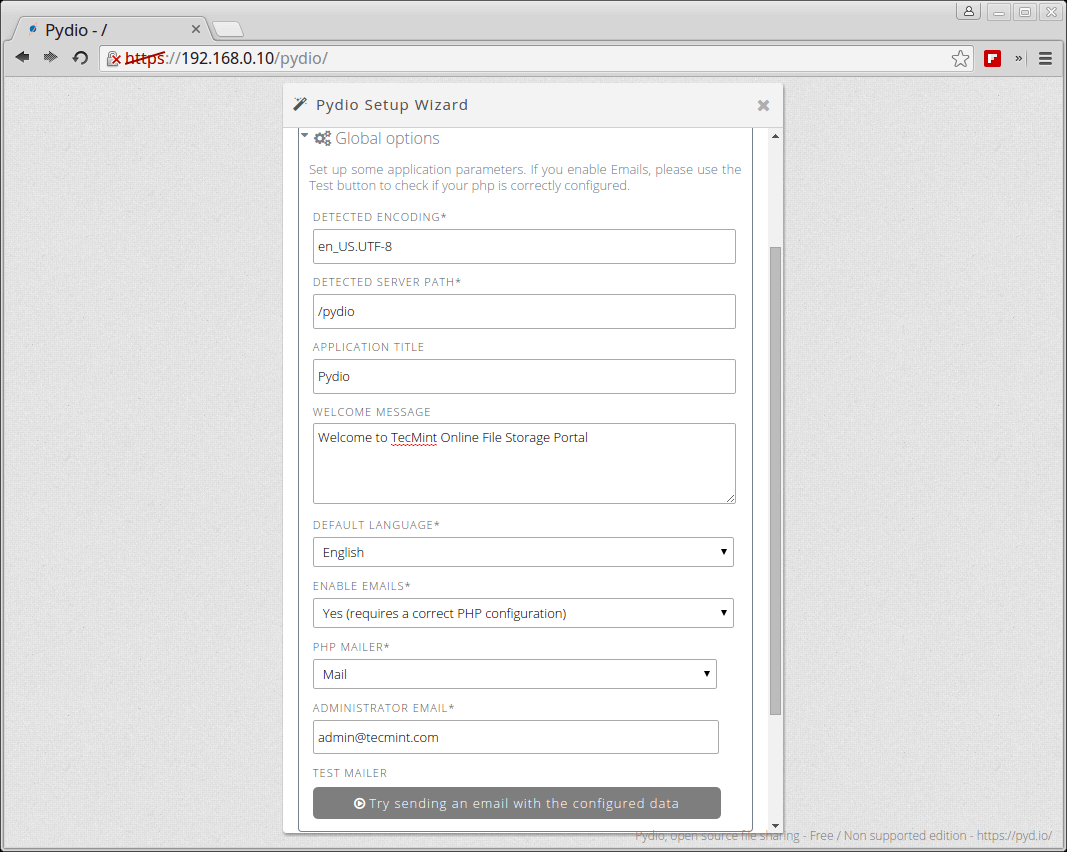
Set Pydio Global Options
Configure Pydio MySQL Database
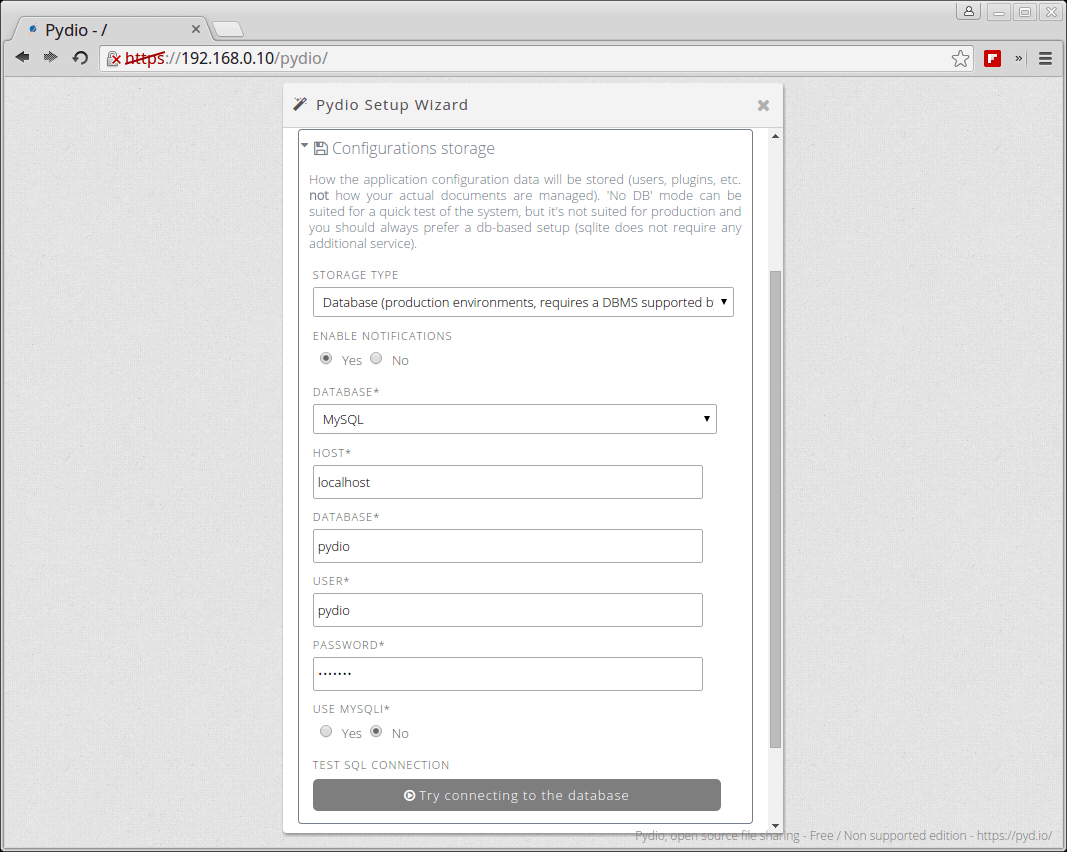
Configure Pydio MySQL Database
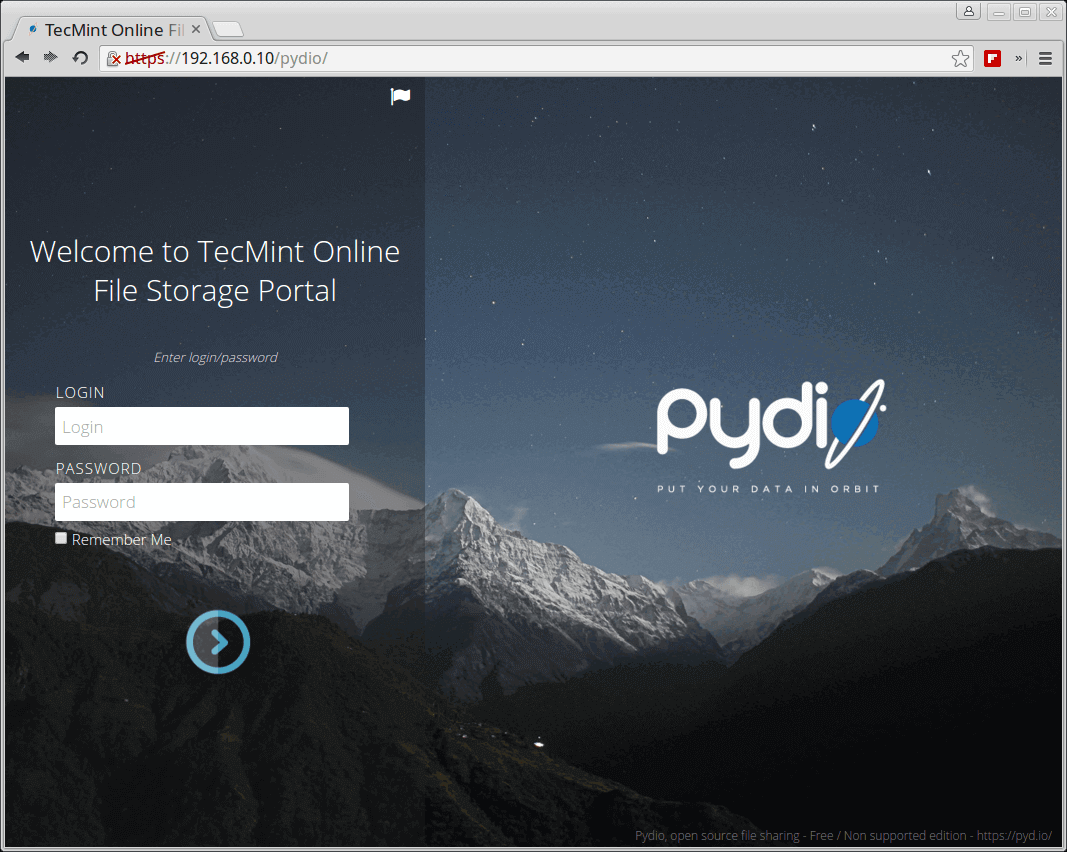
Pydio Login
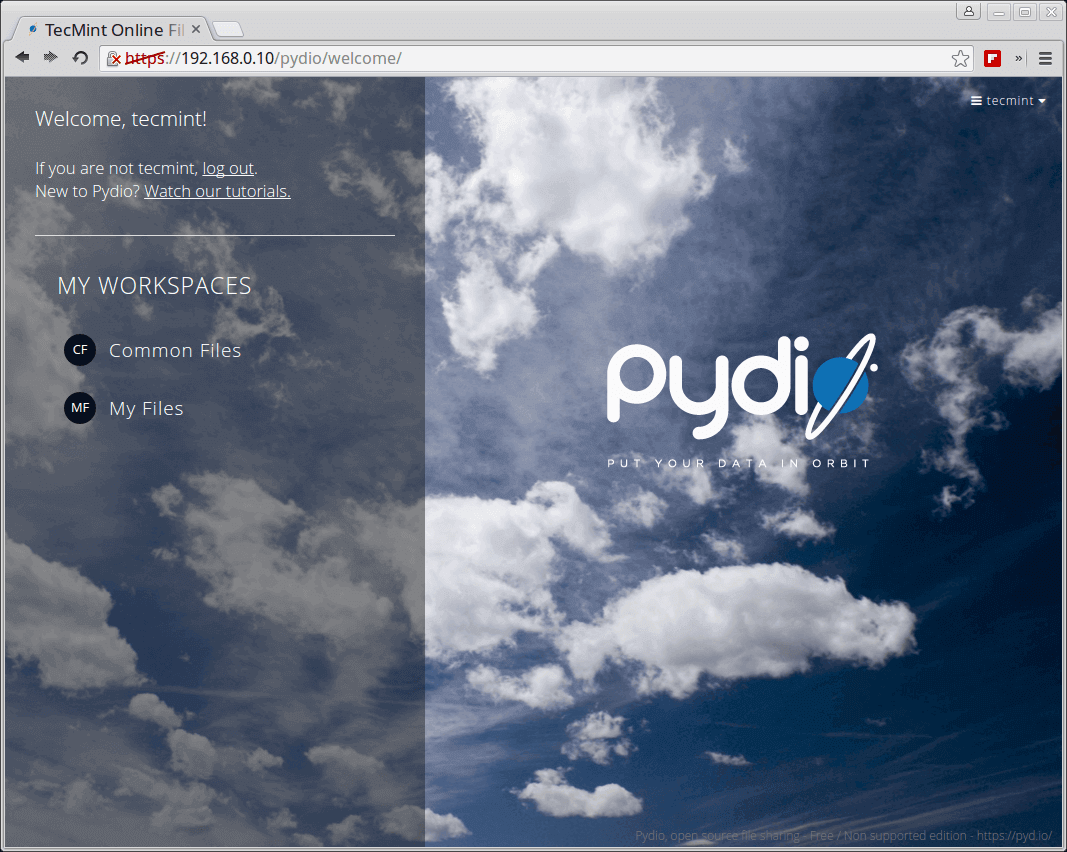
Pydio Dashboard
Concluding
Cloud storage is on the rise and many companies out there are embarking on designing web file sharing software solutions such as Pydio. Hope you find this tutorial helpful and if you know of any other software out there that you have used, or if you are facing problems during installation or setup, let us know of it by leaving a comment. Thanks for reading and stay connected to Tecmint.
Reference: https://pyd.io/