In this post, we shall cover a few of the top, open-source artificial intelligence (AI) tools for the Linux ecosystem. Currently, AI is one of the ever advancing fields in science and technology, with a major focus geared towards building software and hardware to solve every day life challenges in areas such as health care, education, security, manufacturing, banking and so much more.
Suggested Read: 20 Free Open Source Softwares I Found in Year 2015
Below is a list of a number of platforms designed and developed for supporting AI, that you can utilize on Linux and possibly many other operating systems. Remember this list is not arranged in any specific order of interest.
1. Deep Learning For Java (Deeplearning4j)
Deeplearning4j is a commercial grade, open-source, plug and play, distributed deep-learning library for Java and Scala programming languages. It’s designed specifically for business related application, and integrated with Hadoop and Spark on top of distributed CPUs and GPUs.
DL4J is released under the Apache 2.0 license and provides GPU support for scaling on AWS and is adapted for micro-service architecture.
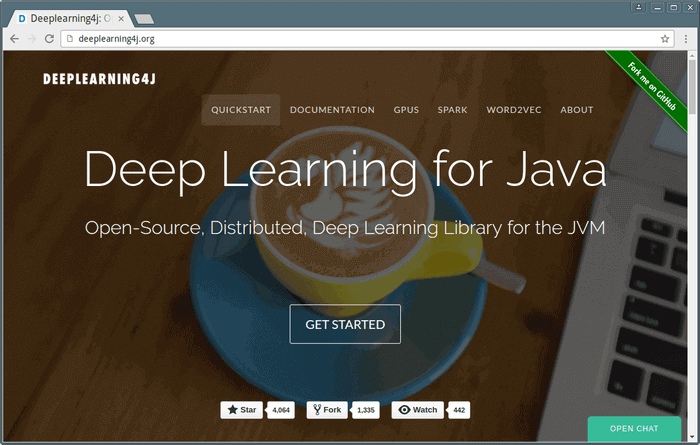
Deeplearning4j – Deep Learning for Java
Visit Homepage: http://deeplearning4j.org/
2. Caffe – Deep Learning Framework
Caffe is a modular and expressive deep learning framework based on speed. It is released under the BSD 2-Clause license, and it’s already supporting several community projects in areas such as research, startup prototypes, industrial applications in fields such as vision, speech and multimedia.
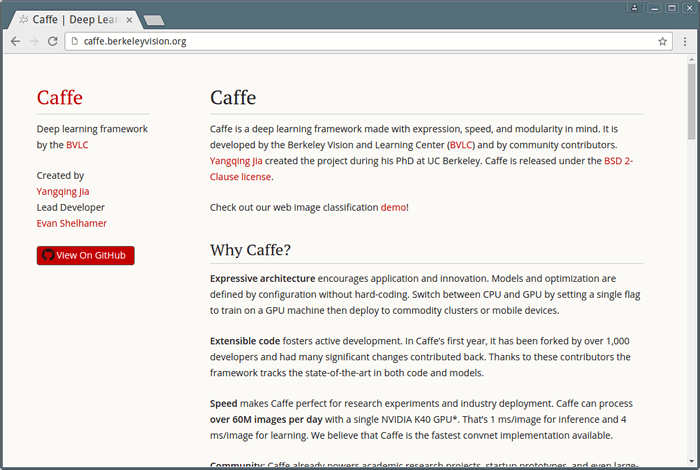
Caffe – Deep Learning Framework
Visit Homepage: http://caffe.berkeleyvision.org/
3. H20 – Distributed Machine Learning Framework
H20 is an open-source, fast, scalable and distributed machine learning framework, plus the assortment of algorithms equipped on the framework. It supports smarter application such as deep learning, gradient boosting, random forests, generalized linear modeling (I.e logistic regression, Elastic Net) and many more.
It is a businesses oriented artificial intelligence tool for decision making from data, it enables users to draw insights from their data using faster and better predictive modeling.
H2O – Distributed Machine Learning Framework
Visit Homepage: http://www.h2o.ai/
4. MLlib – Machine Learning Library
MLlib is an open-source, easy-to-use and high performance machine learning library developed as part of Apache Spark. It is essentially easy to deploy and can run on existing Hadoop clusters and data.
Suggested Read: 12 Best Open Source Text Editors (GUI + CLI) I Found in 2015
MLlib also ships in with an collection of algorithms for classification, regression, recommendation, clustering, survival analysis and so much more. Importantly, it can be used in Python, Java, Scala and R programming languages.
MLlib – Machine Learning Library
Visit Homepage: https://spark.apache.org/mllib/
5. Apache Mahout
Mahout is an open-source framework designed for building scalable machine learning applications, it has three prominent features listed below:
- Provides simple and extensible programming workplace
- Offers a variety of prepackaged algorithms for Scala + Apache Spark, H20 as well as Apache Flink
- Includes Samaras, a vector math experimentation workplace with R-like syntax
Apache Mahout
Visit Homepage: http://mahout.apache.org/
6. Open Neural Networks Library (OpenNN)
OpenNN is also an open-source class library written in C++ for deep learning, it is used to instigate neural networks. However, it is only optimal for experienced C++ programmers and persons with tremendous machine learning skills. It’s characterized of a deep architecture and high performance.
OpenNN – Open Neural Networks Library
Visit Homepage: http://www.opennn.net/
7. Oryx 2
Oryx 2 is a continuation of the initial Oryx project, it’s developed on Apache Spark and Apache Kafka as a re-architecting of the lambda architecture, although dedicated towards achieving real-time machine learning.
It is a platform for application development and ships in with certain applications as well for collaborative filtering, classification, regression and clustering purposes.

Oryx2 – Re-architecting Lambda Architecture
Visit Homepage: http://oryx.io/
8. OpenCyc
OpenCyc is an open-source portal to the largest and most comprehensive general knowledge base and commonsense reasoning engine of the world. It includes a large number of Cyc terms arranged in a precisely designed onology for application in areas such as:
- Rich domain modeling
- Domain-specific expert systems
- Text understanding
- Semantic data integration as well as AI games plus many more.
OpenCyc
Visit Homepage: http://www.cyc.com/platform/opencyc/
9. Apache SystemML
SystemML is open-source artificial intelligence platform for machine learning ideal for big data. Its main features are – runs on R and Python-like syntax, focused on big data and designed specifically for high-level math. How it works is well explained on the homepage, including a video demonstration for clear illustration.
Suggested Read: 18 Best IDEs for C/C++ Programming or Source Code Editors on Linux
There are several ways to use it including Apache Spark, Apache Hadoop, Jupyter and Apache Zeppelin. Some of its notable use cases include automotives, airport traffic and social banking.
Apache SystemML – Machine Learning Platform
Visit Homepage: http://systemml.apache.org/
10. NuPIC
NuPIC is an open-source framework for machine learning that is based on Heirarchical Temporary Memory (HTM), a neocortex theory. The HTM program integrated in NuPIC is implemented for analyzing real-time streaming data, where it learns time-based patterns existing in data, predicts the imminent values as well as reveals any irregularities.
Its notable features include:
- Continuous online learning
- Temporal and spatial patterns
- Real-time streaming data
- Prediction and modeling
- Powerful anomaly detection
- Hierarchical temporal memory
NuPIC Machine Intelligence
Visit Homepage: http://numenta.org/
With the rise and ever advancing research in AI, we are bound to witness more tools spring up to help make this area of technology a success especially for solving daily scientific challenges along with educational purposes.
Are you interested in AI, what is your say? Offer us your thoughts, suggestions or any productive feedback about the subject matter via the comment section below and we shall be delighted to know more from your.