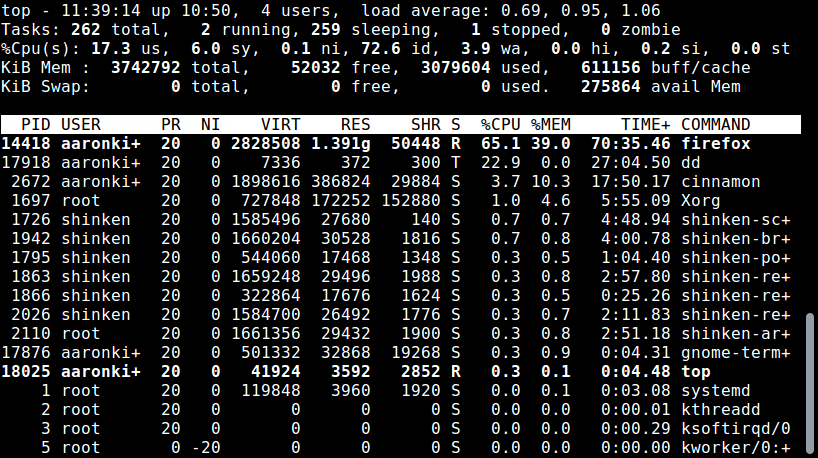
phpList is one of the most popular open source mailing list manager that has a capability of sending newsletters, news, messages to a huge number of subscribers. It provides a user friendly interface where you can manage newsletter, subscriptions lists, newsletter reports, notification and much more. You can also call it as mass mailing software. It’s very easy to integrate with any website.
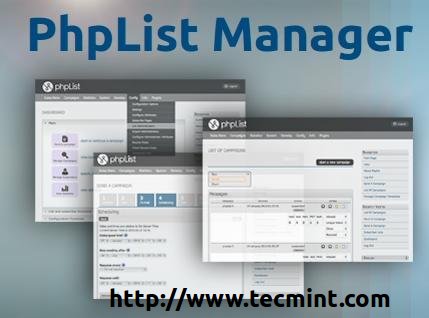
phpList Newsletter Manager for Linux
The phpList uses MySQL database for storing information and the script is written in PHP. It runs on any web server which helps the administrator to set up a system for newsletter subscription wherein the users can subscribe to the respective mailing list. You can manage your own mailing list and also attach files to the emails (deal announcement, business documents) etc.
The software was designed for GNU/Linux with Apache. It is also supports other Unix-like systems, such as FreeBSD, OpenBSD, Mac OS X, and Windows.
phpList Demo’s
- Watch Frontend Demo of script – http://demo.phplist.com/lists/
- Watch Admin Demo of script – http://demo.phplist.com/lists/admin/
Features of phpList
- phpList is great for newsletters, notifications and many other uses. It is capable of managing large number of mailing list subscribers. It even works well with small list too.
- Phplist web interface allows you to write, send messages and manage the phplist over the internet. However it keeps on sending messages even though your system is turned off.
- The templates are fully customizable and can be integrated with several website.
- Keep a track of number of users opened your email message.
- With the help of FCKeditor and TinyMCE editors you can edit HTML messages. You can give a choice between text or html email message to your subscribers.
- It delivers the message in a queue so that each and every subscriber gets the message. It also ensures that they do not receive two copies even they’re subscribed to several list.
- Subscriber’s Attributes such as name, country etc. can be personalized, that means you can specify the important information that you need from the users at the time of subscription.
- User Management tools are good to maintain as well as manage huge databases of subscribers.
- Throttling can limit the load on your server so it doesn’t overload.
- Schedule sending allows you to schedule your message as on when the message is to be sent. RSS feeds can be automatically sent to a mailing list weekly, daily, or monthly.
- Phplist is presently available in English, French, Portuguese, German, Spanish, Dutch, Traditional Chinese, Vietname and Japanese. Work Translation for other languages in still in progress.
Requirement of phpList
In order to install PhPlist application we require:
- GNU/Linux operating system
- Apache web server<./li>
- PHP version 4.3 or higher
- PHP Imap Module
- MySQL server version 4.0 or higher
Testing Environment
- Operating System – CentOS 6.4 & Ubuntu 13.04
- Apache – 2.2.15
- PHP – 5.5.3
- MySQL – 5.1.71
- phpList – 3.0.5
Installation of phpList Newsletter Manager in Linux
As I mentioned earlier that phpList is developed in PHP for Linux with Apache. So, you must have a running Web server with PHP and MySQL installed on the system. Additionally, you also have to install IMAP module for bounce message processing. If not, install them using package manager tool called yum or apt-get according to your Linux distribution.
Step 1: Install Apache, PHP and MySQL
Install on Red Hat based systems using yum command.
# yum install httpd
# yum install php php-mysql php-imap
# yum install mysql mysql-server
# service httpd start
# service mysqld start
Install on Debian based systems using apt-get command.
# apt-get install apache2
# apt-get install php5 libapache2-mod-auth-mysql php5-mysql php5-imap
# apt-get install mysql-server mysql-client
# service apache2 start
# service mysql start
Step 2: Create phpList Database
Once you’ve installed all the required packages on the system, just login to your database (MySQL, here).
# mysql -u root -p
Enter mysql root password. Now create a database (say phplist).
mysql> create database phplist;
Query OK, 1 row affected (0.00 sec)
It is not a good practice to access database from root user directly, hence create a user called ‘tecmint’ and grant all the permission to user on the database ‘phplist‘ with a password to access it. Replace ‘my_password‘ with your own password, we need this password later while configuring phpList.
mysql> grant all on phplist.* to tecmint@localhost identified by 'my_password';
Query OK, 0 rows affected (0.00 sec)
Now reload privileges to reflect new changes on the database and quit the mysql shell.
mysql> flush privileges;
Query OK, 0 rows affected (0.08 sec)

mysql> quit;
Bye
Step 3: Download and Install phpList
Now go the official phpList site and download the latest source tarball (i.e version 3.0.5) using below link.
Alternatively, you may also download the latest source package using the following wget command.
# wget http://garr.dl.sourceforge.net/project/phplist/phplist/3.0.5/phplist-3.0.5.tgz
After Downloading the phplist package, unpack the package files. It will create a directory called ‘phplist-3.0.5′in this directory, you will find a ‘public_html‘ which contains the directory lists.
# tar -xvf phplist-3.0.5.tgz
# cd phplist-3.0.5
# cd public_html/
Now Copy the “lists” directory into a Apache web root directory that can be accessed via the web.
# cp -r lists /var/www/html/        [For RedHat based Systems]

# cp -r lists /var/www/            [For Debian based Systems]
Step 4: Configuring phpList
Open phpList configuration file ‘config.php‘ from the ‘lists/config’ directory in your preferred text editor.
# vi config.php
Add the phpList database connection settings such hostname, database name, database user and database password as shown below.
# what is your Mysql database server hostname
$database_host = "localhost";

# what is the name of the database we are using
$database_name = "phplist";

# what user has access to this database
$database_user = "tecmint";

# and what is the password to login to control the database
$database_password = 'my_password';
You need to edit one more setting, by default phpList in ‘testmode‘, so you need to change the value from ‘1‘ to ‘0‘ to disable testmode.
define ("TEST",0);
Once you’ve entered all the details details. Save and close the file.
Step 5: Access phpList Application
Finally, point to your browser at ‘lists/admin‘ directory of your phpList installation. A web-based installation wizard will walk you through the rest.
http://localhost/lists/admin

OR

http://ip-address/lists/admin
Note: If your website ‘example.com‘ is pointed to the directory ‘/var/www/html/‘, and you have placed your phpList files under ‘/var/www/html/lists‘, then you should point your browser to http://www.example.com/lists/admin/.
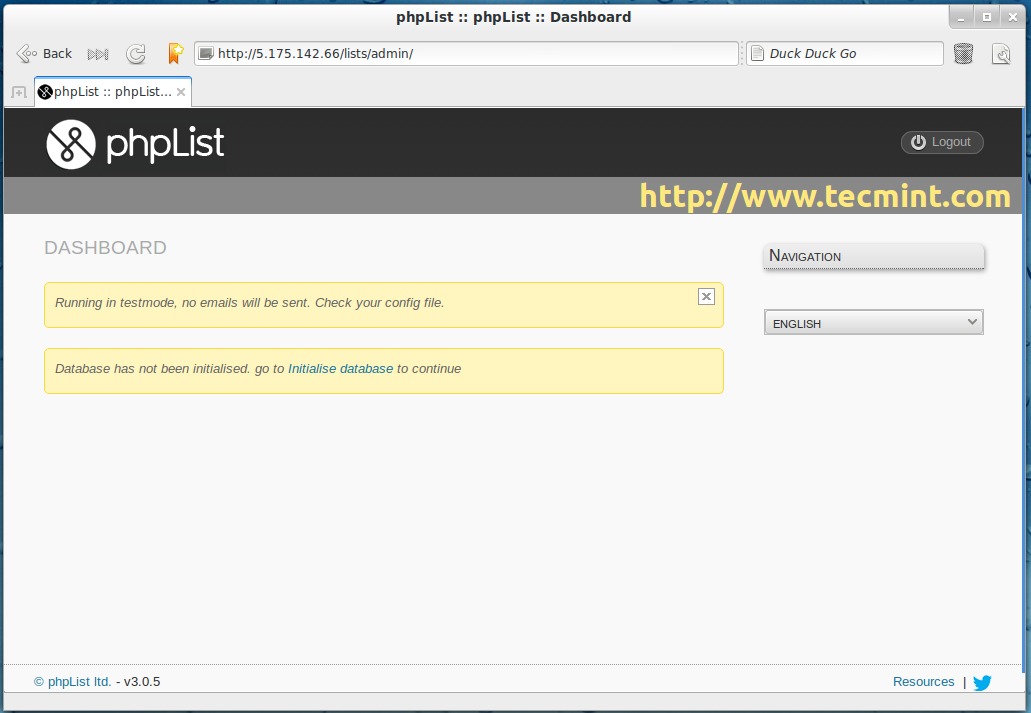
phpList Installation Wizard
Now click on ‘Initialise database‘ and fill information about your organization and set ‘admin‘ password.
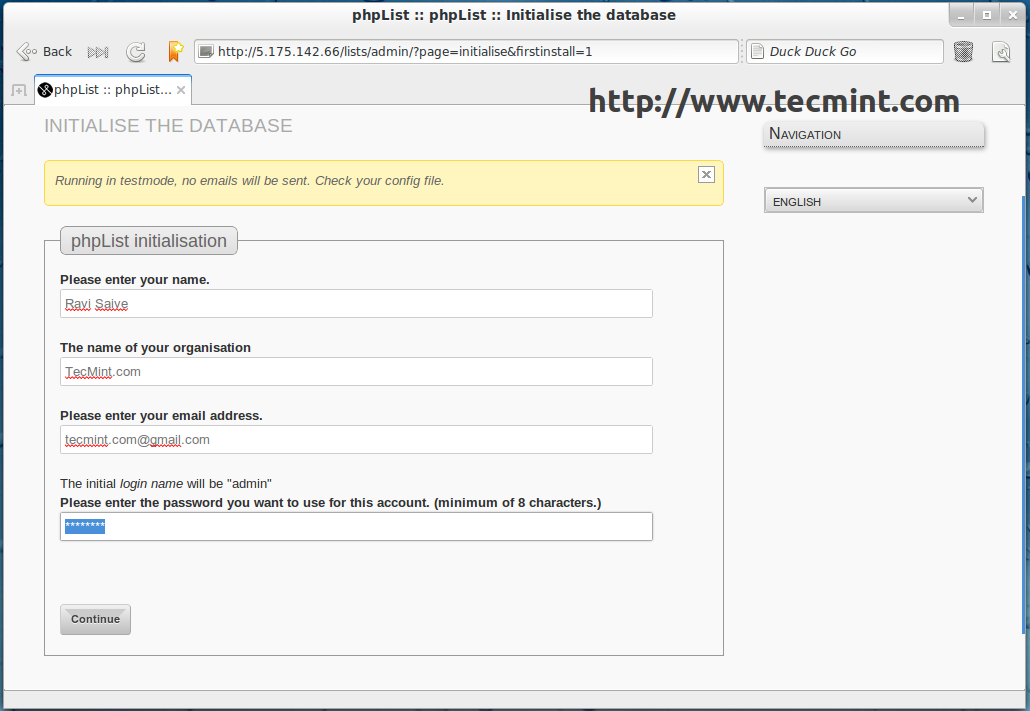
phpList Database Initialisation
Once, database initialise completes, continue to phpList setup to complete your configuration as per your requirements.
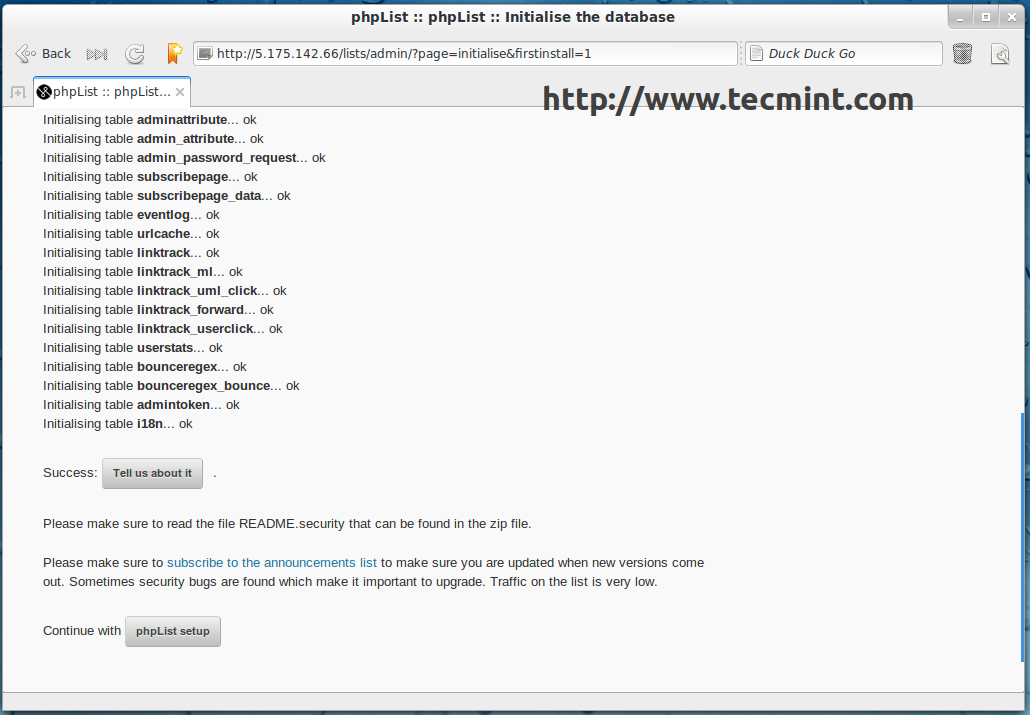
phpList Database Initialisation Completes
Once, setup complete. Login into your phpList admin panel.
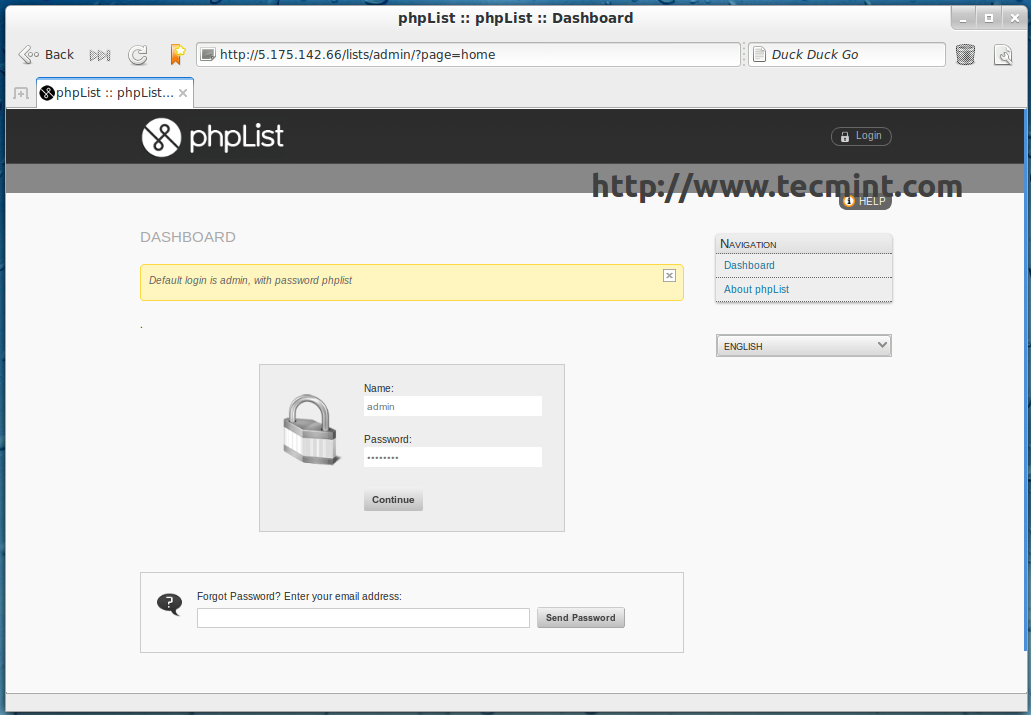
phpList Admin Login
Start creating new campaigns, view campaigns, add/delete users, view statistics and many more features to explore from the Dashboard.
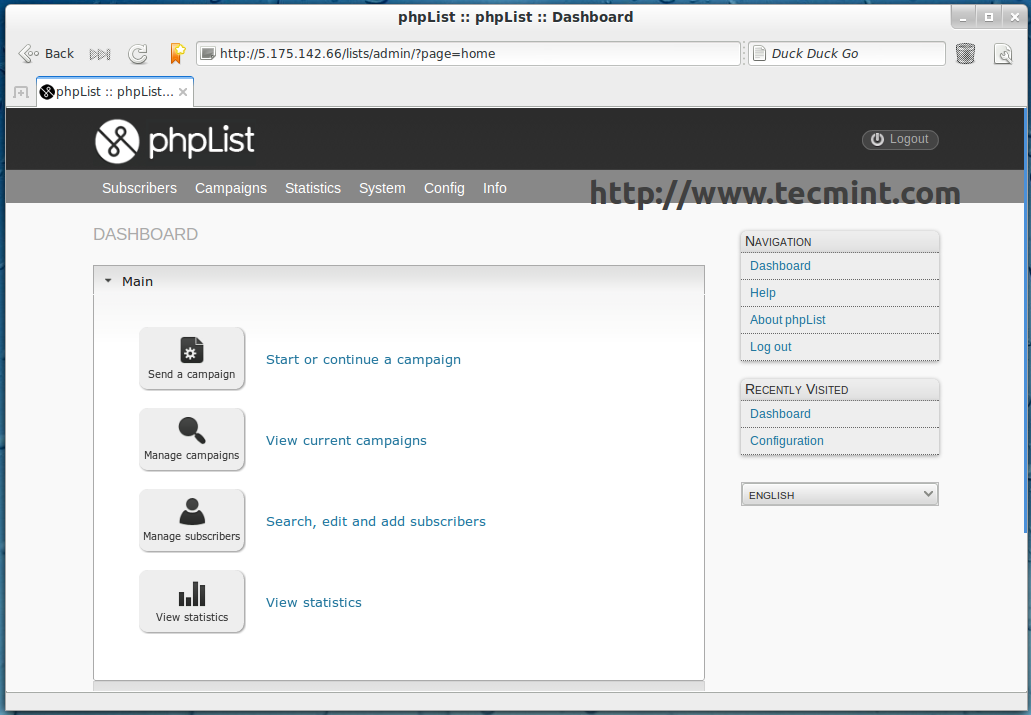
phpList Dashboard
That’s it! Now, you can start customizing and branding of your newly installed phpList newsletter manager application.
Reference Links
I know most of the users, don’t know how to install and configure applications in Linux. If you’re looking for someone to host/setup a phpList on your hosting/personal server, contact us why because we provide a wide range of Linux services at fair minimum rates.
Do let me know if you’re using any other newsletter application which is more robust than the phpList and don’t forget to share this article.