Download managers on Windows are one of the most things that are missed for every new comer to Linux world, programs like Internet Download Manager & Free Download Manager are very wanted, too bad they are not available under Linux or Unix-like systems. But fortunately, there are many alternative download managers under the Linux desktop.
Read Also: 5 Command Line Based Tools for Downloading Files in Linux
In this article, we’re going to talk about the best download managers available for the Linux OS. Those download managers are:
- XDM
- SteadyFlow
- DownThemAll
- uGet
- FlareGet
- Persepolis
- MultiGet
- Pyload
- KGet
Read Also: Best Command Line Download Accelerators for Linux
1. XDM – Xtreme Download Manager
As it’s developers says, “XDM can speed up download speed up to 500%”, for sure, it’s one of the best download managers available under the Linux desktop. XDM was written in Java.
Features of XDM
- Supports pausing / resuming the downloaded files later.
- Supports 32 segments for every downloaded file which makes the downloading process even faster.
- Supports capturing multimedia files from the famous websites like Youtube, MetaCafe, Vimeo and others in many formats like webm, MP4, AVI.. etc.
- Support for many protocols like HTTP, HTTPS, FTP.
- Support for most Linux distributions beside Windows support.
- Support for taking URLs from the clipboard quickly.
- There’s an integration extension available for most web browsers like Firefox, Chrome / Chromium, Safari..
- A very nice GUI, similar to Internet Download Manager.
- Many other features..
To install under Ubuntu/Linux Mint distributions, open terminal by hitting “Ctrl+Alt+T” and run the following commands to install the latest XDM (i.e. version 3.03).
$ wget http://xdman.sourceforge.net/xdman_mint_ubuntu.deb
$ sudo dpkg -i xdman_mint_ubuntu.deb
$ xdman
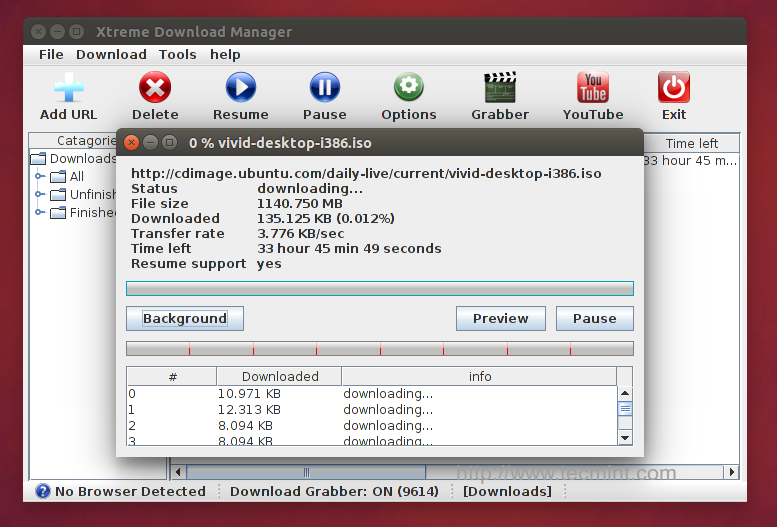
XDM Download Manager
Visit: XDM Homepage
2. SteadyFlow
SteadyFlow is a very simple download manager in fact, which is its goal, it supports downloading multiple files in once beside stopping it and resuming it later, it’s GUI is very clean.
Features of SteadyFlow
- A very simple, easy to use, nice GUI built with GTK+ library.
- Support for Google Chrome/Chromium integration via an official extension called “ChromeFlow”.
- Support to capture URLs from the clipboard automatically.
- Ability to run specific command when the downloaded file is completed.
SteadyFlow is available (recent version 0.2.0) to download from the official repositories for Ubuntu/Linux Mint, to install it.
$ sudo add-apt-repository ppa:sikon/steadyflow
$ sudo apt-get update
$ sudo apt-get install steadyflow
SteadyFlow is also available in Fedora repositories.
$ su -
# yum install steadyflow

Steadyflow Download Manager
For other distributions, you may download the program at https://launchpad.net/steadyflow
3. DownThemAll
Unlike the other programs on this list, DownThemAll is not a program in fact, it’s a Firefox plugin, but it’s very amazing in downloading files and very effective, and because it’s a Firefox plugin, it can be installed on all available platforms like Windows, Linux, BSD, Mac OS X.. etc.
Features of DownThemAll
- Like the developers say: “DownThemAll can speed your download speed up to 400%”.
- Support for downloading all the images & links in a web page.
- Support for downloading multiple files at once with support for setting the download speed for each one.
- Support for auto-grabbing downloaded links from Firefox browser.
- Ability to customize a lot of settings for integration between Firefox and DownThemAll.
- Ability to check SHA1, MD5 hashs automatically after downloading.
- A lot more..
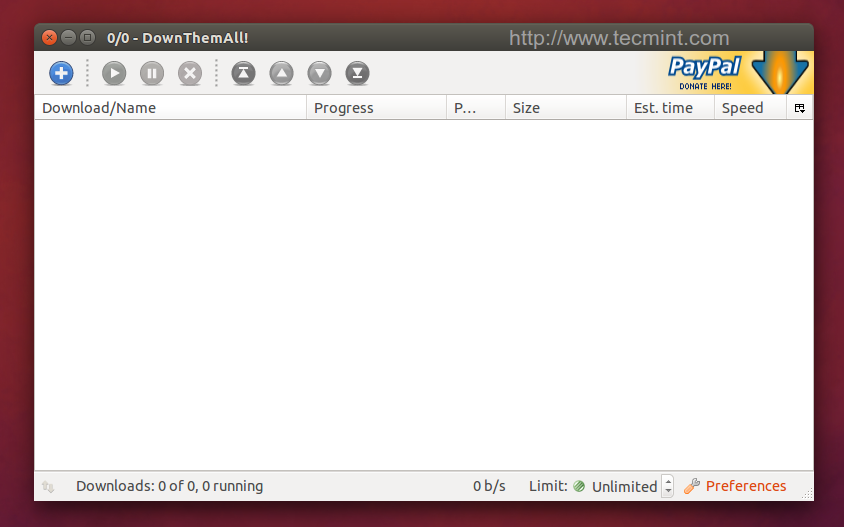
DownThemAll Plugin
To download and add “DownThemAll” plugin for your Firefox, head over to https://addons.mozilla.org/addon/downthemall/.
4. uGet Download Manager
One of the most famous download managers out there, uGet is really a good download manager which was built using the GTK+ library, it’s available for both Windows & Linux.
Features of uGet
- Support for downloading many files at once with ability to set the maximum download speed for all the files together or for each one of them.
- Support for downloading torrent and metalink files.
- Support for downloading files from anonymous FTP or by using a user name and a password.
- Support for grabbing URLs list from local files to download them all.
- Support for downloading files via the command line interface.
- Supports 20 segments for every downloaded file.
- Ability to grab URLs from the clipboard automatically.
- Ability to integrate with FlashGot add-on for Firefox.
- Many other features..
uGet is available (recent stable version 1.10.4) to download from the official repositories for most Linux distributions, in Debian/Ubuntu/Mint.
$ sudo add-apt-repository ppa:plushuang-tw/uget-stable
$ sudo apt-get update
$ sudo apt-get install uget
In RedHat/Fedora/CentOS based systems, you can easily install uGet from official repositories.
# yum install uget
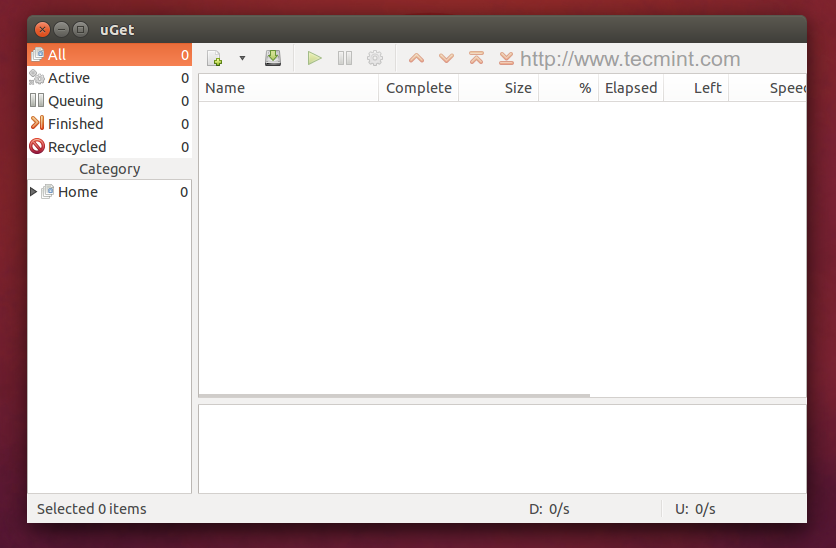
uGet Download Manager
Visit: uGet Homepage
5. FlareGet Download Manager
FlareGet is another download manager, there are 2 version from it, one is free and the other one is paid, but they are all closed-source, but they work on both Windows and Linux.
Features of FlareGet
- Multi-thread support.
- Support up to 4 segments per file (in the free version, in the paid version it can go up to 32).
- Support for most Linux distributions and support for integration with most web browsers.
- Support for HTTP, HTTPS, FTP protocols.
- Support for auto-grabbing the URLs from the clipboard.
- Support for auto-grabbing videos from Youtube.
- The GUI is available in 18 different languages.
- Many other features.

FlareGet Download Manager
Follow the link for FlareGet installation at Install FlareGet in Red Hat and Debian Systems
6. Persepolis Download Manager
Persepolis is a free, open source and cross-platform download manager and a GUI for aria2 (a command-line download manager). It is written in Python language and developed for GNU/Linux Distributions, BSDs, macOS and Microsoft Windows.
- Multi segment downloading
- Scheduling downloads
- Download queuing
- Searching and downloading video from Youtube, Vimeo, DailyMotion, and more.
To install Persepolis download manager on Debian/Ubuntu and other Debian distributions, use the following commands.
$ sudo add-apt-repository ppa:persepolis/ppa
$ sudo apt update
$ sudo apt install persepolis
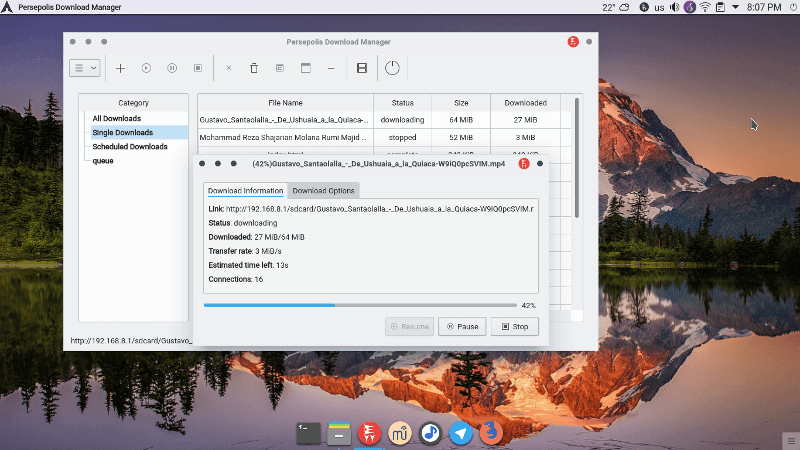
Persepolis Download Manager
7. MultiGet Download Manager
MultiGet is another free, open source and an easy to use GUI (based on wxWidgets) file download manager for Linux, written in C++ programming language.
- Supports HTTP and FTP protocols
- Supports multi-task with multi-thread
- Supports resuming file downloads
- Clipboard monitoring – means copy a URL and prompt for download.
- Also support SOCKS 4,4a,5 proxy, ftp proxy, http proxy
To install MultiGet download manager on Debian/Ubuntu and other Debian distributions, use the following commands.
$ sudo apt-get install multiget
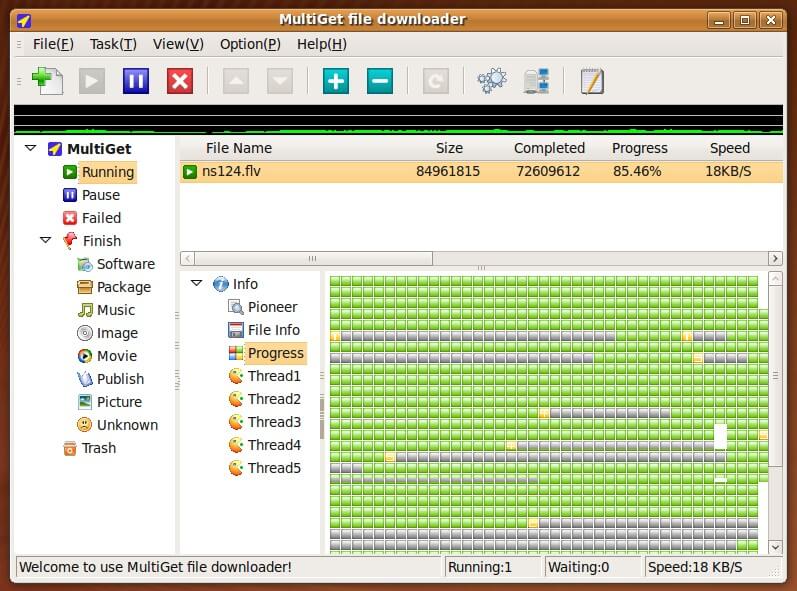
Multiget File Download Manager
8. KGet Download Manager
KGet is a functional and user-friendly file download manager for Linux with support for FTP and HTTP(S) protocs, pausing and resuming of downloading files, metalink support which includes multiple URLs for downloads and more.
To install KGet download manager on Debian/Ubuntu and other Debian distributions, use the following commands.
$ sudo apt-get install kget
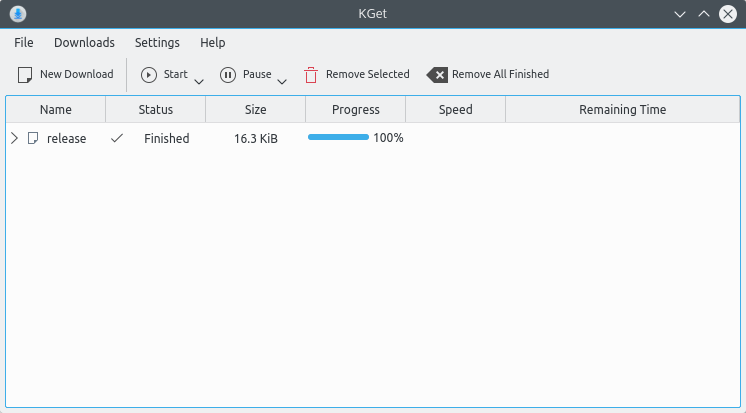
KGet Download Manager for Linux
9. PyLoad Download Manager
PyLoad is a free and open source file download manager for Linux, written in Python programming language and created to be immensely lightweight, easily expandable and fully manageable via web.
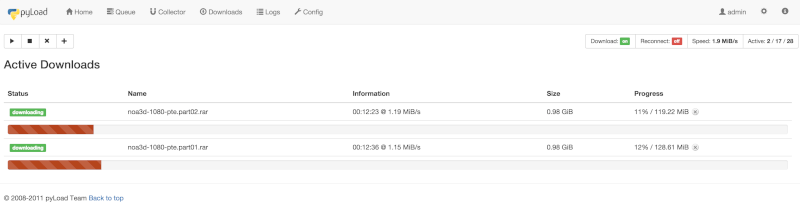
Pyload Download Manager
These are one of the best download managers available for Linux . Have you tried any one of them before? How did it go with you? Do you know any other download managers that should be added to this list? Share your comments with us.