NethServer is an Open Source powerful and secured Linux distribution, build on top of CentOS 6.6, designed for small offices and medium enterprises. Build-in with a large number of modules which can be simply installed through its web interface, NethServer can turn your box into a Mail server, FTP server, Web server, Web Filter, Firewall, VPN server, File Cloud server, Windows File Sharing server or Email Groupware server based on SOGo in no time just by hitting a few clicks.
Released in two editions, Community Edition, which is for free and Enterprise Edition, which comes with a paid support, this tutorial will cover the installation procedure of NethServer Free Edition (version 6.6) from an ISO image, although, it can, also, be installed from repositories on a pre-installed CentOS system using yumcommand to download software packages from web.
For example, if you wish to install NethServer on a pre-installed CentOS system, you can simply execute below commands to transform your current CentOS into NethServer.
# yum localinstall -y http://mirror.nethserver.org/nethserver/nethserver-release-6.6.rpm
# nethserver-install
To install additional nethserver modules, mention the name of the module as a parameter to the install script as shown below.
# nethserver-install nethserver-mail nethserver-nut
As I said above, this guide will only show installation procedure of NethServer Free Edition from an ISO image…
Download NethServer
NethServer ISO Image which can be obtained using the following download link:
Before starting the installation procedure be aware that using this method based on CD ISO Image will format and destroy all your previous data from all your machine hard-disks, so, as a security measure make sure you remove all unwanted disk drives and keep only the disks where the system will be installed.
After the installation finishes you can re-attach the rest of the disks and add them into your NethServer LVM partitions (VolGroup-lv_root and VolGroup-lv-swap).
Step 1: Installation of NethServer
1. After you have downloaded the ISO Image, burn it to a CD or create a bootable USB drive, place the CD/USB into your machine CD drive / USB port and instruct your machine BIOS to boot from CD/USB. In order to boot from CD/USB, press F12 key while the BIOS is loading or consult your motherboard manual for the necessary boot key.
2. After the BIOS boot sequence completes, the first screen of NethServer should appear on your screen. Choose NethServer interactive install and press Enter key to continue further.

NethServer Boot Menu
3. Wait a few seconds for the installer to load and a Welcome screen should appear. Form this screen choose your favorite Language, go to Next button using TAB or arrow keys and press again Enter to continue.

Choose Installation Language
4. On the next screen choose your Network Interface for the internal network (Green), through which you will administer the server, then jump to Next using Tab key and press Enter to move to the interface and configure your network settings accordingly. When you’re done with network IP settings, choose Next tab and hit Enter to continue.
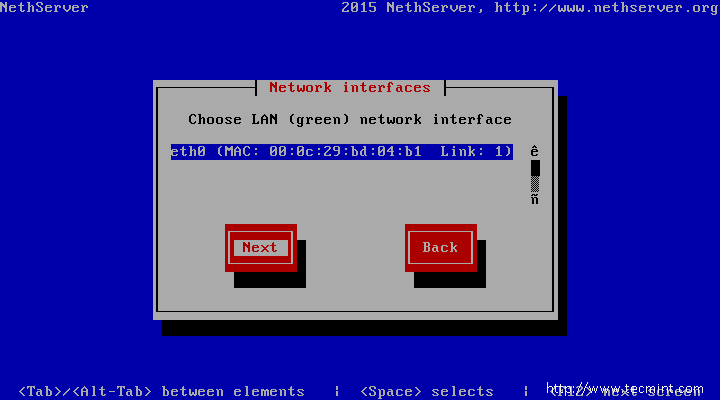
Choose Network Interface
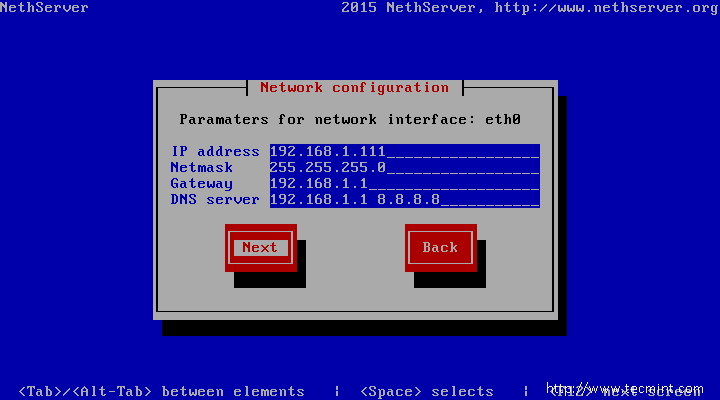
Network Configuration
5. Finally, the last setting is to choose the Install tab and hit Enter key in order to install the NethServer.
Important: Be aware that this step is data destructive and will erase and format all your machine disks. After this step the installer will automatically configure and install the system until it reaches the end.
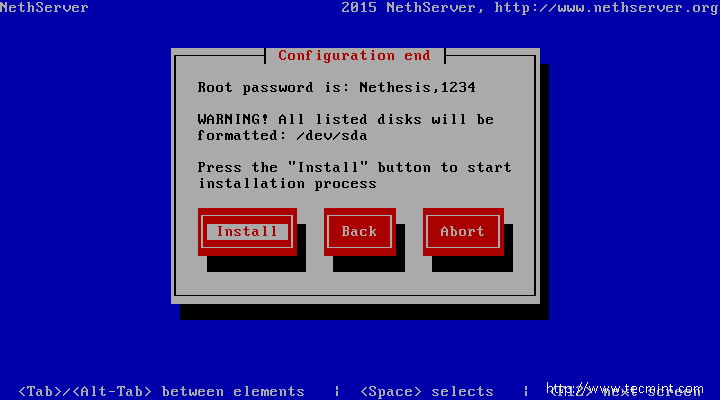
Select NethServer Install
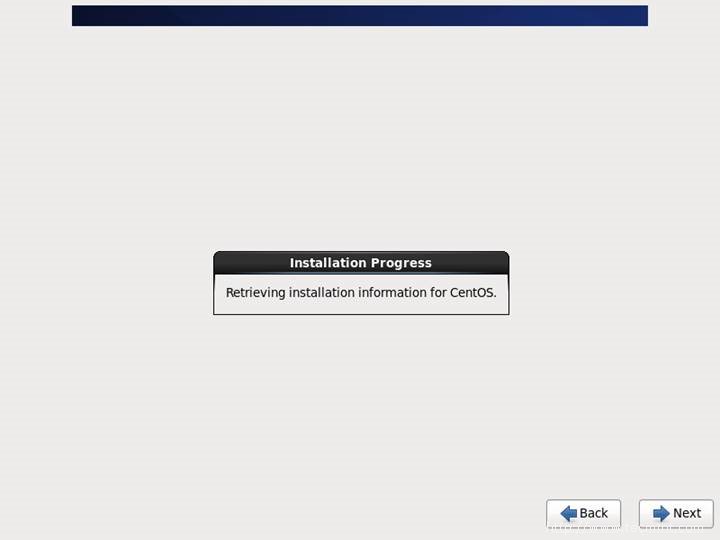
Installation Process
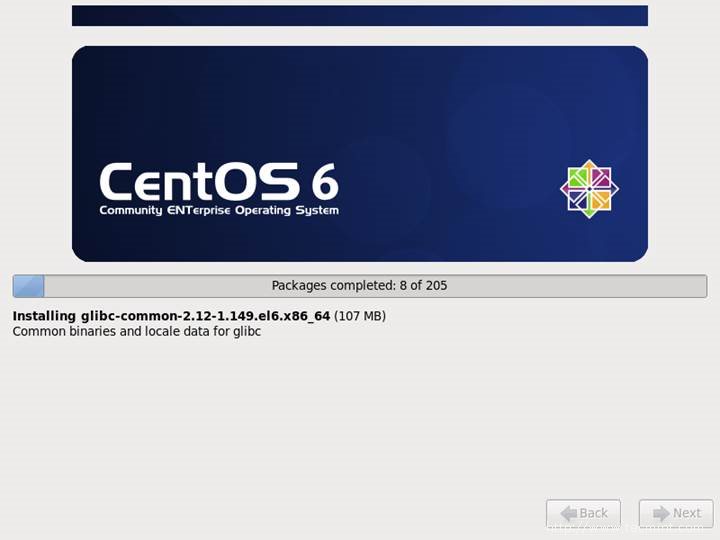
Installing Packages
Step 2: Setting Up Root Password
6. After the installation finishes and the system reboots, login into your NethServer console using the following default credentials:
User : root
Password: Nethesis,1234
Once logged into the system, issue the following command in order to change the default root password (make sure you choose a strong password with at least 8 characters lenght, at least one upper case, one number and a special symbol):
# passwd root
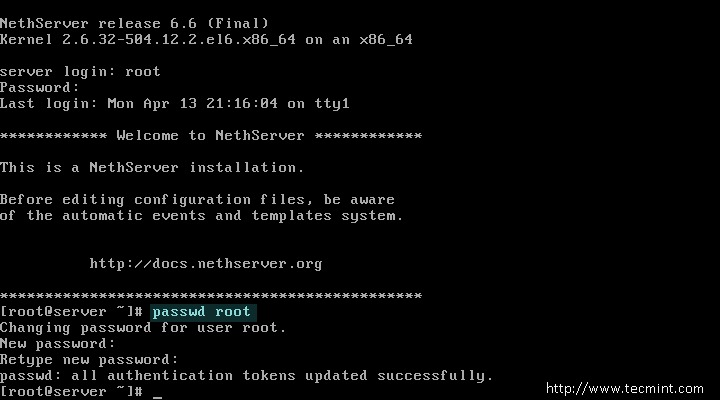
Change NethServer Root Password
Step 3: Initial NethServer Configurations
7. After the root password has been changed, it’s time to login to NethServer web administrative interface and do the initial configurations, by navigating to your server IP Address configured on installation process for the Internal network interface (green interface) on port 980 using the HTTPS protocol:
https://nethserver_IP:980
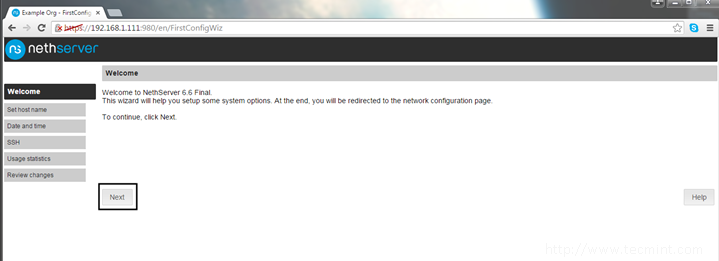
The first time you navigate to the above URL a security warning should be displayed on your browser. Accept the Self-Signed Certificate in order to proceed forward and the Log in page should appear.
Login with the root username and the root password you have already changed and the Welcome page should appear. Now, hit Next button to proceed with the initial configurations.

Accept SSL Certificate
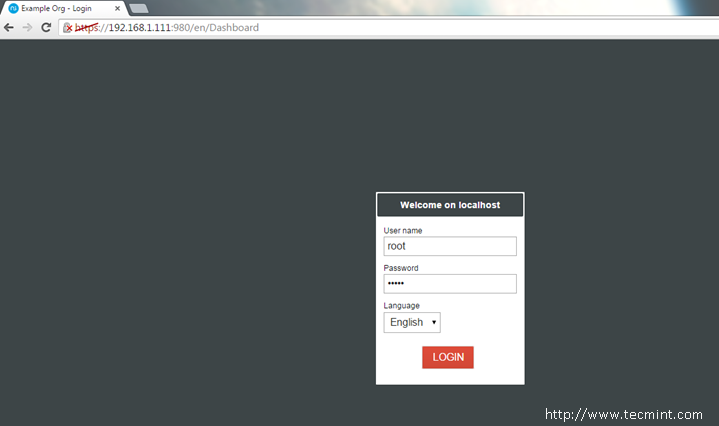
NethServer Login Credentials
NethServer Control Panel
8. Next, set up your server Hostname, enter your Domain name and hit Next to move forward.
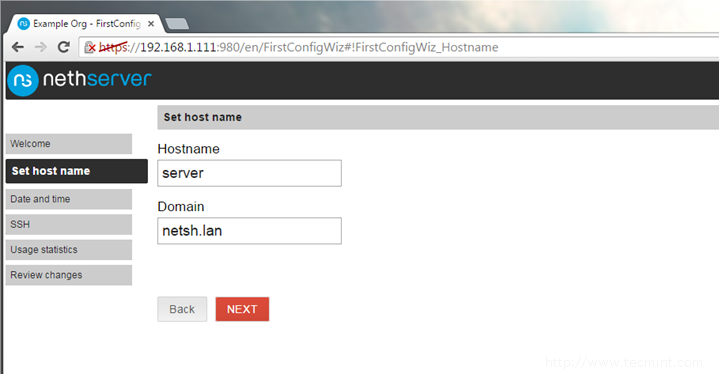
Set Hostname and Domain
9. Choose your server physical Time zone from the list and hit Next button again.
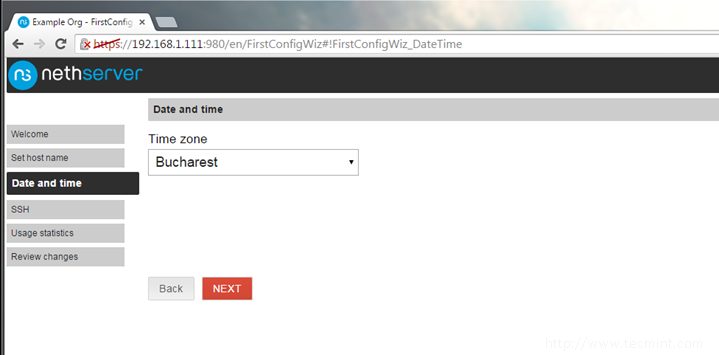
Set Date and Timezone
10. The next page will ask you to change the SSH server default port. It’s a good practice to use this security measure and change the SSH port to an arbitrary port of your choice. Once the SSH port value filed is set hit the Next button to continue.
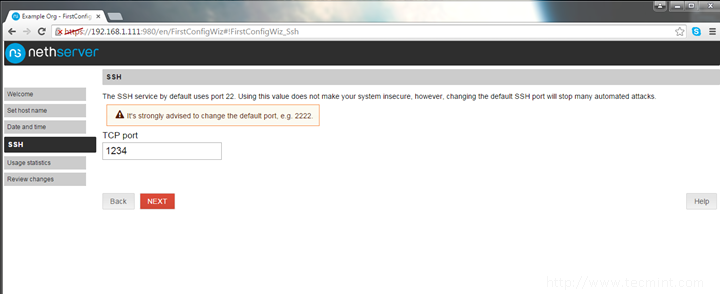
Change SSH Port for NethServer
11. On the next page, choose the No, thanks option in order not to send statistics to nethserver.org and hit Nextbutton again to proceed further.
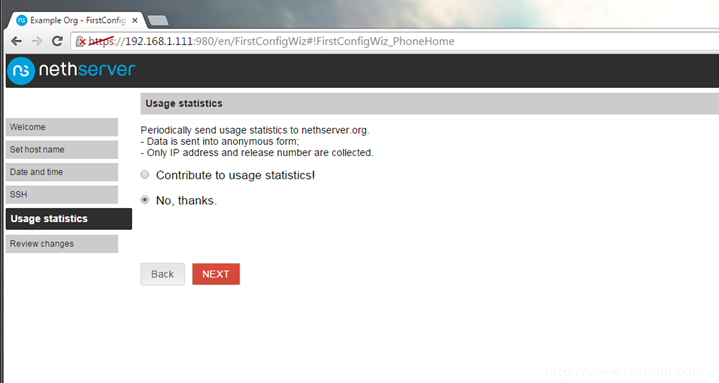
Usage Statistics
12. Now we have reached the final configuration. Review all the settings so far and once your done hit the Applybutton to write the changes into your system. Wait for a few seconds for tasks to complete.

Review NethServer Configuration

Applying Changes
13. Once the task finishes, go to Dashboard and review your machine Status, Services, and Disk Usage as illustrated on the below screenshots.
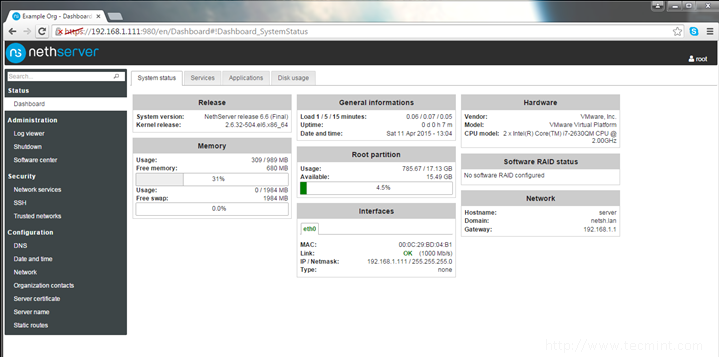
Check System Status
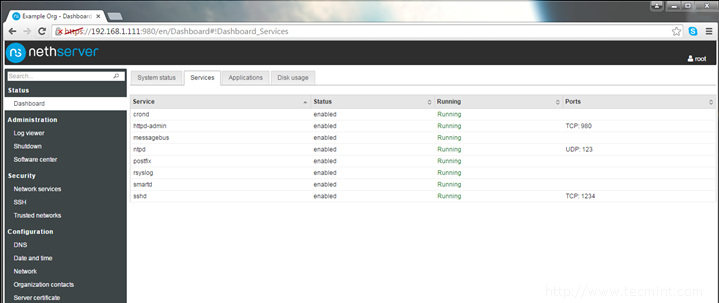
Check NethServer Services
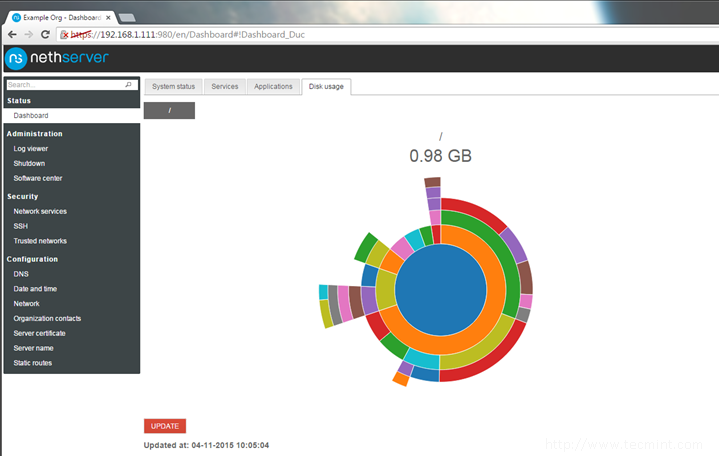
Check Disk Usage
Step 4: Login through Putty and Update NethServer
14. The final step of this guide is to update your NethServer with the latest packages and security patches. Although this step can be done from the server’s console or through the web interface (Software Center -> Updates).
It’s a good time to remotely login through SSH using Putty as illustrated on the below screenshots and perform the upgrade procedure by issuing the following command:
# yum upgrade
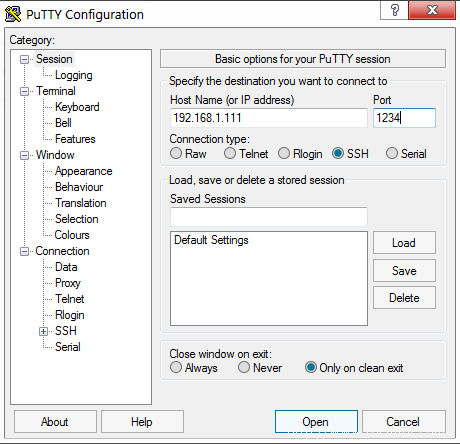
Open Putty
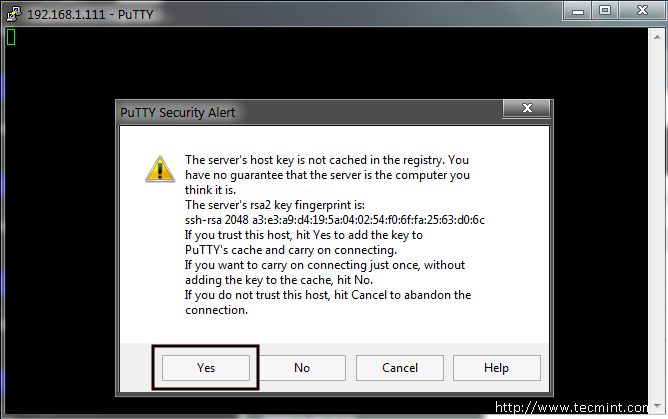
SSH to NethServer
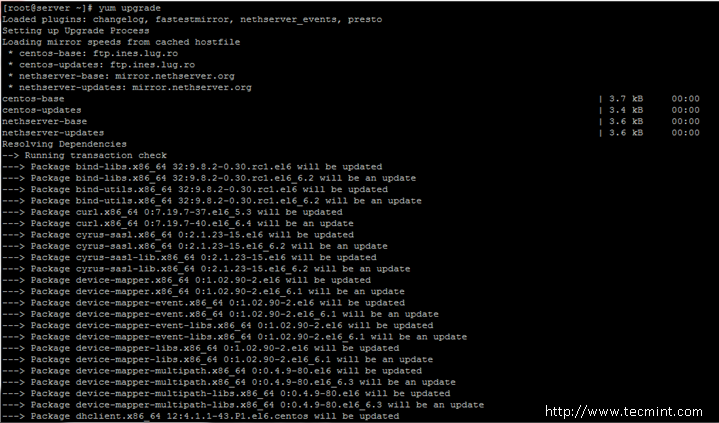
Update NethServer
While the upgrade process starts you will be asked some questions whether you accept a series of keys. Answer all with yes (y) and when the upgrade process finishes, reboot your system with the init 6 or reboot command in order to boot the system with the new installed kernel.
# init 6
OR
# reboot
That’ all! Now your machine is ready to become a Mail and Filter server, Web Server, Firewall, IDS, VPN, File server, DHCP server or whatever else configuration best suitable for your premises.
Reference Link: http://www.nethserver.org/