RoR or Ruby on Rails is an open source, cross-platform web development framework that provides a structure to the developers for their code. It helps them create applications and websites by abstracting and simplifying the repetitive tasks faced during development. It is called Ruby on Rails because Rails is written in the Ruby programming language, exactly how Symfony and Zend are written in PHP and Django in Python. Rails provide default structures for databases, web servers, and web pages. Famous applications like Soundcloud, Github and Airbnb are all based on Rails.
Ruby on Rails is licensed under MIT and was first released in December 2005. All of its repositories are available on Github, including the latest release to date.
This tutorial explains a step-by-step process for installing and configuring Ruby on Rails with all its prerequisites. Later, we will explain how to install and configure the PostgreSQL Database in order to create your first Rails project.The article also explains how to create a simple CRUD interface, making your application more interactive and useful.
We have run the commands and procedures mentioned in this article on a Ubuntu 18.04 LTS system. We are using the Ubuntu command line, the Terminal, in order to install and configure Ruby on Rails. You can access the Terminal application either through the system Dash or the Ctrl+Alt+T shortcut.
Ruby on Rails Installation
In order to install Ruby on Rails, you first need to have the latest versions of some prerequisites installed and configured on your system, such as:
- RVM-Ruby Version Manager
- Ruby
- Nodejs-Javascript runtime
- Ruby Gems-Ruby Package Manager
In this section, we will first have our system ready by first installing all these step-by-step, setting up their latest versions, and then finally install Ruby on Rails.
1. Install Ruby Version Manager (RVM)
The Ruby Version Manager helps us in managing Ruby installation and configuring multiple versions of Ruby on a single system. Follow these steps in order to install the RVM package through the installer script:
Step1: Add the RVM key to your system
Run the following command in order to add the RVM key; this key will be used when you install a stable version of RVM:
$ gpg –keyserver hkp://keys.gnupg.net –recv-keys 409B6B1796C275462A1703113804BB82D39DC0E3
7D2BAF1CF37B13E2069D6956105BD0E739499BDB

Step2: Install Curl
We will be installing RVM through Curl. Since it does not come by default with the latest versions of Ubuntu, we will need to install it through the following commands as sudo:
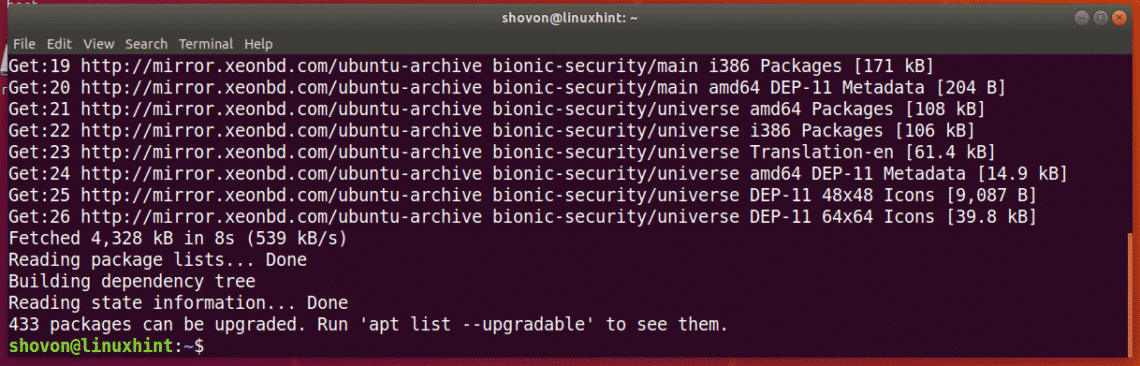
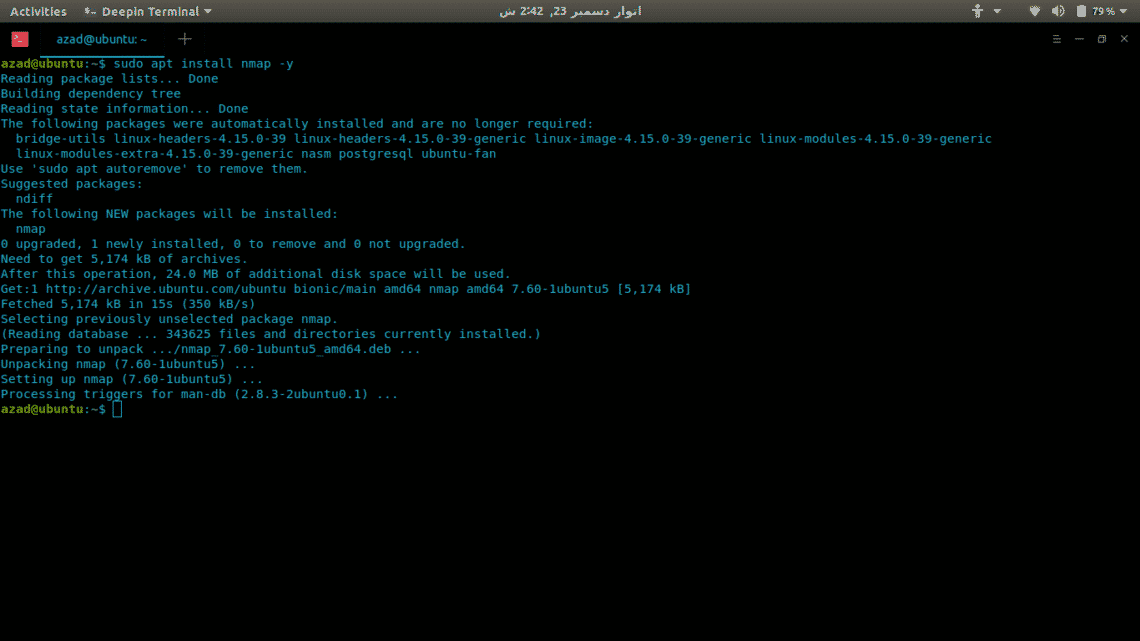
$ sudo apt install curl
Please note that only authorized users can add/remove and configure software on Ubuntu.
The system will prompt you with a Y/n option in order to confirm the installation. Please enter Y to continue, after which, Curl will be installed on your system.
Step3: Install the RVM Stable version
Now run the following command in order to install the latest stable version of RVM.
$ curl -sSL https://get.rvm.io | bash -s stable –ruby
This command will also automatically install all the required packages needed to install RVM.
The process will take some time depending on your Internet speed, after which RVM will be installed on your system.
Step4: Setup RVM source folder
Please note that the last few lines of the RVM installation output suggest running the following command:
$ source /usr/local/rvm/scripts/rvm
This is used to set the source folder to the one mentioned in the output. You need to run this command in order to start using RVM.
You might get the following output when setting up the source:
In that case, run the following commands on your system:
$ source ~/.rvm/scripts/rvm
$ echo “source ~/.rvm/scripts/rvm” >> ~/.bashrc
$ source ~/.bashrc
Now the source for RVM is set. You can check the version number of RVM installed on your system through the following command:
$ rvm –version
This output also ensures that RVM is indeed installed on your system.
2. Configure Latest Version of Ruby as System Default
When you install RVM, the latest version of Ruby is also installed on your system. What you need to do, however, is to set up your system to use the latest version of Ruby as the system default. Follow these steps to do so:
Step1: Setup RVM latest stable version
First, we need to update the RVM on our system with the latest stable version available on https://get.rvm.io
Run the following command to do so:
$ rvm get stable –autolibs=enable
Step2: Get the list of all available Ruby versions
The following command gives you the list of all Ruby versions released till date:
$ rvm list known
Through this list, please choose the latest version of Ruby available. As you can see in the output, Ruby 2.6.0 is the latest version available.
Step3: Install the latest Ruby version
Now install the latest version of Ruby that you have selected in the previous step, by running the following rvm command:
$ rvm install ruby-2.6
The process may take some time depending on your Internet speed, after which the selected number of Ruby will be installed on your system.
Step4: Set the latest version of Ruby as default
The following rvm command will help you in setting the latest installed version of Ruby as the system default:
$ rvm –default use ruby-2.6
You can see that now my system will be using Ruby 2.6.0-rc1 as the default Ruby version.
This can also be verified by running the following version command:
$ ruby -v
3. Install Nodejs and the gcc compiler
Before starting with the Rails development on Linux, we recommend using Nodejs as the Javascript runtime. It is a prerequisite for compiling Ruby on Rails asset pipeline.
Step1: Install the latest version of Nodejs
Use the following command in order to install the Nodesource repository to your system:
$ curl -sL https://deb.nodesource.com/setup_10.x | sudo -E bash –
Now install the latest version of Nodejs through the following apt command as sudo:
$ sudo apt install -y nodejs
The latest available version of Nodejs 10 will be installed on your system
Step2: Install the gcc compiler
The gcc compiler is another prerequisite that you need to install before performing any Rails development. Use the following command as sudo in order to install it:
$ sudo apt install gcc g++ make
4. Configure Latest Version of RubyGems as System Default
When you install RVM, RubyGems is also installed on your system. What we need to do, however, is to set up our system to use the latest version of RubyGems the system default. Ruby Gems is basically the Ruby on Rails package manager that comes with the command line tool-gem.
Run the following gem command in order to update the system to use the latest version:
$ gem update –system
Now when you check the version number through the following command, you will see that your system is using the latest version of RubyGems in the command line:
$ gem -v
5. Install Ruby on Rails
Finally, after installing all the prerequisites, we can now install Ruby on Rails on our system by following these steps:
Step1: Look up for the latest available version
The RubyGems website maintains all the versions of Ruby on Rails till date, on the following link:
https://rubygems.org/gems/rails/versions
Choose the latest version of Ruby on Rails that you would like to install. At the time of writing this article, the latest available version is 5.2.2
Step2: Install the latest Ruby on Rails version
You can install the latest version of Ruby on Rails through the gem command line tool as follows:
$ gem install rails -v 5.2.2
The installation process might take some time depending on your Internet connection.
After the installation is complete, run the following command to view the Rails version installed on your system.
$ rails -v
The command also verifies that Ruby on Rails is indeed installed on your system.
Rails Development
Ruby on Rails supports many databases such as SQLite, MySQL, and PostgreSQL. In this section, we will explain how to start with the Rails development with the PostgreSQL database. This will include:
- Installing PostgreSQL Database
- Configuring PostgreSQL and Creating Roles
- Your First Rails application
- Creating a simple CRUD with PostgreSQL database on Rails
1. Install and Setup PostgreSQL Database
Step1: Install PostgreSQL
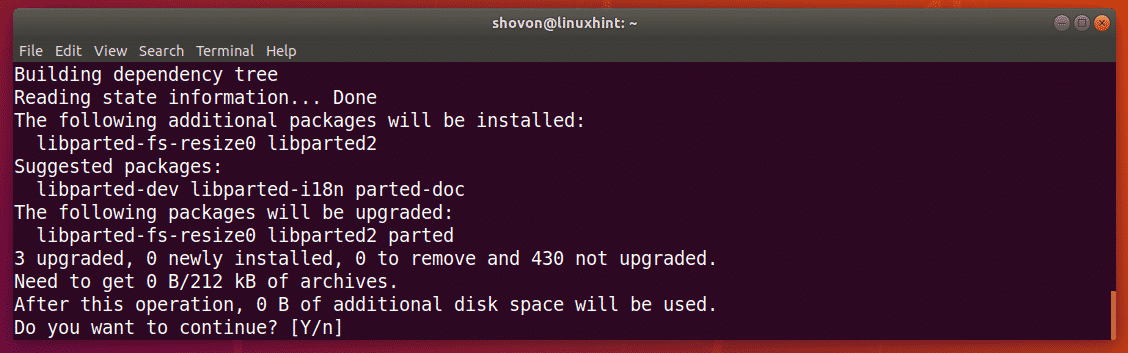
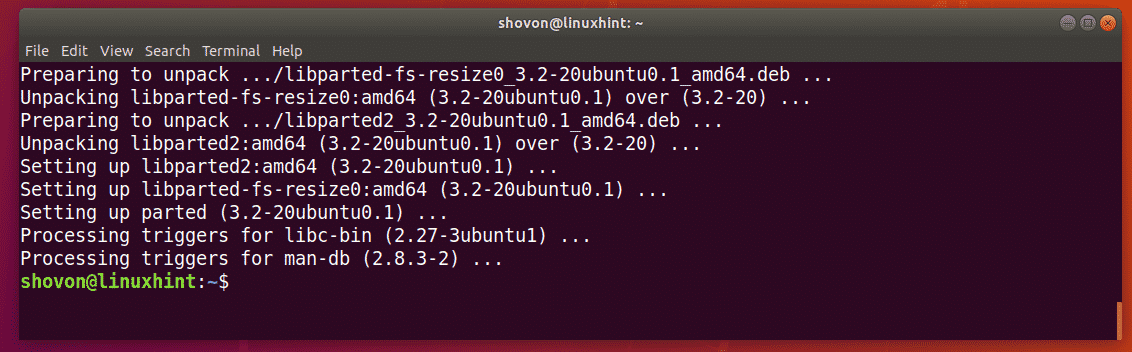
Use the following apt command as sudo in order to install the PostgreSQL database and some other required packages:
$ sudo apt install postgresql postgresql-contrib libpq-dev -y
Step2: Start and enable the PostgreSQL service
Once PostgreSQL is installed, you need to start the ‘postgresql’ service through the following command:
$ systemctl start postgresql
The system will prompt you with an authentication dialog, as only an authorized user can enable services on Ubuntu. Enter the admin password and click the Authenticate button after which the service will start.
The next step is to enable the service through the following command:
$ systemctl enable postgresql
The system will prompt you with a similar authentication dialog multiple times; enter the admin password each time and click the Authenticate button after which the service will be enabled.
Step3: Verify installation
$ Please run the following command in order to view a details stats report of your PostgreSQL installation:
$ dpkg –status postgresql
2. Configure PostgreSQL and Create Roles
PostgreSQL applications can be created by user or roles. By default, a “postgres” user exists which is a superuser and it can create and migrate databases and also manage other user roles.
Initially, you can log in as sudo on PostgreSQL through the following command:
$ sudo -u postgres psql
Here you can change the password of postgres as follows:
postgress=# password postgres
Create a Role
A superuser can create a new user role through the following command:
$ create role “role_name” with createdb login password “‘password’”’ ;
Example:
postgress=# create role dev_rails with createdb login password ‘rockon123’ ;
We are creating a role by the name of “dev_rails”. This is a user that will create a db for our first Rails application.
A superuser can view the list of roles existing on PostgreSQL as follows:
postgress=# du
Use Ctrl+z to exit PostgreSQL.
3. Your First Rails application
Now we will create our first Rails application with PostgreSQL as the default database. This involves the following steps:
Step1: Create a new Rails application
Create a new project by the name of “firstapp”, or any other name, through the following command and specify PostgreSQL as the database:
$ rails new firstapp -d postgresql
This will create a project folder in your home folder as follows:
$ ls
Step2: Configure your Rails project to incorporate the PostgreSQL user role
Now we want the user role we created in PostgreSQL to be able to create a database in the Rails application. For this, you need to edit the database.yml file located in your newly created application’s folder in the /config/ folder.
Move to your first application and then the config folder as follows:
$ cd /firstapp/config
Here you will see the database.yml file. You can edit this file through your favorite text editor. We will be doing so through the Nano editor by using the following command:
$ nano database.yml
In this file, you will be able to see mainly three sections:
- Development
- Test
- Production
We will need to configure the Development and Test sections of the file.
Make the following configurations in the Development section
| database: firstapp_development
username: dev_rails
password: rockon123
host: localhost
port: 5432 |
And, the following in the Test section:
| database: firstapp_test
username: dev_rails
password: rockon123
host: localhost
port: 5432 |
Note: Please make sure that the syntax is correct. Each line should be preceded by 2 spaces and NOT tabs.
Save the file by pressing Ctrl+X, then Y and then by hitting Enter.
Step3: Generate and then migrate the Database
Generate the database through the following rails command:
$ rails db:setup
Please make sure that there are no errors. Most errors are due to the wrong syntax in the database.yml file or the inconsistency in the username and password from the one you created in PostgreSQL.
After the successful generation, migrate the database through the following rails command:
$ rails db:migrate
Step4: Start the Puma Rails web server
After completing the application setup, please enter the following command in order to start the default Puma web server:
$ rails s -b localhost -p 8080
Or in our case,
$ rails s -b 127.0.0.1 -p 8080
After this command, your first Rails application is running on the local host at port 8080.
Step5: Open the default Rails Project Homepage
You can view your database successfully being hosted on the default Rails Project homepage by entering this URL in one of your web browsers:
http://localhost:8080/
You can also use your localhost IP, like us, in the above-mentioned URL:
You can not perform any CRUD operation on this simple application. Follow the article some more in order to make your application a little more interactive.
4. Create a simple CRUD with PostgreSQL database on Rails
Let us make our application more interactive by implementing a CRUD(Create, Read, Update, Delete) interface.
Step1: Create a Scaffold in Rails
Run the following command in order to create a scaffold in your Rails application folder
$ rails g scaffold Post title:string body:text
Then migrate the database by running the following command:
$ rake db:migrate
Step2: Run the application on Puma Rails Web Server
Next, run your application on the localhost by running the Puma web server again through the following command:
$ rails s -b localhost -p 8080
You can also use your localhost IP, like us, for the above-mentioned command:
$ rails s -b 127.0.0.1 -p 8080
Step3: Open the ‘Posts’ page in Rails Project
You can view your database successfully being hosted on the Rails Project page by entering the URL in one of your web browsers:
http://localhost:8080/posts/
Or use a localhost IP like us:
http://127.0.0.1:8080/posts
You will be able to see a simple CRUD interface through which you can create, edit, show and destroy posts.
When I created a post using the New Post link, here is how my posts page looked like:
You have now successfully completed the entire process of installing Ruby on Rails on your Ubuntu and then creating a sample application using the PostgreSQL database. This will serve as a basis for you to develop more productive and interactive database applications through Ruby on Rails.
Source


 How to install Django on Ubuntu 18.04
 django home page