System76 has been making big news in the Linux community lately with its upcoming open source Thelio computer. Many Linux users have been clamoring for System76 to make its own hardware, and that dream will soon be a reality.
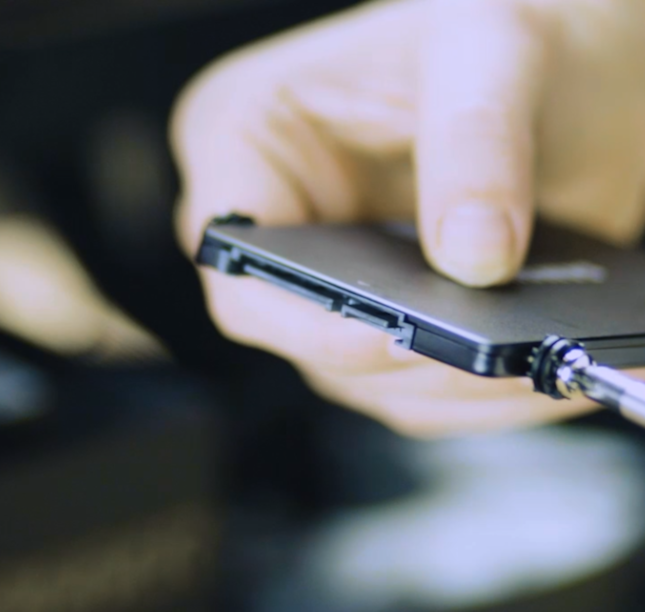
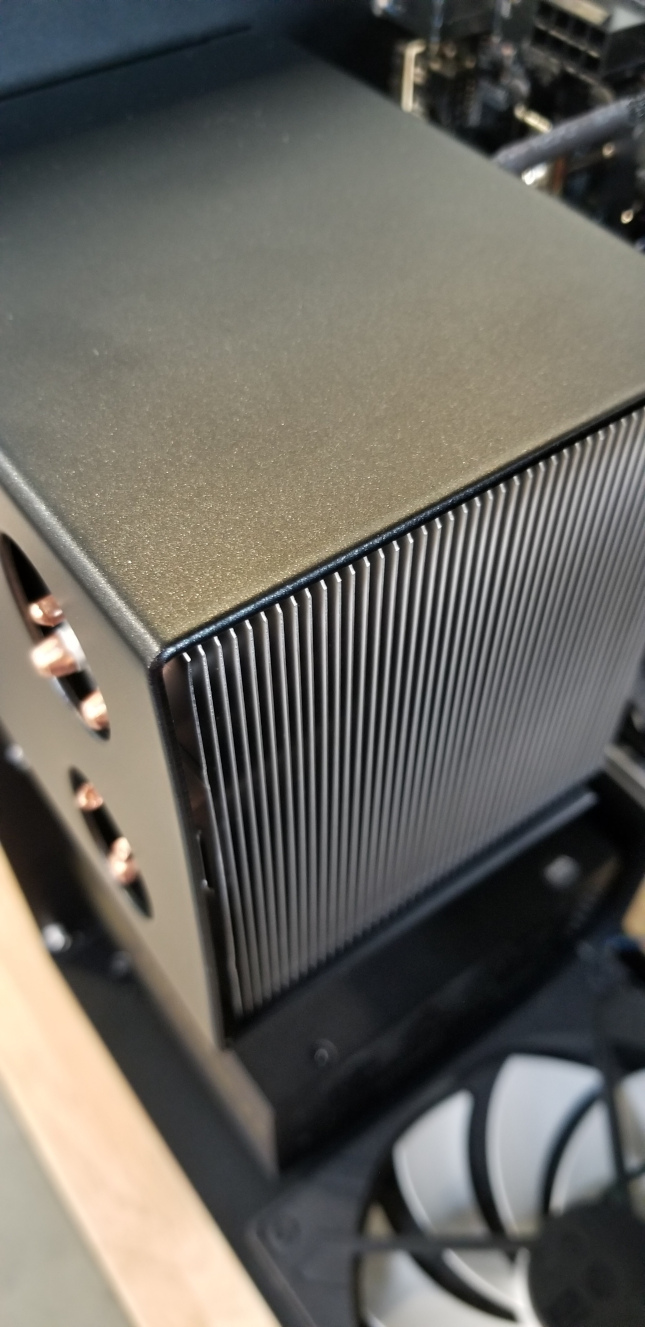
Unfortunately, not much is known about Thelio hardware other than it is definitely a desktop computer that is built with open source ideology. Today, however, System76 shares new details and images about the computer with those that signed up for its email list. Probably the most exciting is the promise of an open source “daughter board” that will apparently strip the proprietary aspects from a typical motherboard — this has me seriously intrigued.
“Creating an open desktop is a giant step for us, not only as a company, but as a team of Linux enthusiasts and contributors who are passionate about the future of open source. We hope that Thelio will open many new doors for people to build their own open hardware, develop their own utilities, and design a computer that reflects who they are,” says System76.
ALSO READ: System76 releases Ubuntu-based Pop!_OS 18.10 Linux distribution
The famed company further says, “We will be unveiling Thelio Systems on Thursday, November 1st. From there you’ll be able to customize your own Thelio desktops for preorder. As our most faithful fans, you can enjoy some extra computer clues and a sneak peek at our manufacturing process leading up to the release. We’re grateful for all of your passion and enthusiasm, and we can’t wait to share this next phase of our journey with you.”
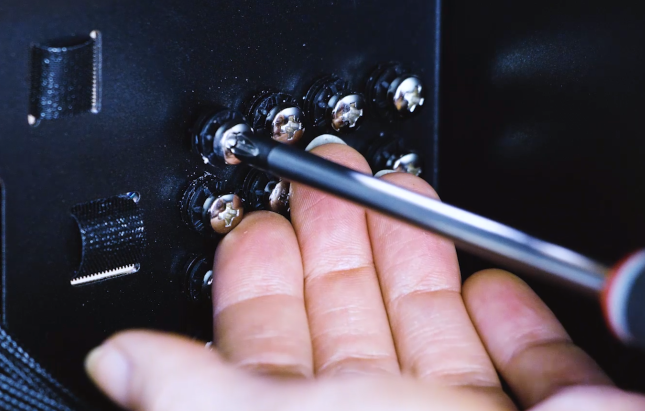
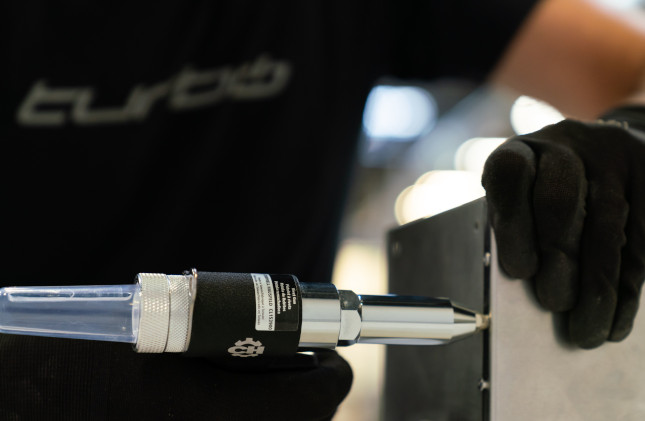
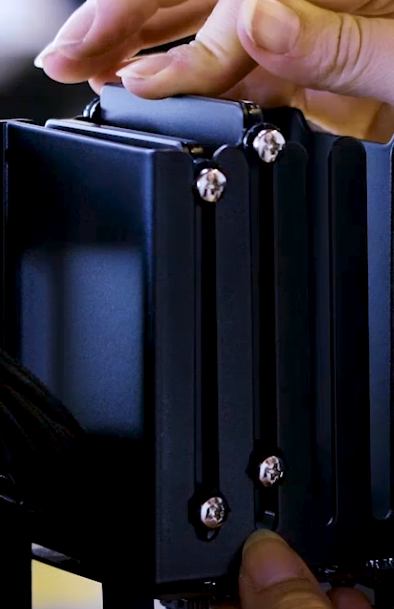
System76 shares the following teaser images of the computer. As we can see, it uses DDR4 memory, which is to be expected. I also spot a SATA SSD — hopefully an NVMe drive will be an option too. With that said, I really like how 2.5-inch SATA drives will mount — it looks very convenient (and pretty).

There will be three variants of Thelio, and below is what we know so far.
- Thelio (Up to 32GB RAM, 24TB Storage)
- Thelio Major (Up to 128GB RAM, 46TB Storage)
- Thelio Massive (Up to 768GB ECC RAM, 86TB Storage)
Carl Richell, System76 CEO, shares the following statement.
Creating a computer that is open-source, from the physical design to the OS, is the next step in our mission to empower our customers and the community. We believe that by leading with open source design, the rest of the industry will have to follow.
Are you excited to see Thelio revealed on November 1? Will you pre-order? Please tell me in the comments below.

 Ian Murdock