Node.js is the server side JavaScript engine that is loved by web developers and system administrators all over the world. Node.js has a rich set of modules that you can install using Node Package Manager (NPM) and use to do almost any task.
There are many Node.js modules for sending E-Mails using Node.js such as Nodemailer, emailjs, express-mailer etc.
In this article, I will show you how to send E-Mail and also how to send E-Mail with attachment with Nodemailer Node.js module. Let’s get started.
To follow this article, you should have:
- Basic understanding of Node.js and JavaScript.
- js 6.x or later installed on your computer.
- NPM installed on your computer.
- An E-Mail account such as GMail.
- A Text Editor for writing Node.js codes.
You should be able to find dedicated articles on each of these topics on linuxhint.com. Be sure to check them for more information.
Creating Project Directory:
It’s always best to create a new directory for every Node.js app you write. Because by default, Node.js modules are installed in node_modules/ directory inside your current working directory. That way, modules are separate for each app you write and you can use different version of the same module in different app. This is a lot flexible than installing modules globally.
Create a project directory (let’s call it node-mail) with the following command:
Now navigate to the project directory with the following command:

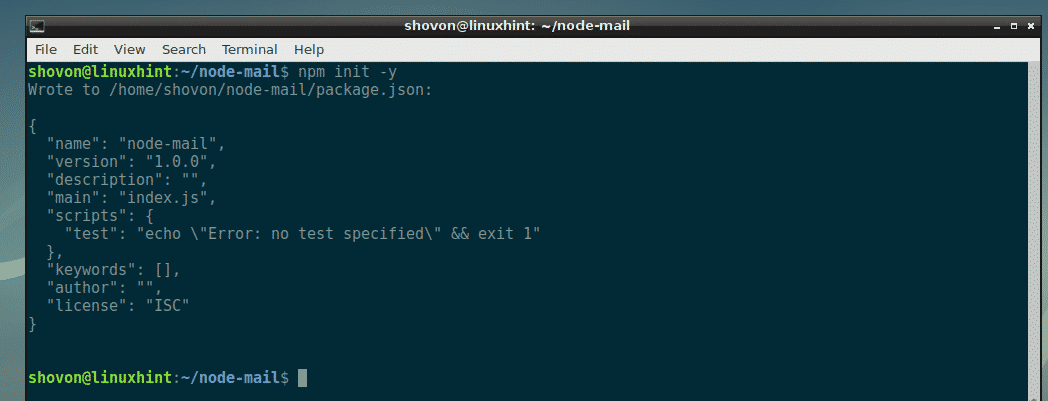
Now create a package.json file with the following command:
As you can see, a basic package.json file is created.
Installing Nodemailer:
In this section, I am going to show you how to install Nodemailer Node.js module using NPM.
First, make sure Node.js is installed and working correctly with the following command:
As you can see, Node.js 10.11.0 is installed and working correctly in my computer. The version on your computer may be different. It’s alright but it should be version 6.x or later. Otherwise Nodemailer won’t work.

Now, make sure NPM is installed and working correctly with the following command:
As you can see, NPM 6.4.1 is installed and working correctly in my computer. The version on your computer may be different. It’s alright.

You need internet connectivity in order to install Nodemailer using NPM. So make sure you’re connected to the internet.
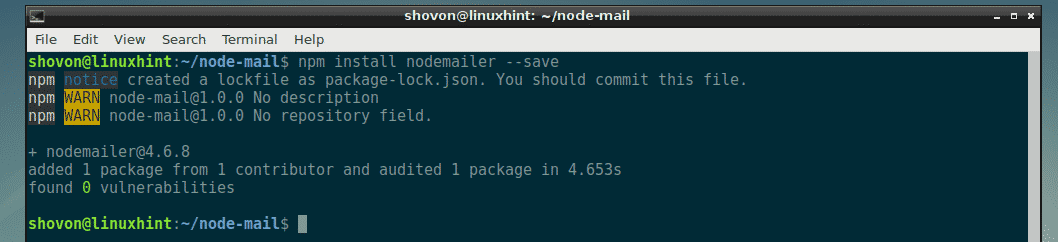
Now, install Nodemailer Node.js module using NPM with the following command:
$ npm install nodemailer –save

Nodemailer is installed.
Sending E-Mail with Nodemailer:
In this section, I will show you how to send E-Mail from your gmail account with Nodemailer.
First, create a new file (let’s call it sendmail.js) in your project directory with the following command:
Now type in the following lines of code in sendmail.js file and save it.
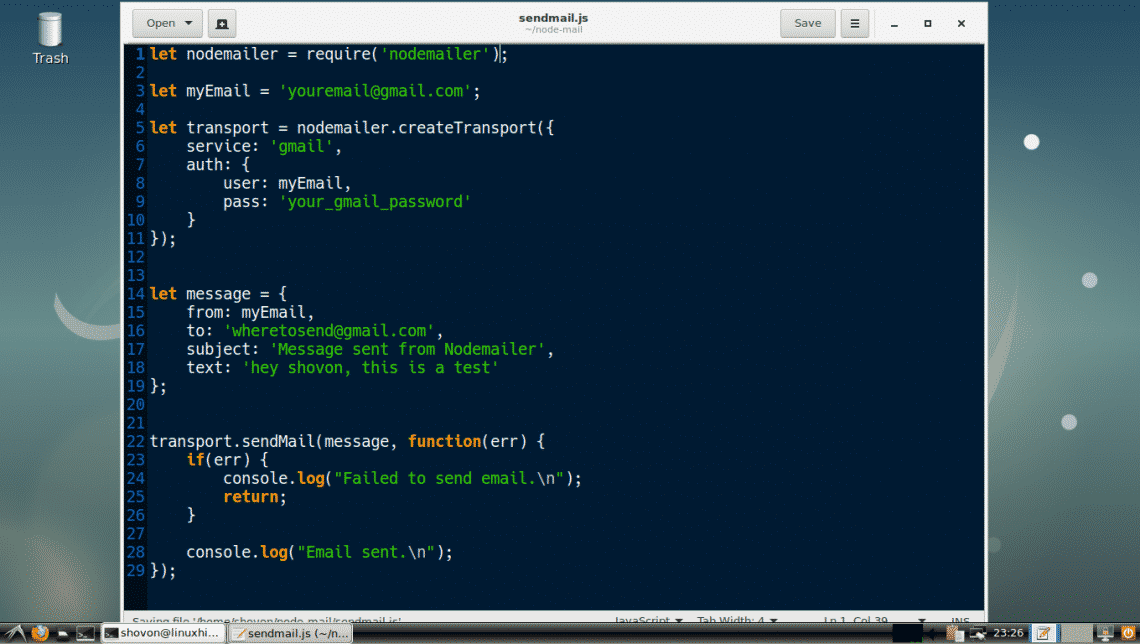
Here, on line 1, I imported Nodemailer.
On line 3, I set my email to myEmail variable. This is the email from which I will send an email to other email accounts. Make sure you change it to your email address.
On line 5-11, a transport object is created. It is required to send an email using Nodemailer. The purpose of the transport object is to verify the sender information. You only need to do it once. Once the sender information is verified, a transport object should be created.
On line 6, I set service to gmail as I am using a GMail account to send emails. The supported services are DynectEmail, Gmail, hot.ee, Hotmail, iCloud, mail.ee, Mail.Ru, Mailgun, Mailjet, Mandrill, Postmark, QQ, QQex, SendGrid, SES, Yahoo, yandex, Zoho. The service name is case insensitive. So you can put gmail or GMAIL or Gmail there. It’s all the same. Make sure you set the correct service name.
NOTE: You can use your own email server as well. To do that, you have to create a custom Nodemailer Transport object. To learn more about it, visit the official documentation of Nodemailer at https://nodemailer.com/smtp/
On line 9, I put the password of my gmail account that I am using to send emails from. Make sure you change it to yours.
On line 14-19, I created a message object. In this object, from is set to the email address of the sender, to is the email address of the receiver. subject is the subject of the email and text is the content of the email.
On line 22, I used the transport.sendMail() method to send email using Nodemailer. The first argument of the sendMail() method is the message object defined on line 14-19. The second argument is a callback function. The callback function simply checks for errors and prints a message to the console depending on whether the email was sent or not.
Now run the sendmail.js script as follows:
As you can see, the email was sent.

I checked my Gmail, and voila! I received the email just fine.

Sending E-Mail with Attachment Using Nodemailer:
Now that you know how to send email using Nodemailer, sending email with attachment is a piece of cake!
To send email with attachment, all you need to do is modify the message object on line 14-19 and the rest of the code should be the same.
Change the message object as follows as save the file.
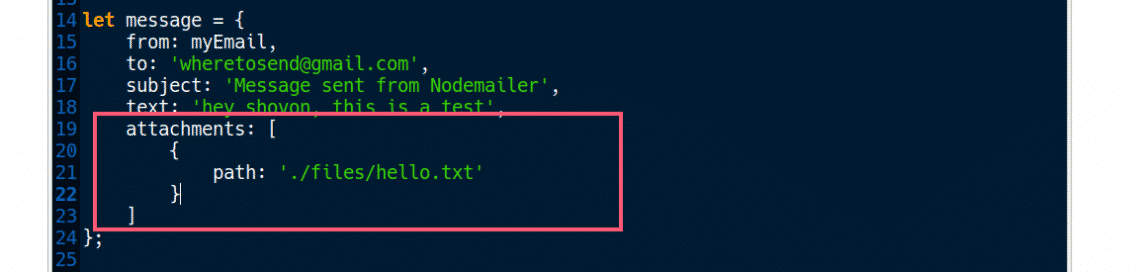
Here, attachments is an array objects. Each object defines an attachment file. So you can send multiple files at once. On line 20-22, I set the relative path to a file hello.txt to the path property of the object.
Now run the sendmail.js script again.
As you can see, the email was sent.

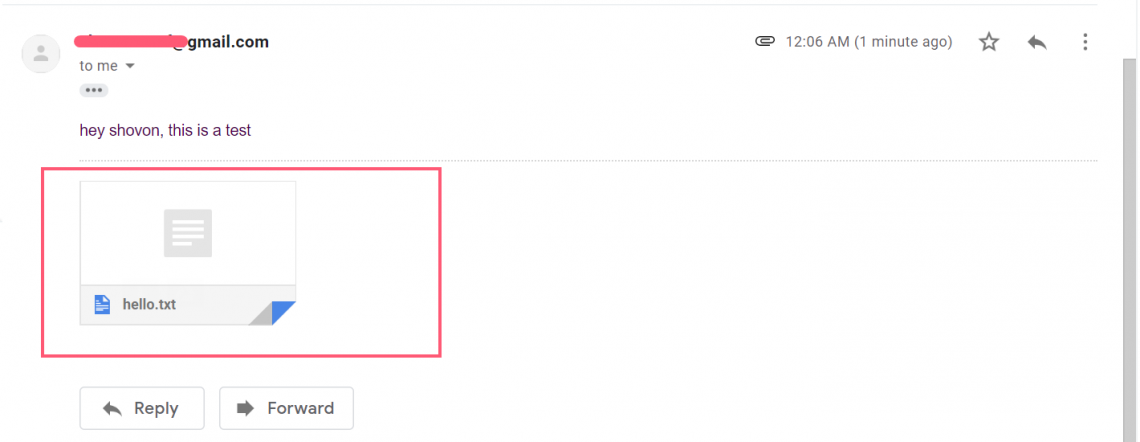
As you can see, I received the message along with the attachment hello.txt.
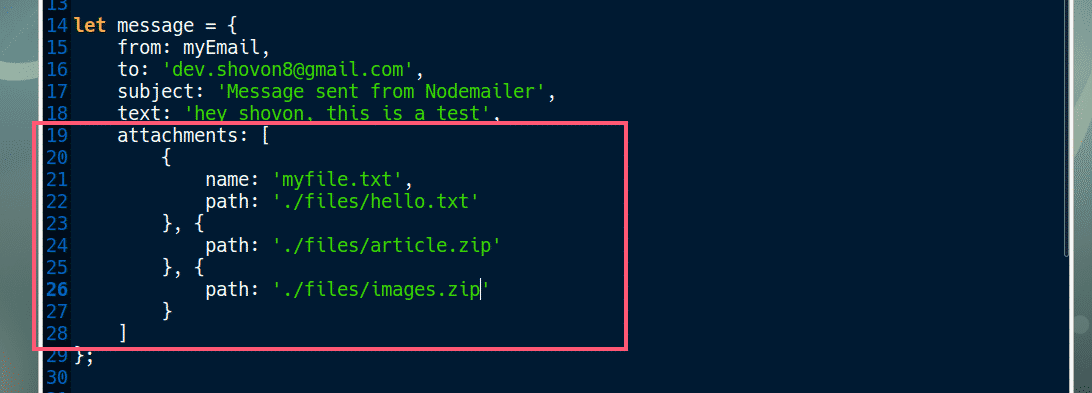
You can also set custom name to your attachment file. For that, you have to change the attachment object as follows:

To send multiple attachments, create multiple attachment objects as follows:
That’s how you send email with attachment using Nodemailer in Node.js. Thanks for reading this article.
Source


 Image Courtesy: Steam Community
