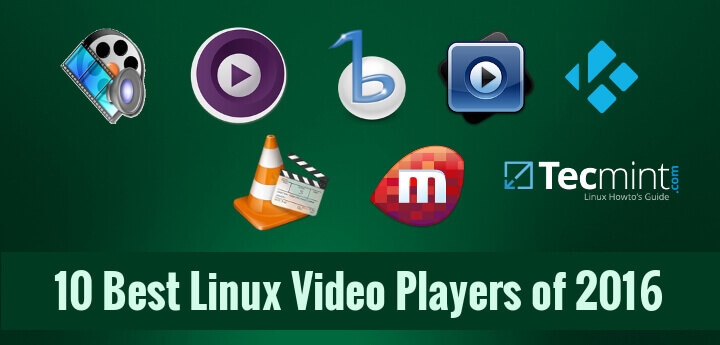
10 Best Open Source Linux Video Players of 2016
Audio and Video are two common sources of information sharing we see in today’s world. May it be publishing any product, or need of sharing any information between huge community of people, or a way of socializing in the group, or sharing of knowledge (e.g. as we see in online tutorials) audio and video hold a great place in this highly expressive world which wants to share their ideas, prove themselves and do all possible steps which brings them in limelight.
21 Best Music Players That Are Worth Trying On Linux
Video players are the channel for people to see videos. There is a huge list of uses of these videos in our life, few of them namely being: watching movies, online tutorials, broadcasting a social message to huge mass of people, for fun and laughter (i.e. funny short videos), to name a few. Video Players provide a means to view and even customize the appearance of Videos as we desire.
Below is the list of some quality open source video players which are available on Linux. Usually you can find that most video players differ only in User interface, there backend which is made of shared libraries remains same for many if not all the players.
So, the distinguishable feature in most Video Players is UI, then libraries used internally, and then any other additional feature which only that player supports that attracts attention. Based on these factors, we have shortlisted few Video Players which are:
1. VLC Media Player
Initially released in 2001 under VideoLAN project, VLC Media player is one of the most powerful media player which is available on large number of OS including but not limiting to: Linux, Windows, Solaris, Android, iOS, Syllable etc.
It is written in C, C++ and Objective C and released under GNU GPLv2+ and GNU LGPLv2.1+. It supports large number of encoding / decoding libraries avoiding need for calibrating any kind of plugins.
VLC supports wide variety of audio and video formats including subtitle support. It is one of the few players providing support for DVD on Linux. Other features include: providing ability to play .iso files so that users can play files on a disk image directly, ability to play high definition recordings of D-VHS tapes, can be installed and run directly from USB flash drive or external drive, its functionality can be extended via Lua scripting. Also, apart from all this, VLC also provides API support by providing various API’s, and browser plugin support in Mozilla, Google Chrome, Safari etc.
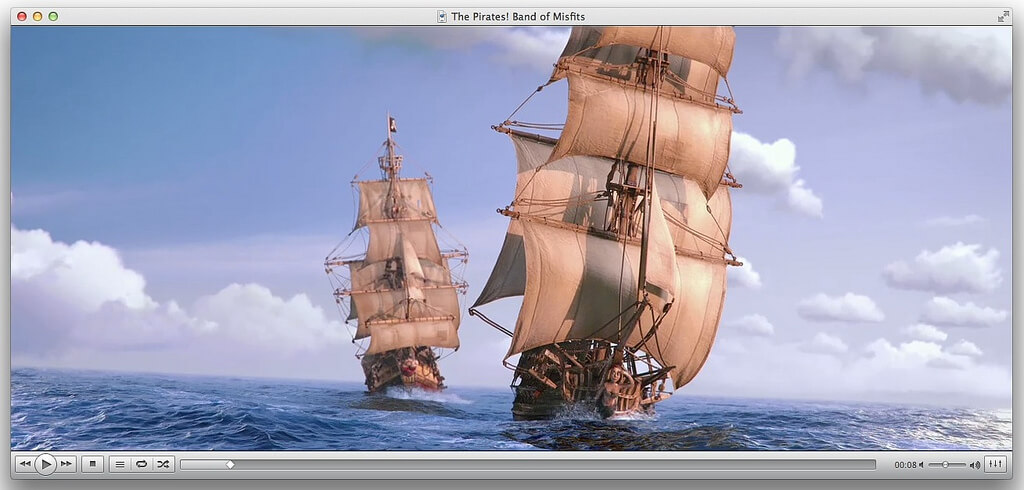
VLC Player
Website: http://www.videolan.org/
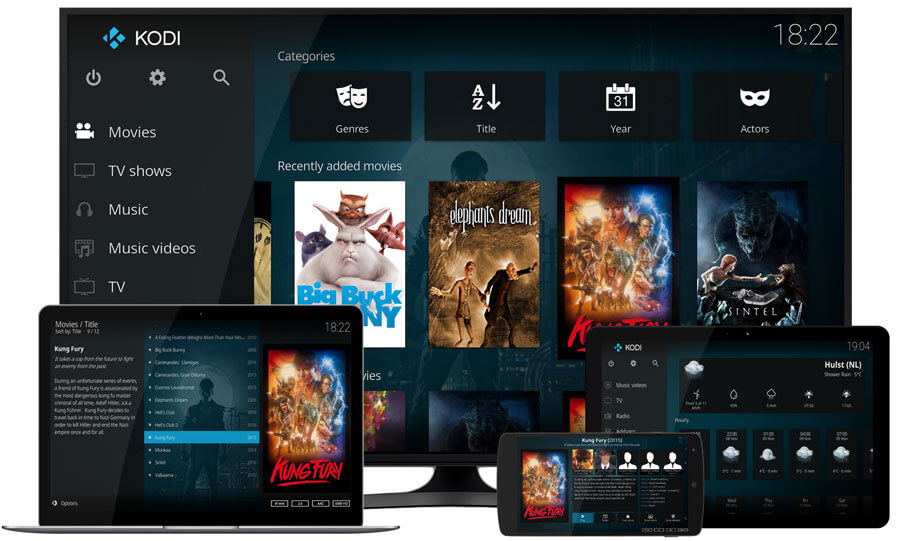
2. XBMC – Kodi Media Center
Formerly known as Xbox Media Center (XBMC) and now Kodi, this cross-platform player is available under GNU General Public License and in 69+ languages. It is written with C++ as core with python scripts as addons available.
It allows complete flexibility to user to play both audio and video files and that to from internet podcasts, and all media player files from both local and network storage.
Open source nature of Kodi has helped it gain a lot of popularity as modified parts of this software are being used along with JeOS as an application suite or framework in variety of devices including Smart TV, set top boxes, network connected media players etc.
It provides a lot of features as addons which are added as python scripts which include: audio and video streaming plugins, screensavers, visualizations, themes etc. It provides support of a lot of formats including: Audio Formats like: MIDI, MP2, MP3, Vorbis etc, Video formats including: MPEG-1,2,4, HVC, HEVC, RealVideo, Sorenson etc.
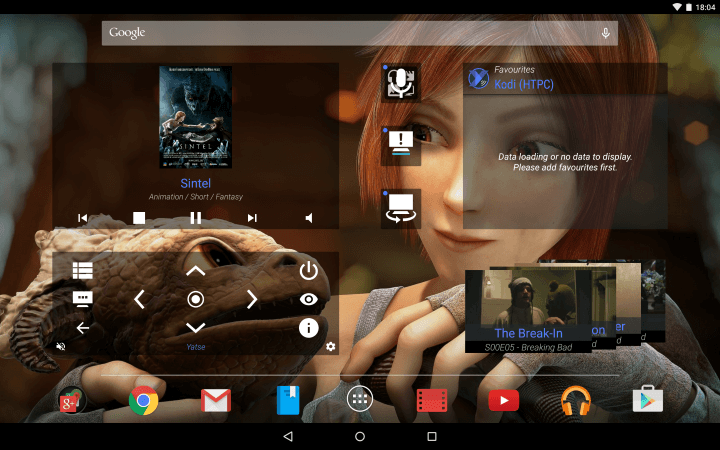
Kodi XBMC
Website: http://kodi.tv/
3. Miro Music and Video Player
Formerly known as Democracy Player (DTV), Miro is a cross-platform audio and video player and Internet television application developed by Participatory Cluture Foundation. It supports numerous Audio and Video formats, some in HD quality. Written purely in Python and GTK and released under GPL-2.0 +, this player is available in more than 40 languages.
It is able to play various file formats including: Quick Time, WMV, MPEG files, Audio Video Interface (AVI), XVID. It also integrates RSS news aggregator and podacatcher, a BitTorrent client and a media player. Its video converter is based on FFmpeg and converts various video formats.
It has ability to notify and automatically download a video once available. It received a great reception with its download link appearing on front page of Pirate Bay in 2009 under heading “We Love Free Software”. Apart from this it received positive critical reviews with rating of 9/10 in Softonic.

Miro Music and Video Player
Website: http://www.getmiro.com/
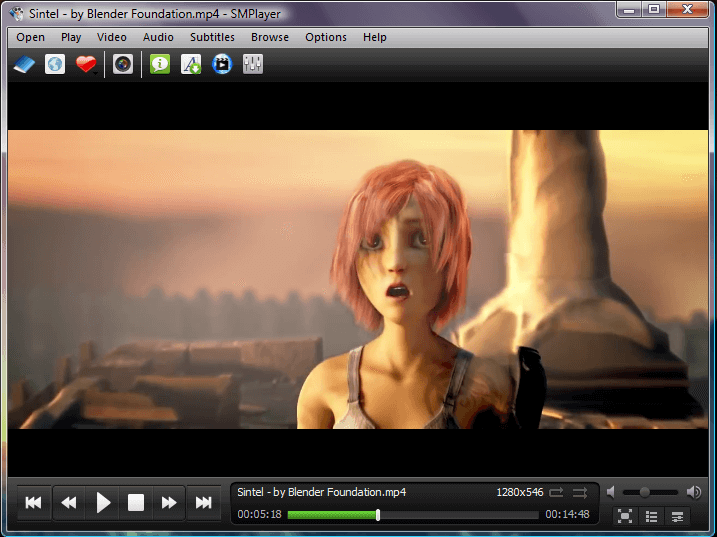
4. SMPlayer
It is another cross-platform media player and a graphical front end for the likes of Mplayer and its forks, written purely using Qt library in C++. It is available in multiple languages and only on Windows and Linux OS, released under GNU General Public License.
It provides support for all the default formats as in other media players. Talking about its features it provides: Support for EDL files, Configurable subtitles which can be fetched from Internet, numerous Skins downloadable from Internet, Youtube browser, Multiple speed playback, Audio and Video filters and equalizers.
SMPlayer
Website: http://www.smplayer.eu/
5. MPV Player
Written in C, Objective-C, Lua and Python, MPV is another free and cross platform media player released under GPLv2 or later with latest stable release being 0.21.0 on 20 October 2016. It is based on MPlayer and focuses mainly on modern systems which has led to advancements in original code of MPlayer and introduction of new features.
Transformation from MPlayer to MPV player has led to deprecation of “slave mode” which was earlier part of MPlayer but now has been discontinued due to broken compatibility.
Instead of this, MPV can now be compiled as a library which exposes client API’s for better control. Other features include: Media Encoding functionality, smooth-motion which is a form of interpolation between two frames for smooth transition between them.

MPV Player
Website: https://mpv.io/
6. Gnome Videos
Formerly known as Totem, it is the default media player for Gnome based desktop environments. It is written purely in C and uses GTK+ and Clutter libraries. From initial stages only, its development was in two stages, one stage used GStreamer multimedia framework for playback and other version (> 2.7.1) was configured to use xine libraries as a backend.
Although xine version had better DVD compatibility, but was discontinued as GStreamer version evolved many folds over time with introduction of DVD compatible features, and its ability to support wide variety of formats including playlist formats like: SHOUTcast, M3U, SMIL, Windows Media Player format, and Real Audio format.
Other features include: still capturing, loading of subRip subtitles, ability to adjust brightness, contrast and saturation during playback. GNOME 3.12 added support for direct video playback from online channels like: Guardian and Apple.
Gnome Videos Player
Website: https://wiki.gnome.org/Apps/Videos
7. Bomi (CMPlayer)
Another powerful and highly configurable video player which promises to fulfill all the requirements one expects from a good video player. It is based on MPV player. Various features that are provided by Bomi include: easy to use GUI, playback tracking/ recording and ability to resume playback later, subtitle support and ability to render multiple subtitle files, hardware accelerated decoding by GPU, and other features that are by default provided by other video players.

Bomi CMPlayer
Website: https://bomi-player.github.io/
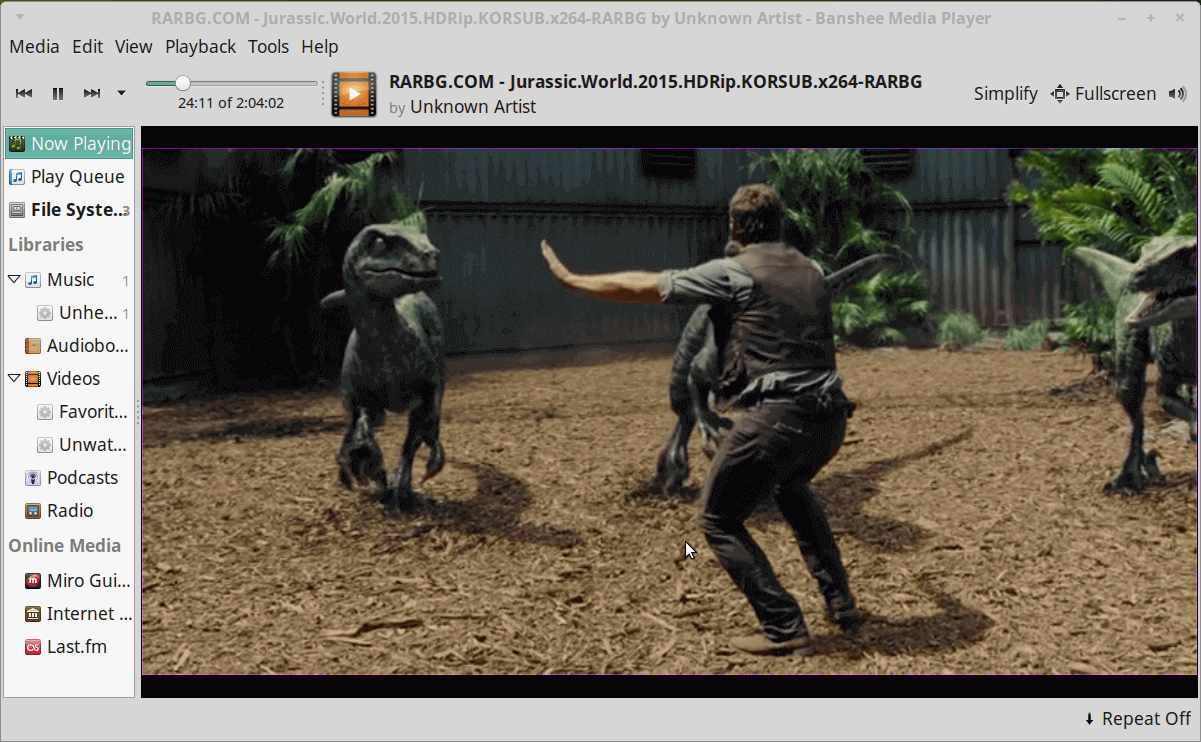
8. Banshee Music and Video Player
Initially called Sonance, Banshee is another open source cross-platform media player developed in GTK# (C#) which is available on Linux platform on many Linux distributions. It was initially released in 2005 under MIT License. It uses GStreamer multimedia framework which adds in lot of functionality including support for lare number of audio and video formats.
Some features provided by this media player include: Multimedia keys support, iPod manager which allows transfer of audio and video between system and iPod, Podcasting which enables Banshee to subscribe to feeds, notification area icon which it adds in GNOME. These all features are because of Banshee’s enhanced plugin architecture.
Banshee Player
Website: http://banshee.fm/
9. MPlayer
Another multi-lingual cross platform media player developed by MPlayer team, available for all major Operating Systems i.e. Linux, Mac, Windows and even other systems including OS/2, Syllable, AmigaOS, AROS Research Operating System. It is purely written in C and released under GNU General Public License.
In itself, it is a command-line media player which has ability to play: Video, Audio from Physical Media like: DVD, CD etc and Local file system.
In case of Videos, it can play lots of video input file formats including: CINEPAK, DV, H.263, MPEG, MJPEG, Real Video, and even is able to easily store the streamed content to a file locally.
Other features which make it one of great media players include: supporting variety of output driver protocols like: X video extension, DirectX, VESA, Framebuffer, SDL etc, easy integration with multiple GUI front-ends written in GTK+ and Qt, MEncoder which can take input file or stream and can translate into any output format after applying various transformations and subtitle support for Videos.
MPlayer
Website: http://www.mplayerhq.hu/
10. Xine Multimedia Player
Released under GNU General Public License, Xine is a cross-platform multimedia player written purely in C. It is build around a shared library xine-lib that supports multiple configurable frontends.
Development of Xine project dates back to year 2000 when even running DVD’s was manual and tedious process. Other media players which share the same shared library as of xine are: Totem and Kaffeine.
Apart from supporting physical media, container formats like: 3gp, Matroska, MOV, Mp4, Audio formats, Network Protocols, Xine also supports various Video Devices like: V4L, DVB, PVR and Various Video formats like: Cinepak, DV, H.263, MPEG series, WMV etc.
One advantage of this media player is its ability to manually correct audio and video streams synchronization.
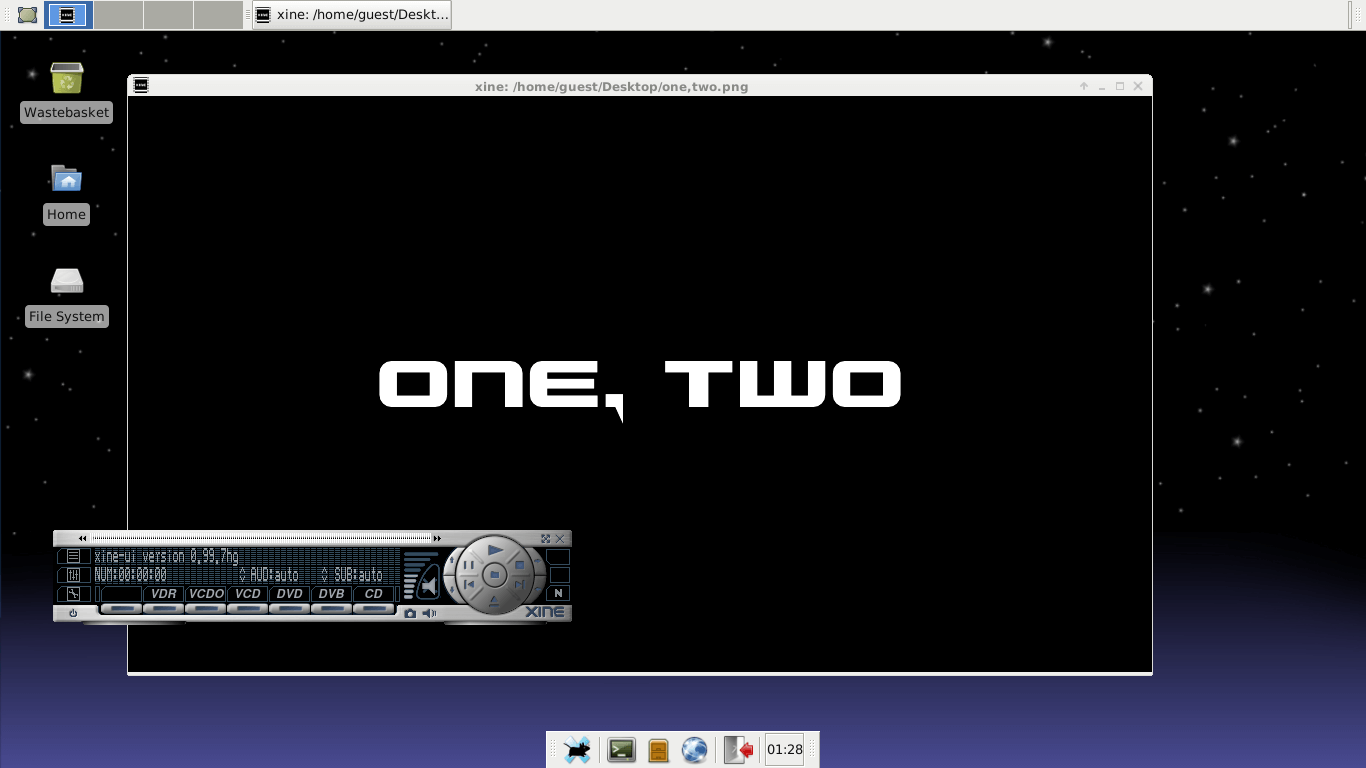
Xine Multimedia Player
Website: https://www.xine-project.org/
Conclusion
These are some selected video players which are available on Linux platform. If you use any other video player, do write to us in comments and we will include it in our list.