There is a wealth of information on the web that you probably want to keep up to date with; from news, to how tos, guides, tutorials and more. Imagine having to visit, on a daily basis, all your favorite blogs or websites – it’s a bit of a challenge, especially if you have a tight schedule. This is where RSS comes into play.
RSS (Rich Site Summary or also Really Simple Syndication) is a popular and standardized web format used to deliver regularly changing content on the web. It is employed by blogs, news-related sites as well as other sites to deliver their content as an RSS Feed to internet users interested in it.
RSS feeds enable you to see when blogs or websites have added new content so you can get the latest headlines, videos and images within a single interface, immediately after being published, without necessarily visiting the news sources (you have taken the feeds from).
To subscribe to a feed, simply go to your favorite blog or site, copy the RSS URL and paste it into your RSS feed reader: do this for sites you visit frequently.
For example, Tecmint.com RSS feed URL is:
https://www.tecmint.com/feed/
In this article, we will review 14 RSS Feed readers for Linux systems. The list is not arranged in any particular order.
1. FeedReader
FeedReader is a free, open source, modern and highly customizable RSS client for Linux desktop. It supports keyboard shortcuts, comes with a fast search and filters feature, and supports desktop notifications. FeedReader also supports tags for categorizing and sorting articles. Importantly, it offers amazing consistency in article formating.
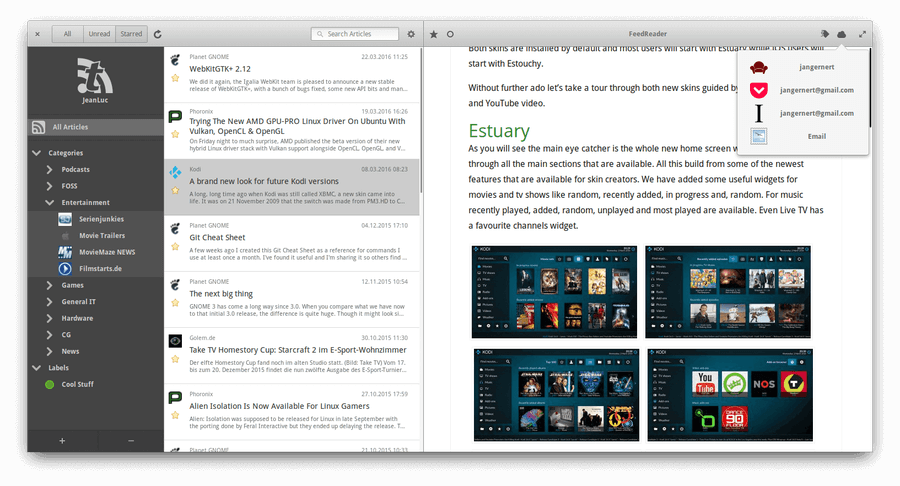
FeedReader for Linux
It allows you to save your feeds to pocket, instapaper or wallabag for later reading. You can also share feeds with friends via twitter, telegram or email. And it supports podcasts. In addition, you can choose from four themes and use the dconf-editor to tweak it.
Last but not least, it works with third-party applications (such as Feedbin, Feedly, FreshRSS, InoReader, LocalRSS, Tiny Tiny RSS, TheOldReader, and more) to extend its functionality.
Install FeedReader in Linux
FeedReader can be easily installed using Flatpak on all major Linux distributions.
$ flatpak install http://feedreader.xarbit.net/feedreader-repo/feedreader.flatpakref
$ flatpak run org.gnome.FeedReader
2. RSSowl
RSSowl is a free, powerful, cross-platform desktop RSS feed reader that runs on Linux, Windows and MacOS. It helps you to organize your feeds the way you want, under various categories, instantly search, and read feeds conveniently.
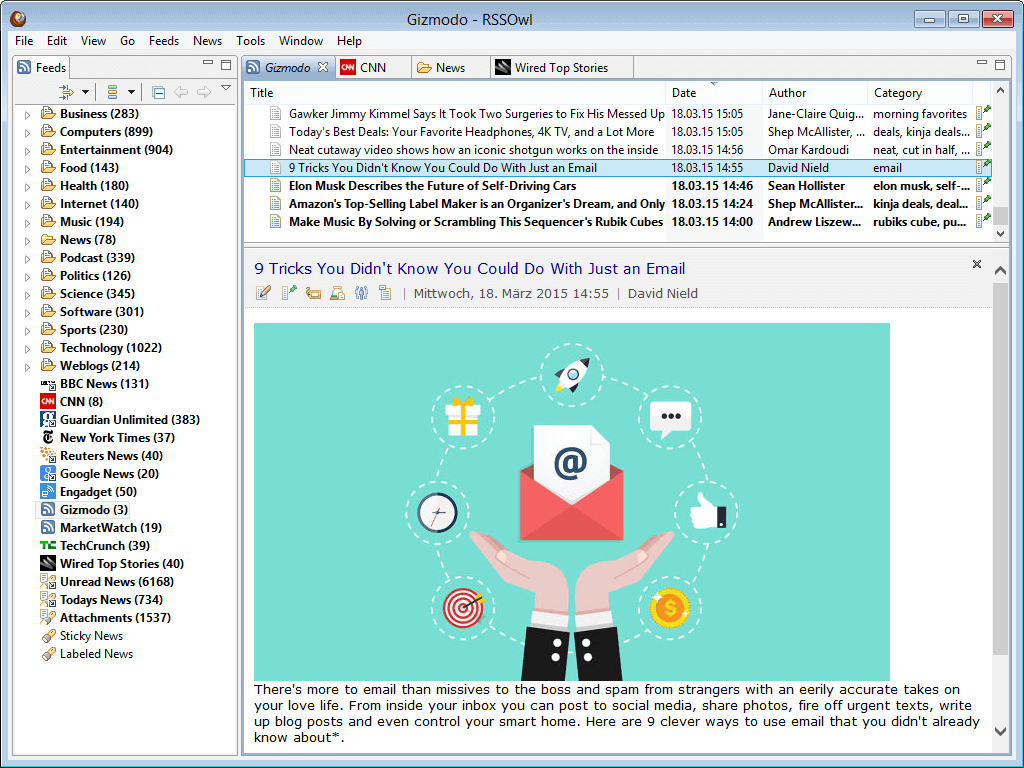
RSSOwl Feed Reader for Linux
It allows you to save searches and use them like feeds and supports notifications. It also offers news bins for storing news entires that you consider very important. RSSowl also supports labels for associating keywords with news entries and more.
3. TinyTiny RSS
Tiny Tiny RSS is a free open source web-based RSS/Atom reader and aggregator, powered by AJAX. To host it, you need to setup a LEMP or LAMP stack on your system. Then use a web browser to read news; there is an Android app for mobile users.

TinyTiny RSS for Linux
It supports keyboard shortcuts, several languages and allows for feed aggregation/syndication. TT RSS also supports podcasts and allows you to share new entries in various ways including via RSS feeds, social networks, or sharing by URL, and many more.
It supports flexible article filtering, and automatically identifies and filters duplicate articles. It comes with multiple themes to customize its look and feel, and there are plugins to extend its core functionality. You can integrate it with external applications via a JSON-based API. In addition, it supports OPML import/export and more.
4. Akregator
Akregator is a very powerful news RSS/Atom feed reader for KDE, designed to get feeds from hundreds of news sources. It is easy to use and very convenient. It ships in with an embedded browser for reading news in a simple and convenient way, and can be integrated with Konqueror to add news feeds.
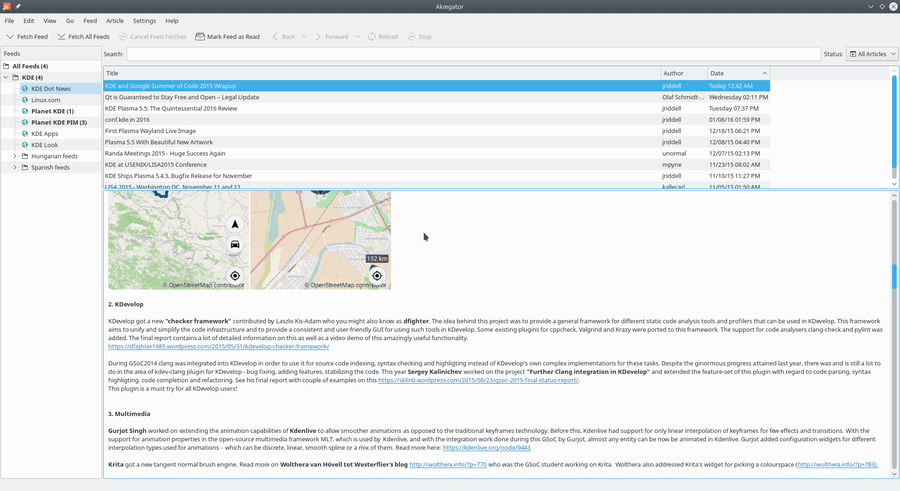
Akregator Feed Reader for Linux
Install Akregator in Linux
If you are using KDE desktop, most likely Akregator is already installed. If not, you can use the following command to install it.
$ sudo apt install akregator
5. FreshRSS
FreshRSS is a free open source, fast, lightweight, powerful and customizable web-based RSS feed reader and aggregator. It is a multi-user application and has a terminal interface for those who like to work from the command-line. To self-host it, all you need is to install a LAMP or LEMP stack on your system.
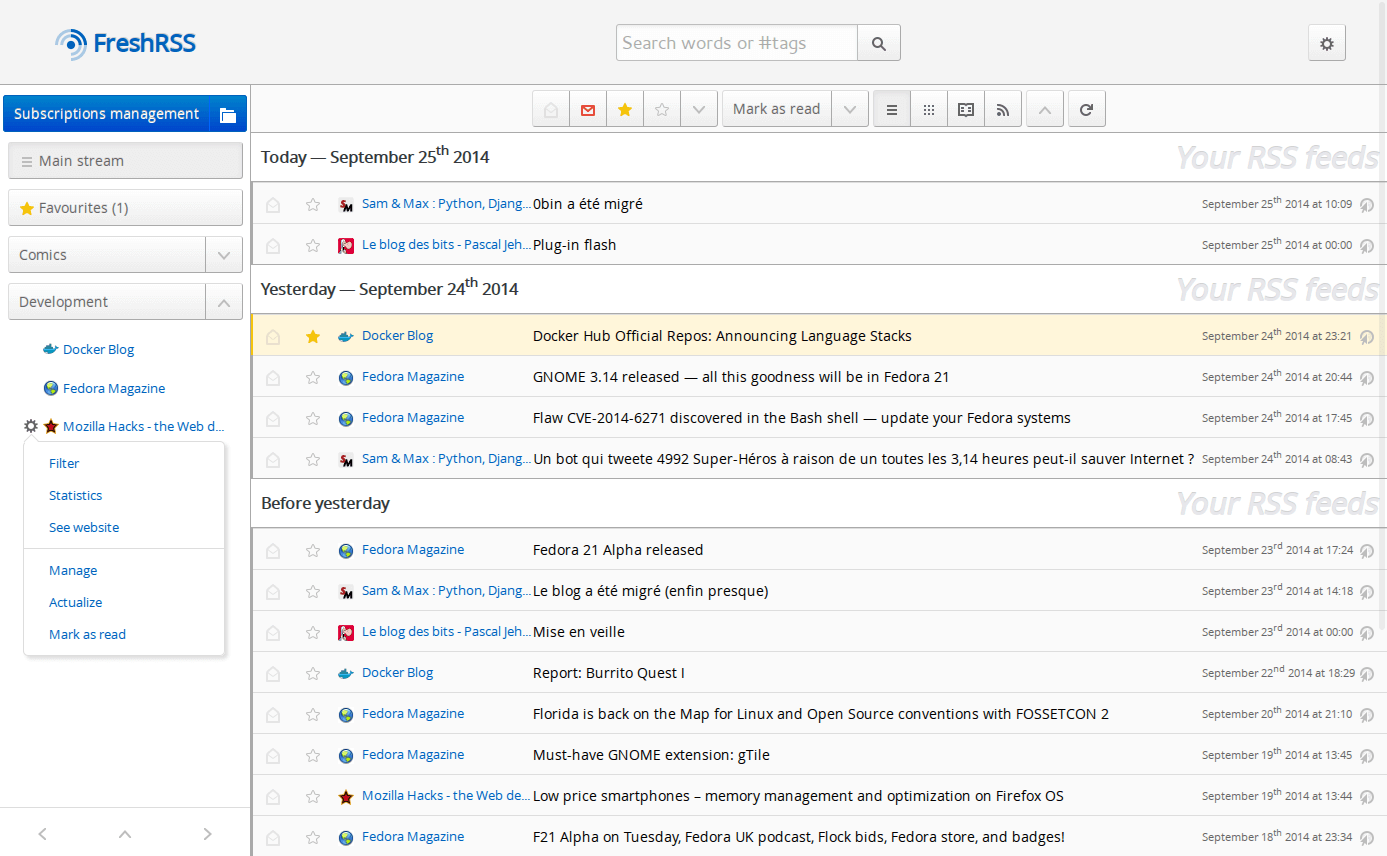
FreshRSS Reader for Linux
It is easy to use, very responsive with good mobile support. FressRSS supports anonymous reading mode, and instant notifications from compatible sites, via PubSubHubbub. It comes with various extensions to improve its core functionality, and an API for (mobile) clients.
6. Selfoss
Selfoss is a free open source, modern, lightweight and multipurpose web-based RSS reader, developed using PHP (therefore self-hostable). It can also be used for live stream, mashup, and as a universal aggregation.
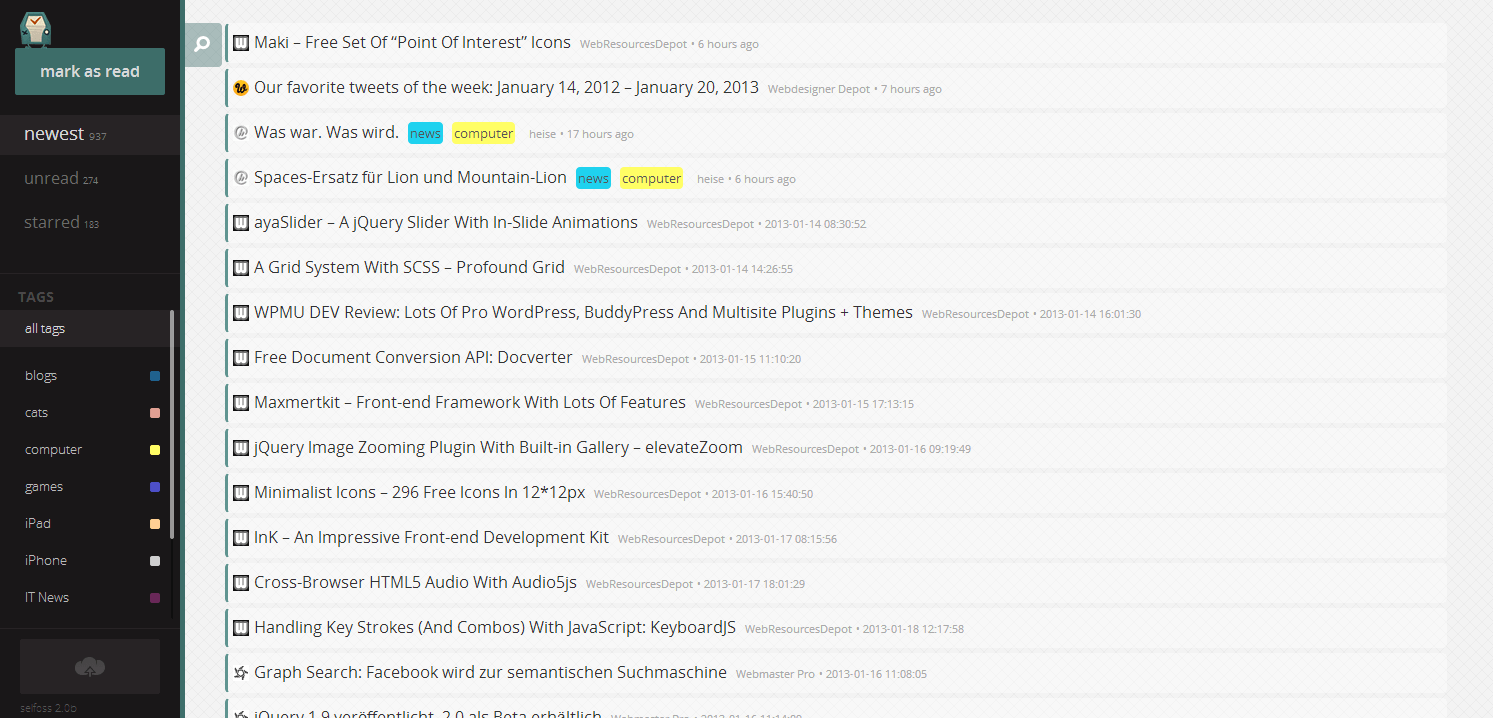
Selfoss RSS Reader
It comes with amazing mobile support (apps) for Android, iOS and tablets. It supports plugins for further tuning, and it also supports OPML import. In addition, you can integrate it with other external applications or develope you own plugins with the help of a Restful JSON API.
7. QuiteRSS
QuiteRSS is a free open source, cross-platform and feature-rich RSS feed reader. It works on Linux, Windows and MacOS. It comes in a multitude of languages around the world. It automatically update news feeds on startup and via a timer.

QuiteRSS Reader for Linux
QuiteRSS supports shortcuts, OPML import/export, quick search in browser, and filters (user, feed and news filters). It also supports notifications (pop-up and sound), displays new or unread news counter on your system tray.
If you don’t want to view images in preview, this application allows you to disable them. And for security minded users, it allows you to configure a proxy either automatically or manually. It also comes with an ad-lock, internal browser and so much more.
Install QuiteRSS on Linux
Simply add the following PPA to install QuiteRSS on Debian based systems.
$ sudo add-apt-repository ppa:quiterss/quiterss
$ sudo apt-get update
$ sudo apt-get install quiterss
8. Liferea (Linux Feed Reader)
Liferea is a free open source, web-based feed reader and news aggregator for Linux. It is considered one of the best RSS feed readers on Ubuntu Linux. It has a simple interface allowing you to easily organize and browse feeds.
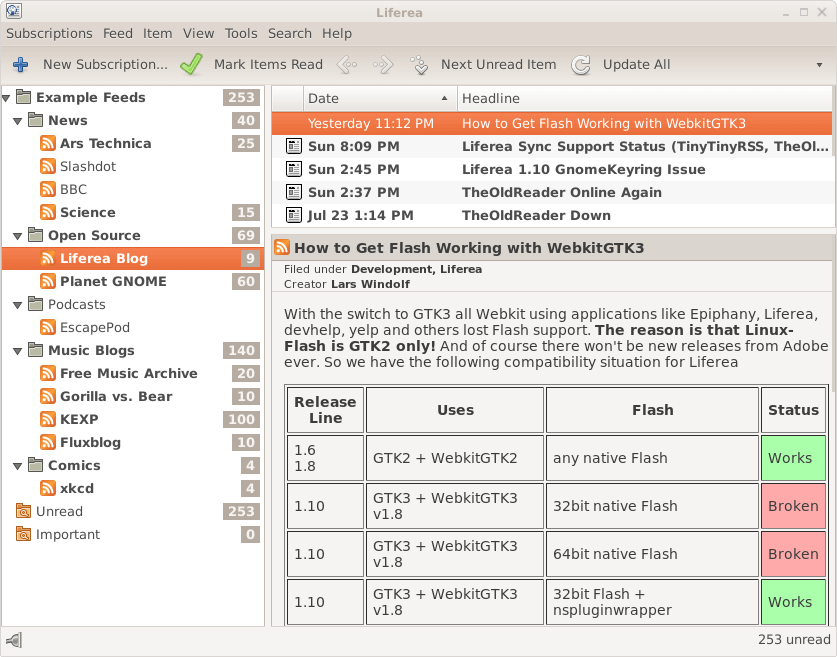
Liferea Feed Reader for Linux
It comes with an embedded graphical browser, supports reading articles while offline, and supports podcats. It also provides news bins for permanently saving headlines, and allows you to match items using search folders. And Liferea can be synchronizes with InoReader, Reedah, TheOldReader and TinyTinyRSS.
Install Liferea in Linux
$ sudo apt-get install liferea  [On Ubuntu/Debian]
$ sudo dnf install liferea      [On Fedora]
9. OpenTICKR
OpenTickr is a free open source, highly customizable GTK-based RSS reader that shows feeds in a TICKER bar on your Linux desktop with a fast and smooth scroller. It’s a native Linux program developed using C with GTK+ and Libxml2; it can also run on Windows with MinGW support.
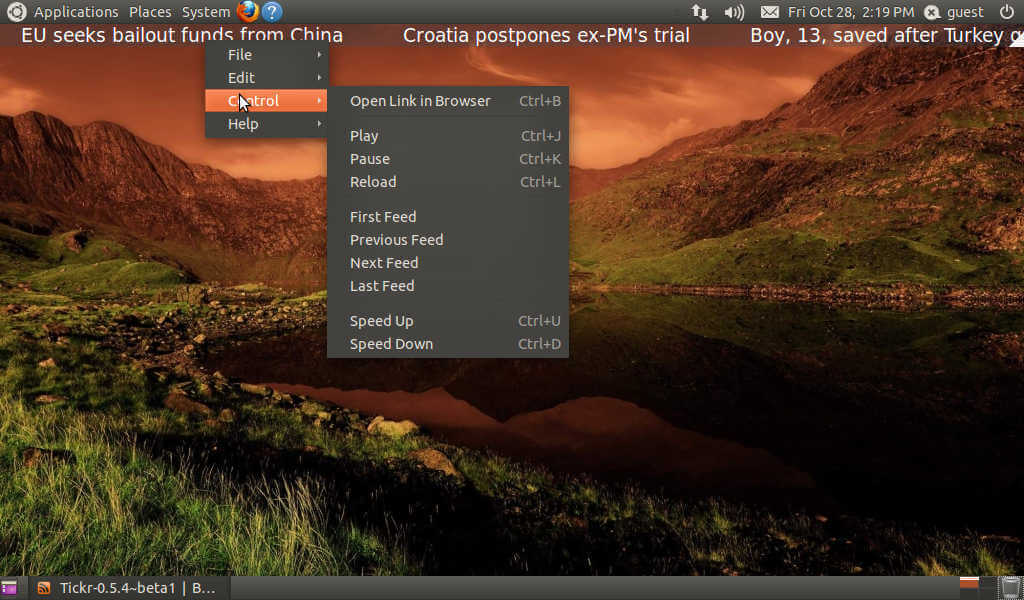
Tickr Feed Reader for Linux
It supports bookmarking of your favorite feeds, and allows you to easily play, pause or reload the current feed. Other than using remote XML resources, you can use it with any text file. In addition, it is highly scriptable, since all its parameters can be passed from command-line, and much more.
10. MiniFlux
MiniFlux is a free open source, very simple, lightweight and fast RSS/Atom/JSON feed reader, developed in Goand Postgresql. It is easy to install and use, and comes with a few useful features. It comes in six languages: Chinese, Dutch, English, French, German, and Polish.
MiniFlux Feed Reader for Linux
It supports OPML import/export, bookmarks, and categories. For YouTube lovers, it allows you to play videos from channels directly from within the program. In addition, it supports multiple enclosures/attachments such as videos, music, images as well as podcasts. With it, you can also save articles to external applications or services.
11. Newsbeuter
Newsbeuter is a free open source, terminal-based RSS/Atom feed reader for Unix-like systems (Linux, FreeBSD, Mac OS X and others). With it, you can connect to any feed source via a highly flexible filter and plugin system. It supports configurable keyboard shortcuts, podcasts, a search facility, category and tag system, as well as OPML import/export.

NewBeuter RSS Feed Reader
Newsbeuter uses a powerful query language to set meta feeds and you can automatically delete unwanted articles via a killfile.
Install Newsbeuter on Linux
Newsbeuter is available to install from the default system repository using following command.
$ sudo apt-get install newsbeuter
12. Snownews
Snownews is a free open source, simple, lightweight, fast and fully featured command-line RSS feed reader for Unix-like systems, with color support.
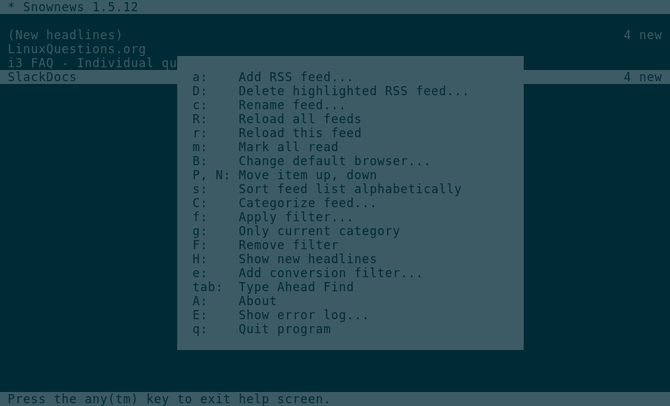
Snownews RSS Reader
It is a native Unix program written in C and has few external dependencies (ncurses and libxml2). It comes with an embedded HTTP client which follows server redirects and automatically updates feed URLs that point to permanent redirects (301).
It supports HTTP proxy and authentication(basic and digest methods), feed categories, OPML import, and uses fully customizable keyboard shortcuts. Snownews also uses a local cache to minimize network traffic, hence boosting its performance. Furthermore, you can extend it via plug-ins; it is available in several languages, and much more.
13. Newsroom
Newsroom is a free open-source, simple, modern and cross-platform command-line utility to get your favorite news, developed using NodeJS. It runs on Linux systems, Mac OSX as well as Windows.
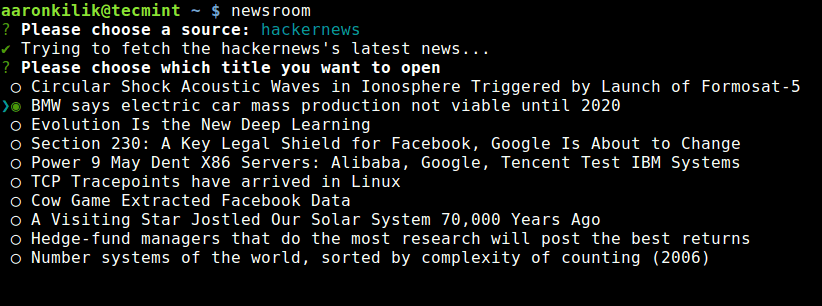
Newsroom Commandline RSS Reader
14. Newsboat
Newsboat (a fork of Newsbeuter) is also a free, open source and simple terminal-based RSS/Atom feed reader. It only runs on Unix-like systems such as GNU/Linux, FreeBSD and MacOS.
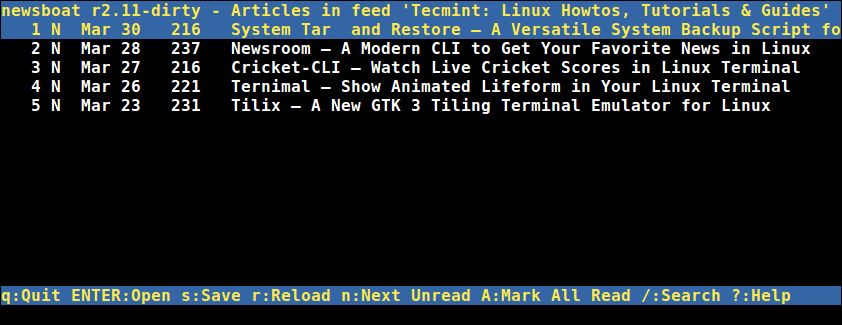
Newsboat Commandline RSS Reader
Summary
RSS is a standardized format used to deliver regularly changing content on the web. In this article, we have explained 14 RSS Feed readers for Linux systems. If we have missed any application in the list above, let us know via the feedback form below.
Source