While writing program files or normal text files, programmers and writers sometimes want to know the difference between two files or two versions of the same file. When you compare two computer files on Linux, the difference between their contents is called a diff. This description was born out of a reference to the output of diff, the well known Unix command-line file comparison utility.
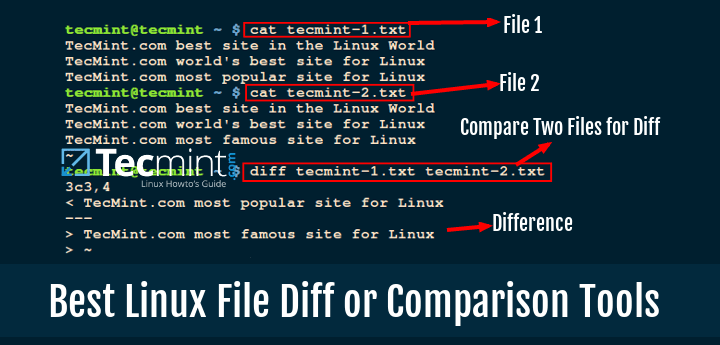
9 Best Linux File Diff or Comparison Tools
There are several file comparison tools that you can use on Linux, and in this review, we shall look at some of the best terminal based and GUI diff tools you can take advantage of while writing code or other text files.
1. diff Command
I like to start with the original Unix command-line tool that shows you the difference between two computer files. Diff is simple and easy to use, it comes pre-installed on most Linux distributions. It compares files line by line and outputs the difference between them.
You can check out the manual entry for diff to easily use it.
# man diff
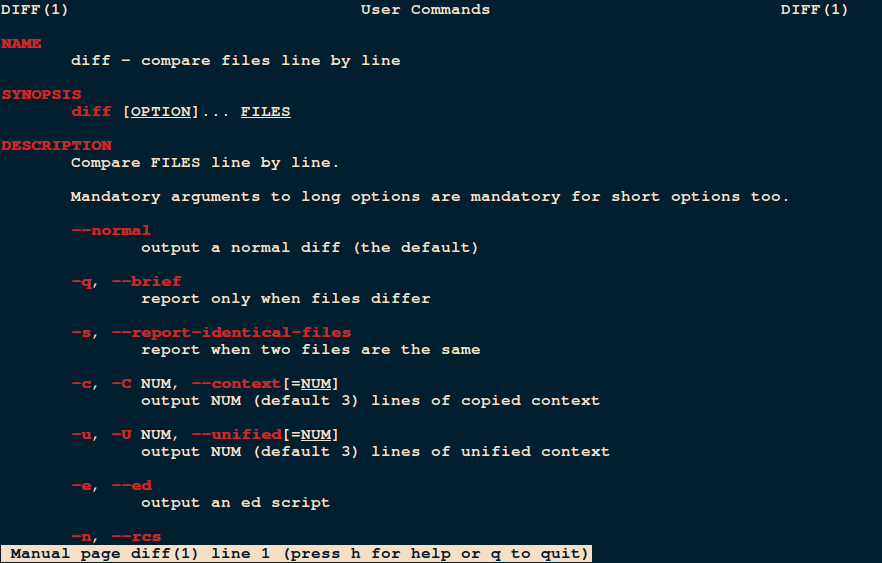
Linux diff Command to Compare Files
There are some wrappers for the diff tool that enhance its functionality and these include:
colordiff Command
Colordiff is a Perl script that produces same output as diff, but with color and syntax highlighting. It has customizable color schemes.
You can install Colordiff on your Linux systems, using default package manager tools called yum, dnf or apt-getas shown.
# yum install colordiff             [On CentOS/RHEL/Fedora]
# dnf install colordiff             [On Fedora 23+ version]
$ sudo apt-get install colordiff    [On Debian/Ubuntu/Mint]
You can check out the manual entry for Colordiff as shown.
# man colordiff
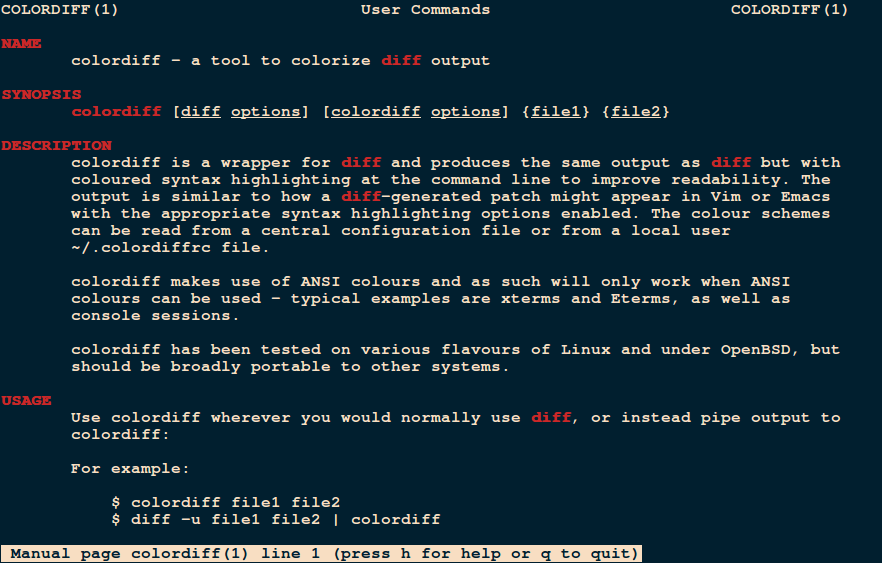
Linux Colordiff Command – Color diff Output
wdiff Command
The wdiff utility is a front end to diff command used to compare files on a word by word basis. This program is very useful when comparing two texts for changed words and for which paragraphs have been refilled.
To install wdiff on your Linux systems, run:
# yum install wdiff             [On CentOS/RHEL/Fedora]
# dnf install wdiff             [On Fedora 23+ version]
$ sudo apt-get install wdiff    [On Debian/Ubuntu/Mint]
Use wdiff manual for how to use it on Linux.
# man wdiff
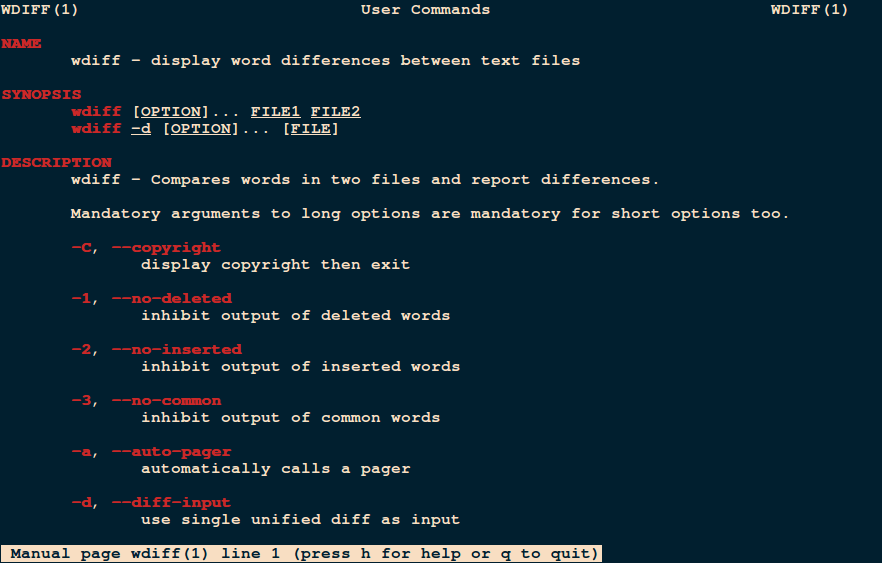
wdiff Compare Two Files in Linux
2. Vimdiff Command
Vimdiff works in an advanced manner in comparison to diff utility. It enables a user to edit up to four versions of a file while showing their differences. When you run it, Vimdiff opens two or three or four files using vim text editor.

Vimdiff Edit Multiple Files for Differences
Visit Homepage: http://vimdoc.sourceforge.net/htmldoc/diff.html
Having looked the old school diff tools, lets quickly move to some GUI diff tools available on Linux.
3. Kompare
Kompare is a diff GUI wrapper that allows users to view differences between files and also merge them.
Some of its features include:
- Supports multiple diff formats
- Supports comparison of directories
- Supports reading diff files
- Customizable interface
- Creating and applying patches to source files
Kompare Tool – Compare Two Files in Linux
Visit Homepage: https://www.kde.org/applications/development/kompare/
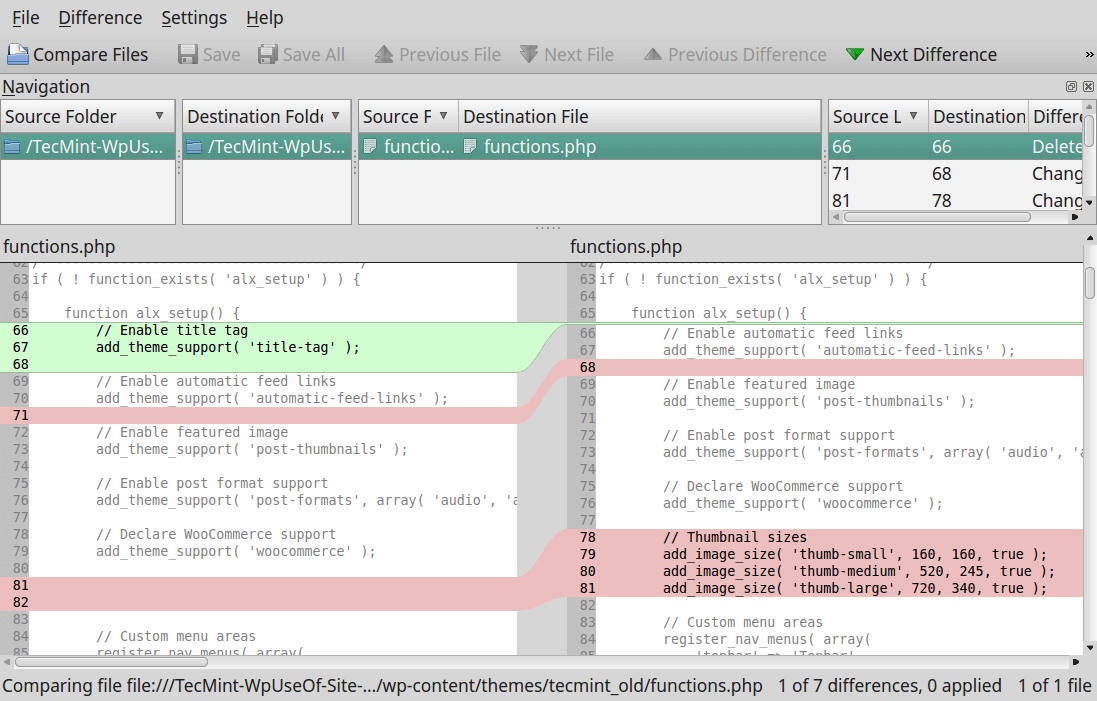
4. DiffMerge
DiffMerge is a cross-platform GUI application for comparing and merging files. It has two functionality engines, the Diff engine which shows the difference between two files, which supports intra-line highlighting and editing and a Merge engine which outputs the changed lines between three files.
It has got the following features:
- Supports directory comparison
- File browser integration
- Highly configurable
DiffMerge – Compare Files in Linux
Visit Homepage: https://sourcegear.com/diffmerge/
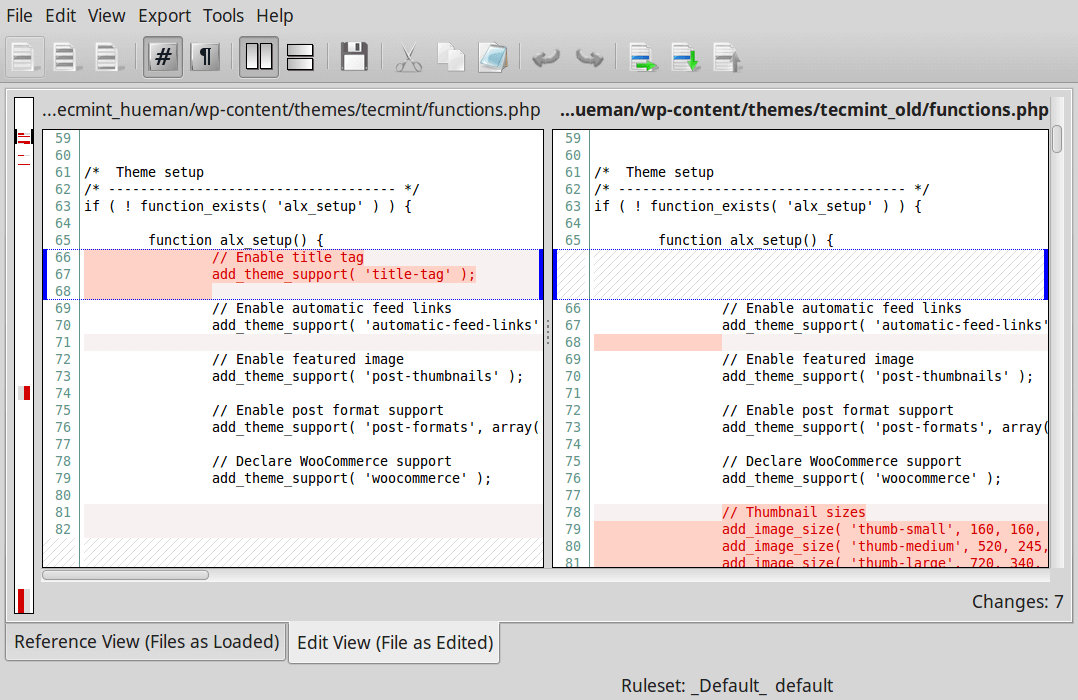
5. Meld – Diff Tool
Meld is a lightweight GUI diff and merge tool. It enables users to compare files, directories plus version controlled programs. Built specifically for developers, it comes with the following features:
- Two-way and three-way comparison of files and directories
- Update of file comparison as a users types more words
- Makes merges easier using auto-merge mode and actions on changed blocks
- Easy comparisons using visualizations
- Supports Git, Mercurial, Subversion, Bazaar plus many more
Meld – A Diff Tool to Compare File in Linux
Visit Homepage: http://meldmerge.org/
6. Diffuse – GUI Diff Tool
Diffuse is another popular, free, small and simple GUI diff and merge tool that you can use on Linux. Written in Python, It offers two major functionalities, that is: file comparison and version control, allowing file editing, merging of files and also output the difference between files.
You can view a comparison summary, select lines of text in files using a mouse pointer, match lines in adjacent files and edit different file. Other features include:
- Syntax highlighting
- Keyboard shortcuts for easy navigation
- Supports unlimited undo
- Unicode support
- Supports Git, CVS, Darcs, Mercurial, RCS, Subversion, SVK and Monotone
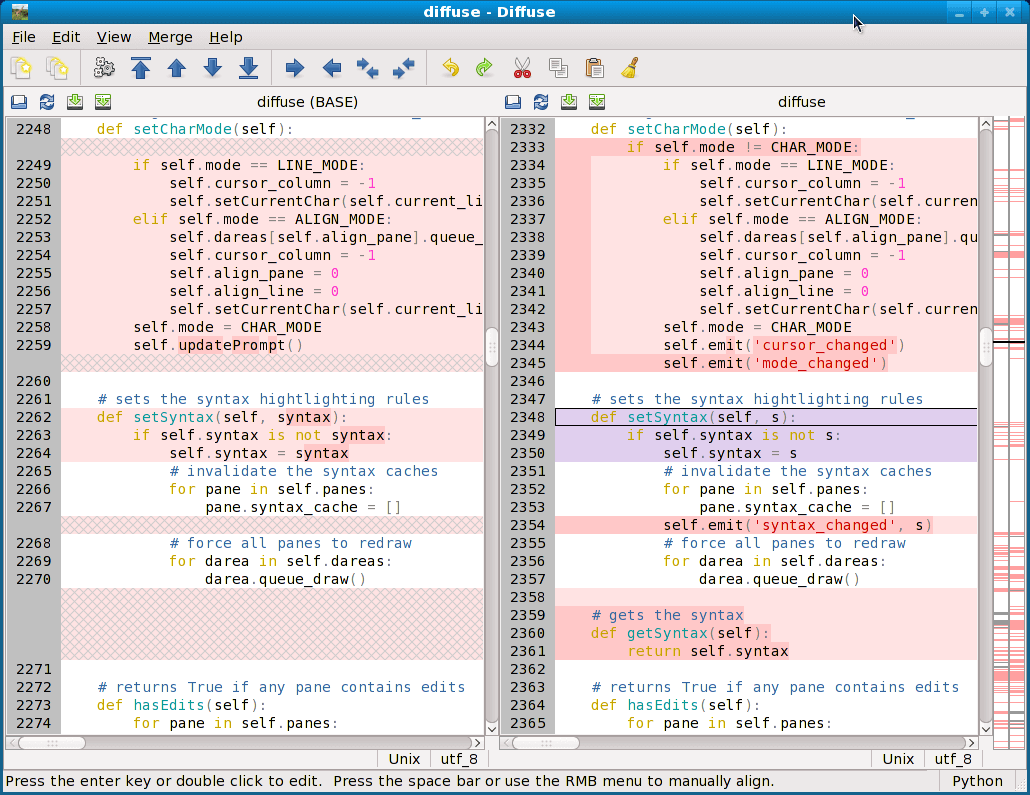
DiffUse – A Tool to Compare Text Files in Linux
Visit Homepage: http://diffuse.sourceforge.net/
7. XXdiff – Diff and Merge Tool
XXdiff is a free, powerful file and directory comparator and merge tool that runs on Unix like operating systems such as Linux, Solaris, HP/UX, IRIX, DEC Tru64. One limitation of XXdiff is its lack of support for unicode files and inline editing of diff files.
It has the following list of features:
- Shallow and recursive comparison of two, three file or two directories
- Horizontal difference highlighting
- Interactive merging of files and saving of resulting output
- Supports merge reviews/policing
- Supports external diff tools such as GNU diff, SIG diff, Cleareddiff and many more
- Extensible using scripts
- Fully customizable using resource file plus many other minor features
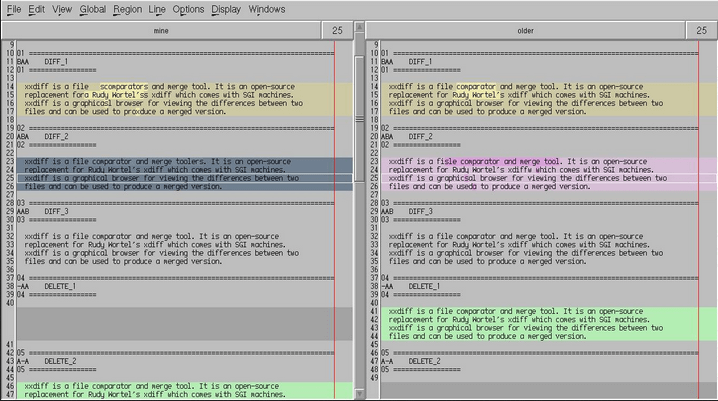
xxdiff Tool
Visit Homepage: http://furius.ca/xxdiff/
8. KDiff3 – – Diff and Merge Tool
KDiff3 is yet another cool, cross-platform diff and merge tool made from KDevelop. It works on all Unix-like platforms including Linux and Mac OS X, Windows.
It can compare or merge two to three files or directories and has the following notable features:
- Indicates differences line by line and character by character
- Supports auto-merge
- In-built editor to deal with merge-conflicts
- Supports Unicode, UTF-8 and many other codecs
- Allows printing of differences
- Windows explorer integration support
- Also supports auto-detection via byte-order-mark “BOM”
- Supports manual alignment of lines
- Intuitive GUI and many more
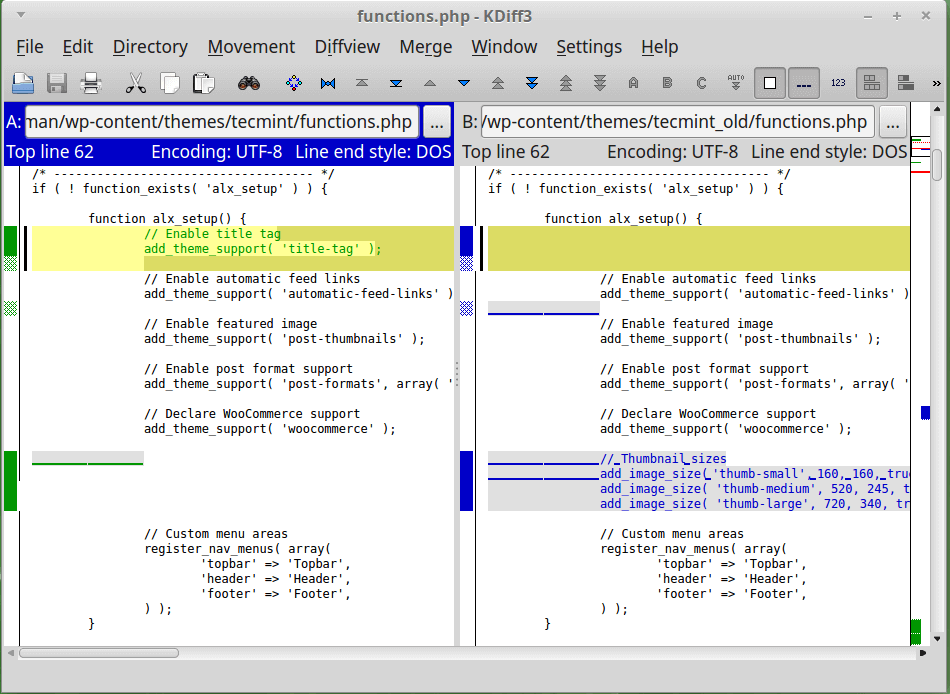
KDiff3 Tool for Linux
Visit Homepage: http://kdiff3.sourceforge.net/
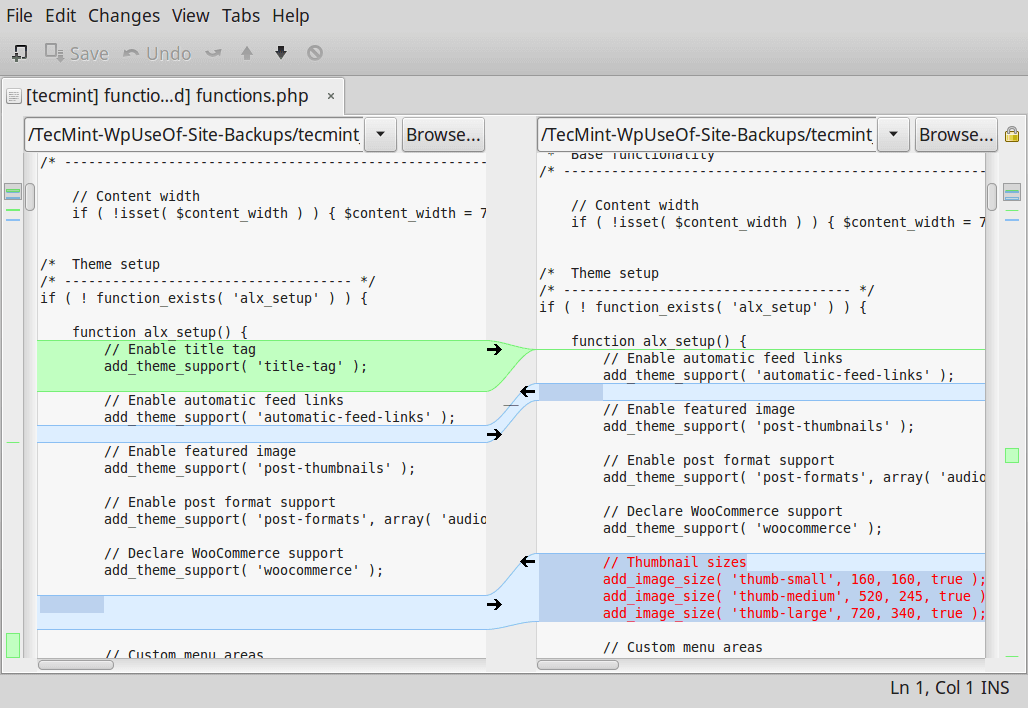
9. TkDiff
TkDiff is also a cross-platform, easy-to-use GUI wrapper for the Unix diff tool. It provides a side-by-side view of the differences between two input files. It can run on Linux, Windows and Mac OS X.
Additionally, it has some other exciting features including diff bookmarks, a graphical map of differences for easy and quick navigation plus many more.
Visit Homepage: https://sourceforge.net/projects/tkdiff/
Having read this review of some of the best file and directory comparator and merge tools, you probably want to try out some of them. These may not be the only diff tools available you can find on Linux, but they are known to offer some the best features, you may also want to let us know of any other diff tools out there that you have tested and think deserve to be mentioned among the best.