Nikto Web Scanner is an another good to have tool for any Linux administrator’s arsenal. It’s an Open source web scanner released under the GPL license, which is used to perform comprehensive tests on Web servers for multiple items including over 6500 potentially dangerous files/CGIs.
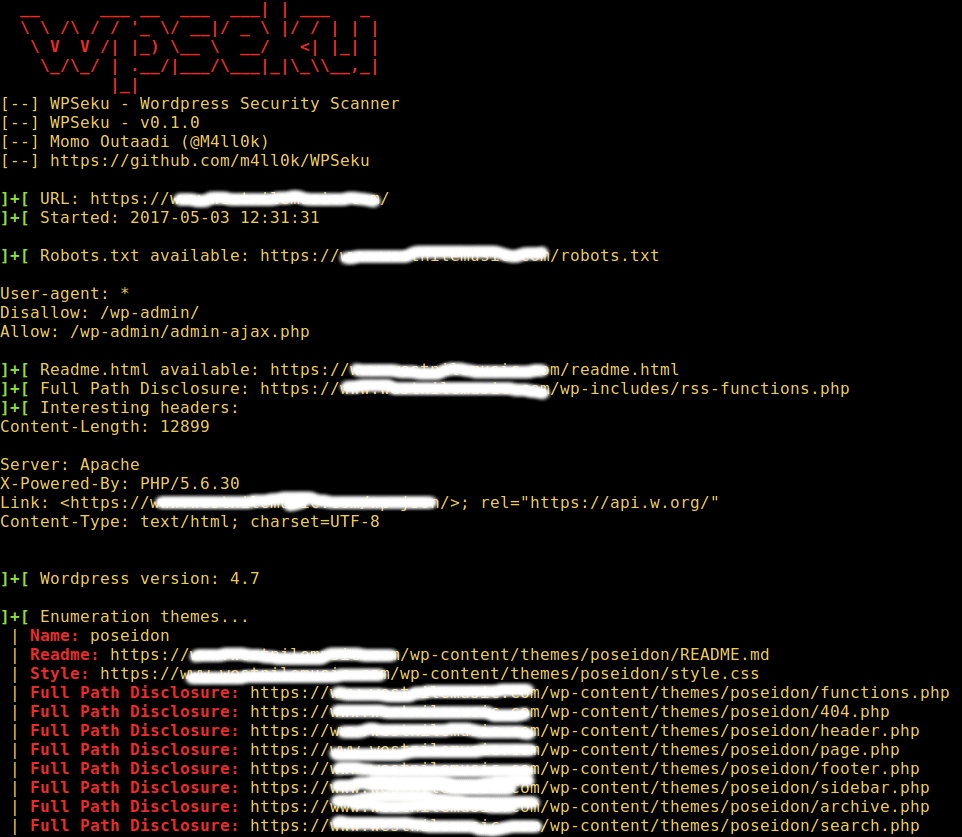
Suggested Read: WPSeku – A Vulnerability Scanner to Find Security Issues in WordPress
It’s written by Chris Solo and David Lodge for Vulnerability assessment, it checks for outdated versions over 1250 Web servers and over 270 version specific problems. It also scans and reports for outdated web server software and plugins.
Features of Nikto Web Scanner
- Supports SSL
- Supports full HTTP proxy
- Supports text, HTML, XML and CSV to save reports.
- Scan for multiple ports
- Can scan on multiple servers by taking inputs from files like nmap output
- Support LibWhisker IDS
- Capable enough to identify installed software with headers, files, and favicons
- Logs for Metasploits
- Reports for “unusual ” headers.
- Apache and cgiwrap user enumeration
- Authenticate hosts with Basic and NTLM
- Scans can be Auto-paused at a specified time.
Nikto Requirements
A system with basic Perl, Perl Modules, OpenSSL installation should enable Nikto to run. It has been thoroughly tested on Windows, Mac OSX and various Unix/Linux distributions such as Red Hat, Debian, Ubuntu, BackTrack, etc.
Installation of Nikto Web Scanner on Linux
Most of the today’s Linux systems comes with pre-installed Perl, Perl Modules, and OpenSSL packages. If not included, you can install them using the default system package manager utility called yum or apt-get.
On Red Hat/CentOS/Fedora
[root@tecmint ]# yum install perl perl-Net-SSLeay openssl
On Debian/Ubuntu/Linux Mint
[root@tecmint ]# apt-get install perl openssl libnet-ssleay-perl
Next, clone the latest stable Nikto source files from its Github repository, move into Nikto/programs/ directory and run it using perl:
$ git clone https://github.com/sullo/nikto.git
$ cd nikto/programs
$ perl nikto.pl -h
Sample Output
Option host requires an argument

       -config+            Use this config file
       -Display+           Turn on/off display outputs
       -dbcheck            check database and other key files for syntax errors
       -Format+            save file (-o) format
       -Help               Extended help information
       -host+              target host
       -id+                Host authentication to use, format is id:pass or id:pass:realm
       -list-plugins       List all available plugins
       -output+            Write output to this file
       -nossl              Disables using SSL
       -no404              Disables 404 checks
       -Plugins+           List of plugins to run (default: ALL)
       -port+              Port to use (default 80)
       -root+              Prepend root value to all requests, format is /directory
       -ssl                Force ssl mode on port
       -Tuning+            Scan tuning
       -timeout+           Timeout for requests (default 10 seconds)
       -update             Update databases and plugins from CIRT.net
       -Version            Print plugin and database versions
       -vhost+             Virtual host (for Host header)
   		+ requires a value

	Note: This is the short help output. Use -H for full help text.
The “Option host requires an argument” is clearly telling that we didn’t include the needed parameters while doing a test. So, we need to add a basic necessary parameter to do a test run.
Basic Testing
The basic scan requires a host that you want to target, by default it scans port 80 if nothing is specified. The host can either be a hostname or an IP Address of a system. You can specify a host using “-h” option.
For example, I want to do a scan on an IP 172.16.27.56 on TCP port 80.
[root@tecmint nikto-2.1.5]# perl nikto.pl -h 172.16.27.56
Sample Output
- Nikto v2.1.5
---------------------------------------------------------------------------
+ Target IP:          172.16.27.56
+ Target Hostname:    example.com
+ Target Port:        80
+ Start Time:         2014-01-10 00:48:12 (GMT5.5)
---------------------------------------------------------------------------
+ Server: Apache/2.2.15 (CentOS)
+ Retrieved x-powered-by header: PHP/5.3.3
+ The anti-clickjacking X-Frame-Options header is not present.
+ Server leaks inodes via ETags, header found with file /robots.txt, inode: 5956160, size: 24, mtime: 0x4d4865a054e32
+ File/dir '/' in robots.txt returned a non-forbidden or redirect HTTP code (200)
+ "robots.txt" contains 1 entry which should be manually viewed.
+ Apache/2.2.15 appears to be outdated (current is at least Apache/2.2.22). Apache 1.3.42 (final release) and 2.0.64 are also current.
+ Multiple index files found: index.php, index.htm, index.html
+ DEBUG HTTP verb may show server debugging information. See http://msdn.microsoft.com/en-us/library/e8z01xdh%28VS.80%29.aspx for details.
+ OSVDB-877: HTTP TRACE method is active, suggesting the host is vulnerable to XST
+ OSVDB-3233: /phpinfo.php: Contains PHP configuration information
+ OSVDB-12184: /index.php?=PHPB8B5F2A0-3C92-11d3-A3A9-4C7B08C10000: PHP reveals potentially sensitive information via certain HTTP requests that contain specific QUERY strings.
+ OSVDB-3092: /test.html: This might be interesting...
+ OSVDB-3268: /icons/: Directory indexing found.
+ OSVDB-3233: /icons/README: Apache default file found.
+ /connect.php?path=http://cirt.net/rfiinc.txt?: Potential PHP MySQL database connection string found.
+ OSVDB-3092: /test.php: This might be interesting...
+ 6544 items checked: 0 error(s) and 16 item(s) reported on remote host
+ End Time:           2014-01-10 00:48:23 (GMT5.5) (11 seconds)
---------------------------------------------------------------------------
+ 1 host(s) tested
If you want to scan on a different port number, then add “-p” [-port] option. For example, I want to do a scan on IP 172.16.27.56 on TCP port 443.
[root@tecmint nikto-2.1.5]# perl nikto.pl -h 172.16.27.56 -p 443
Sample Output
- Nikto v2.1.5
---------------------------------------------------------------------------
+ Target IP:          172.16.27.56
+ Target Hostname:    example.com
+ Target Port:        443
---------------------------------------------------------------------------
+ SSL Info:        Subject: /O=*.mid-day.com/OU=Domain Control Validated/CN=*.mid-day.com
                   Ciphers: DHE-RSA-AES256-GCM-SHA384
                   Issuer:  /C=US/ST=Arizona/L=Scottsdale/O=Starfield Technologies, Inc./OU=http://certificates.starfieldtech.com/repository/CN=Starfield Secure Certification Authority/serialNumber=10688435
+ Start Time:         2014-01-10 01:08:26 (GMT5.5)
---------------------------------------------------------------------------
+ Server: Apache/2.2.15 (CentOS)
+ Server leaks inodes via ETags, header found with file /, inode: 2817021, size: 5, mtime: 0x4d5123482b2e9
+ The anti-clickjacking X-Frame-Options header is not present.
+ Apache/2.2.15 appears to be outdated (current is at least Apache/2.2.22). Apache 1.3.42 (final release) and 2.0.64 are also current.
+ Server is using a wildcard certificate: '*.mid-day.com'
+ Allowed HTTP Methods: GET, HEAD, POST, OPTIONS, TRACE
+ OSVDB-877: HTTP TRACE method is active, suggesting the host is vulnerable to XST
+ OSVDB-3268: /icons/: Directory indexing found.
+ OSVDB-3233: /icons/README: Apache default file found.
+ 6544 items checked: 0 error(s) and 8 item(s) reported on remote host
+ End Time:           2014-01-10 01:11:20 (GMT5.5) (174 seconds)
---------------------------------------------------------------------------
+ 1 host(s) tested
You can also specify hosts, ports and protocols using a full URL syntax, and it will be scanned.
[root@tecmint nikto-2.1.5]# perl nikto.pl -h http://172.16.27.56:80
You can also scan any website. For example, here I did a scan on google.com.
[root@tecmint nikto-2.1.5]# perl nikto.pl -h http://www.google.com
Sample Output
- Nikto v2.1.5
---------------------------------------------------------------------------
+ Target IP:          173.194.38.177
+ Target Hostname:    www.google.com
+ Target Port:        80
+ Start Time:         2014-01-10 01:13:36 (GMT5.5)
---------------------------------------------------------------------------
+ Server: gws
+ Cookie PREF created without the httponly flag
+ Cookie NID created without the httponly flag
+ Uncommon header 'x-frame-options' found, with contents: SAMEORIGIN
+ Uncommon header 'x-xss-protection' found, with contents: 1; mode=block
+ Uncommon header 'alternate-protocol' found, with contents: 80:quic
+ Root page / redirects to: http://www.google.co.in/?gws_rd=cr&ei=xIrOUomsCoXBrAee34DwCQ
+ Server banner has changed from 'gws' to 'sffe' which may suggest a WAF, load balancer or proxy is in place
+ Uncommon header 'x-content-type-options' found, with contents: nosniff
+ No CGI Directories found (use '-C all' to force check all possible dirs)
+ File/dir '/groups/' in robots.txt returned a non-forbidden or redirect HTTP code (302)
….
The above command will perform a bunch of http requests (i.e. more than 2000 tests) on the web server.
Multiple Port Testing
You can also perform multiple ports scanning in the same session. To scan multiple ports on the same host, add “-p” [-port] option and specify the list of ports. Ports can be defined as a range (i.e., 80-443), or as a comma separated (i.e., 80,443). For example, I want to scan a ports 80 and 443 on the host 172.16.27.56.
[root@tecmint nikto-2.1.5]# perl nikto.pl -h 172.16.27.56 -p 80,443
Sample Output
- Nikto v2.1.5
---------------------------------------------------------------------------
+ No web server found on cmsstage.mid-day.com:88
---------------------------------------------------------------------------
+ Target IP:          172.16.27.56
+ Target Hostname:    example.com
+ Target Port:        80
+ Start Time:         2014-01-10 20:38:26 (GMT5.5)
---------------------------------------------------------------------------
+ Server: Apache/2.2.15 (CentOS)
+ Retrieved x-powered-by header: PHP/5.3.3
+ The anti-clickjacking X-Frame-Options header is not present.

---------------------------------------------------------------------------
+ Target IP:          172.16.27.56
+ Target Hostname:    example.com
+ Target Port:        443
---------------------------------------------------------------------------
+ SSL Info:        Subject: /O=*.mid-day.com/OU=Domain Control Validated/CN=*.mid-day.com
                   Ciphers: DHE-RSA-AES256-GCM-SHA384
                   Issuer:  /C=US/ST=Arizona/L=Scottsdale/O=Starfield Technologies, Inc./OU=http://certificates.starfieldtech.com/repository/CN=Starfield Secure Certification Authority/serialNumber=10688435
+ Start Time:         2014-01-10 20:38:36 (GMT5.5)
---------------------------------------------------------------------------
+ Server: Apache/2.2.15 (CentOS)
+ All CGI directories 'found', use '-C none' to test none
+ Apache/2.2.15 appears to be outdated (current is at least Apache/2.2.22). Apache 1.3.42 (final release) and 2.0.64 are also current.
.....
Using a Proxy
Let’s say a system where Nikto is running only has access to the target host via an HTTP proxy, the test can still be performed using two different ways. One is using nikto.conf file and another way is to run directly from the command line.
Using Nikto.conf File
Open nikto.conf file using any command line editor.
[root@localhost nikto-2.1.5]# vi nikto.conf
Search for the variable “PROXY” and uncomment the ‘#‘ from the beginning of the lines as shown. Then add the proxy host, port, proxy user and password. Save and close the file.
# Proxy settings -- still must be enabled by -useproxy
PROXYHOST=172.16.16.37
PROXYPORT=8080
PROXYUSER=pg
PROXYPASS=pg
Now, execute the Nikto using “-useproxy” option. Please note all connections will be relayed via the HTTP proxy.
root@localhost nikto-2.1.5]# perl nikto.pl -h localhost -p 80 -useproxy
Sample Output
- Nikto v2.1.5
---------------------------------------------------------------------------
+ Target IP:          127.0.0.1
+ Target Hostname:    localhost
+ Target Port:        80
+ Start Time:         2014-01-10 21:28:29 (GMT5.5)
---------------------------------------------------------------------------
+ Server: squid/2.6.STABLE6
+ Retrieved via header: 1.0 netserv:8080 (squid/2.6.STABLE6)
+ The anti-clickjacking X-Frame-Options header is not present.
+ Uncommon header 'x-squid-error' found, with contents: ERR_CACHE_ACCESS_DENIED 0
+ Uncommon header 'x-cache-lookup' found, with contents: NONE from netserv:8080
Using Command Line
To run the Nikto directly from the command line using the “-useproxy” option by setting the proxy as the argument.
root@localhost nikto-2.1.5]# perl nikto.pl -h localhost -useproxy http://172.16.16.37:8080/
Sample Output
- Nikto v2.1.5
---------------------------------------------------------------------------
+ Target IP:          127.0.0.1
+ Target Hostname:    localhost
+ Target Port:        80
+ Start Time:         2014-01-10 21:34:51 (GMT5.5)
---------------------------------------------------------------------------
+ Server: squid/2.6.STABLE6
+ Retrieved via header: 1.0 netserv:8080 (squid/2.6.STABLE6)
+ The anti-clickjacking X-Frame-Options header is not present.
+ Uncommon header 'x-squid-error' found, with contents: ERR_CACHE_ACCESS_DENIED 0
+ Uncommon header 'x-cache-lookup' found, with contents: NONE from netserv:8080
Updating Nikto
You can update Nikto to the latest plugins and databases automatically, simply run the “-update” command.
[root@localhost nikto-2.1.5]# perl nikto.pl -update
If new updates are available, you will see a list of new updates downloaded.
+ Retrieving 'nikto_report_csv.plugin'
+ Retrieving 'nikto_headers.plugin'
+ Retrieving 'nikto_cookies.plugin'
+ Retrieving 'db_tests'
+ Retrieving 'db_parked_strings'
+ Retrieving 'CHANGES.txt'
+ CIRT.net message: Please submit Nikto bugs to http://trac2.assembla.com/Nikto_2/report/2
You can also manually download and update Nikto plugins and databases from the http://cirt.net/nikto/UPDATES/.
Reference Links
Nikto Homepage
Source