I am subscribed to several mailing lists related to various Linux Distributions and Applications just to keep myself updated with what’s going on where. What are the new bugs? What are the Patches Released? What is expected in next release? and a whole lot of other stuffs. These days the mailing list is heavily populated with “Choose your side on Linux Divide”, mainly on Debian Mailing list along with a few other.
systemd replaces init
What “Choose your side on Linux Divide” is all about?
The init daemon is going to be replaced with daemon systemd on some of the Linux Distributions, while a lot of them have already implemented it. This is/will be creating a huge gap between traditional Unix/Linux Guard and New Linux Guard – programmers and System Admins.
In this article, we will discuss and solve following all queries one-by-one.
- What init is?
- What is systemd?
- Why init needed to be replaced?
- What features systemd will own.
What is init?
In Linux, init is a abbreviation for Initialization. The init is a daemon process which starts as soon as the computer starts and continue running till, it is shutdown. In-fact init is the first process that starts when a computer boots, making it the parent of all other running processes directly or indirectly and hence typically it is assigned “pid=1“.
If somehow init daemon could not start, no process will be started and the system will reach a stage called “Kernel Panic“. init is most commonly referred to as System V init. System V is the first commercial UNIX Operating System designed and usages of init on most of the Linux Distribution of today is identical with System V OS with a few exception like Slackware using BSD-style and Gentoo using custom init.
The need to replace init with something more perfect was felt from a long time and several alternatives were developed from time-to-time, some of which became distribution’s native init replacement, some of which are:
- Upstart – A init replacement daemon implemented in Ubuntu GNU/Linux and designed to start process asynchronously.
- Epoch – A init replacement daemon built around simplicity and service management, designed to start process single-threaded.
- Mudar – A init replacement daemon written in Python, implemented on Pardus GNU/Linux and designed to start process asynchronously.
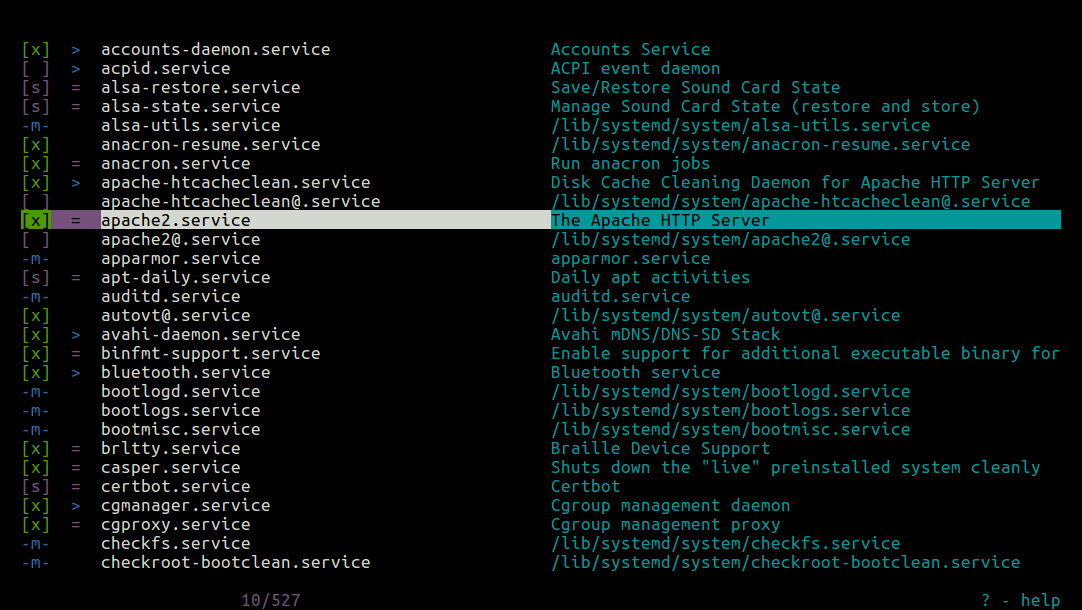
- systemd – A init replacement daemon designed to start process in parallel, implemented in a number of standard distribution – Fedora, OpenSuSE, Arch, RHEL, CentOS, etc.
What is systemd?
A systemd is a System Management Daemon named with UNIX convention to add ‘d‘ at the end of daemon. So, that they can be easily recognized. Initially it was released under GNU General Public License, but now the releases are made under GNU Lesser General Public License. Similar to init, systemd is the parent of all other processes directly or indirectly and is the first process that starts at boot hence typically assigned a “pid=1“.
A systemd, may refer to all the packages, utilities and libraries around daemon. It was designed to overcome the shortcomings of init. It itself is a background processes which is designed to start processes in parallel, thus reducing the boot time and computational overhead. It has a lot other features as compared to init.
Why there was a need to replace init?
A init process starts serially i.e., one task starts only after the last task startup was successful and it was loaded in the memory. This often resulted into delayed and long booting time. However, systemd was not designed for speed but for getting the things done neatly which in turns avoid all the UN-necessary delay.
Features of systemd
- Clean, stateforward and efficient design.
- Simpler boot process.
- Concurrent and parallel processing at boot.
- Better API.
- Simple Unit Syntax.
- Ability to remove optional components.
- Low memory footprints.
- Improved technique to express dependencies.
- Initialization instruction written in config file and not in shell script.
- Make use of Unix Domain Socket.
- Job Scheduling using systemd Calendar Timers.
- Event Logging with journald.
- Choice of logging System events with systemd as well as syslog.
- Logs are stored in binary file.
- systemd state can be preserved to be called later in future.
- Track process using kernel’s cgroup and not PID.
- Users login managed by systemd-logind.
- Better integration with Gnome for interoperability.
Bottlenecks systemd
- Everything at one place.
- Not POSIX standard.
Systemd and Distro Integration
| Linux Distribution | Integration |
| Fedora | Yes, first distro to adopt systemd |
| Arch | Yes |
| RedHat | Yes |
| CentOS | Yes |
| Debian | Yes, Debian 8 codename Jessie will have systemd by default |
| Gentoo | Yes, but needs to be downloaded, installed and configure side with custom init |
| OpenSUSE | Yes |
| Slack | No (Though it has not been adopted till now in slackware, Patric Volkerding has not shown any indication if it will be adopted or not) |
| Ubuntu | Yes, needs to be installed and configured with Upstream. |
Controversy
Linus Torvalds, Chief architect of Linux kernel, feels attitude of key developer of systemd towards users and bug reports do not seems ok. It was also reported that systemd philosophy is weird and a foreign way to control system processes. The same has been recorded from Patric Volkerding and other notable Linux Users and Developers as well as over online forum, time-to-time.
systemd vs init
| Features | init | systemd |
| DBus Dependency – Mandatory | No | Yes |
| Device based Activation | No | Yes |
| Device dependency configuration with udev | No | Yes |
| Timer based Activation | Cron/at | Proprietary |
| Quota Management | No | Yes |
| Automatic Service Dependency Handling | No | Yes |
| Kills users Process at logout | No | Yes |
| Swap Management | No | Yes |
| SELinux integration | No | Yes |
| Support for Encrypted HDD | No | Yes |
| Static kernle module loading | No | Yes |
| GUI | No | Yes |
| List all the child processes | No | Yes |
| Sysv compatible | Yes | Yes |
| Interactive booting | No | Yes |
| Portable to non x86 | Yes | No |
| Adopted on | Several Distro | Several Distro |
| Parallel service startup | No | Yes |
| Resource limit per service | No | Yes |
| Easy extensible startup script | Yes | No |
| Separate Code and Configuration File | Yes | No |
| Automatic dependency calculation | No | Yes |
| Verbose debug | Yes | No |
| Version | N/A | V44+ |
| Size | 560 KB | N/A |
| Number of Files | 75 files | 900 files + glib + DBus |
| Lines of code – LOC | 15000 (Approx) | 224000 (Approx) (inc Codes, comments and white space) 125000 (Approx) (acctual code) |
Conclusion
Anything running as pid=1 must not break, must not be mess and must be controlled by users effectively and efficiently. Many-a-user believes that replacing init for systemd is nothing more than reinventing the wheel everytime as a side effect of Linux. But this is the diverse nature of Linux. This is because Linux is that much powerful. Change is good and we must appreciate it if it is for a good reason.
That’s all for now. I’ll be here again with another Interesting article you people will love to read. Till then stay tuned and connected to Tecmint. Don’t forget to provide us with your valuable feedback in the comments below.