Productivity on any operating system is without doubt one of the most important things that can make or break a platform however, execution is the key – if done right, enterprise adaptation would be shortly underway.
Linux today is most certainly an ultimate viable alternative to Windows – both in the general consumer and business market.
Read Also: Most Commonly Used Windows Applications for Linux
If you’re quite familiar with the fact that the ecosystem of any platform (i.e, the apps available to it) determines its success then you will know by now that Firefox OS and Sailfish likewise (which are alternative mobile platforms to Android and iOS) aren’t where they ought to be particularly because they lacked the extensive array of apps to attract users like their counterparts.
Productivity on Linux had terribly lacked in the past and adaptation was rather hard and impossible for most during it’s earlier days – fast forward two decades later and we have an abundant of apps tailored to the specific needs for Linuxers and extremely user-friendly operating systems for newcomers in the Linux world.
When we talk about productivity the first thing that comes to mind mostly is an office suite before anything else – and more specifically, Microsoft office or it’s immediate competitor, LibreOffice.
While we may have these two as the most popular, they are not necessarily the best and the former is not native to Linux.
We’ve made a comprehensive list of Office suites available for the Linux platform in this article totaling 16 – most of which are cross platform too – essentially making them alternatives to the Microsoft Office suite available on competing desktop platforms (Windows and OSX) out there and even the mobile ones.
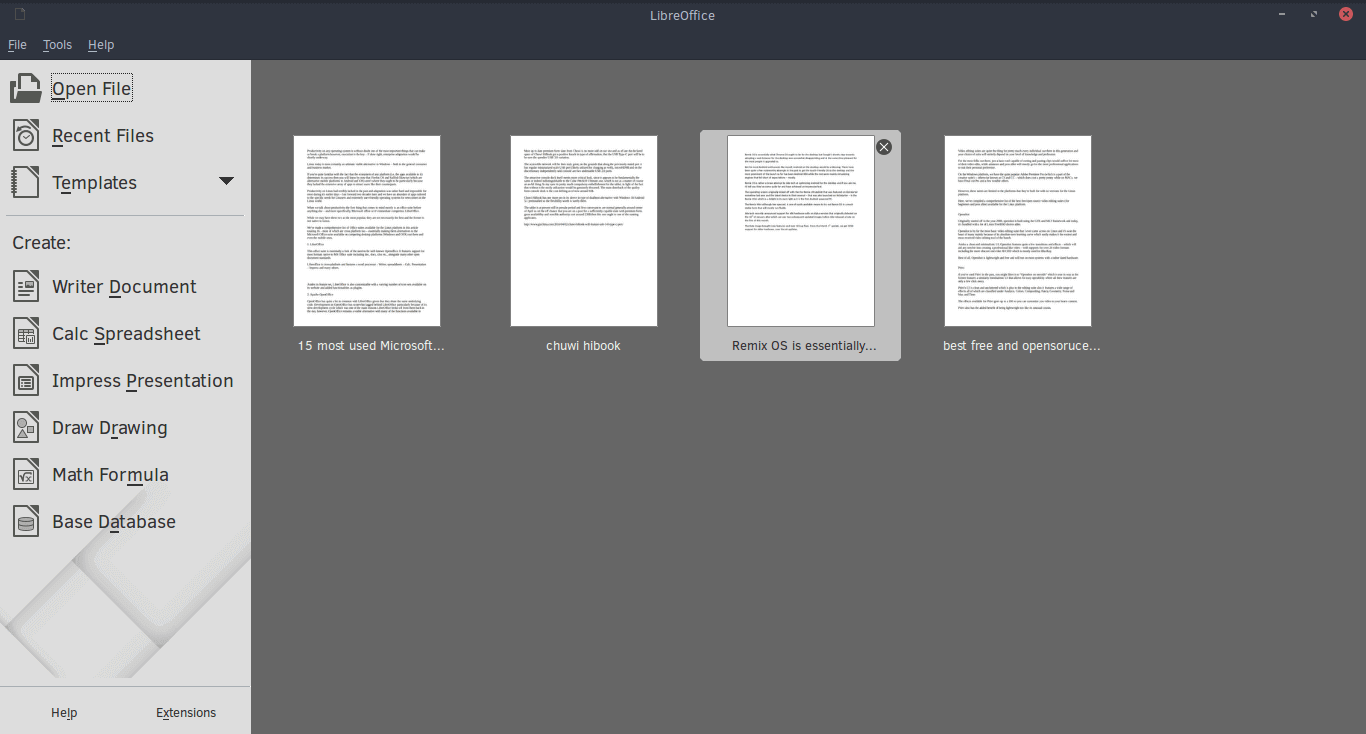
1. LibreOffice
This office suite is essentially a fork of the used-to-be well-known Openoffice. It features support for most formats native to MS Office suite including doc, docs, xlsx etc., alongside many other open document standards.
Libreoffice is cross-platform and features a word processor – Writer, spreadsheets – Calc, Presentation – Impress and many others.
Asides its feature set, LibreOffice is also customizable with a varying number of icon sets available on its website and added functionalities as plugins.
Libreoffice for Linux
For installation instructions visit: Install LibreOffice in Linux Systems
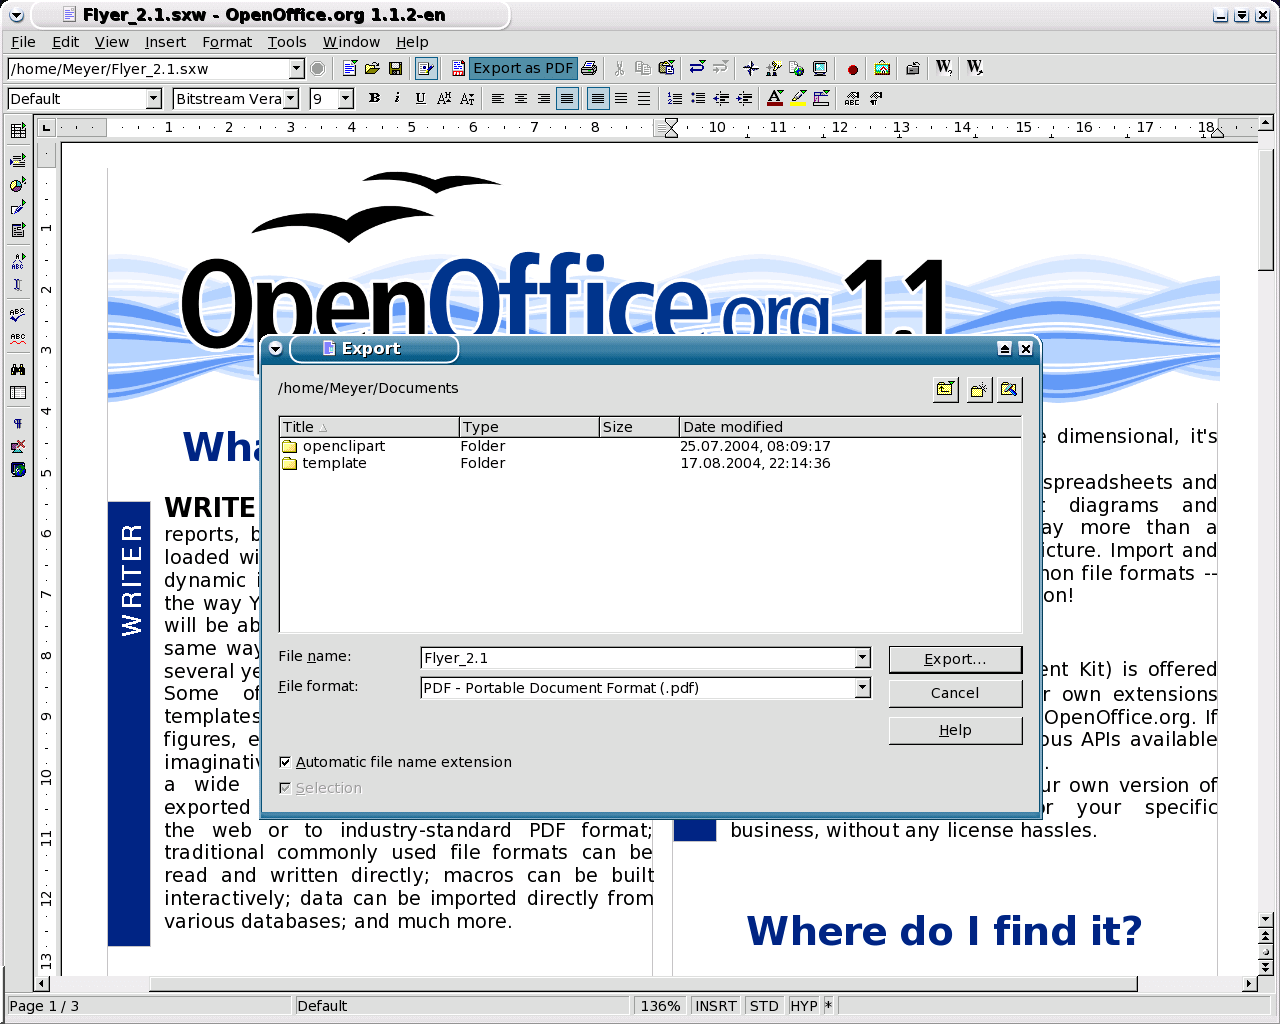
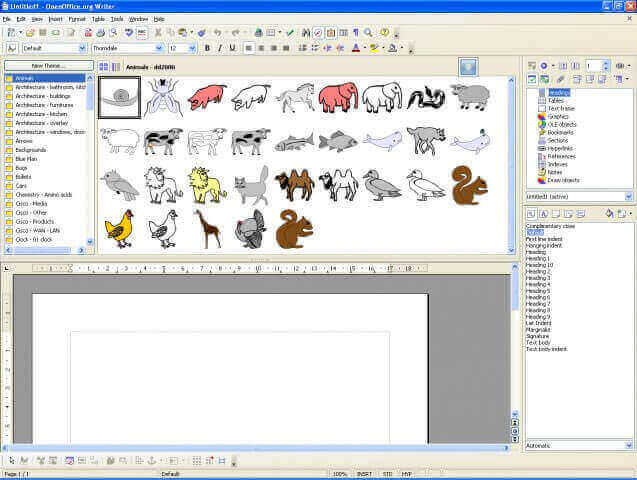
2. Apache OpenOffice
OpenOffice has quite a lot in common with LibreOffice given that they share the same underlying code. Development on OpenOffice has somewhat lagged behind LibreOffice particularly because of its slow development cycle which was one of the main reasons LibreOffice broke off from them back in the day, however, OpenOffice remains a viable alternative with many of the functions available in LibreOffice and many years of development work.
Also, OpenOffice is cross-platform with availability on Windows, OSX, and Linux.
Openoffice for Linux
For installation instructions visit: Install Apache OpenOffice in Linux Systems
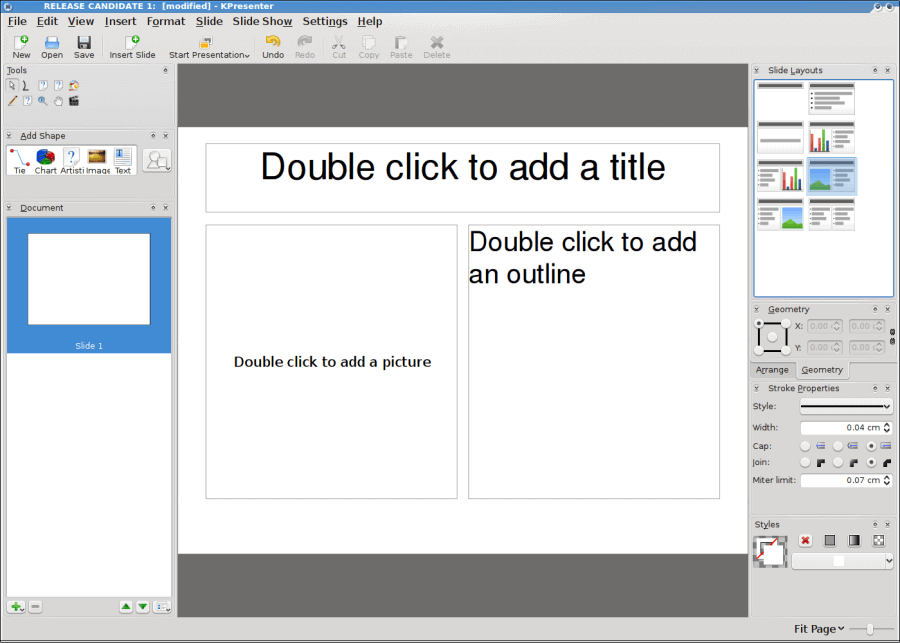
3. Calligra Suite
Calligra is one of the oldest open-sourse Office suites that has been in active development for the well part of 15years and was formally known as KOffice.
It’s a Qt-based office solution built around the the KDE desktop environment but still available for other platforms.
Under Calligra is a host of suites for almost all forms of productivity work including the popular image manipulation software known as Krita.
- Calligra Words – word processor
- Calligra Sheets – spreadsheet
- Calligra Stage – presentation
- Calligra Author – used to make Epubs
- Calligra Plan – project planner
- Krita – paint
- Calligra Flow (formerly Kivio) – flowchart designer
- Karbon (formerly Karbon14) – vector graphics
- Braindump – mind-mapping and notes application
- Kexi – database manager
Caligra Office Suite for Linux
Visit Homepage: https://www.calligra.org/
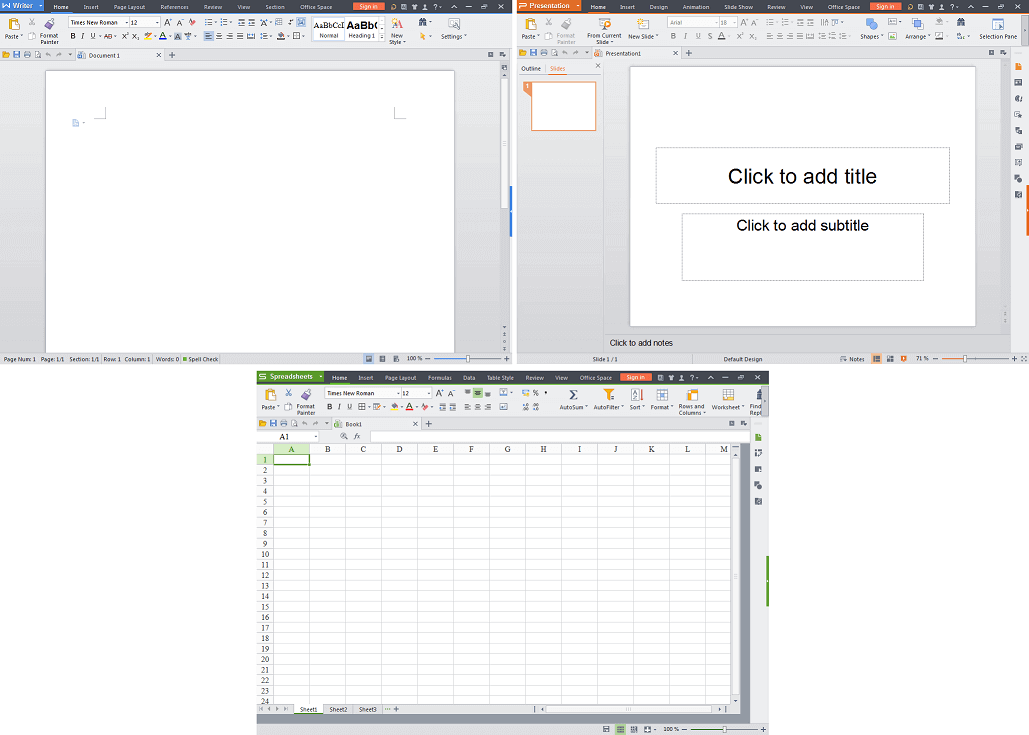
4. WPS Office
WPS otherwise (writer presentation and spreadsheets), has quickly grown to become of the most-used productivity suites especially due to its modernized look and availability on the most used desktop platforms and mobile alike.
WPS used to be Kingsoft Office and was born in June 2013. The program’s code is proprietary and has the free and premium side of things with premium offerings that include, over 230 fonts, documents collaboration, advanced spreadsheets, documents encryption et ‘al.
However, the free versions of the mobile and desktop apps alike offer quite a lot for free including online templates and a modernized UI which is not something most of the office suites in this article can exactly boast of.
WPS is today featured as the default Office suite in many Linux-based distros such as Deepin OS.
The Kingsoft made office suite supports all MS Office formats and also features some proprietary formats of its own known one of which is .wps.
WPS Office for Linux
Visit Homepage: https://www.wps.com/
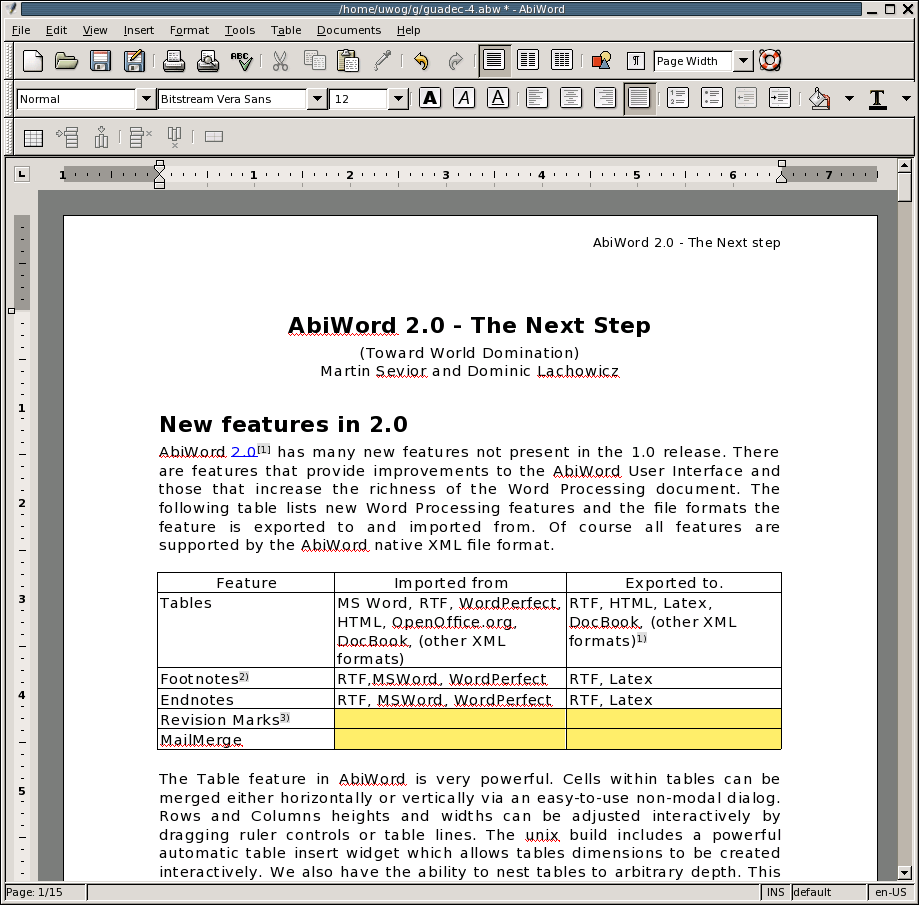
5. GNOME Office
This is yet another open-source office suite built around a desktop environment like Calligra above. If you haven’t guessed it by now, GNOME Office is built for the GNOME DE using GTK technologies.
It supports just as much formats as the above-mentioned suites with elements (some of which you already know) used across varying distributions around the world.
GNOME Office is however only available on the Linux platform and has the following list of softwares under its entirety.
- AbiWord – word processing application
- Gnumeric – spreadsheets application
- Ease – presentation application
- Inkscape – Drawing
- Glom – database manager
- GnuCash – financial manager
- Evolution – Email manager and RSS viewer
- Evince – PDF viewer
- gLabels – label-maker
- Dia – Diagram designer
Gnome Office for Linux
Visit Homepage: https://wiki.gnome.org/GnomeOffice
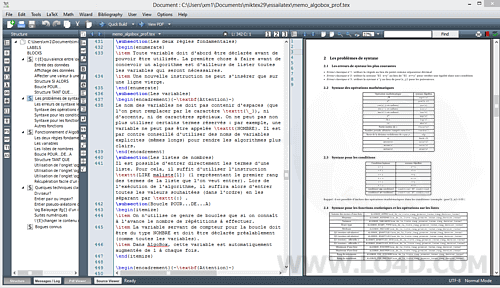
6. Softmaker Office
Softmaker is a Microsoft Office compatible closed-source software also offering the free and premium side of things.
The former is rather referred to as Softmaker FreeOffice while the latter is just Softmaker – encompassing all the features and functionalities.
Like LibreOffice and WPS, Softmaker is available on multiple platforms and the apps under the Office Suite includes the following.
- Textmaker
- PlanMaker spreadsheet
- SoftMaker Presentations – presentations
- BasicMaker – VB programming tool ( Windows only)
- eM Client – email-client (professional only)
Softmaker Office for Linux
Visit Homepage: http://www.softmaker.com/en/softmaker-office-linux
7. Oxygen Office
This is essentially a continuity of the “OpenOffice.org Premium” of back in the day in a free package with all the essentials supported by the Apache Office and LibreOffice with noteworthy differences in the maneuverability of the GUI and it’s enhanced code-base.
It supports all the norm including word creation, spreadsheets, and more with a few nifty extras like an antivirus software (for those on the Windows platform) – Avast Home Edition specifically, a diagram creator and also a calculator.
Oxygen Office for Linux
8. Yozo Office
This is one of the fewer-known Office suites that also offer a wide array of features including support for most Microsoft Office formats. Its components include a word processing engine, spreadsheets, PDF viewer, and presentation.
Yozo is however, proprietary but free and cross platform. But if you want even more features, then you you’ll have to go for the premium bundle which is quite hefty in pricing. Yozo also features its own custom file format ending in .eio

Yozo Office for Linux
9. Google Docs
Google Docs which is an online-based office suite takes quite a different approach in documents creation and it’s essentially cross-platform, free and powerful.
It is used by millions around the world and has native apps for the two most used mobile operating systems (Android and iOS). It is written in JavaScript and features online collaboration, offline saving, and more.
It is the suite of choice for thousands of schools around the world and enterprises too.
Google Docs applications include:
- word processor,
- Sheets – spreadsheet
- Drawing – diagrams and flowcharts
- Forms – surveys
- Slides – presentation
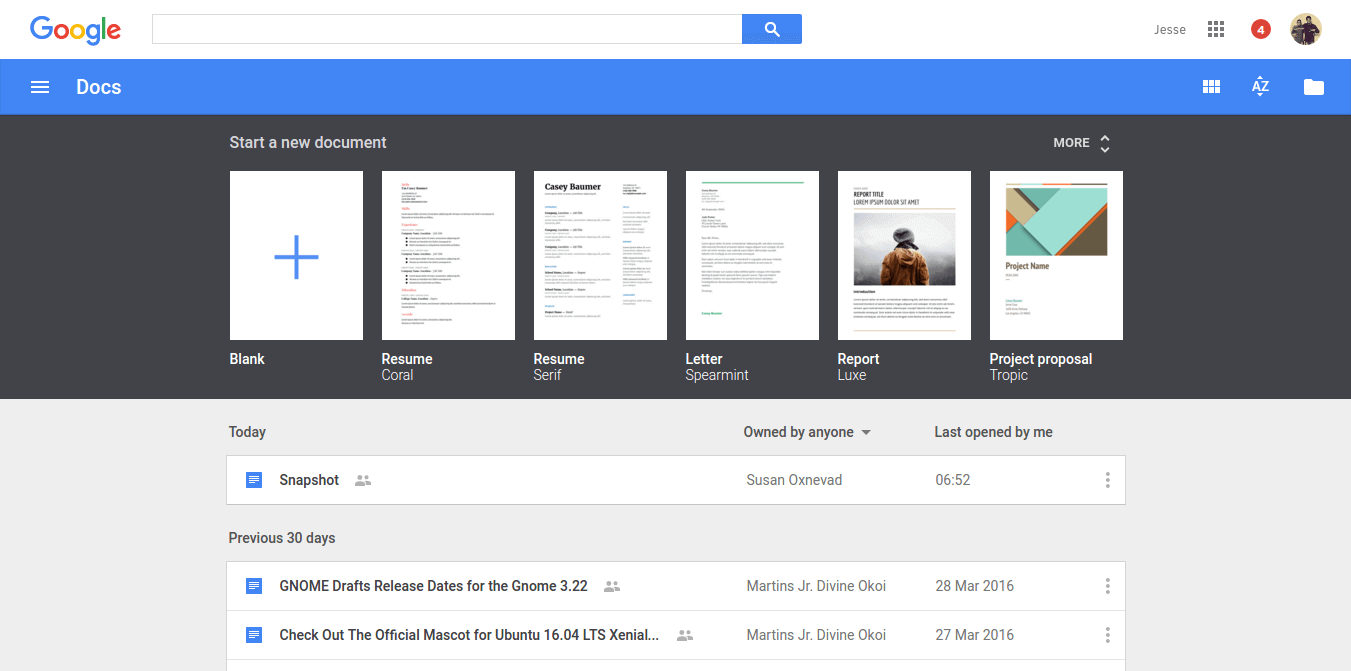
Google Docs
10. Zoho Docs
Zoho Docs is another web-based suite similar in functionality to
Google Docs but is, however, targeted at the business market (even though there’s the free version of it) because features like online collaboration and offline saving are are only available if you go for a premium subscription.
Zoho Docs can be quite pricey but it’s likewise advantageous as it also has native apps for Android and iOS with sync desktop clients for OSX, Linux and Windows.
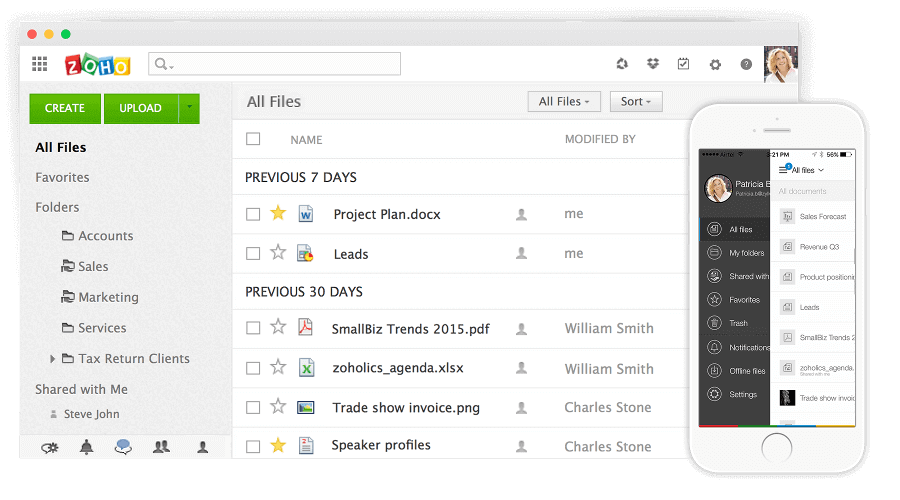
Zoho Docs
11. Joeffice
Joeffice is another alternative with the commonly supported features like word processing, spreadsheets, presentations, and database management with the exception of the fact that it’s written in Java.
Joeffice isn’t half as bad as it has a modernized look, completely open-source, and has the ability to run online.
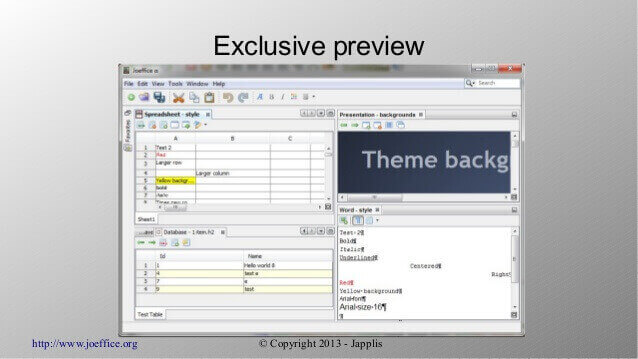
Joeffice Office Suite
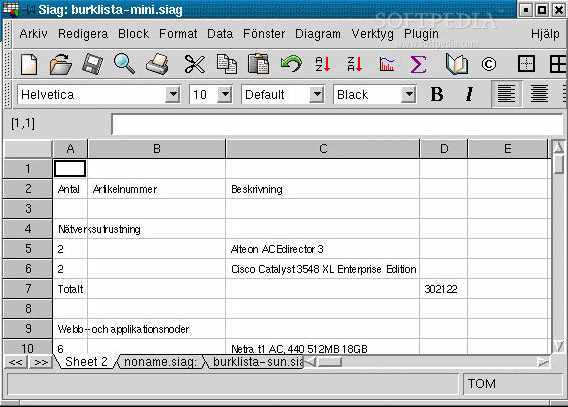
12. Siag Office
Siag is another uncommon office suite that supports all the well-known Microsoft Office formats and quite a few components to boot – they include:
- Spreadsheet Siag – spreadsheets
- Pathetic writer – word processor
- Egon – an animation program
- XedPlus – text editor
- Xfiler – file manager
- Gvu – previewer
Siag is available for OSX, OpenBSD and Linux. The only downside I see to Siag is its somewhat dated user interface which I feel might be a turn-off for some.
Siag Office for Linux
13. EuroOffice
EuroOffice is another open-source application with aims to further enhance the office experience by combining the best of OpenOffice and LibreOffice for more interoperability and extensibility.
There is both a free and professional version however, and includes most if not all of the features that can be found on the office suites that it has its base and even more – specific to the professional version (which is closed) which include additional spell checkers and tools.
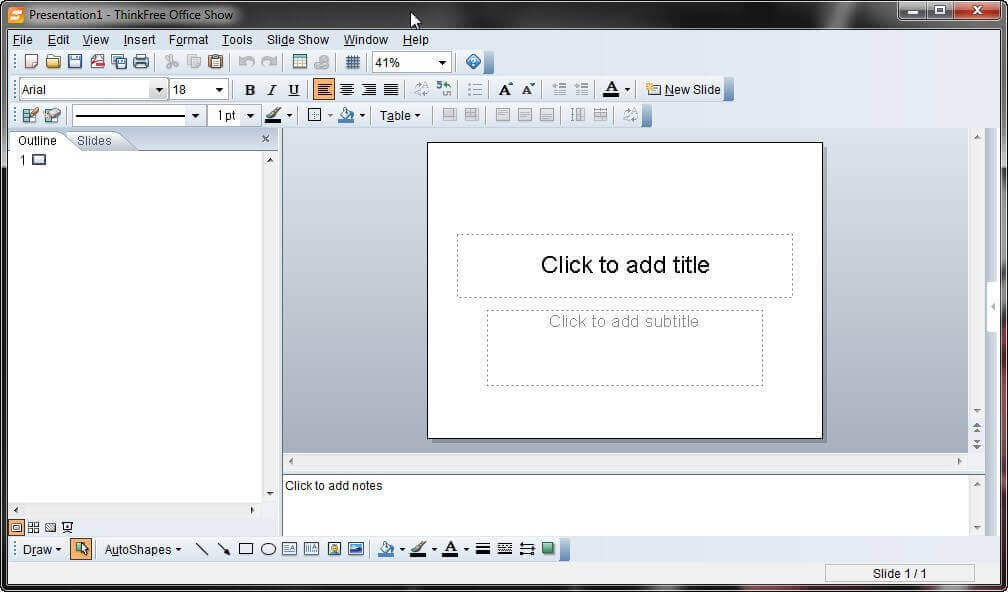
14. ThinkFree Office
ThinkFree is yet another proprietary Office suite of applications that aim to look, feel and deliver like Microsoft’s Office. It is written in Java and Ajax and is as well cross-platform and features apps like:
- Write – word-processor
- Calc – spreadsheet
- Show – presentation
- Note – blog editor
- WYSIWYG – HTML editor
It’s a premium office suite and has no free version but a trial that last for thirty days after which you’ll need to shell out some cash for the full experience.
ThinkFree Office for Linux
15. Hancom Office
Hancom is a closed-source office suite popular in the Asia (especially South Korea) and also cross- platform. The suite features support for the most-used Microsoft formats and also happens to be the preferred office application for most Koreans.
It has been pre-installed on quite a number of Android-powered Samsung devices in the past and it’s also one of the more intuitive options that is also available in multiple languages.
Hancom Office for Linux
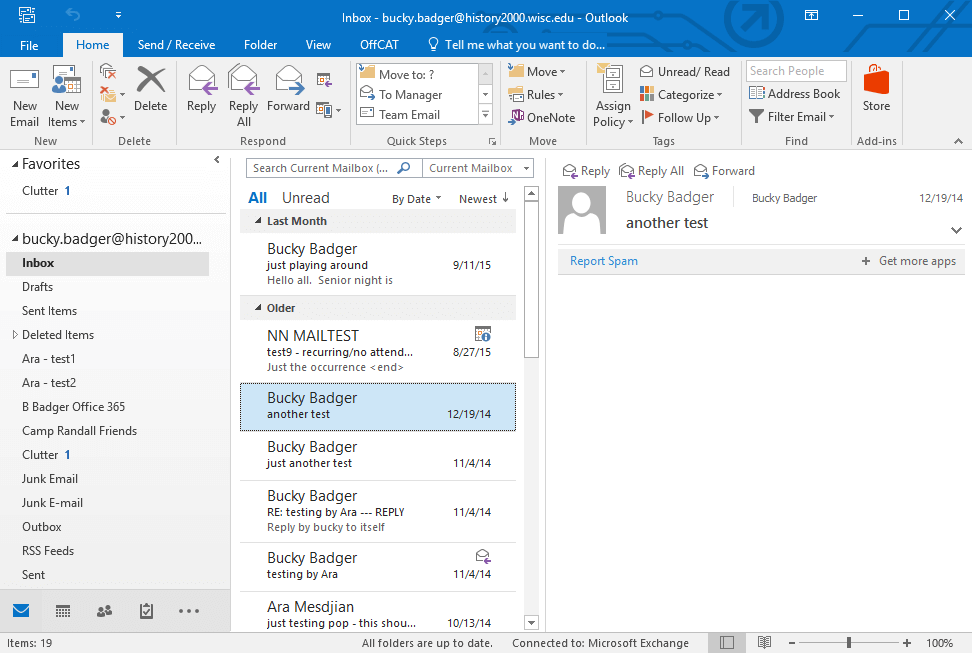
16. Office 365
If you haven’t guessed it by now, this is Microsoft’s own answer to “Office in the Cloud”. The service is basically a stripped down version of the full MS Office suite available locally as it lacks of many of the advanced features.
You are therefore limited to its basic functionality that will give you a rather sub-par experience. You can however enjoy seamless integration with Onedrive and other features like online collaboration and more.
Office 365
Conclusion
Here is our comprehensive list, Did we miss anything? Let us know in the comments section down below.
Source