GraphicsMagick is a free open source, modern and powerful software suite for processing images. It was initially derived from ImageMagick, however, over the years, it has grown to be a fully independent project, with a number of improvements and additional features. It runs on all Unix-like operating system such as Linux, MacOS, and also runs on Windows.
It offers a useful and efficient assortment of tools as well as libraries that allow for reading, writing, and manipulating your images in more than 88 well known formats (such as GIF, JPEG, JPEG-2000, PNG, PDF, PNM, and TIFF).
It can create a composite image in grid format, from multiple images, and create images in web supported formats such as WEBP. It is also used to change image size, sharpen, color reduce, rotate or add special effects to images of various formats. Importantly, it can create a GIF animation from multiple images and much more.
How to Install GraphicsMagick on Linux Systems
On Debian and its derivative such as Ubuntu and Linux Mint, you can install it using APT-package manager as shown.
$ sudo apt-get update
$ sudo apt-get install graphicsmagick
On Arch Linux and Fedora, you can install GraphicsMagick from the default system repositories using package manager as shown.
$ sudo pacman -S graphicsmagick    [On Arch Linux]
$ sudo dnf install GraphicsMagick  [On Fedora 25+]
On other Linux distributions such as RHEL, CentOS and Fedora (older releases), you can compile GraphicsMagick from source code as shown.
----------- Install GraphicsMagick on RHEL and CentOS -----------
# yum install libpng libjpeg libpng-devel libjpeg-devel ghostscript libtiff libtiff-devel freetype freetype-devel jasper jasper-devel
# wget -c https://downloads.sourceforge.net/project/graphicsmagick/graphicsmagick/1.3.28/GraphicsMagick-1.3.28.tar.xz
# xz -c GraphicsMagick-1.3.28.tar.xz | tar -xvf -
$ cd GraphicsMagick-1.3.28/
$ ./configure
$ make
$ make install
----------- Install GraphicsMagick on Fedora -----------
# dnf install libpng libjpeg libpng-devel libjpeg-devel ghostscript libtiff libtiff-devel freetype freetype-devel jasper jasper-devel
# wget -c https://downloads.sourceforge.net/project/graphicsmagick/graphicsmagick/1.3.28/GraphicsMagick-1.3.28.tar.xz
# xz -c GraphicsMagick-1.3.28.tar.xz | tar -xvf -
$ cd GraphicsMagick-1.3.28/
$ ./configure
$ make
$ make install
To access GraphicsMagick functions, use gm – a powerful command-line utility, which offers several sub-commands such as display, animate, concert, montage, compare, identify, composite and many more, for accessing the actual functions.
To confirm that the GraphicsMagick package has been installed on your system, you can run the following command.
$ gm display
Verify GraphicsMagick Installation
Then run the following series of commands to verify many aspects of the installed package.
$ gm convert -list formats	#check that the expected image formats are supported
$ gm convert -list fonts	#check if fonts are available
$ gm convert -list delegates	#check if delegates (external programs) are configured as expected
$ gm convert -list colors	#check if color definitions may be loaded
$ gm convert -list resources	#check that GraphicsMagick is properly identifying the resources of your machine
Learn How to Use GraphicsMagick in Linux
Following are some basic examples of how to use gm command with these options.
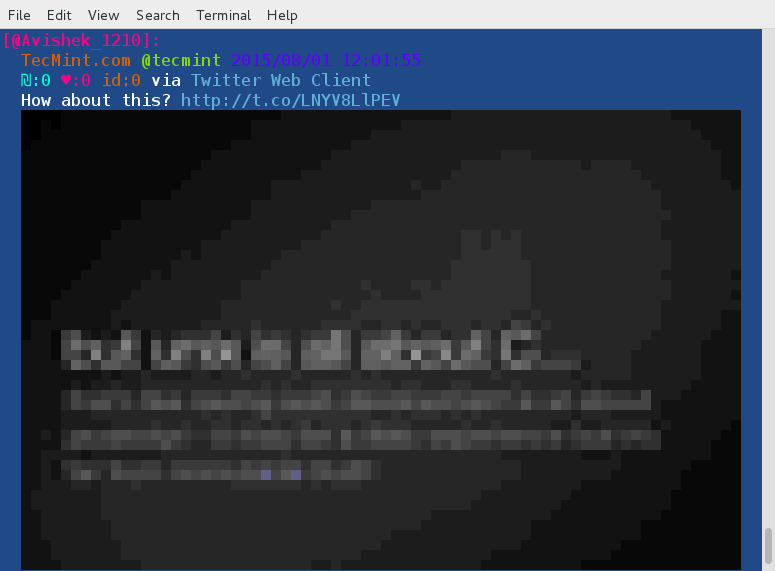
1. To display or view an image from the terminal, run following command.
$ gm display girlfriend.jpeg
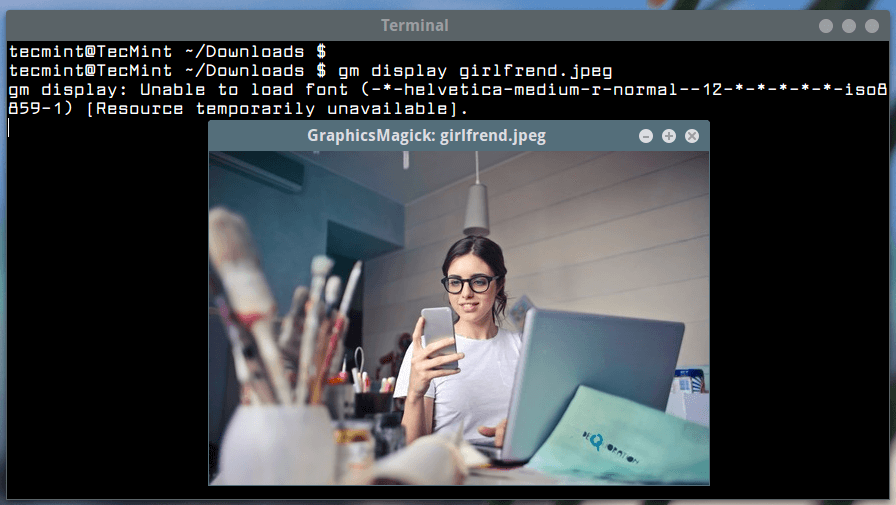
View Image in Linux Terminal
2. To resize an image with new width, specify a width and height will auto scale proportionally as shown.
$ gm convert -resize 300 girlfriend-1.jpeg girlfriend-1-resize-300.jpeg
$ gm display girlfriend-1-resize-300.png

Resize Image in Linux Terminal
You can also define a width and a height, and the command will resize the image to that dimensions without altering the proportions.
$ gm convert -resize 300x150 girlfriend-1.jpeg girlfriend-1-resize-300x150.jpeg
$ gm display girlfriend-1-resize-300.png
3. To create an animated image of multiple images in the current working directory, you can use the following command.
$ gm animate *.png

Animate Images in Linux Terminal
Note: The above animated image quality is poor, because we have optimized to lower the size of image.
4. To convert an image to one format to other, for example .jpeg to .png and vise-versa.
$ gm convert girlfriend.jpeg girlfriend.png
5. Next, you can create a visual image directory of all your .png images as shown.
$ gm convert 'vid:*.jpeg' all_png.miff
$ gm display all_png.miff
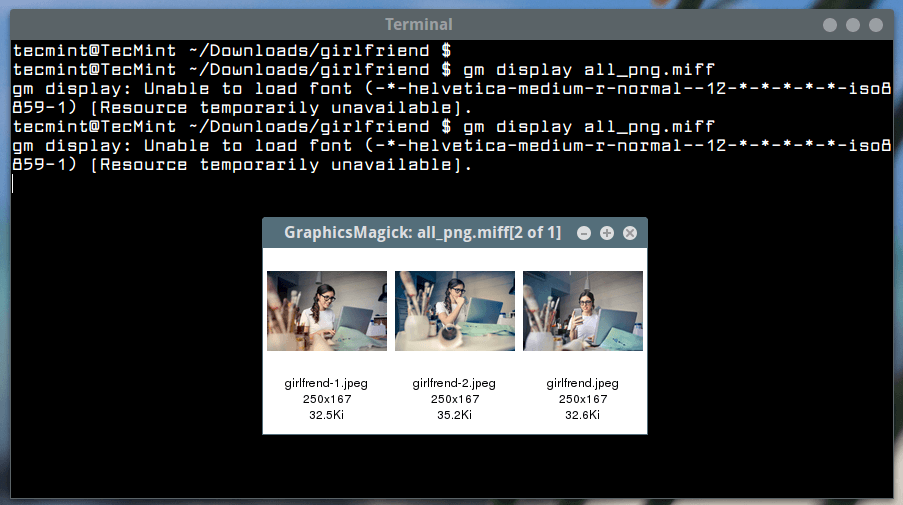
Create Visual Image
6. Additionally, it is possible to create a composite image (in a grid format) from separate images as shown.
$ gm montage girlfriend.jpeg girlfriend-1.jpeg girlfriend-2.jpeg composite_image.png
$ gm display composite_image.png

Create Grid Format Images
There is a lot you can do with gm command, we have just covered a few basic examples in this article. You can see see all options for gm and its sub-command, for example, convert, type:
$ gm -help
$ gm help convert
For more information, visit GraphicsMagick Homepage: http://www.graphicsmagick.org/
GraphicsMagick is a powerful and feature-rich image processing system for Linux and other Unix-like systems. If you have any questions or thoughts to share, use the feedback form below.