
Windows 7 is an excellent operating system. It is a no-nonsense computing experience that just works. There are no ugly live tiles or forced updates. Conversely, Windows 10 is largely trash. Don’t get me wrong, Microsoft’s latest operating system isn’t all bad, but it has many poor design choices, and the intrusive telemetry makes it feel like you are being spied on when using your own computer. Worst of all, it has proven to be very buggy — it has been deleting important user files! That is scary stuff…
Many Windows users passed on both Windows 8.x and Windows 10, opting to stay on Windows 7. You know what? I don’t blame them. Unfortunately, starting today, the Windows 7 death clock begins ticking away. You see, in exactly one year, Microsoft will end support for Windows 7. While the operating system will still function, it is foolish to use an unsupported OS. These folks will have to decide if they want to “upgrade” to Window 10 or opt for something entirely different. Today, Netrunner 19.01 “Blackbird” — a Linux-based operating system that is reminiscent of Windows 7 — is finally released. If you don’t want to run Windows 10 on your PC, you should definitely give Blackbird a try before the Windows 7 support ends.
ALSO READ: Canonical shares the Top 10 Linux Snaps of 2018 — Spotify, Slack, Plex, VLC, and more!
“The Firefox in this version comes with the Plasma-Integration addon preinstalled. It adds visual feedback for downloading items in the taskbar as well as media control from within Plasma. As with on Rolling, GTK Apps now use Kwin borders integrating nicely with the rest of the Plasma desktop environment. Krita is shipped as 4.x release, which got some nice overhauls and features compared to previous version,” says The Netrunner Team.
ALSO READ: Microsoft ends Windows 7 support one year from today
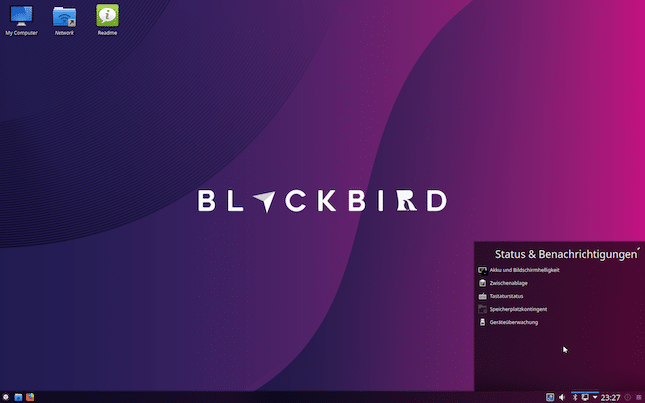
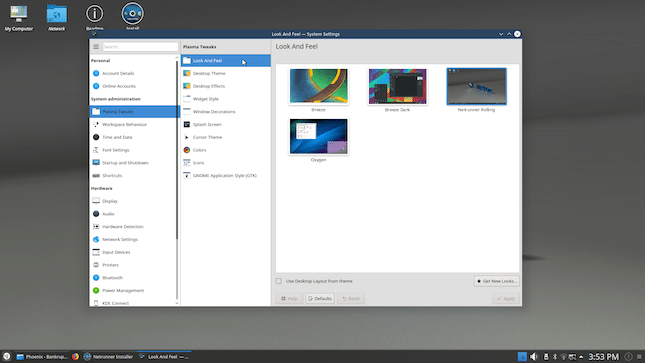
The team further says, “Blackbird ships with a new Look and Feel Theme called ‘Netrunner Black’ that is based on a dark, yet not too harsh contrasting visual. Using the Kvantum Theme engine plus the Alpha-Black Plasma Theme allowed us to create a more 3D-looking design. For those who prefer the classic look, going back to the well-known LNF is a three-button click and explained under ‘Tips’ in our current Readme Section. Moving the mouse into the lower right corner now visibly activates the ‘Minimize all Windows to show Desktop’ function by a light glow.”
The Netrunner devs share the following significant package updates.
- KDE Plasma 5.14.3
- KDE Frameworks 5.51
- KDE Applications 18.08
- Qt 5.11.3
- Linux Kernel 4.19.0~1
- Firefox Quantum 64.0
- Thunderbird 60.3
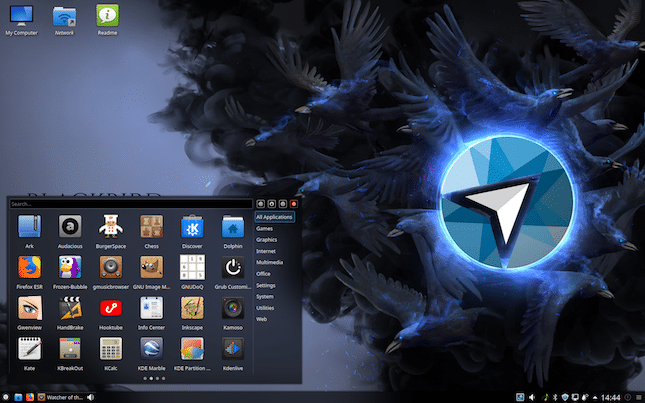
For those that are comfortable with the Windows 7 start menu, you will totally feel like home with this Linux-based operating system. Netrunner leverages the excellent KDE Plasma desktop environment which offers a very familiar experience. Overall, Netrunner is one of the most polished and user-friendly Linux-based operating system I’ve ever used. If you are unsure about Linux, you will be very pleasantly surprised.
Best of all, you do not have to commit to Netrunner as it offers a live installation disk. What does that mean? Well, you can run it from a flash drive before installing it to your computer’s hard drive or solid state drive. After all, Linux isn’t for everybody — you can simply take it for a test drive to see if it meets your needs.
If you are ready to try the free Debian-based Netrunner 19.01 “Blackbird,” you can download it here. To create installation media, simply follow the useful guide here.
 An easy-to-install distribution of the LAMP Stack software that can be launched in one click


 This Open Source project provides a playlist parser library for the Totem video player
 A powerful and cross-platform, yet commercial application for file and folder comparison and synchronization
 An easy-to-use and cross-platform Mercurial, Subversion and Git client software!