
OSSEC (Open Source HIDS SECurity) is an open source host-based intrusion detection system (HIDS). It performs log analysis, integrity scanning, rootkit detection, time-based alerting, and active responses to triggers. You can install it on linux, windows, and mac. It allows for both local installs as well as an agent that can be deployed out to multiple systems with a centralized logging system. It is capable of scanning logs, file intregrity monitoring, and action based responses to threats. This guide covers how to perform a basic install on CentOS. To view their official documentation and site you can visit the github project. This guide is for a installation of a local version, however, it can be deployed to thousands of servers with agents reporting into a centralized server.
Preparing To Install Ossec
Install the packages needed for installation:
yum install -y gcc inotify-tools bind-utils
Change to the source directory to download ossec:
cd /usr/src
Get the newest release
wget -O ossec.2.9.3.tar.gz https://github.com/ossec/ossec-hids/archive/2.9.3.tar.gz
Unpack the tar file
tar xfvz ossec.2.9.3.tar.gz
Change directories:
cd ossec-hids-2.9.3/
Ossec Installation
Start the installer:
./install.sh
Once the installer has been started, it will walk you through a series of options to install OSSEC. Unless you are planning on running agent and server on different servers, select local install
1- What kind of installation do you want (server, agent, local, hybrid or help)? local
– Local installation chosen.
You can select the default installation path or choose another one.
2- Setting up the installation environment.
– Choose where to install the OSSEC HIDS [/var/ossec]:
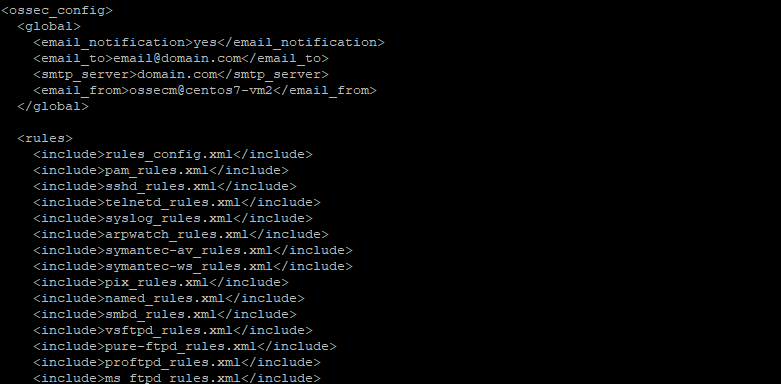
Determine if the OSSEC installation should send email notifications
3.1- Do you want e-mail notification? (y/n) [y]: y
– What’s your e-mail address? [email protected]
– What’s your SMTP server ip/host? domain.com
The integrity check daemon will check files against a database of md5sums for changes to files:
3.2- Do you want to run the integrity check daemon? (y/n) [y]: y
– Running syscheck (integrity check daemon).
The rootkit detection will check for common rootkits”
3.3- Do you want to run the rootkit detection engine? (y/n) [y]: y
– Running rootcheck (rootkit detection).
Active response will allow OSSEC to response to events and execute ip blocks etc:3.4- Active response allows you to execute a specific
command based on the events received. For example,
you can block an IP address or disable access for
a specific user.
More information at:
http://www.ossec.net/en/manual.html#active-response
– Do you want to enable active response? (y/n) [y]: n
– Active response disabled.3.6- Setting the configuration to analyze the following logs:
— /var/log/messages
— /var/log/secure
— /var/log/maillog
– If you want to monitor any other file, just change
the ossec.conf and add a new localfile entry.
Any questions about the configuration can be answered
by visiting us online at http://www.ossec.net .
— Press ENTER to continue —
Use the following commands to start or stop ossec:
– To start OSSEC HIDS:
/var/ossec/bin/ossec-control start- To stop OSSEC HIDS:
/var/ossec/bin/ossec-control stop
This completes the initial install of the application, the configuration can be viewed or modified at /var/ossec/etc/ossec.conf with more granular options for configuration of the platform.
Mar 26, 2018LinuxAdmin.io