
Cloud Commander (cloudcmd) is a simple open source, traditional yet useful cross-platform web file manager with console and editor support.
It is written in JavaScript/Node.js and enables you manage a server and work with files, directories and programs in a browser from any computer, mobile or tablet.
Features
It offer some cool features:
- Client works in web browser.
- It’s server can be installed in Linux, Windows, Mac OS and Android (with help of Termux).
- Enables you to view images, text files, playing audio and videos from within a browser.
- Can be used local or remotely.
- Supports adapting to screen size.
- Offers Console with support of default OS command line.
- Ships in with 3 built-in editors with support of syntax highlighting, which include: Dword, Edward and Deepword.
- It also supports optional authorization.
- Offers hot/shortcut keys.
How to Install Cloud Commander in Linux
First, install the latest version of node.js with the instructions below.
On Debian/Ubuntu/Linux Mint
$ curl -sL https://deb.nodesource.com/setup_6.x | sudo -E bash -

-------- For Node.js v7 Version --------
$ curl -sL https://deb.nodesource.com/setup_7.x | sudo -E bash -
$ sudo apt-get install -y nodejs
On RHEL/CentOS/Fedora
$ curl - -silent - -location https://rpm.nodesource.com/setup_6.x | bash -

-------- For Node.js v7 Version --------
$ curl - -silent - -location https://rpm.nodesource.com/setup_7.x | bash -
$ yum -y install nodejs
$ dnf -y install nodejs [Fedora 22+]
On Gentoo and Arch Linux
$ emerge nodejs         [On Gentoo]
$ pacman -S nodejs npm  [On Arch Linux]
Once you have installed nodejs and npm packages, next, install cloud commander file manager with the following command with root permissions:
$ npm i cloudcmd -g
OR
$ npm i cloudcmd -g --force
How to Use Cloud Commander in Linux
To start it, simply run:
$ cloudcmd
By default, Cloud Commander reads configurations in ~/.cloudcmd.json if no command options are set. It uses port 8000, in case the port variables PORT or VCAP_APP_PORT don’t exist.
You can start using it by opening the URL in your browser:
http://SERVER_IP:8000
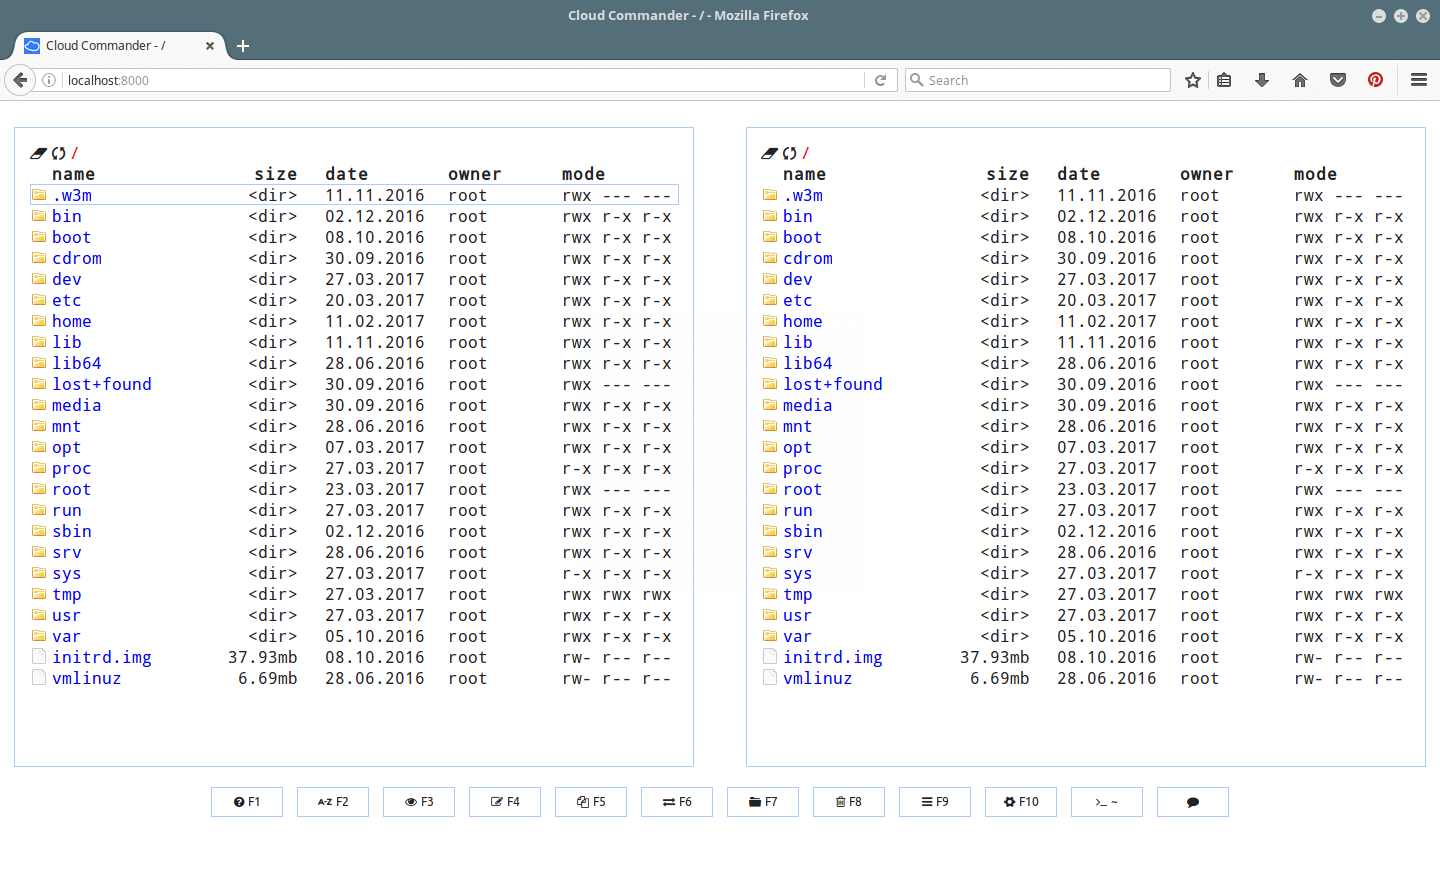
Cloud Commander File Manager
View File Menu
To view menu; file operation options, simply select the file and right click on it, you’ll view the options shown in the screen shot below.
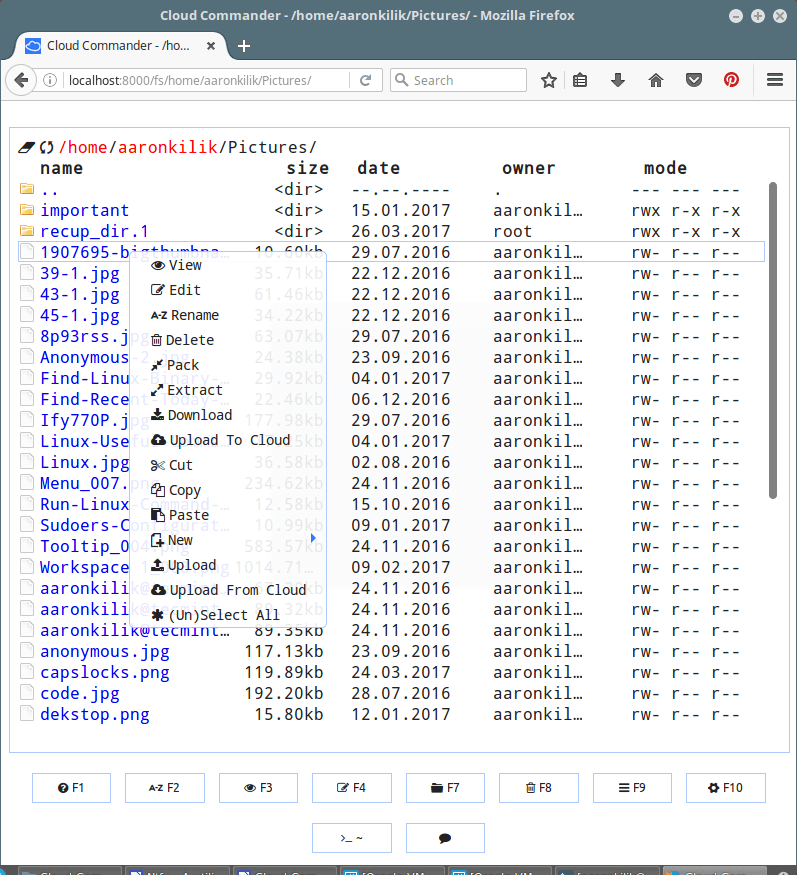
Cloud Commander File Menu
View Files and Directories
To open it with a single panel, use the --one-panel-mode flag or simply resize the browser interface:
$ cloudcmd --one-panel-mode
The screenshot below shows viewing of an image file.
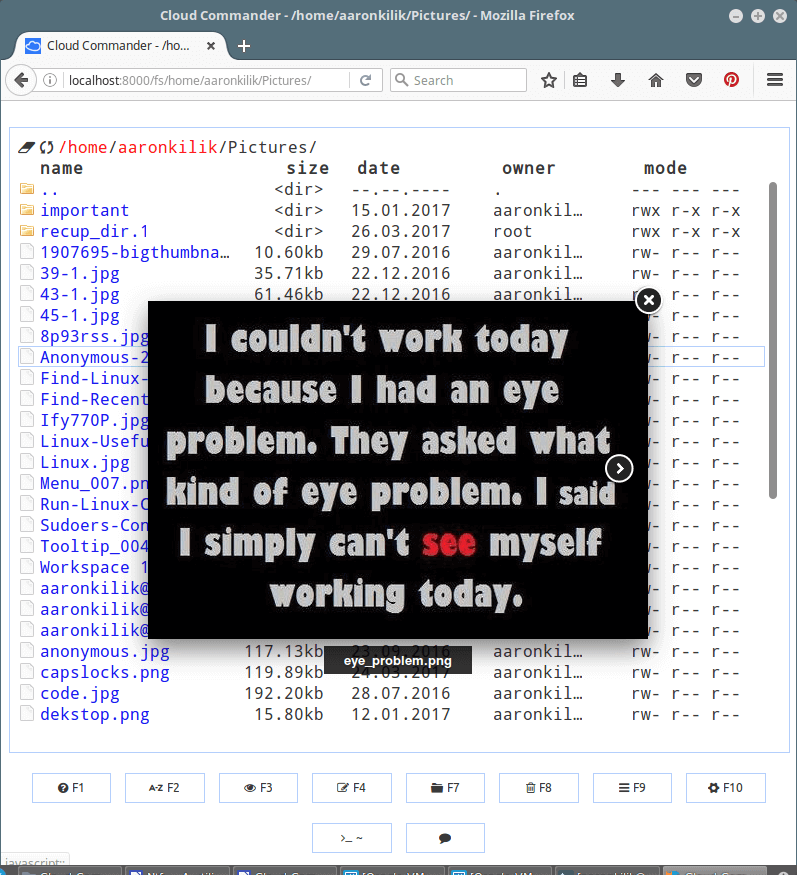
Cloud Commander File Preview
Edit Files in Browser
The following screenshot shows opening a script file for editing.
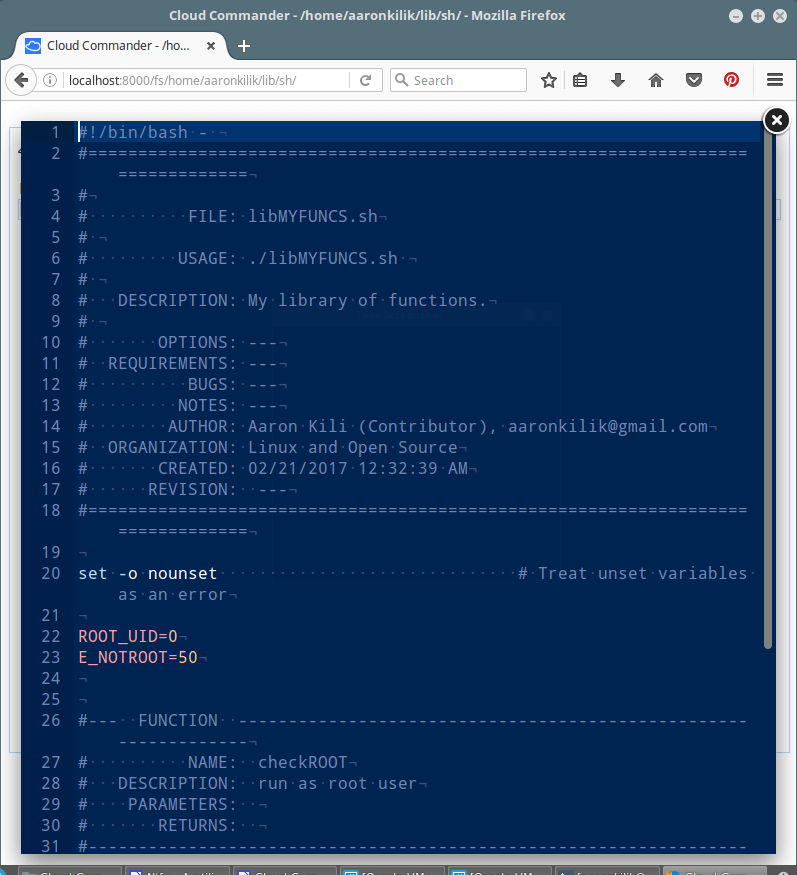
Cloud Commander Edit Files
Access Linux Terminal from Browser
Press ~ button to open the Linux terminal or console.
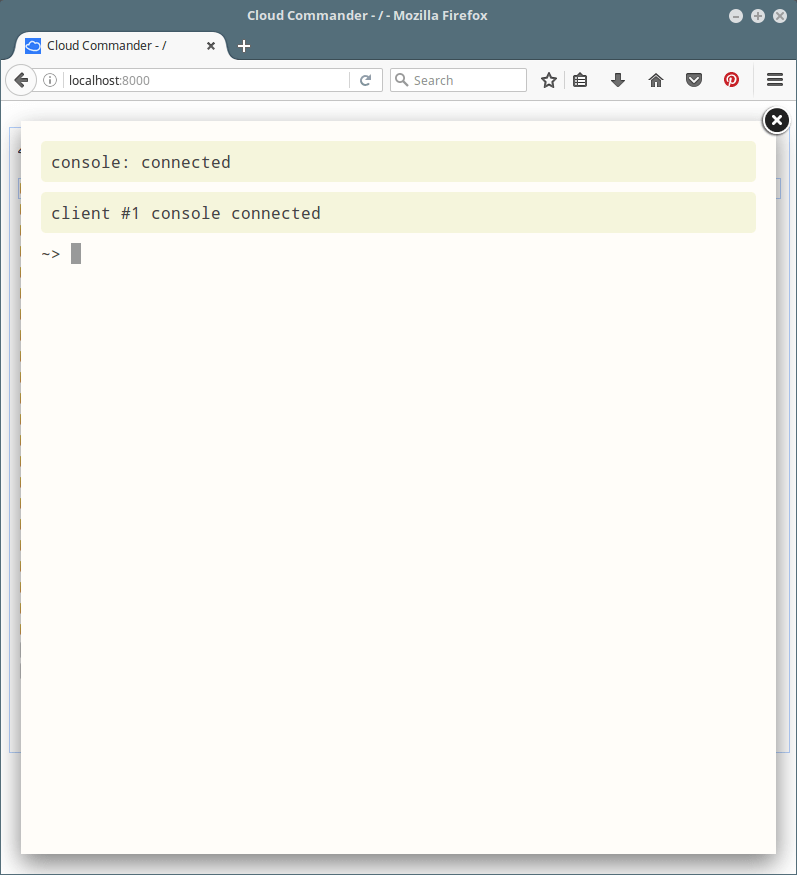
Linux Commander Web Console
Terminal Interface
By default, the terminal is disabled and not installed, to use it you should install gritty as follows with root user privileges:
$ npm i gritty -g
Then set the path of a terminal and save configuration like so:
$ cloudcmd --terminal --terminal-path "gritty --path here" --save
Update Cloud Commander
To update Cloud Commander use this command:
$ npm install cloudcmd -g
Use Hot/Shortcut Keys.
F1– View helpF2– Rename a fileF3– View a fileF4– Edit a fileF5– Copy a fileF6– Move a fileF7– Create a new directoryF8– Delete a fileF9– Open menuF10– View file configurations/permissions plus many more.
You can run this for help:
$ cloudcmd --help
You can find a comprehensive usage guide and configuration information at https://cloudcmd.io/.
In this article, we reviewed Cloud Commander, a simple traditional yet useful web file manager with console and editor support for Linux. To share your thoughts with us, make us of the comment form below. Have you come across any similar tools out there? Tell us as well.