
GNU Linux, the operating system built on very powerful Kernel called Linux. Linux is famous for its command Line operations. With the invent of Linux in day-to-day and Desktop computing, nix remains no more biased towards command-Line, it is equally Graphical and developing Graphical application remains no more a difficult task.
Zenity Display Graphical Boxes
Here in this article we will be discussing creation and execution of simple Graphical Dialog box using GTK+application called “Zenity“.
What is Zenity?
Zenity is an open source and a cross-platform application which displays GTK+ Dialog Boxes in command-line and using shell scripts. It allows to ask and present information to/from shell in Graphical Boxes. The application lets you create Graphical dialog boxes in command-line and makes the interaction between user and shell very easy.
There are other alternatives, but nothing compares to the simplicity of Zenity, specially when you don’t need complex programming. Zenity, a tool you must have your hands on.
Zenity Features
- FOSS Software
- Cross Platform Application
- Allow GTK+ Dialog Box Execution
- Command Line Tool
- Support in Shell Scripting
Usefulness
- Easy GUI Creation
- Less features than other complex Tools
- Enables shell scripts to interact with a GUI users
- Simple dialog creation is possible for graphical user interaction
Since Zenity is available for all known major platforms, and based on GTK+ library, Zenity program can be ported to/from another platform.
Installation of Zenity in Linux
Zentity is by default installed or available in repository of most of the Standard Linux distribution of today. You can check if is installed onto your machine or not by executing following commands.
ravisaive@tecmint:~$ zenity --version

3.8.0
ravisaive@tecmint:~$ whereis zenity

zenity: /usr/bin/zenity /usr/bin/X11/zenity /usr/share/zenity /usr/share/man/man1/zenity.1.gz
If it’s not installed, you can install it using Apt or Yum command as shown below.
ravisaive@tecmint:~$ sudo apt-get install zenity		[on Debian based systems]

root@tecmint:~# yum install zenity				[on RedHat based systems]
Moreover you can also build it from the source files, download the latest Zenity source package (i.e. current version 3.8) using a following link.
Zenity Basic Dialog Boxes
Some of the basic Dialogs of Zenity, which can be invoked directly from the command-line.
1. How about a quick calendar dialog?
root@tecmint:~# zenity --calendar
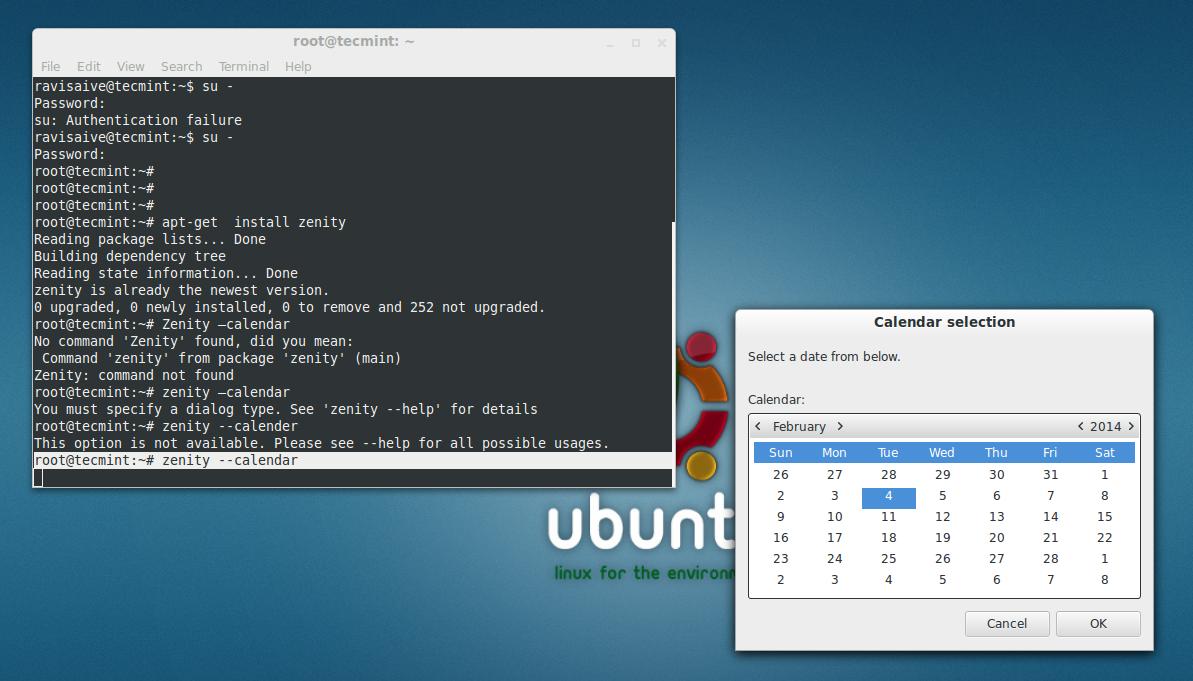
Calendar Dialog
2. An error Dialog Box
root@tecmint:~# zenity --error
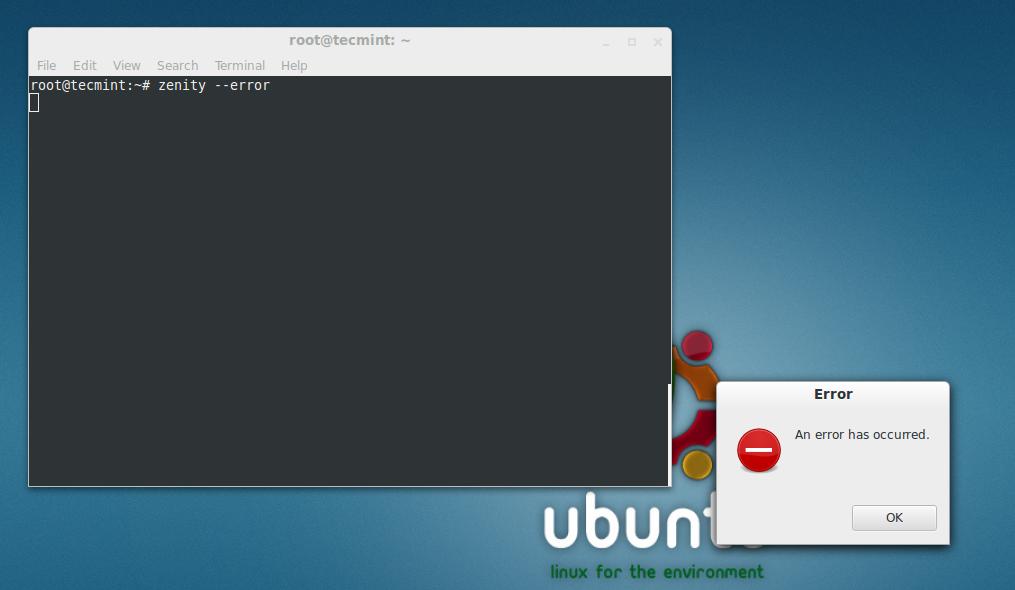
Error Dialog
3. A General text Entry Dialog Box
root@tecmint:~# zenity --entry
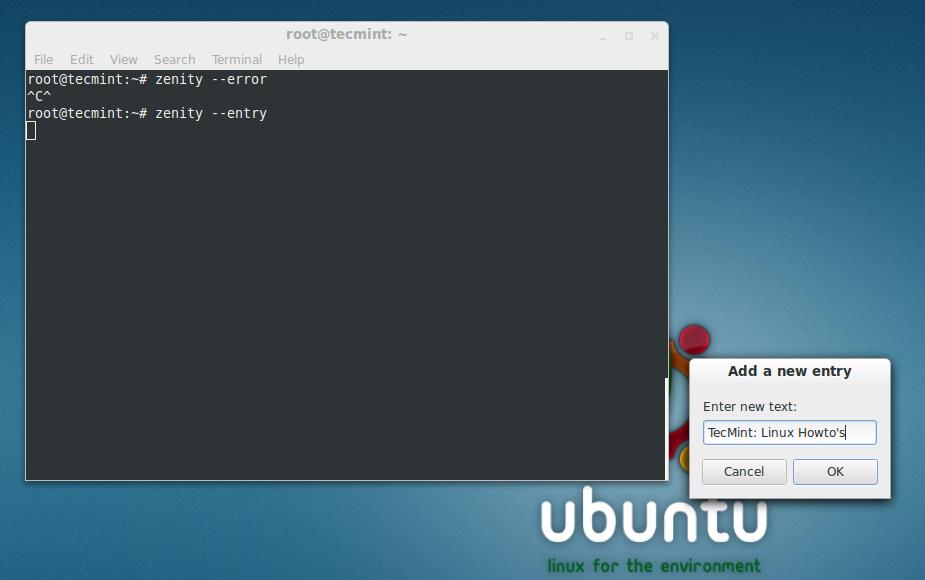
Entry Dialog
4. An Information Dialog
root@tecmint:~# zenity --info
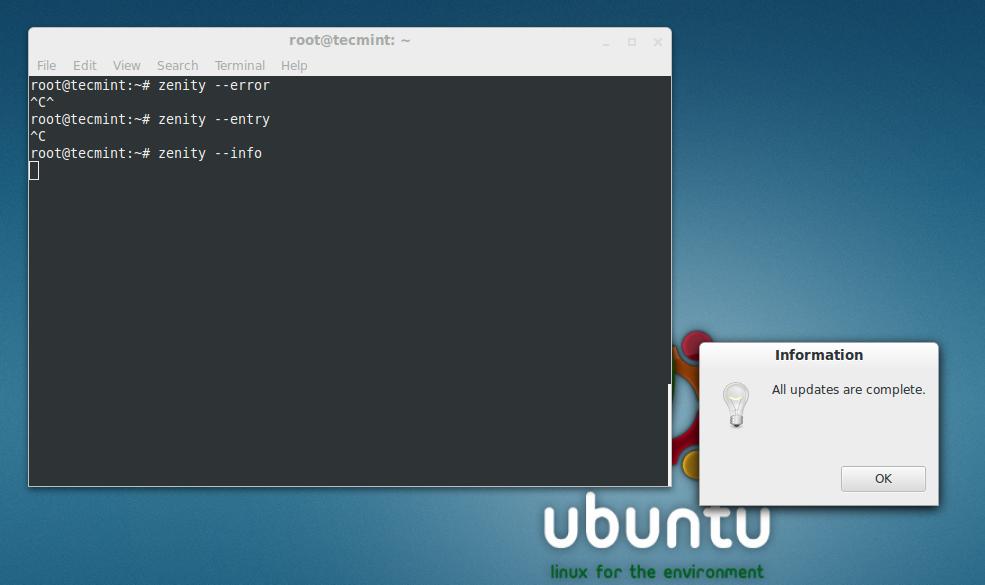
Info Dialog
5. A question Dialog box
root@tecmint:~# zenity --question

Question Box
6. A progress Bar
root@tecmint:~# zenity --progress
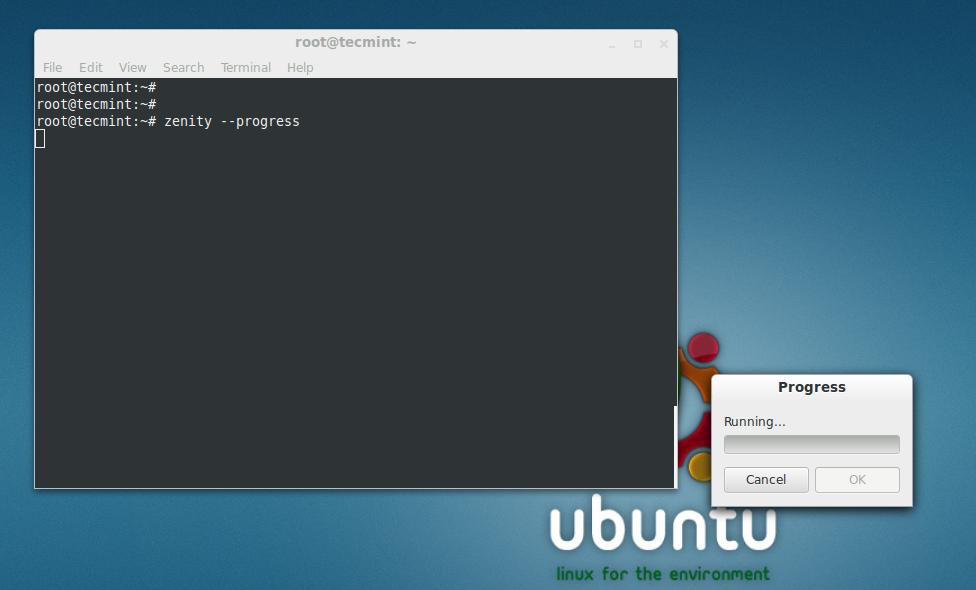
Progress Bar
7. Scale Dialog
root@tecmint:~# zenity --scale
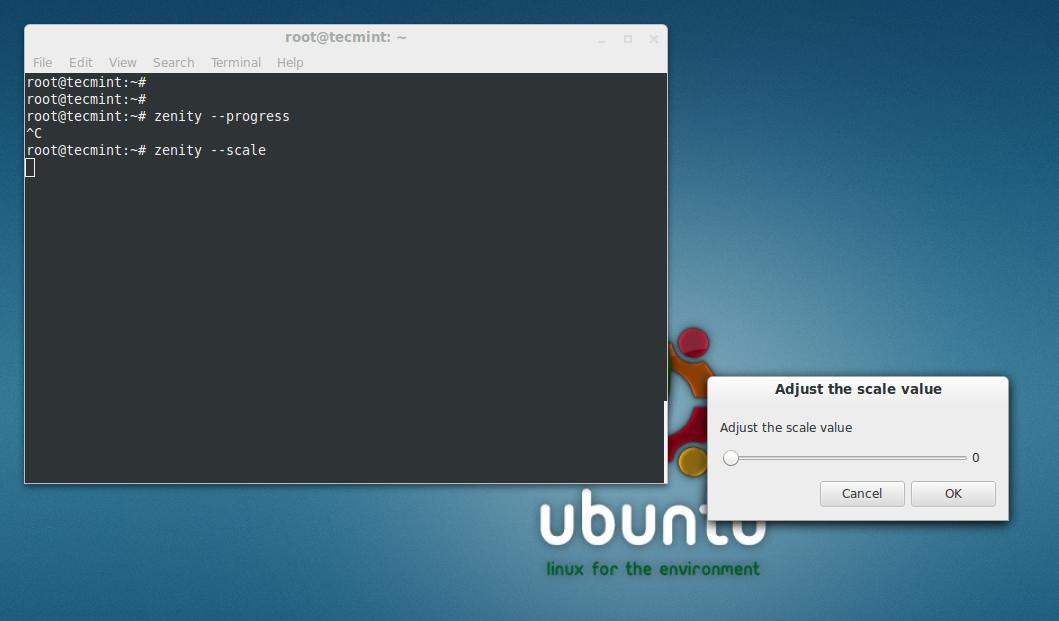
Scale Box
8. A Password Dialog
root@tecmint:~# zenity --password
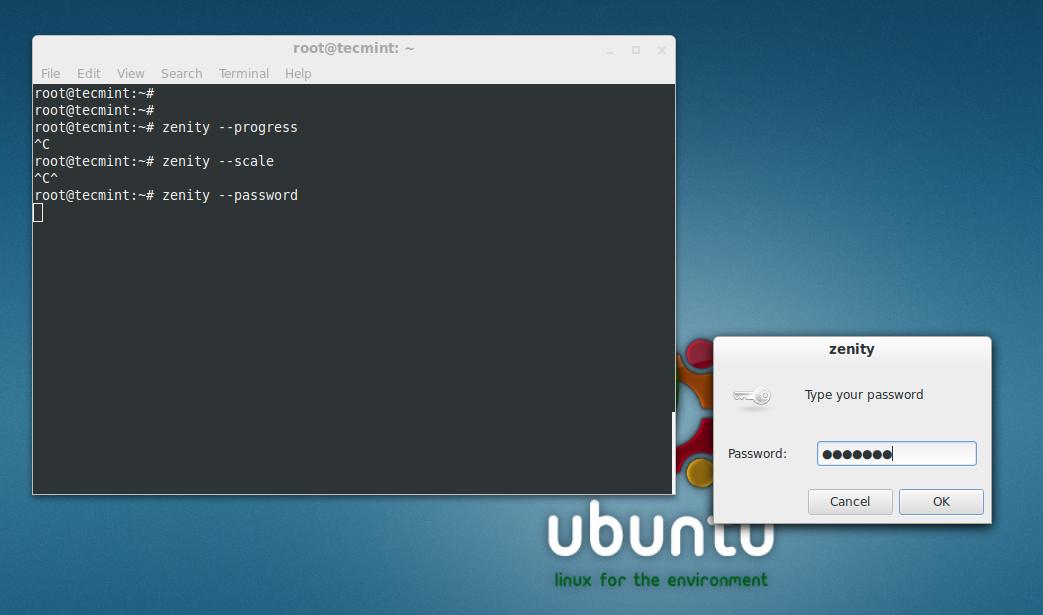
Password Box
9. A Form Dialog box
root@tecmint:~# zenity --forms
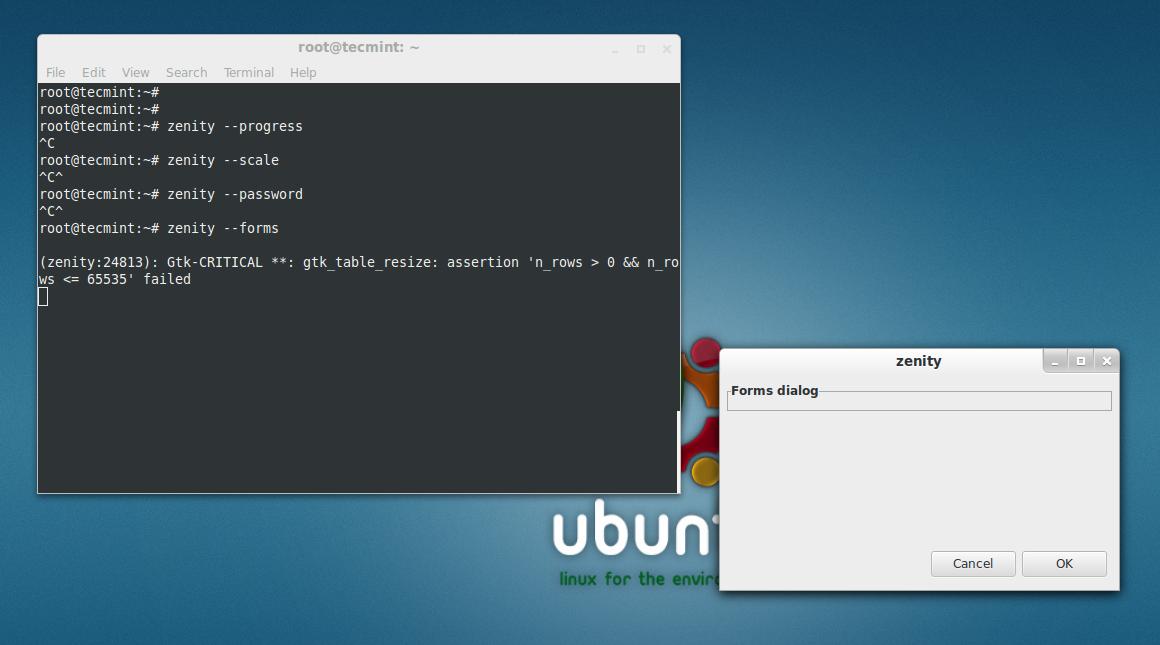
Forms
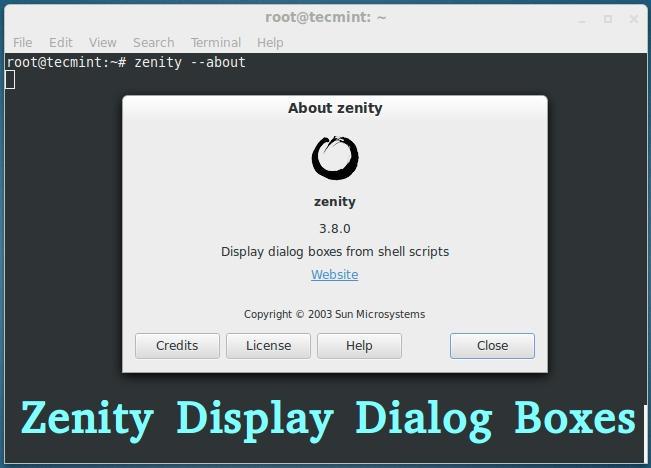
10. An about Dialog
root@tecmint:~# zenity --about
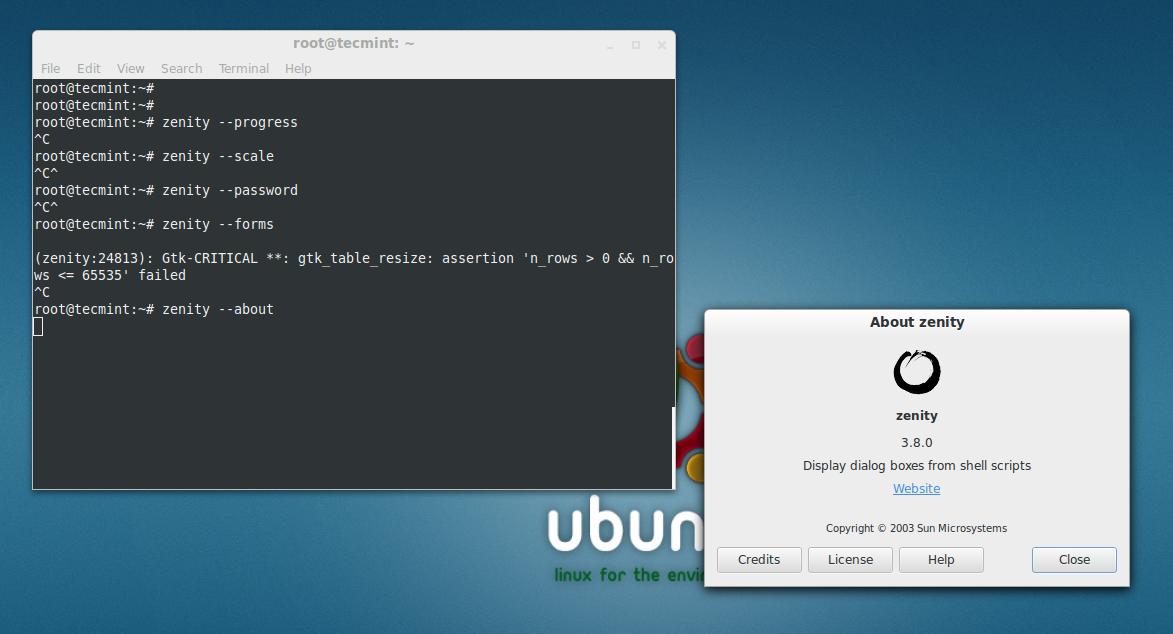
About Zenity
Create Shell Script Dialog
Now we would be discussing Zenity Dialog creation using simple shell scripts here. Although we can create single Dialog by executing Zenity commands directly from the shell (as we did above) but then we can’t link two Dialog boxes in order to obtain some meaningful result.
How about an interactive dialog box which takes input from you, and shows the result.
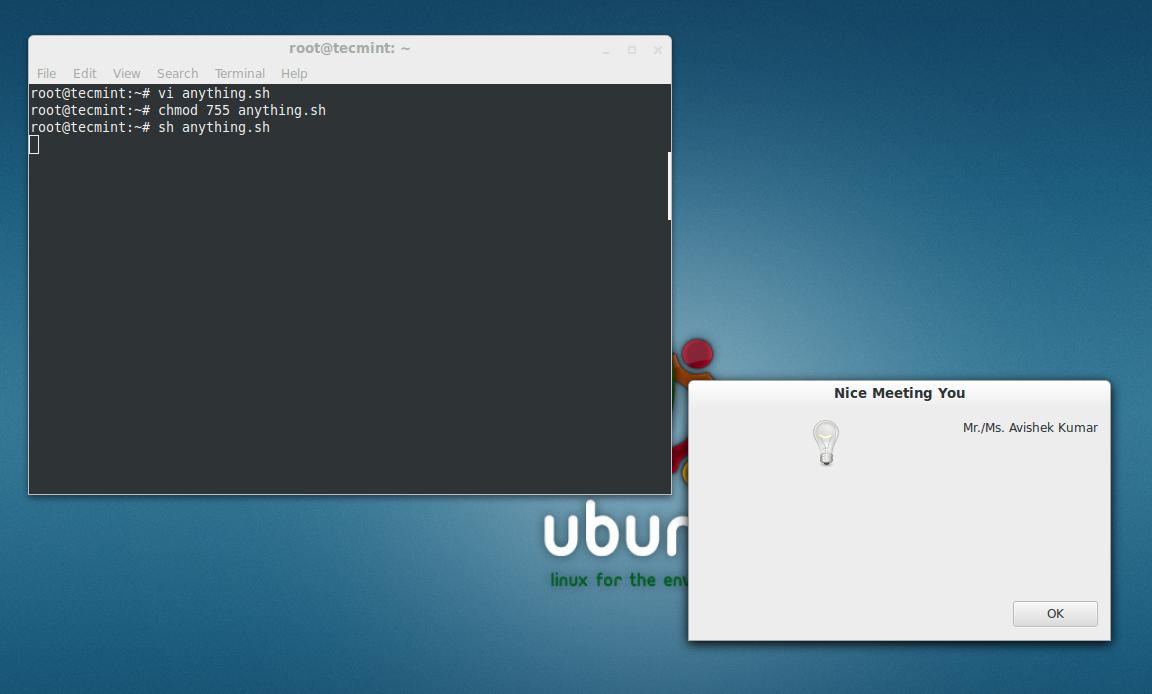
#!/bin/bash
first=$(zenity --title="Your's First Name" --text "What is your first name?" --entry)
zenity --info --title="Welcome" --text="Mr./Ms. $first"
last=$(zenity --title="Your's Last Name" --text "$first what is your last name?" --entry)
zenity --info --title="Nice Meeting You" --text="Mr./Ms. $first $last"
Save it to ‘anything.sh‘ (conventionally) and do not forget to make it executable. Set 755 permission on anything.sh file and run the script.
root@tecmint:~# chmod 755 anything.sh
root@tecmint:~# sh anything.sh

Enter Your First Name
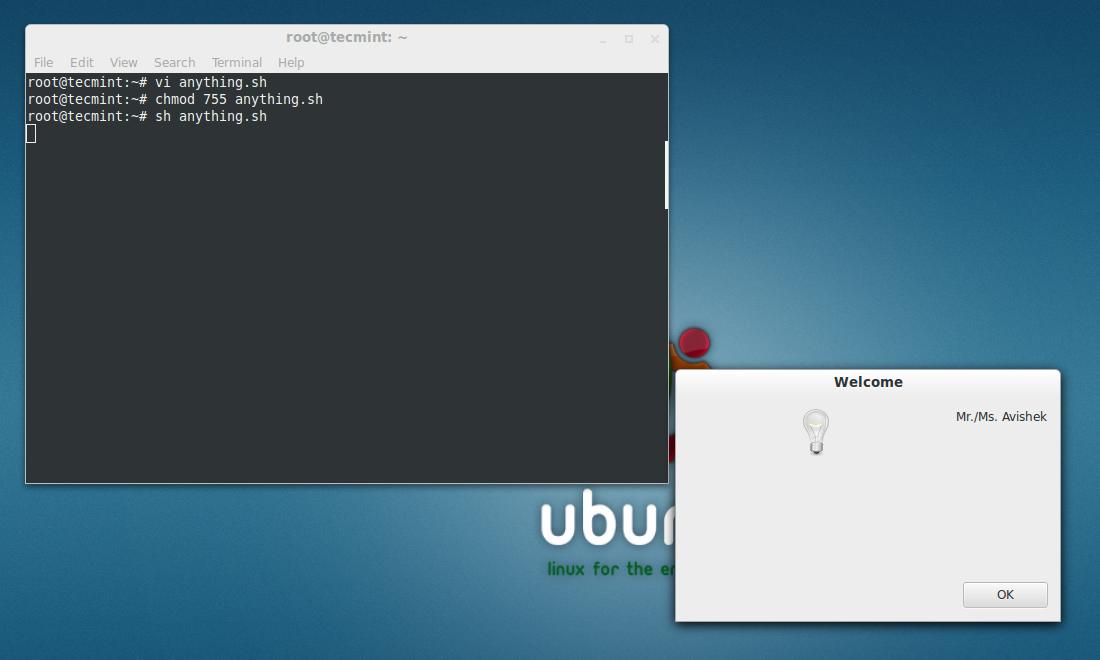
Welcome Dialog
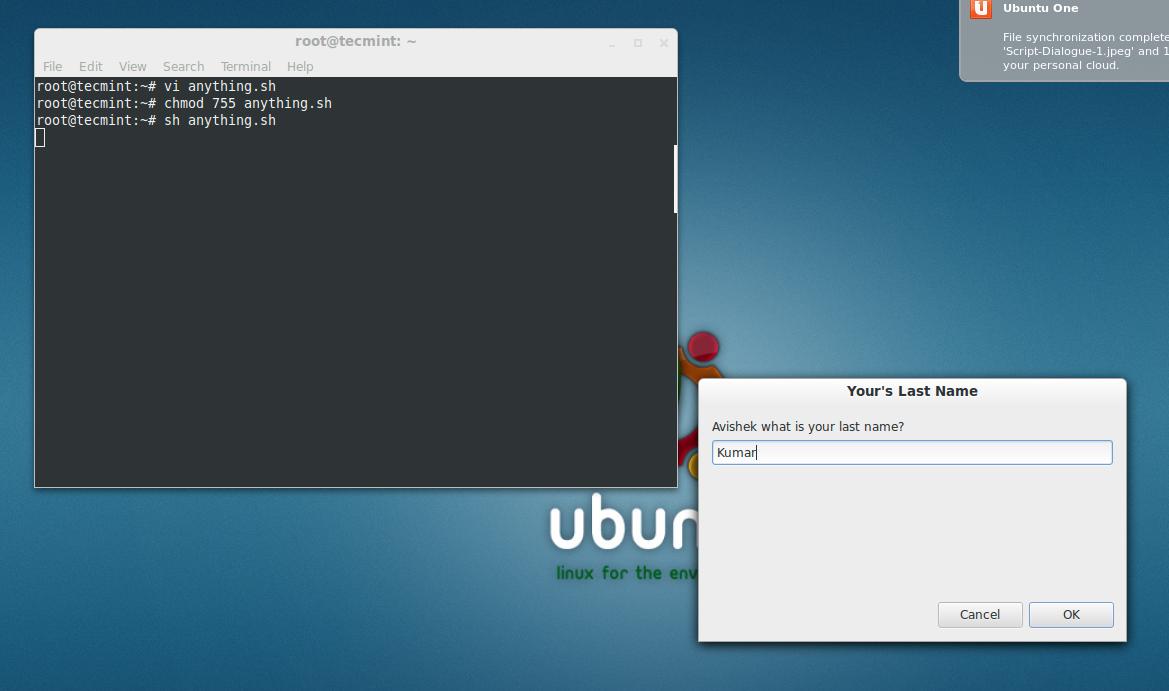
Enter Your Last Name
Welcome Message
About Script Description
The conventional shebang aka hashbang
#!/bin/bash
In the below line ‘first’ is a variable and the value of variable is Generated at run time.
-
- ‘–entry‘ means zenity is asked to generate an text Entry box.
- ‘– title=‘ defines the title of generated text box.
- ‘—text=‘ defines the text that is available on text Entry box.
first=$(zenity --title="Your's First Name" --text "What is your first name?" --entry)
This line of the below script file is for generation of Information (–info) Dialog box, with title “Welcome” and Text “Mr./Ms.first”
zenity --info --title="Welcome" --text="Mr./Ms. $first"
This Line of the script is Similar to line number two of the script except here a new variable ‘last’ is defined.
last=$(zenity --title="Your's Last Name" --text "$first what is your last name?" --entry)
This last line of the script is again similar to the third line of the script and it generates information Dialog box which contains both the variables ‘$first’ and ‘$last’.
zenity --info --title="Nice Meeting You" --text="Mr./Ms. $first $last"
For more information on how to create custom dialog boxes using shell script, visit at following reference page Zenity.
In the next article we would be integrating Zenity with more shell script for GUI user interaction. Till then stay tuned and connected to Tecmint. Don’t forget to give your valuable feedback in comment section.