
Eclipse is a free integrated development environment IDE which is used by programmers around to write software mostly in Java but also in other major programming languages via Eclipse plugins.
The latest release of Eclipse Photon IDE doesn’t come with pre-build binary packages specific for Debian based Linux distributions. Instead, you can install Eclipse IDE in Ubuntu or Debian based Linux distributions via the compressed tar archive file.
In this tutorial we will learn how to install the latest edition of Eclipse Photon IDE in Ubuntu or in Debian based Linux distributions.
Requirements:
- A Desktop machine with minimum 2GB of RAM.
- Java 9 SE SDK installed in Debian based distributions.
Install Eclipse IDE in Debian and Ubuntu
A Java 8 or newer JRE/JDK is required to install Eclipse Photon IDE and the easiest way to install Oracle Java JDK using third party PPA as shown.
Install Java 8 on Ubuntu/Debian
$ sudo add-apt-repository ppa:webupd8team/java
$ sudo apt-get update
$ sudo apt-get install oracle-java8-installer
Install Java 9 on Ubuntu/Debian
$ sudo add-apt-repository ppa:webupd8team/java
$ sudo apt-get update
$ sudo apt-get install oracle-java9-installer
Install Java 10 on Ubuntu/Debian
$ sudo add-apt-repository ppa:linuxuprising/java
$ sudo apt update
$ sudo apt install oracle-java10-installer
For installing Eclipse IDE in your system, first open a browser and go to Eclipse official download page and download the latest version of the tar package specific to your installed Linux distribution architecture.
Installing Eclipse Photon IDE in Ubuntu/Debian
Alternatively, you can also download Eclipse IDE tarball file in your system via wget utility, by issuing the below command.
-------------- For 64-bit Architecture --------------
$ wget http://ftp.fau.de/eclipse/technology/epp/downloads/release/photon/R/eclipse-jee-photon-R-linux-gtk-x86_64.tar.gz

-------------- For 32-bit Architecture --------------
$ wget http://ftp.fau.de/eclipse/technology/epp/downloads/release/photon/R/eclipse-jee-photon-R-linux-gtk.tar.gz
Installing Eclipse Oxygen IDE in Ubuntu/Debian
-------------- For 64-bit Architecture --------------
$ wget http://ftp.fau.de/eclipse/technology/epp/downloads/release/oxygen/R/eclipse-jee-oxygen-R-linux-gtk-x86_64.tar.gz

-------------- For 32-bit Architecture --------------
$ wget http://ftp.fau.de/eclipse/technology/epp/downloads/release/oxygen/R/eclipse-jee-oxygen-R-linux-gtk.tar.gz
After the download completes, navigate to the directory where the archive package has been downloaded, usually Downloads directories from your home, and issue the below commands to start installing Eclipse Photon IDE.
The commands executed below will decompress the archive directly into /opt directory and create a symlink into an executable path for eclipse executable file.
$ cd Downloads/
$ sudo tar xfz eclipse-jee-photon-R-linux* -C /opt/  [For Photon]
$ sudo tar xfz eclipse-jee-oxygen-R-linux* -C /opt/  [For Oxygen]
$ ls /opt/eclipse/
$ sudo ln -s /opt/eclipse/eclipse /usr/local/sbin/eclipse
$ ls -l /usr/local/sbin/
Next, create Eclipse desktop launcher icon into system applications directory.
$ sudo nano /usr/share/applications/eclipse.desktop
Add the following configuration into the file eclipse.desktop.
[Desktop Entry]
Name=Eclipse IDE
Comment=Eclipse IDE
Type=Application
Encoding=UTF-8
Exec=/usr/local/sbin/eclipse
Icon=/opt/eclipse/icon.xpm
Categories=GNOME;Application;Development;
Terminal=false
StartupNotify=true
After you’ve created Eclipse launcher, use Ubuntu dash to search and open the application. On the first application launch, add Eclipse workspace directory and hit on Launch button to start the application.
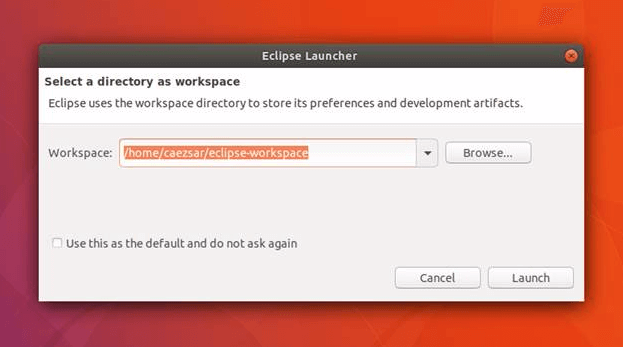
Create Eclipse IDE Desktop Workspace
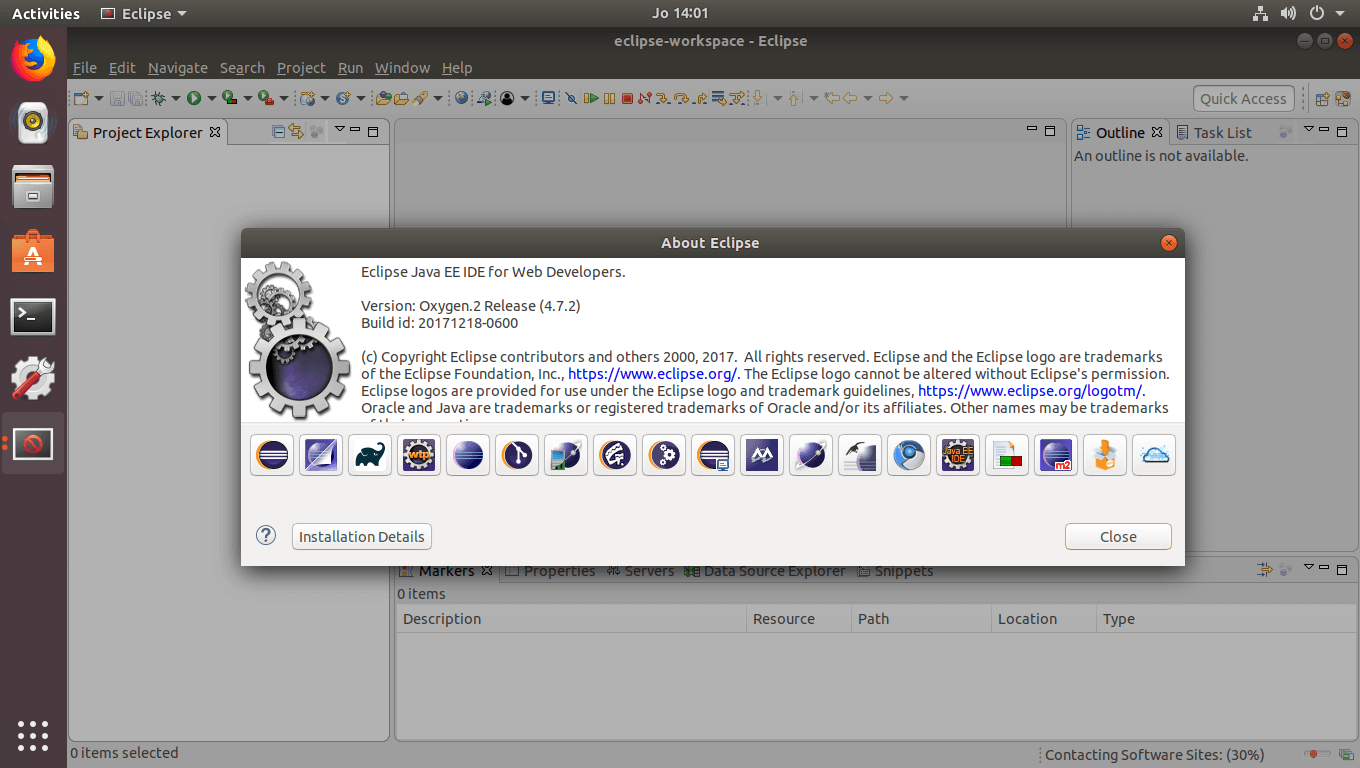
Eclipse IDE on Ubuntu
Install Eclipse Photon via Snap on Ubuntu
Snap is software deployment and package management system to manage packages on Linux distribution, you can use snap to install Eclipse Photon edition on Ubuntu 18.04 or newer using the following commands.
$ sudo apt install snapd
$ sudo snap install --classic eclipse
After install Eclipse, navigate to the Activities Overview and search for Eclipse and launch it…
That’s all! The latest version of Eclipse IDE is now installed in your system. Enjoy programming with Eclipse Photon.