
Pybackpack is an open source simple, powerful and user-friendly file backup utility was written for Gnomedesktop only and released under the GPL, but you can also use it for other desktops too. Like you do for other backup applications. The interface is pretty simple and provides a good design which makes the whole process user friendly and much easier.
The pybackpack tool uses back-end as rdiff-backup program for backups. The benefit of using rdiff-backup is, it do full backup at first time and later backups it takes only updated files. This is very crucial in terms of saving disk space and network bandwidth.
Installing Pybackpack Backup Manager
Open the terminal by hitting “Ctr + Alt + t” and run the following command to install Pybackpack backup manager tool under Ubuntu 12.10/12.04/11.10 and Linux Mint 14/13/12
$ sudo apt-get install pybackpack
Once you’ve installed it, launch it from the Desktop Dash or use the following command.
$ pybackpack
Backup /home directory to CD or DVD
Once you’ve start you will see Home tab with “Go” option, if you click on “Go” button, it will backup your entire /home directory including your personal settings, emails, documents and other important files and burn automatically them to a CD or DVD as a iso image file.
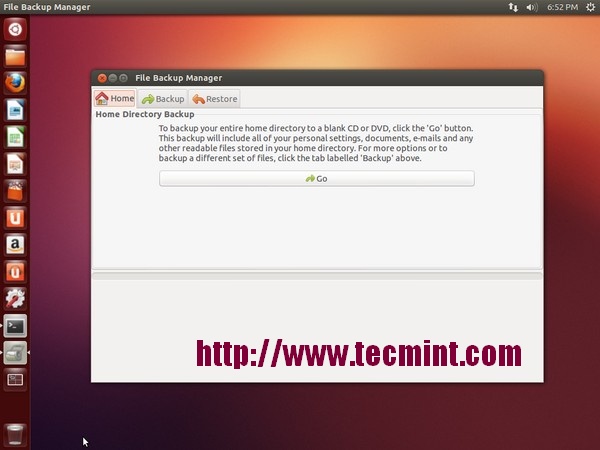
Pybackpack Backup Files to CD/DVD
Backup /home directory on Local File System
Instead of taking full backup, you can customize your backup by choosing more advanced options by specifying what folders and files you want to include or exclude in your backup. To do this, click on “Backup” tab and then select “New Backup Set” from the drop-down list.
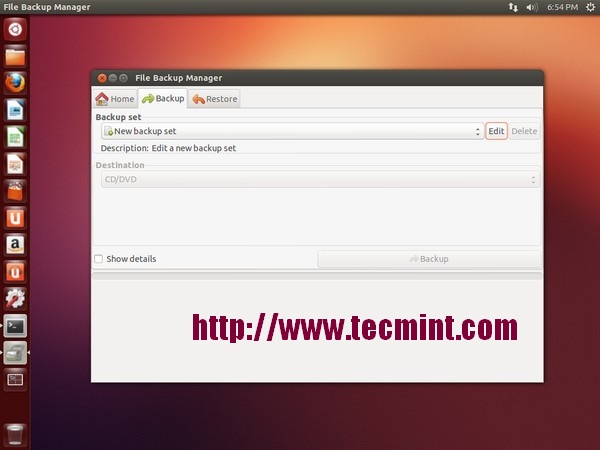
Pybackpack backup files to local
Click on “Edit” option. Now you will see a backup wizard that will guide you through the steps that required to create a set of files for backup, known as “backup set“.
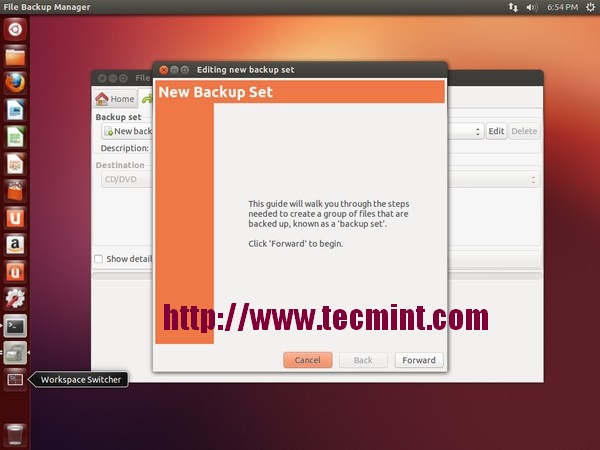
Create New Backup Set
Give name and description for the backup set and also select destination type as “Local File System” from the drop-down list. Enter the default destination directory where the actual backup will be stored. In my case it would be stored under /home/tecmint/Tecmint-Backup directory.
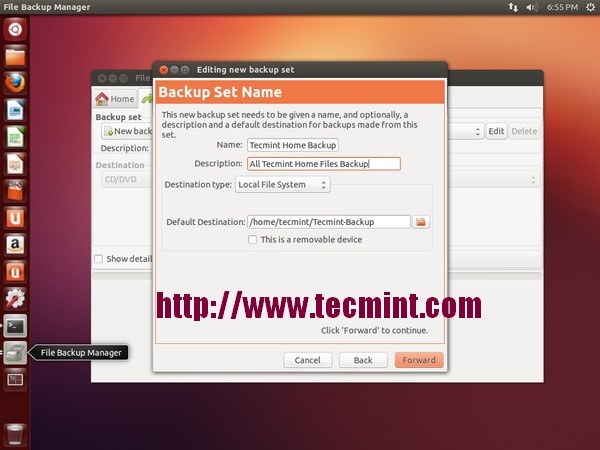
Give Backup Set Name
Now add the files and directories that needs to be included or excluded for the backup set. I have included the following files for backup. Nothing excluded, but you can exclude the files that you don’t want to backup.
- /home/tecmint/Desktop
- /home/tecmint/Documents
- /home/tecmint/Downloads
- /home/tecmint/Music
- /home/tecmint/Pictures
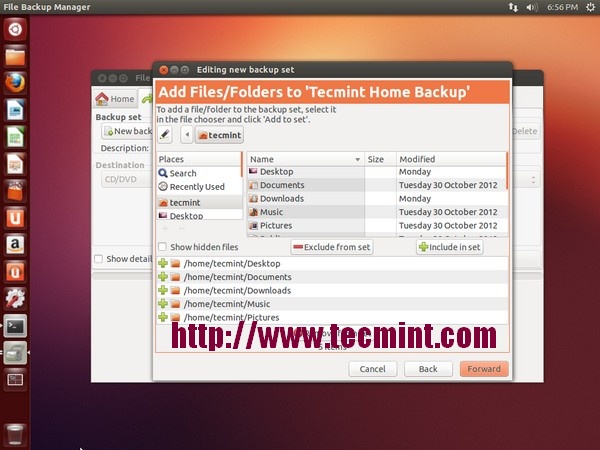
Include / Exclude Files for Backup
This gives the full summary of backup for review, if you want to make changes you can click on “Back” button. To proceed with the selection and save the backup click on “Forward“.
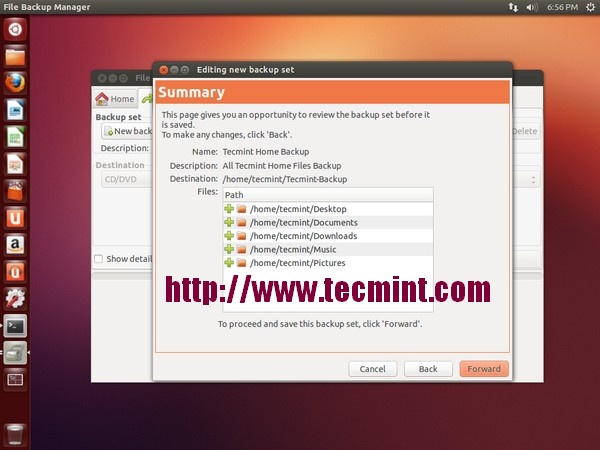
Pybackpack Backup Summary
Click on “Apply” to Finish the backup wizard.
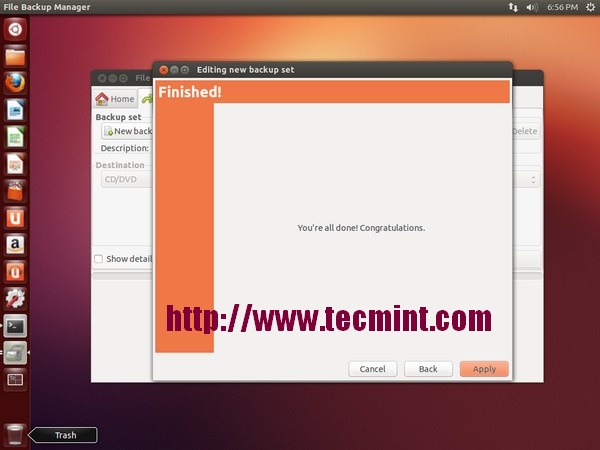
Pybackpack Apply Changes
Finally, click on “Backup” button to create the backup, based on the settings that we have given during the backup set.
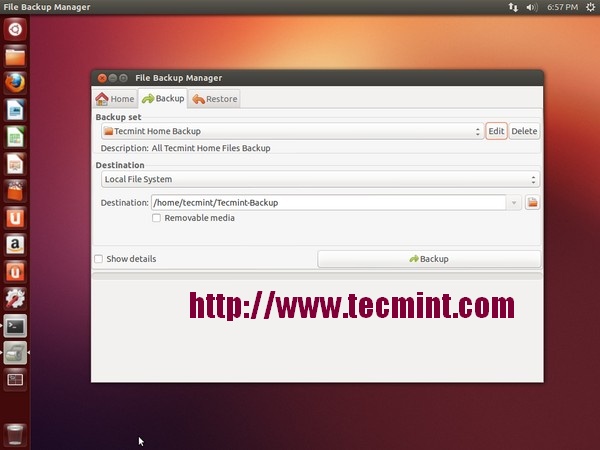
Create Backup
Once backup process over, you will get message as “Backup complete“.
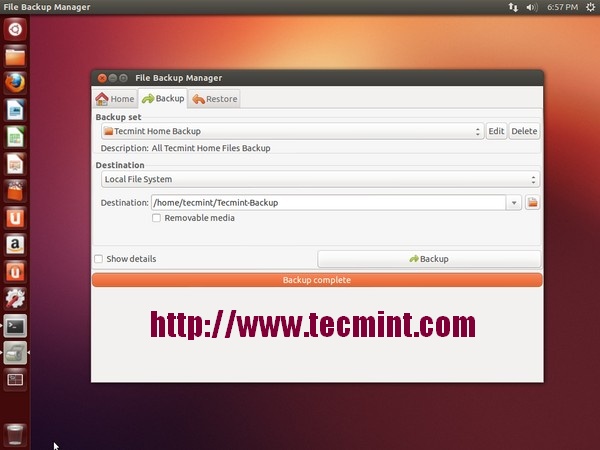
Pybackpack Backup Completed
To verify, whether backup is successfully completed, go to the backup directory and do “ls -l“. You will see following folders.
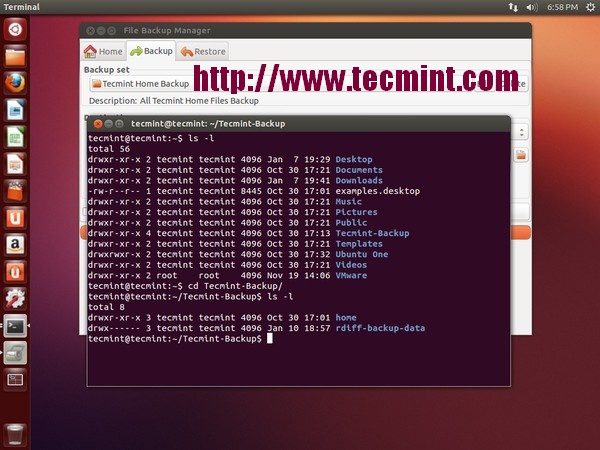
Verify Backup Directory
Are you worrying why there is “rdiff-backup-data” folder, because pybackpack uses rdiff-backup utility to keep the track of incremental backups. So, next time you run the same backup set, it will only take backup of latest and changed files. It is very effective in terms of saving system disk space and bandwidth.
Backup /home directory to Remote System
Instead of taking backups on CD/DVD or Local system, you can also take backup and keep them on remote server directly. Again create a “New Backup Set” and add the username, hostname and location of backup directory of remote host.

Pybackpack remote backup
Restore /home directory from Local System
Go to “Restore” tab and select the “Local” and enter your backup destination directory. The restore option automatically detect the name and description of the backup set.
Once I entered the location of backup (i.e. /home/tecmint/Tecmint-Backup), it immediately detect the name and description of the backup set as “Tecmint Home Backup“.
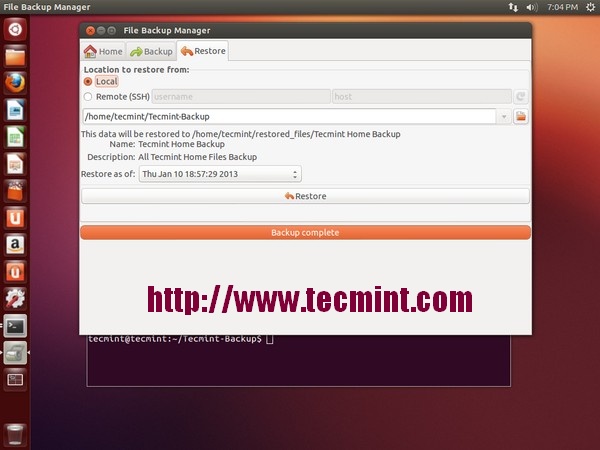
Pybackpack Restore Local
Don’t worry the restore will not overwrite the files and folders, it will create a new folder called “restored_files” under /home directory and restore all files under this directory. For example In my case it would be “/home/tecmint/restored_files/Tecmint Home Backup“.
Restore /home directory from Remote System
Go to “Restore” tab and select the “Remote (SSH)” and enter remote host details like username and hostname/ip address. Give the location of backup directory and click on “Restore” button.
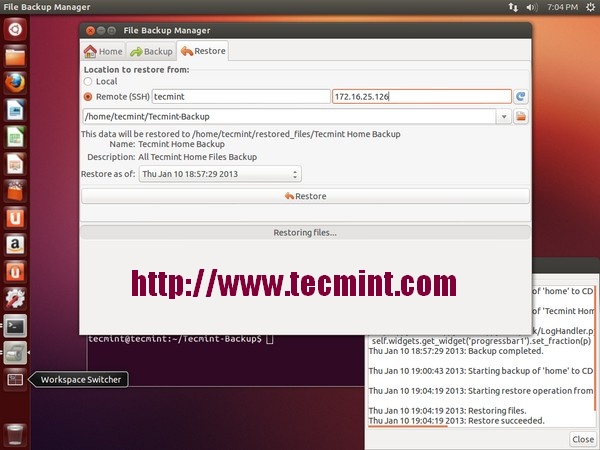
Pybackpack Remote Restore
Thats it! If you have any questions or queries do reply me using comment section.