
SHOUTcast is a proprietary software used to stream media over Internet, especially used in music live streaming by the radio stations in Internet, and is developed by Nullsoft with versions for all major platforms, including Linux.
Install Shoutcast in Linux
This tutorial will guide you on how you can install The SHOUTcast Distributed Network Audio Server (DNAS 2.0) in CentOS 7, with the help of which you can use media players, like Winamp or Mixxx to connect to streaming server and broadcast your audio playlists to Internet listeners.
Requirements
Although this tutorial only covers SHOUTcast server installation on a CentOS 7 machine, the same procedure can be applied on other Linux distributions such as RHEL, Fedora, Ubuntu, Debian, Linux Mint, etc. with the remark that you must adapt firewall commands to suit your Linux distribution.
Step 1: Download and Install SHOUTcast Server
1. Before proceeding with the installation of SHOUTcast server, create a local user from which you will run the server, because running the DNAS server
from root account can impose serious security issues to your system.
So, login on your system with root account, create a new user, called radio, after you’re done logout from root account and, then, login with your newly created user. Here are the following required commands that needs to be executed on the terminal.
# su -
# adduser radio
# passwd radio
# exit
# su - radio
$ pwd
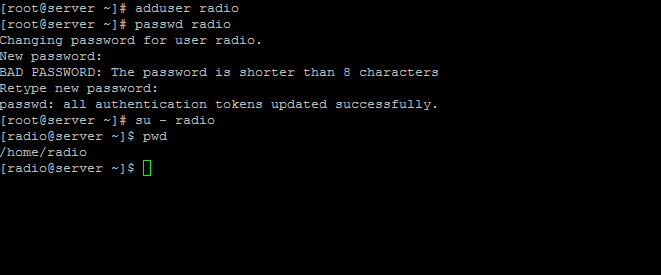
Add New User radio
2. Once logged in on your system with the radio account, create two directories named download and server, then switch to download folder.
$ mkdir download
$ mkdir server
# cd download
3. Next, grab the last version of SHOUTcast server archive for Linux, depending on your system architecture, by visiting official Nullsot Download page at.
Alternatively, use following wget utility to download the archive from command line.
----------- For 32-bit -----------

$ wget http://download.nullsoft.com/shoutcast/tools/sc_serv2_linux_09_09_2014.tar.gz
----------- For 64-bit -----------

$ wget http://download.nullsoft.com/shoutcast/tools/sc_serv2_linux_x64_09_09_2014.tar.gz

Download Shoutcast Server
4. After the download completes, extract the sc_serv2_linux_architecture_date.tar.gz archive, list the directory to locate sc_serv executable binary file and copy it to installation directory, located in server folder, then move to SHOUTcast installation path, by issuing the following commands.
$ tar xfz sc_serv2_linux_x64_09_09_2014.tar.gz
$ ls
$ cp  sc_serv  ../server/
$ cd  ../server/
$ ls

Extract Shoutcast Archive
5. Now that you are located in server installation path, create two directories named control and logs and you’re done with the actual installation process. List your directory content to verify if everything is in place.
$ mkdir control
$ mkdir logs
$ ls
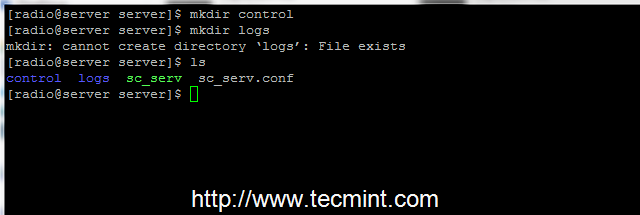
Confirm Shoutcast Files
Step 2: Create SHOUTcast Configuration File
6. In order to run and operate the server you need to create a configuration file for SHOUTcast. Open your favorite text editor and create a new file, named sc_serv.conf.
Make sure that this file is created in the same path as your sc_serv e executable binary files are created. Using pwd command should show you this absolute path – /home/radio/server).
$ nano sc_serv.conf
Add the following statements to sc_serv.conf file (example configuration).
adminpassword=password
password=password1
requirestreamconfigs=1
streamadminpassword_1=password2
streamid_1=1
streampassword_1=password3
streampath_1=http://radio-server.lan:8000
logfile=logs/sc_serv.log
w3clog=logs/sc_w3c.log
banfile=control/sc_serv.ban
ripfile=control/sc_serv.rip

Configure Shoutcast Server
Some important settings that you should be aware on this file are password statements, which you must be changed accordingly:
- adminpassword – Admin password required to perform remote administration via the web interface to the server.
- streampassword_1 – Password required by remote media player to connect and stream media content to server.
Alternatively, if you want to create a configuration file for SHOUTcast server you can go to download directory and run builder.sh or setup.sh scripts, which will let you configure the server from a web interface that can be accessed from the following address.
http://localhost:8000
OR
http://ipaddress:8000
Once the configuration is created you can copy it to server installation directory.
7. To start the server execute sc_serv file from your current working directory, which must be the serverdirectory, put it on background with & bash operator and direct your browser to http://localhost:8000 URL. Also use netstat command to see if the server is running and on what port numbers it listens.
$ chmod +x sc_serv
$ ./sc_serv &
$ netstat -tulpn | grep sc_serv

Start Shoutcast Server
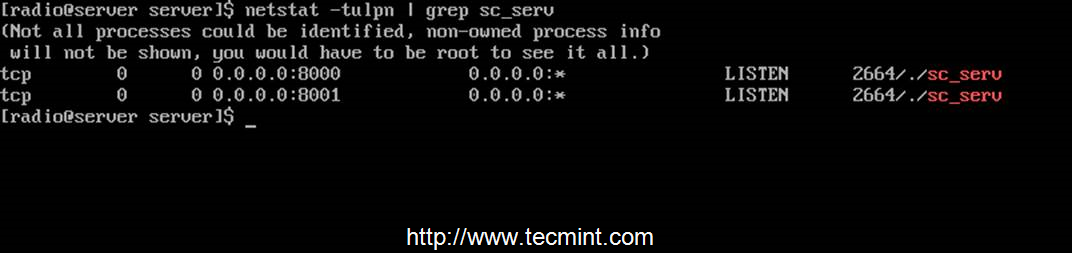
Confirm Shoutcast Running
Step 3: Open Firewall Connections
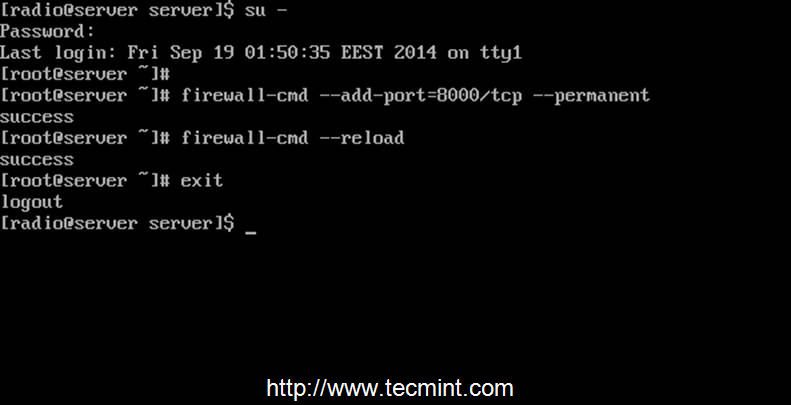
8. Now SHOUTcast server is up and running but it can’t be accessed yet from outside world due to CentOS Firewall restrictions. To open the server to external connections login with root account and add the rule that will open port 8000 TCP.
After the rule has been added reload the Firewall to apply changes and logout from your root account.
$ su -
# firewall-cmd --add-port=8000/tcp --permanent
# firewall-cmd --reload
# exit
Open Shoutcast Port
9. Then open a browser from a remote machine and type your server IP Address on port 8000 on URL filed – http://192.168.1.80:8000 – and the SHOUTcast web interface should appear like in the screenshot below, with no live streams available.
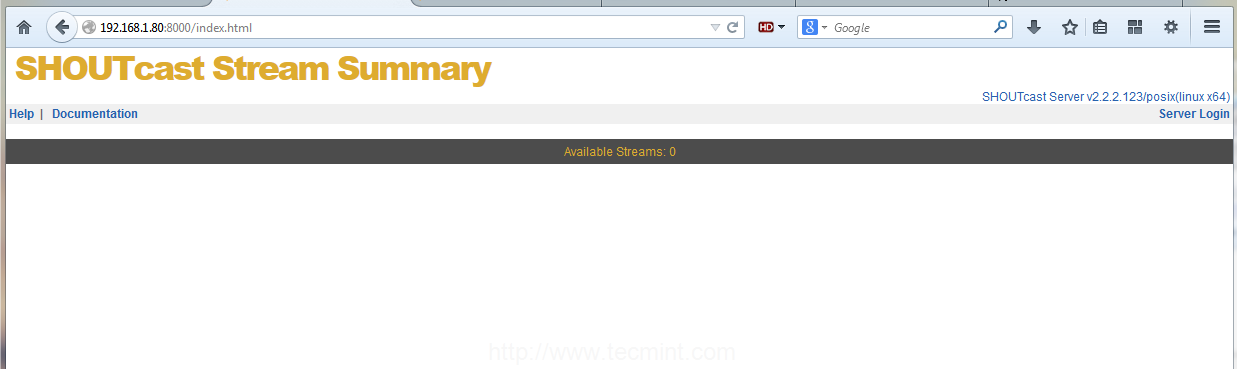
Shoutcast Web Interface
Step 4: Manage SHOUTcast Server and Create Daemon script
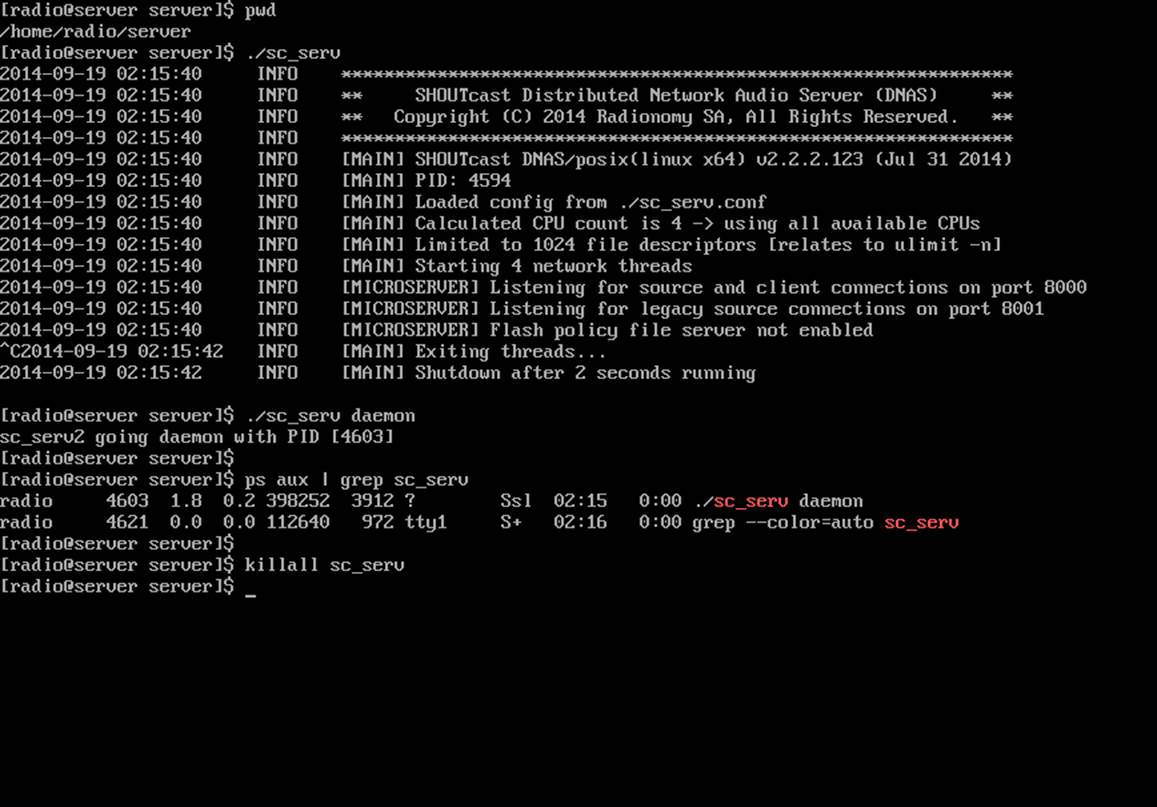
10. The command used to manage SHOUTcast radio server is the binary file itself, which must be run from its installation path location in order to be
able to read configuration file. To run the server as a daemon use daemon command option.
You can also instruct the server to read its configurations from a different location by indicating where the configuration file resides, but be advised
that using this option requires the creation of logs and control directories, which can be confusing in practice and can lead to server inability to start.
$ pwd  ## Assure that you are in the right installation directory - /home/radio/server

$ ./sc_serv   ## Start the server in foreground – Hit Ctrl + c to stop

$ ./sc_serv daemon  ## Start the server as a daemon

$ Ps aux | grep sc_serv   ## Get Server PID

$ killall sc_serv  ## Stop server daemon
Shoutcast Start Script
11. If you need a simplified command to start or stop SHOUTcast radio server, login as root again and create the following executable script on /usr/local/bin/ path as in the example below.
$ su -
# nano /usr/local/bin/radio
Now add the following excerpt to radio file.
#!/bin/bash
case $1 in
                start)
cd /home/radio/server/
./sc_serv &
              ;;
                stop)
killall sc_serv
                ;;
               start_daemon)
cd /home/radio/server/
./sc_serv daemon
               ;;
                *)
echo "Usage radio start|stop"
                ;;
esac

Shoutcast Binary Start Script
12. After the file was created, make it executable, exit root account and a new command shout be available for your SHOUTcast radio server management.
# chmod +x /usr/local/bin/radio
# exit
13. To manage the server from now on, use radio command with the following switches.
$ radio start_daemon		## Starts SHOUTcast server as a daemon

$ radio start                   ## Starts SHOUTcast server in foreground

$ radio stop                    ## Stops SHOUTcast server
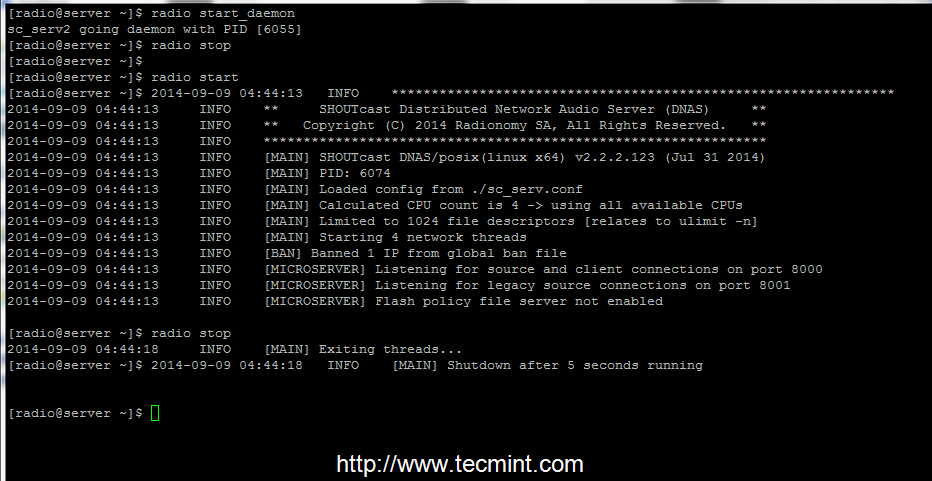
Start Stop Shoutcast
14. If you want to automatically start the server after reboot, but only on user login (in this case the server was installed on the local user named radio) issue the following command from radio account home path, then logout and login again to verify the functionality, as presented in the screenshot below.
$ whoami
$ echo “radio start_daemon” >> ~/.bashrc
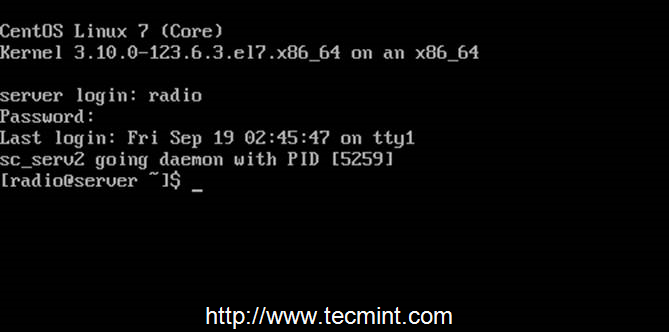
Start Shoutcast at Reboot
That’s it! Now, SHOUTcast server is ready to receive sound or playlists from remote media players such as Winamp from Windows and Mixxx from Linux and broadcast all of the received audio content over Internet.