You have probably had your fill of Surface Go reviews that seem to split the tech world in two. You’ve also most likely seen the brawls between the Surface Go and the iPad Pro, especially those revolving around the rhetoric of real PCs. So why not have yet another Surface Go review? This time, however, we’ll take a rather different spin and highlight one aspect that really does make the Surface Go a “real PC”: being able to install other operating systems like Linux. And in that regard, it is near perfect as an on-the-go Linux digital notepad.
Specs and Design
I won’t bore you with the details you’ve most likely read before. The Surface Go is by no means a powerful machine. If pure performance is measured, it could very well be outranked by last year’s iPad Pros, especially when it comes to battery life. But just to recap, Microsoft’s smallest Surface runs on a “special” Intel Pentium Gold 4415Y. The 10-inch screen still bears Microsoft’s unique 3:2 ratio, this time at 1800×1200 pixels. The battery is rated at 27Wh and charges either via Microsoft’s usual proprietary Surface Connect or, surprise surprise, a lone USB-C port that does both power, data, and video out.
One point of contention with earlier Surface Go reviews was the fact that most of them reviewed the more expensive model with 8 GB of RAM and 128 GB of SSD, which is also what I bought. While that may almost be a necessity when it comes to Windows 10, especially after breaking out of S Mode, it may be a minor consideration if you have Linux in mind right from the very start. Linux is more efficient with both RAM and storage, though the 64 GB eMMC type on the base model could be a bottleneck. If, however, you plan on dual booting Windows and Linux, at least get the third model with 4 GB of RAM and 128 GB of SSD storage.

The Surface Go is definitely a looker for its size and bears the same design as its larger and more professional siblings. The sleek magnesium chassis makes it look pro even for its diminutive size while the slightly curved edges and lightweight construction make it comfortable to hold with one hand over longer periods. Not too long, though, because it’s still 1.1 lbs of metal and plastic. All the ports, which includes a headphone jack, are on the right side while the opposite edge is left barren to make room for magnetically sticking a Surface Pen to. The top has the power and volume rocker buttons along the plastic antenna area while the bottom has the groove and POGO pins for the Surface Go Type Cover. Both accessories are sold separately, of course.
Living side by side
It’s quite impressive and comforting how Linux has come a long way in supporting even new devices that have just come out of the market. Perhaps it helps that many of the components that Microsoft used in the Surface Go have also been used in other Surface Pros, which have already been tested by daring Linux users.

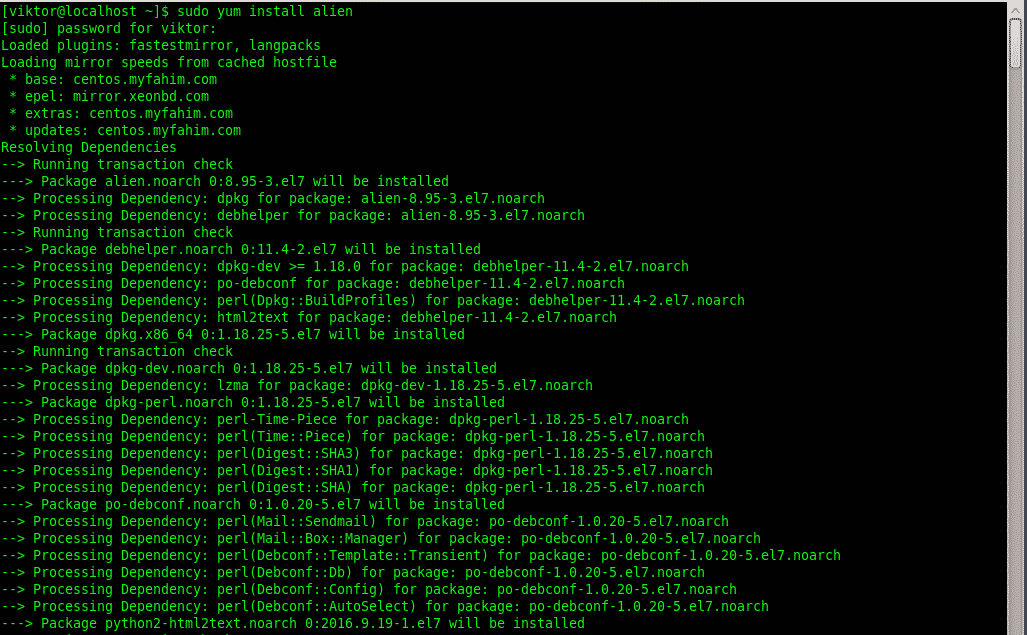
As such, it fortunately didn’t take much to get Linux cohabiting with Windows 10 on the same machine. It may or may not be easier to have simply wiped off Microsoft’s OS but I still had use for that. On the Windows side, the biggest step was to disable BitLocker encryption on the C: drive (if it was even enabled) and then shrinking the Windows partition to make room for Linux plus 8 GB or so of swap. As mentioned, Linux isn’t much of a memory hog and non-critical system files can be offloaded to a microSD card anyway. Linux distros have also come a long way in making sure their installers work with modern features like UEFI and Secure Boot so the process was thankfully straightforward and uneventful.
It’s almost surprising, pleasantly, of course, how many things worked properly right out of the box. Wi-Fi needed a bit of coaxing but that is fortunately already documented. Bluetooth was working from day one. Display, touch, and even the Surface Pen’s pressure sensitivity and buttons worked without a hitch. The Type Cover’s touch pad was also properly detected and supported multi-finger gestures. Even power management was off to a good start. Accelerometer and proximity sensors are also detected, though their use mostly depends on your distro and desktop environment of choice. In this case, I used the Ubuntu-based KDE Neon. Long story short, save for a few pieces we’ll get to later, the Surface Go Linux experience is almost painless, as if you were installing it on any other modern laptop.

Performance and Battery
Installing Linux on the Surface Go would have been an exercise in futility if it ended up being unusable. Then again, this piece probably wouldn’t have been written in the first place if that were the case. While it’s harder to benchmark Linux performance due to lack of popular tools and the combinations off distros and desktops, one can probably make a generalization and rate it as “Great!”.
The display is bright and crisp. It’s considered a High DPI screen, though, so you may have to adjust the resolution or zooming to your comfort levels. Touch is completely usable and may even be fun to use, provided you’re using software that support it. Linux users might have to workaround those, but there is no shortage of utilities and tools for those. Onboard, for example, makes for a great configurable virtual keyboard while Touchegg on Ubuntu lets you have some multi-finger touch screen gestures as well.

Performance, of course, varies depending on the software you use. Again, Linux and its programs are kinder to CPU and memory but there will be times that even the 8 GB RAM might cause the system to choke for a bit. That’s especially true when you have multiple tabs open in Chrome or having multiple hi-res layers in Krita. Compiling in the background with multiple programs often could also result in some noticeable lag but nothing I threw at it has caused the Surface Go to grind to a halt. Yes, you can even play games on it, including those found on Steam for Linux. Your concern, however, will be the middling Intel GPU and throttling due to heat.
Battery life is another one of those metrics that is hard to pin down. Microsoft advertises 9 hours but none of the reviewers reached that much. They consider themselves lucky if they reach 6 hours. On Linux, 7 hours average is normal and might even be on the low end. The Surface Go makes up for its disappointing longevity with its ability to be topped off with a power bank. That said, not any power bank would do. One that has USB-C Power Deliver and dishes out 30 to 40 watts is probably the best. A slim 18W would be the bare minimum but, depending on what you’re doing, it could be a slow trickle or even a slow discharge.

Almost Perfect
Unsurprisingly, not everything works, or at least not yet. Neither camera is detected, for one, and while that saves you from being ridiculed taking photos with a large slab, it does leave out video chats and conferences. Audio is also a bit on the soft side though the mic does work at least. The biggest problem at the moment, however, is that the Surface Go boots directly into Windows, no matter how you installed Linux properly. You have to boot into Advanced Restart options after booting into Windows to get it to boot into GRUB. Or probably don’t reboot at all since Suspend works just fine.

So why go through all that to install Linux? It isn’t a matter of “because you can”, though there’s definitely some bragging rights involved. The Surface Go is actually an impressive piece of tech and is probably the lightest, best-looking, and well-performing Linux tablet you’ll be able to get your hands on. Save for a tablet that’s been made and designed to run Linux from that start, of course.

There is no shortage of small-form Linux computers out there, from Planet Computing’s Gemini PDA to the GPD Pocket “palm top” to the quirky stylus-enabled One Mix Yoga. But when it comes to an eye and finger-friendly general purpose Linux tablet that you can do almost anything on, within reason and limitations, the Surface Go seems to have, rather ironically, come closest to being the Linux iPad Pro. Now that is a real computer.
Source


 Midori browser is available in Ubuntu Software Center


 For a full list of BASHing data blog posts, see the


