By Jack M. Germain
Aug 2, 2018 10:27 AM PT


The latest release of the
ExTiX Linux distro is a major disappointment.
ExTiX 18.7 has several shortcomings that make it troublesome to use. The flaws easily might be fixed in a patched follow-up release. Still, to a new Linux user, the problems inherent in ExTiX 18.7 give the Linux OS in general a black eye.
New releases of any software platform never come with guarantees. Sometimes, an earlier release works almost flawlessly while its upgrade down the line fails to impress. That was my experience revisiting the ExTix distro.
Despite this down slide, the developers can bounce back. The ExTiX distro offers adopters some features not readily available in other Linux distros.
Last month’s release is built around the LXQt 0.12.0 desktop and is based on Debian 9 Stretch and Ubuntu 18.04 Bionic Beaver. This relatively new desktop environment is the product of merging the LXDE-Qt and the Razor-qt projects.
LXQt is an apt replacement of LXDE, the Lightweight X11 Desktop Environment. The more modern Qt tools bring some freshness to LXDE while shifting the emphasis away from running well on more minimal (as in older) hardware.
Meshing traditional LXDE functionality with the added tweaks from Razor-QT is a big step in a better direction for this lightweight desktop environment. Even this latest ExTiX release, despite its troubles, teases the kind of modern lightweight, modular, fast and user-friendly desktop environment that the distro offers.
Development Trails
Developer Arne Exton created ExTiX and dubbed it “the ultimate Linux system.” It is an offshoot of
Exton Linux/Live Systems, a collection of 16 related Exton Linux distributions hosted by the Swedish Linux Society.
Earlier ExTiX releases offered a variety of desktops, including Budgie, Deepin, KDE and LXQt. So far, only one flavor is available in the 18.7 release.
Both the Exton and ExTiX OSes are linked to download ports on SourceForge.net. The Exton OS and ExTiX Linux distros all seem related to the common Debian and Ubuntu bases.
Both divisions use a combination of the Calamares installer and Refracta tools. The combination enables users to select their own unique assortment of software and desktop settings for burning to a USB stick or DVD live session.
The ExTiX distro uses the Calamares installer to provide simpler options with a more user-friendly interface.
Fatal Attraction
I last
reviewed ExTiX in 2015 after the developer yanked out GNOME and replaced it with the then-brand-new LXQt desktop. I liked the performance of the next generation of the popular LXDE desktop. It was a stable desktop environment usable on production desktop machines, unlike the latest version of ExTiX.
The release notes for ExTiX 18.7 caught my attention. The description of its features suggested an attractive developmental progress that drew me in.
One of the best features promised the ability to run this OS from a hybrid ISO installation to an encrypted USB stick. In addition, you then could get more speed by transferring the system to RAM.
Even better, you could run it from a USB installation in two ways. The built-in persistence would let you save all your system changes on the stick. Or you could run it as a glorified live session with no persistence.
Less Desirable Approach
The RAM installation option provides a lightning fast performance limited only by the amount of onboard memory. Other Linux distros — Puppy Linux for one — pioneered the concept of putting Linux on a stick. This lets you carry all of your applications and files to run on any computer without leaving a trace of your presence behind.
ExTix sort of reinvents that wheel. Unlike other “portable Linux” systems, you can install the ExTiX on the hard drive fully without using so-called frugal installation tricks. When it works, you get a fully functional Linux distro installation.
*When* is the key qualifier in this description. Keep reading to find out the sorted problems that got in my way evaluating this release.
With ExTiX you have more options for DVD and USB installations. You also get a simpler and more flexible user interface with more control over system settings.
ExTix provides two installation options. One is a simple method that transfers the DVD files to the USB stick. The USB connection is faster than the DVD bus. You do not get persistence with this method, however, so you cannot save system settings or new software installations.
For it to work, you either must install Grub or edit the existing Grub configuration file on the host computer into which you will insert the live USB stick. This eliminates the ability to have a pocket distro that you can plug into any computer.
Of course, you can burn a snapshot of your installation to a DVD or USB drive and run it that way on any computer, much like a live session, with or without persistence.
Two ExTix distro advantages are the improved LXQt desktop over LXDE, and the specialized tools for installing ExTiX to a DVD or USB to run a complete Linux system with or without persistence.
First Impressions
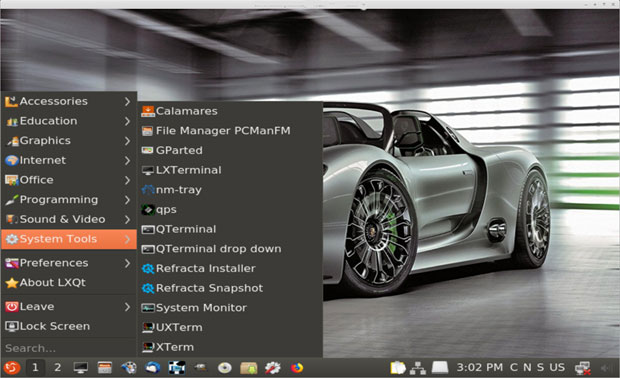
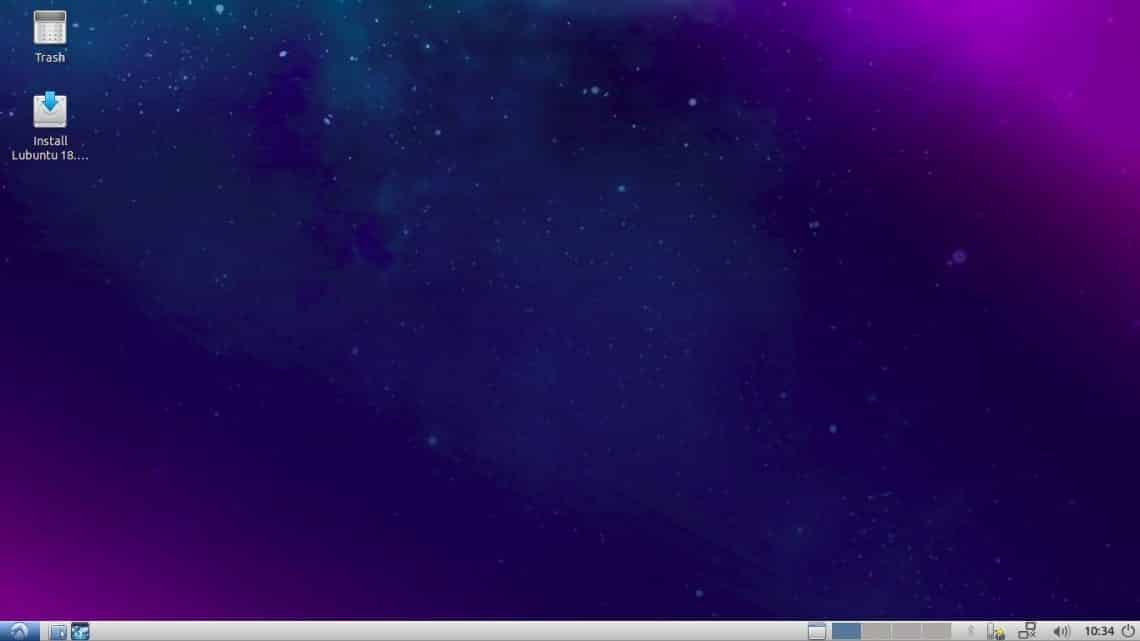
Unlike most live-session DVDs, ExTiX does not have an install launcher on the desktop screen. Instead, you must run Calamares from the System Tools menu. The developers replaced Ubuntu’s installer, Ubiquity.
If your plan is to create a USB or DVD installation, use one of the two Refracta tools, not Calamares, for the installation. You will find them further down the list in the System Tools menu.
Refracta Snapshot lets you create a live installable snapshot of your system. It creates a bootable image that you can burn to CD or DVD. It stores the image in /home/snapshot. The Refracta Installer is the tool for installing an already-created live CD/DVD to your system.
I like that the live session login is automatic. You do not have to supply a password. It is easy to run the live session in system RAM without having to type special commands in an edit window when the DVD initially loads. Just select boot alternative four (Load to RAM). Your system will need at least 2 GB of RAM for this to work.
You can remove the DVD or USB stick once the system loads. This makes it convenient to access your documents while running in Live session without creating persistence. I also like that the developer patched kernel 4.18.0-rc5-extix. This makes it work with Nvidia’s proprietary graphics driver.
The background images are few and boring — that is, unless you like different views and colors of Porsches.
The login screen is weird. It asks for the username in the first window. Then a second window appears without any label. That is where you enter a password.
Failed User Experience
I was very disappointed with the sluggish, broken performance of the ExTiX 18.7 release. It was anything but an ultimate Linux experience. The OS could not get out of its own way sometimes.
I installed this release on four computers. I also installed it to a USB drive and virtual machines on two computers. I ran ExTiX 18.7 booted from live session DVD burned from its ISO made from two separate downloads.
The problems I encountered in one instance occurred in other instances as well. The best speed came from running ExTiX in RAM on a computer with 8 GB.
The difficulties I encountered should happen only in a new alpha or beta release. Among them were sluggish menus, applications that locked up, applications that failed to load, and difficulty connecting to the Internet.
Breakdown Rundown
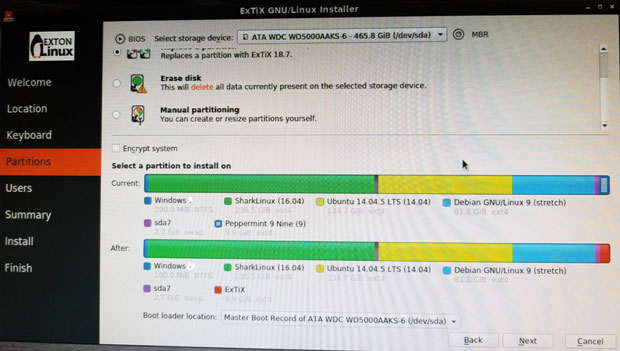
The problems began with my initial installation efforts. Things cascaded from there. Here is a rundown of my installation woes.
The process took 15 minutes to reach 25 percent transfer to the hard drive. Then the process continued to drag on slowly. The installation ultimately failed, according to a screen report at the end of the installation process, due to an error in updating or reinstalling grub. That error repeated on every installation I attempted.
That left the system unable to boot. On several of the computers dealing with the installation, I had a working dual boot configuration. So ExTiX did not load, and the other partitions also were inaccessible.
A few minutes of tinkering with a Boot-Repair-Disk DVD found and fixed the problem. All seemed well when I once again rebooted the computer. I installed ExTIX on a different computer. This time the same problem occurred with the error message regarding a failed Grub installation.
Again, I used the Repair-Boot-Disk to fix that issue. However, that application did not solve the boot problem. No boot manager was installed. So I tried a second boot repair application to no avail.
Scenario Unfolds
Nothing I tried resolved the missing Grub Manager error until I installed another Linux distro to the ExTiX partition on the hard drive. I recently had completed a review of Peppermint Linux without incident, so I installed that distro to replace ExTiX on the second computer. That process supplied the boot manager, and all was well with accessing the second computer.
At that point, it was clear that a problem seemed to exist with the ExTiX ISO. Or maybe it was an error in the process of creating the ISO from the downloaded package. So I got a fresh download and burned a new ISO to DVD. Nothing changed.
I used the ISO file to create a virtual machine. That process worked as a live session. Then I took the next logical step. I installed ExTiX to a VM rather than run it as a live session from the ISO. That actually worked without major glitches.
Yet some of the other troubles detailed above replicated in the VM. Just as with the other installation attempts, the Network Manager was not connected. Some distros balk at making wireless connections if the hardware is not supported, but the network cable should be an automatic connection.
On a few of the computers, I was able to get the Network Manager to work by re-entering the existing settings. That did not work in other cases. Even when the network connection failed, on some of the computers the wireless connection functioned. Go figure!
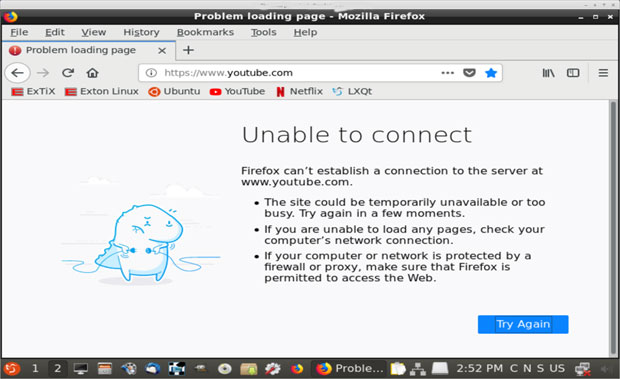
One of the nagging problems with this ExTiX release is the troubled Network Manager, which either cannot connect to a hard-wired Internet connection or keep the connection stable.
Update Hell
Adding and removing software is handled through the Synaptic Package Manager in ExTiX. Guess what? That application refused to load in every installation except on VMs.
I assumed it had something to do with the error message about the initial installation. So I redid the installation. No dice.
The Synaptic application was in the main menu. The files were where they should have been in the correct system directory. The package manager refused to load except when ExTiX ran in a VM.
In this extreme case, I tried to work around the problem by jockeying .deb files for must-have installations such as Dropbox. That is when I discovered that the GDebi package installer is not included in ExTiX by default. I had to resort to terminal commands for manual installation.
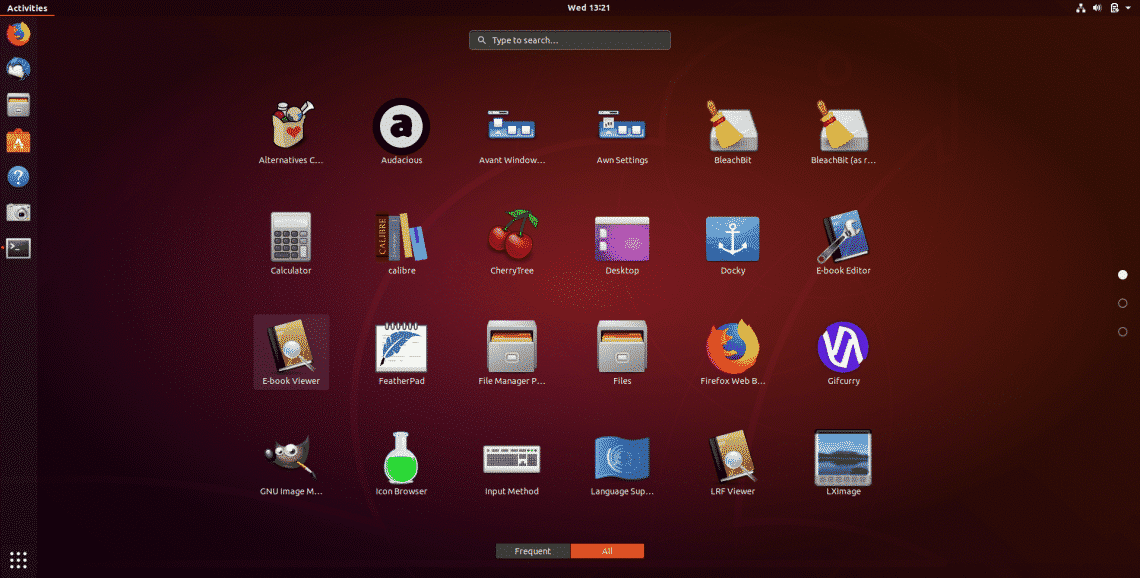
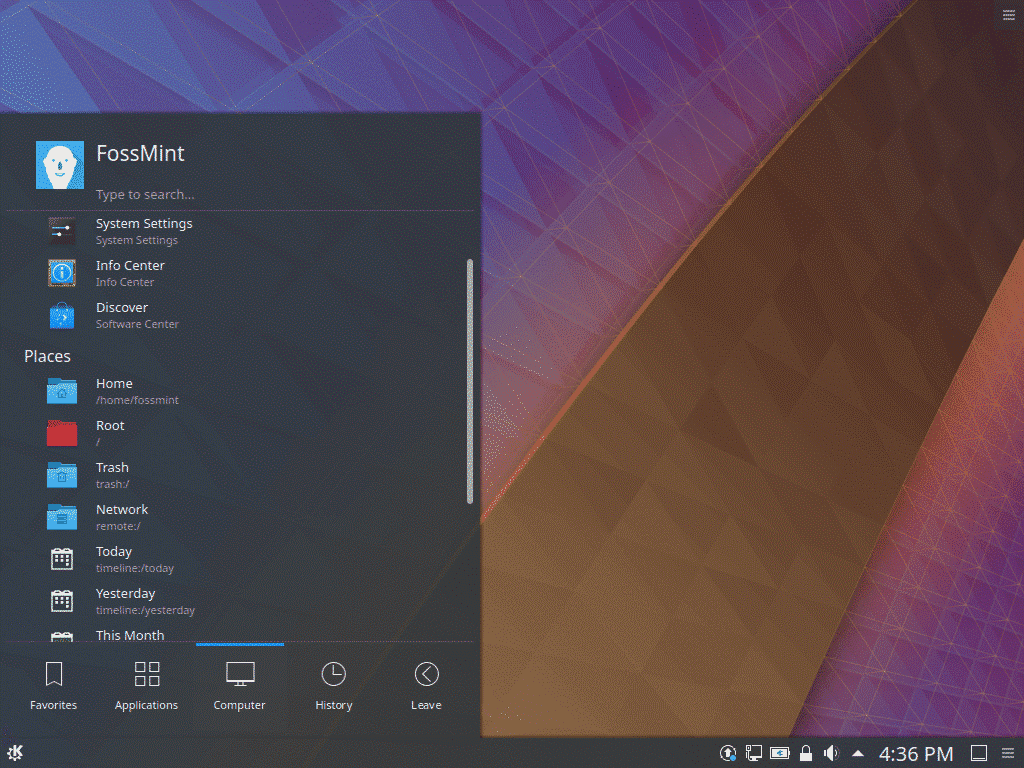
Desktop View
The desktop looks neat and clean. It has the look and feel of the LXDE desktop. The real improvements with the LXQt environment are under its hood. These include better-organized menus, more settings options, and more flexibility with configurations. Out of the box, LXQt is ready to go.
The desktop is devoid of icons. You cannot place launchers there by right-clicking an application in the main menu. You can right-click on the desktop to pop up a context menu with limited options.
A panel bar stretches across the bottom of the screen. It is preconfigured with a workplace switcher applet and two virtual workspaces.
Bottom Line
The ExTiX 18.7 release was a disappointment. Given the maturity and variety of the previous Linux distros maintained by the Exton OS and ExTiX developer, I can only conclude that the problems I encountered were an anomaly. No doubt, a fix is in the works.
I hope so. ExTiX and the LXQt desktop have much to offer. This latest release comes with Firefox instead of Google Chrome as the Web Browser. This makes it possible to watch Netflix movies in Firefox while running Linux.
Among many other programs included are LibreOffice, Thunderbird, GParted, Brasero, SMPlayer, Gimp, Flash and win32 codecs. In addition, Java and all necessary additions are supplied to let you install programs from source.
Want to Suggest a Review?
Is there a Linux software application or distro you’d like to suggest for review? Something you love or would like to get to know?
Please
email your ideas to me, and I’ll consider them for a future Linux Picks and Pans column.
And use the Reader Comments feature below to provide your input!

 Jack M. Germain has been an ECT News Network reporter since 2003. His main areas of focus are enterprise IT, Linux and open source technologies. He has written numerous reviews of Linux distros and other open source software.
Email Jack.
Source


 CTI announced two carrier boards for the Nvidia’s AI/robotics focused Jetson AGX Xavier module: a compact Rogue carrier and a Mimic Adapter that plugs the Xavier into any CTI Jetson TX2/TX2i/TX1 carrier.


