SSH or Secure Shell in simple terms is a way by which a person can remotely access another user on other system but only in command line i.e. non-GUI mode. In more technical terms, when we ssh on to other user on some other system and run commands on that machine, it actually creates a pseudo-terminal and attaches it to the login shell of the user logged in.
5 Ways to Keep SSH Sessions Running After Disconnection
When we log out of the session or the session times out after being idle for quite some time, the SIGHUP signal is send to the pseudo-terminal and all the jobs that have been run on that terminal, even the jobs that have their parent jobs being initiated on the pseudo-terminal are also sent the SIGHUP signal and are forced to terminate.
Don’t Miss: 5 Useful Practices to Keep SSH Server Secure and Protected
Only the jobs that have been configured to ignore this signal are the ones that survive the session termination. On Linux systems, we can have many ways to make these jobs running on the remote server or any machine even after user logout and session termination.
Understand Processes on Linux
Normal Process
Normal processes are those which have life span of a session. They are started during the session as foreground processes and end up in certain time span or when the session gets logged out. These processes have their owner as any of the valid user of the system, including root.
Orphan Process
Orphan processes are those which initially had a parent which created the process but after some time, the parent process unintentionally died or crashed, making init to be the parent of that process. Such processes have init as their immediate parent which waits on these processes until they die or end up.
Daemon Process
These are some intentionally orphaned processes, such processes which are intentionally left running on the system are termed as daemon or intentionally orphaned processes. They are usually long-running processes which are once initiated and then detached from any controlling terminal so that they can run in background till they do not get completed, or end up throwing an error. Parent of such processes intentionally dies making child execute in background.
Techniques to Keep SSH Session Running After Disconnection
There can be various ways to leave ssh sessions running after disconnection as described below:
1. Using screen Command to Keep SSH Sessions Running
screen is a text Window Manager for Linux which allows user to manage multiple terminal sessions at same time, switching between sessions, session logging for the running sessions on screen, and even resuming the session at any time we desire without worrying about the session being logged out or terminal being closed.
screen sessions can be started and then detached from the controlling terminal leaving them running in background and then be resumed at any time and even at any place. Just you need to start your session on the screen and when you want, detach it from pseudo-terminal (or the controlling terminal) and logout. When you feel, you can re-login and resume the session.
Starting a screen Session
After typing ‘screen’ command, you will be in a new screen session, within this session you can create new windows, traverse between windows, lock the screen, and do many more stuff which you can do on a normal terminal.
$ screen
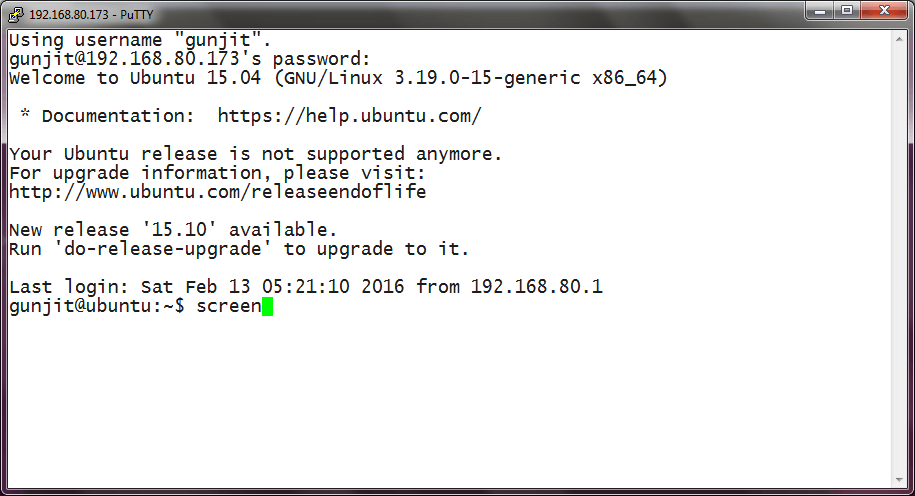
Starting Screen Session in Linux
Once screen session started, you can run any command and keep the session running by detaching the session.
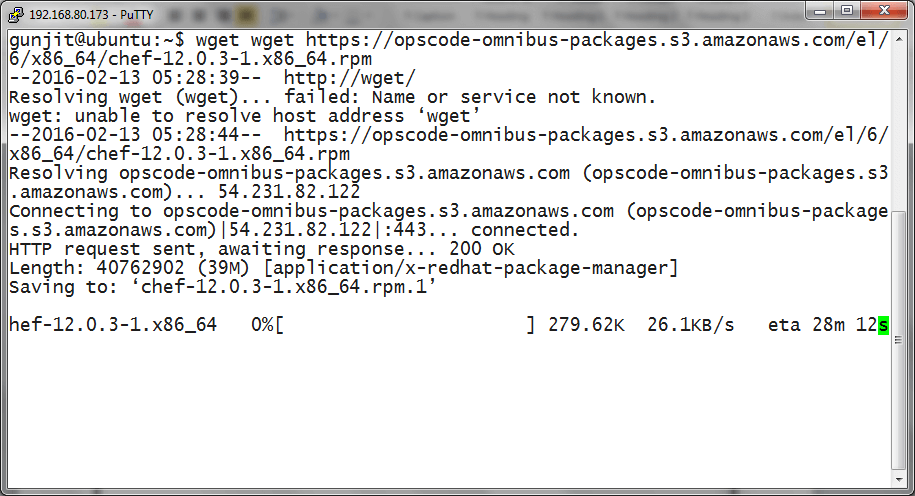
Run Commands in Screen Session
Detaching a Screen
Just when you want to log out of the remote session, but you want to keep the session you created on that machine alive, then just what you need to do is detach the screen from the terminal so that it has no controlling terminal left. After doing this, you can safely logout.
To detach a screen from the remote terminal, just press “Ctrl+a” immediately followed by “d” and you will be back to the terminal seeing the message that the Screen is detached. Now you can safely logout and your session will be left alive.

Detaching Linux Screen Session
Resuming Detached Screen Session
If you want to Resume a detached screen session which you left before logging out, just re-login to remote terminal again and type “screen -r” in case if only one screen is opened, and if multiple screen sessions are opened run “screen -r <pid.tty.host>”.
$ screen -r
$ screen -r <pid.tty.host>
Resume Detached Screen Session
To Learn more about screen command and how to use it just follow the link: Use screen Command to Manage Linux Terminal Sessions
2. Using Tmux (Terminal Multiplexer) to Keep SSH Sessions Running
Tmux is another software which is created to be a replacement for screen. It has most of the capabilities of screen, with few additional capabilities which make it more powerful than screen.
It allows, apart from all options offered by screen, splitting panes horizontally or vertically between multiple windows, resizing window panes, session activity monitoring, scripting using command line mode etc. Due to these features of tmux, it has been enjoying wide adoption by nearly all Unix distributions and even it has been included in the base system of OpenBSD.
Start a Tmux Session
After doing ssh on the remote host and typing tmux, you will enter into a new session with a new window opening in front of you, wherein you can do anything you do on a normal terminal.
$ tmux
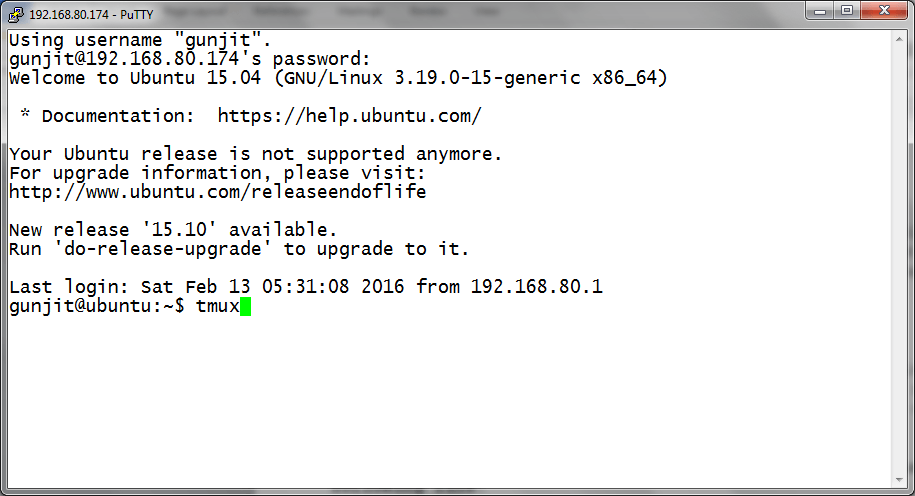
Start tmux Terminal Session
After performing your operations on the terminal, you can detach that session from the controlling terminal so that it goes into background and you can safely logout.
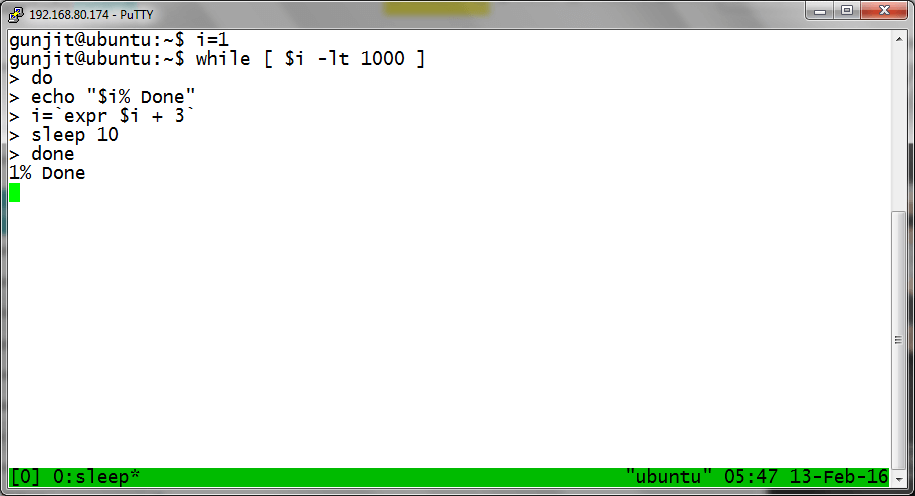
Perform Linux Commands in Tmux Session
Detach Tmux Session from Terminal
Either you can run “tmux detach” on running tmux session or you can use the shortcut (Ctrl+b then d). After this your current session will be detached and you will come back to your terminal from where you can log out safely.
$ tmux detach

Detach Tmux Session in Linux
Resuming the Closed Tmux Session
To re-open the session which you detached and left as is when you logged out of the system, just re-login to the remote machine and type “tmux attach” to reattach to the closed session and it will be still be there and running.
$ tmux attach
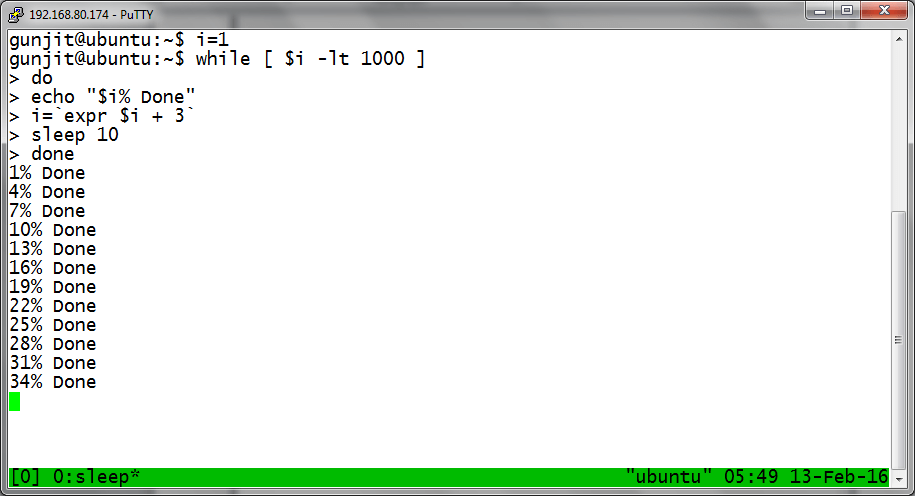
Resume Tmux Closed Session
To Learn more about tmux and how to use it just follow the link: Use Tmux Terminal Multiplexer to Manage Multiple Linux Terminals.
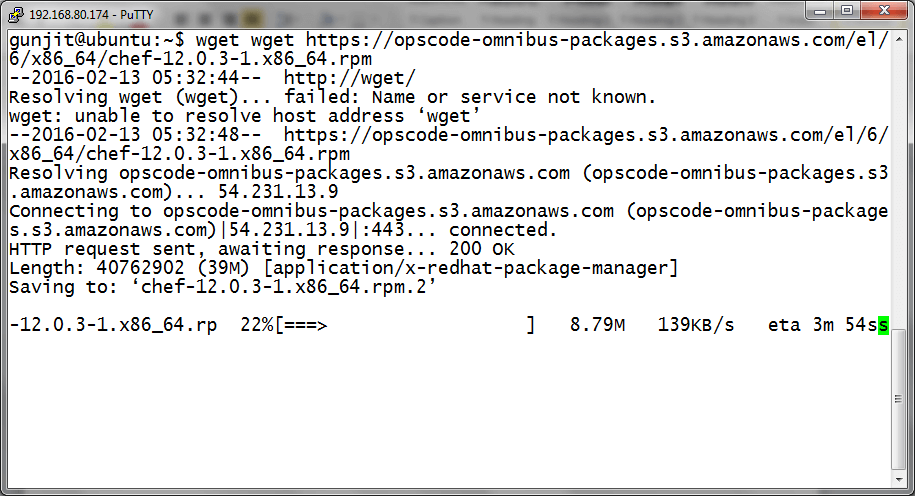
3. Using nohup command to Keep Running SSH Sessions
If you are not that familiar with screen or tmux, you can use nohup and send your long running command to background so that you can continue while the command will keep on executing in background. After that you can safely log out.
With nohup command we tell the process to ignore the SIGHUP signal which is sent by ssh session on termination, thus making the command persist even after session logout. On session logout the command is detched from controlling terminal and keeps on running in background as daemon process.
Executing command using nohup in background
Here, is a simple scenario wherein, we have run find command to search for files in background on ssh session using nohup, after which the task was sent to background with prompt returning immediately giving PID and job ID of the process ([JOBID] PID).
# nohup find / -type f $gt; files_in_system.out 2>1 &
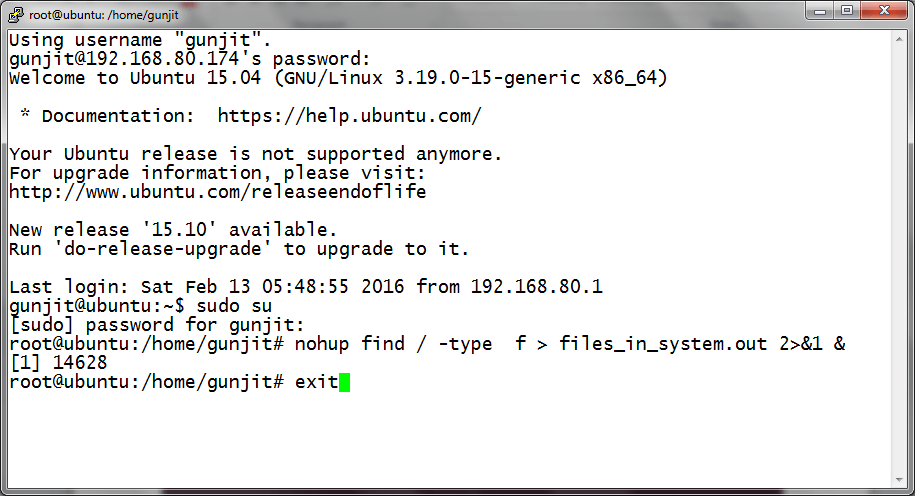
Run Linux Command in Background
Resuming the session to view if job is still running
When you re-login again, you can check the status of command, bring it back to foreground using 'fg %JOBID' to monitor its progress and so on. Below, the output shows that the job was completed as it doesn’t show on re-login, and has given the output which is displayed.
# fg %JOBID
Run Linux Command in Background
4. Using disown Command to Keep SSH Sessions Running
Another elegant way of letting your command or a single task run in background and remain alive even after session logout or disconnection is by using disown.
Disown, removes the job from the process job list of the system, so the process is shielded from being killed during session disconnection as it won’t receive SIGHUP by the shell when you logout.
Disadvantage of this method is that, it should be used only for the jobs that do not need any input from the stdinand neither need to write to stdout, unless you specifically redirect jobs input and output, because when job will try to interact with stdin or stdout, it will halt.
Executing command using disown in background
Below, we sent ping command to background so that ut keeps on running and gets removed from job list. As seen, the job was first suspended, after which it was still in the job list as Process ID: 15368.
$ ping tecmint.com > pingout &
$ jobs -l
$ diswon -h %1
$ ps -ef | grep ping
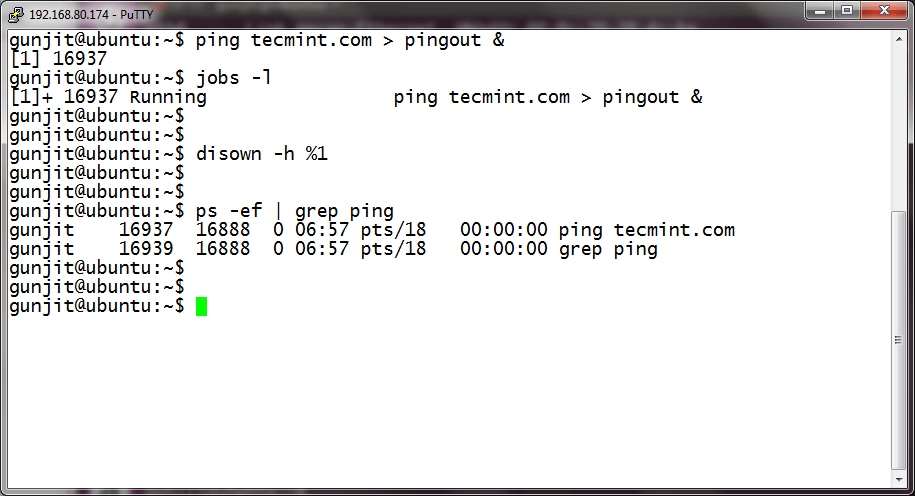
Run Linux Commands Using Disown
After that disown signal was passed to the job, and it was removed from job list, though was still running in background. The job would still be running when you would re-login to the remote server as seen below.
$ ps -ef | grep ping
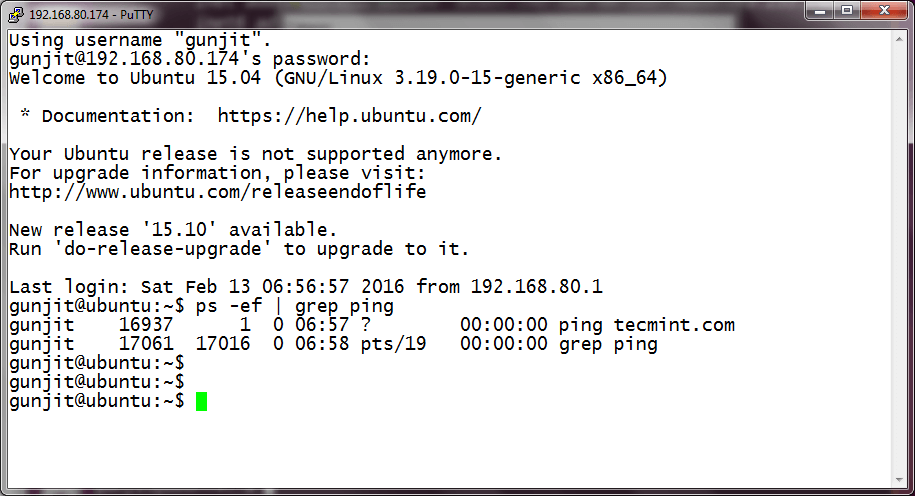
Verify Job Status
5. Using setsid Command to Put SSH Sessions Running
Another utility to achieve the required behavior is setsid. Nohup has a disadvantage in the sense that the process group of the process remains the same so the process running with nohup is vulnerable to any signal sent to the whole process group (like Ctrl + C).
setsid on other hand allocates a new process group to the process being executed and hence, the process created is totally in a newly allocated process group and can execute safely without fear of being killed even after session logout.
Execute any command using setsid
Here, it shows that the process ‘sleep 10m’ has been detached from the controlling terminal, since the time it has been created.
$ setsid sleep 10m
$ ps -ef | grep sleep

Run Linux Command Using Setsid
Now, when you would re-login the session, you will still find this process running.
$ ps -ef | grep [s]leep
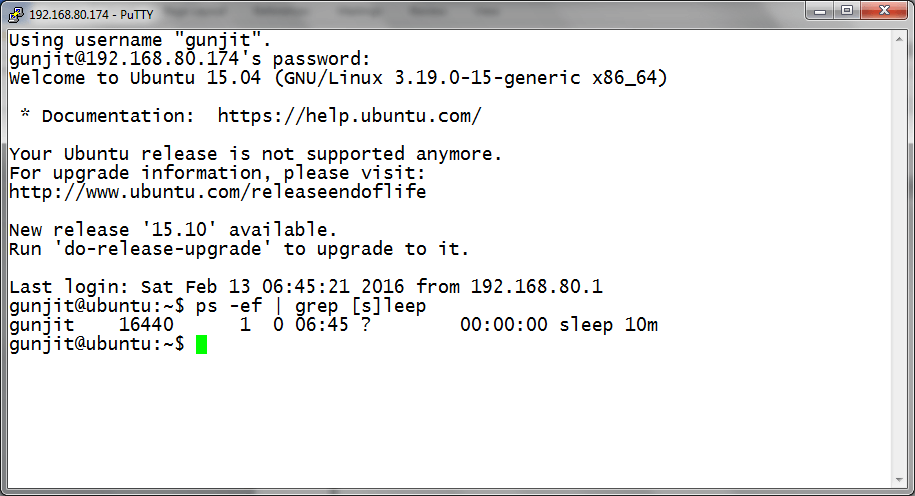
Linux Process Running Background
Conclusion
What ways you could think of to keep your process running even after you logout from SSH session? If there is any other and efficient way you can think of, do mention in your comments.
Source