Cloud by name indicates something which is very huge and present over a large area. Going by the name, in technical field, Cloud is something which is virtual and provides services to end users in form of storage, hosting of apps or virtualizing any physical space. Now a days, Cloud computing is used by small as well as large organizations for data storage or providing customers with its advantages which are listed above.
12 Free Open Source Cloud Storage Software’s
Mainly, three types of Services come associated with Cloud which are: SaaS (Software as a Service) for allowing users to access other publically available clouds of large organizations for storing their data like: gmail, PaaS(Platform as a Service) for hosting of apps or software on Others public cloud ex: Google App Engine which hosts apps of users, IaaS (Infrastructure as a Service) for virtualizing any physical machine and availing it to customers to make them get feel of a real machine.
Cloud Storage
Cloud Storage means storage of data away from users local system and across the span of dedicated servers which are meant for this. At its earliest, CompuServe in 1983 offered its customers 128k of disk space which could be used to store files. Whereas this field is under active development and will be because of potential threats including: loss of data or information, data hacking or masquerading and other attacks, many organizations have come forward with their own solutions to Cloud Storage and Data Privacy which is strengthening and stabilizing its future.
In this article, we will present some of selected contributions for this concern which are open source and successfully being accepted by huge masses and big organizations.
1. OwnCloud
A Dropbox replacement for Linux users, giving many functionalities which are similar to that of DropBox, ownCloud is a self-hosted file sync and share server.
Its open source functionality provides users with access to unlimited amount of storage space. Project started in January 2010 with aim to provide open source replacement for proprietary cloud storage service providers. It is written in PHP, JavaScript and available for Windows, Linux, OS X desktops and even successfully provides mobile clients for Android and iOS.
OwnCloud employs WebDav server for remote access and can integrate with large number of Databases including: SQLite, MariaDB, MySQL, Oracle Database, PostgreSQL.
Provides large number of features countable of which include: File storage and encryption, Music Streaming, content sharing across URL’s, Mozilla sync hosting and RSS/Atom feed reader, one-click app installation, Video and PDF viewer and many more.
The latest version of ownCloud i.e. 8.2 adds on other new features including: improved design, allows admin to notify users and set retention limits on files in the trash.
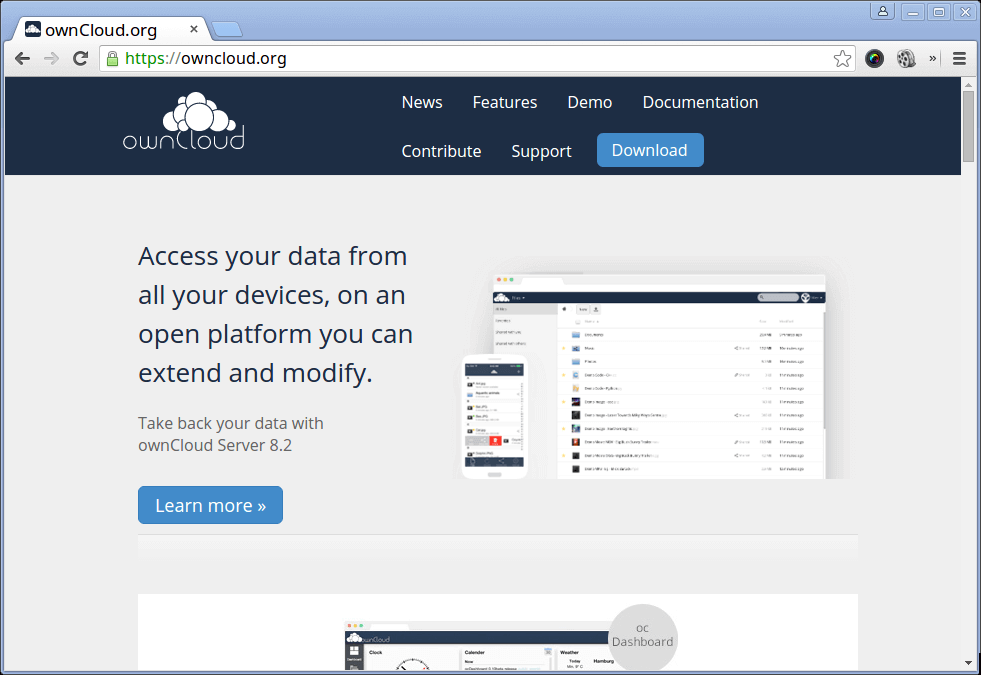
OwnCloud
Read More: Install OwnCloud 8 to Create Personal Cloud Storage in Linux
2. Seafile
Another file hosting software system which exploits open source property to avail its users with all advantages they expect from a good cloud storage software system. It is written in C, Python with latest stable release being 4.4.3 released on 15th October 2015.
Seafile provides desktop client for Windows, Linux, and OS X and mobile clients for Android, iOS and Windows Phone. Along with a community edition released under General Public License, it also has a professional edition released under commercial license which provides extra features not supported in community edition i.e. user logging and text search.
Since it got open sourced in July 2012, it started gaining international attention. Its main features are syncing and sharing with main focus on data safety. Other features of Seafile which have made it common in many universities like: University Mainz, University HU Berlin and University Strasbourg and also among other thousands of people worldwide are: online file editing, differential sync to minimize the bandwidth required, client-side encryption to secure client data.
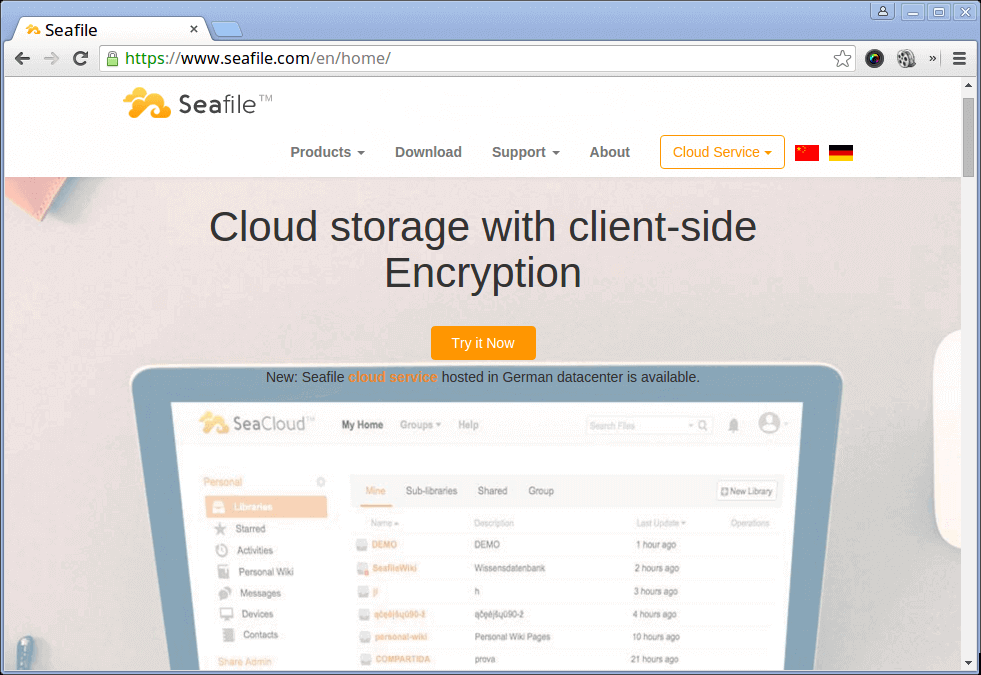
Seafile Cloud Storage
Read More: Install Seafile Secure Cloud Storage in Linux
3. Pydio
Earlier known by the name AjaXplorer, Pydio is a freeware aiming to provide file hosting, sharing and syncing. As a project it was initiated in 2009 by Charles du jeu and since 2010, it is on all NAS equipment’s supplied by LaCie.
Pydio is written in PHP and JavaScript and available for Windows, Mac OS and Linux and additionally for iOS and Android also. With nearly 500,000 downloads on Sourceforge, and acceptance by companies like Red Hat and Oracle, Pydio is one of the very popular Cloud Storage Software in the market.
In itself, Pydio is just a core which runs on a web server and can be accessed through any browser. Its integrated WebDAV interface makes it ideal for online file management and SSL/TLS encryption makes transmission channels encrypted securing the data and ensuring its privacy. Other features which come with this software are: text editor with syntax highlighting, audio and video playback, integration of Amazon, S3, FTP or MySQL Databases, image editor, file or folder sharing even through public URL’s.
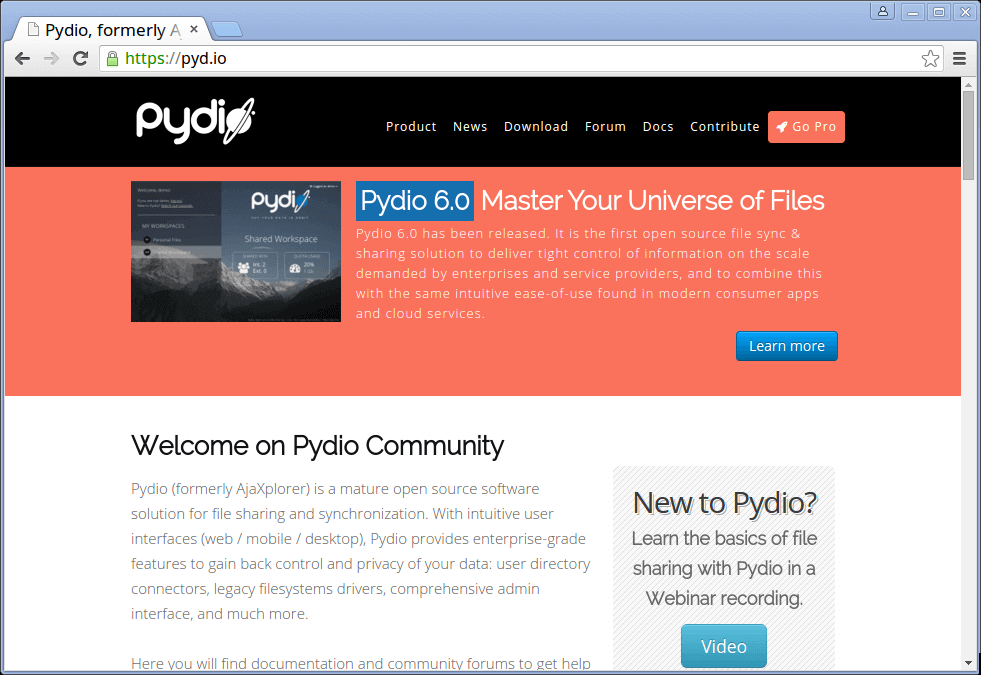
Pydio Cloud Storage
4. Ceph
Ceph was initially started by Sage Well for his doctoral dissertation, and in fall 2007 he continued on this project full time and expanded the development team. In April 2014 Red Hat brought its development in-house. Till now 8 releases of Ceph have been released latest being Hammer in April 7, 2015. Ceph is a distributed cluster written in C++ and Perl and highly scalable and freely available.
Data can be populated in Ceph as block device, a file or in form Object through RADOS gateway which can present support for Amazon S3 and Openstack Swift API’s. Apart from being secure in terms of data, Scalable and reliable, other features provided by Ceph are:
- network file system which aims for high performance and large data storage.
- compatibility to VM clients.
- allowance of partial/complete reads/ writes.
- object level mappings.
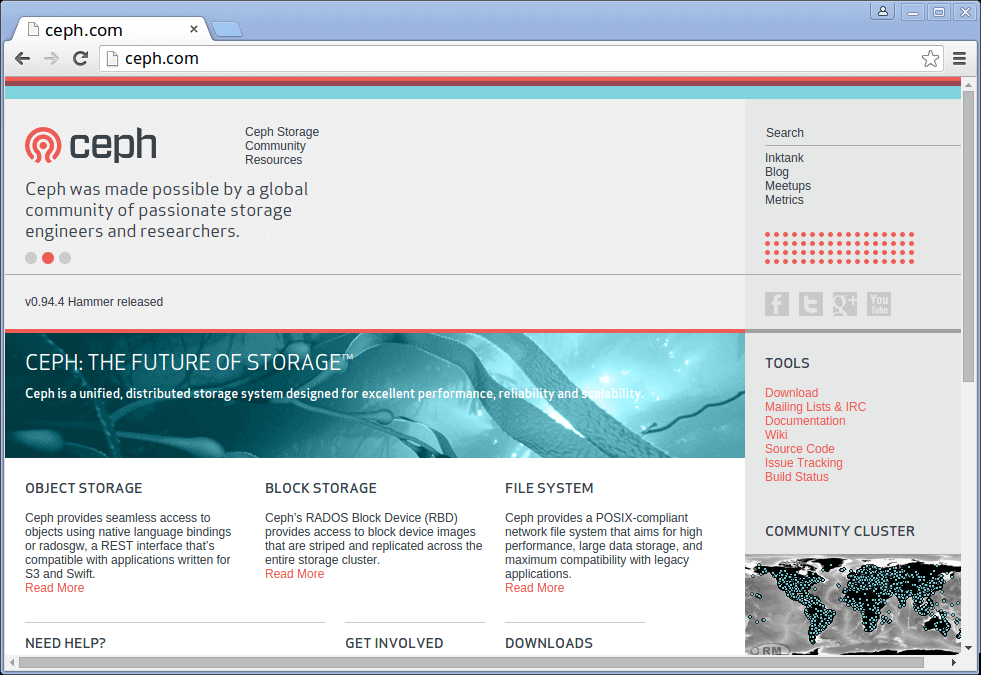
Ceph Storage
5. Syncany
Released in about an year ago in near March 2014, Syncany is one of the lightest and open source cloud storage and file sharing application. It is currently being actively developed by Philipp C. Heckel and as of today, is available as a command line tool for all supported platforms, but GUI version is under active development.
One of the most important feature about Syncany is that it is a tool and requires you to bring in your own storage, which can be FTP or SFTP storage, WebDAV or Samba Shares, Amazon S3 buckets etc.
Other features which make it an awesome tool to have are: 128-bit AES+Twofish/GCM encryption for all the data leaving the local machine, file sharing support with which you can share your files with your friends, offsite storage as chosen by user instead of provider-based storage, interval-based or on-demand backups, binary compatible file versioning, local deduplication of files. It can be more advantageous for companies who want to use their own storage space rather trusting some providers provided storage.
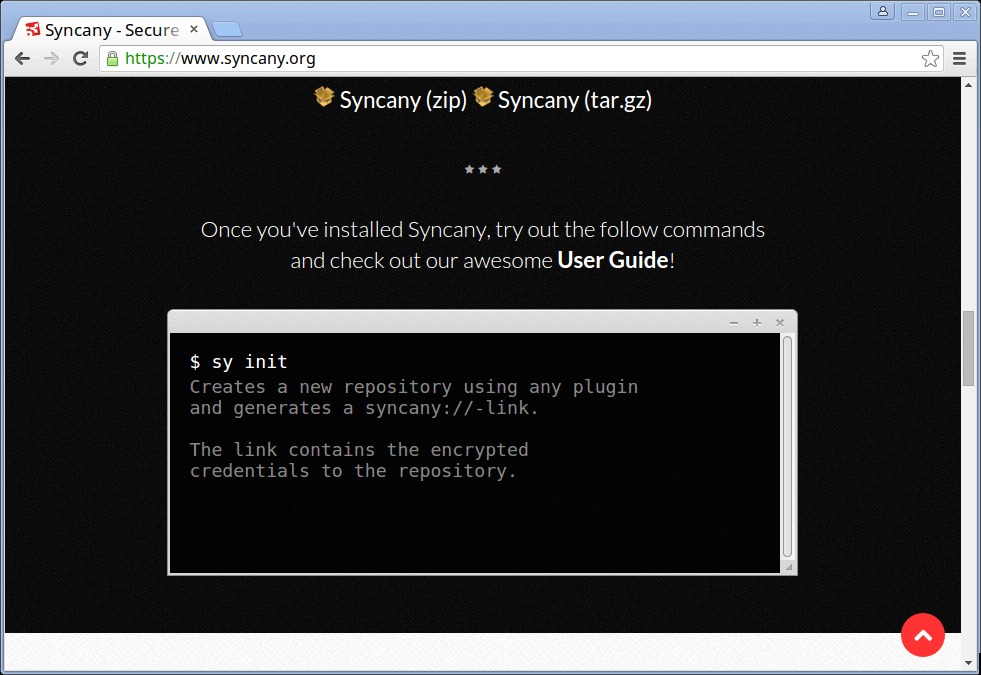
Syncany Cloud Storage
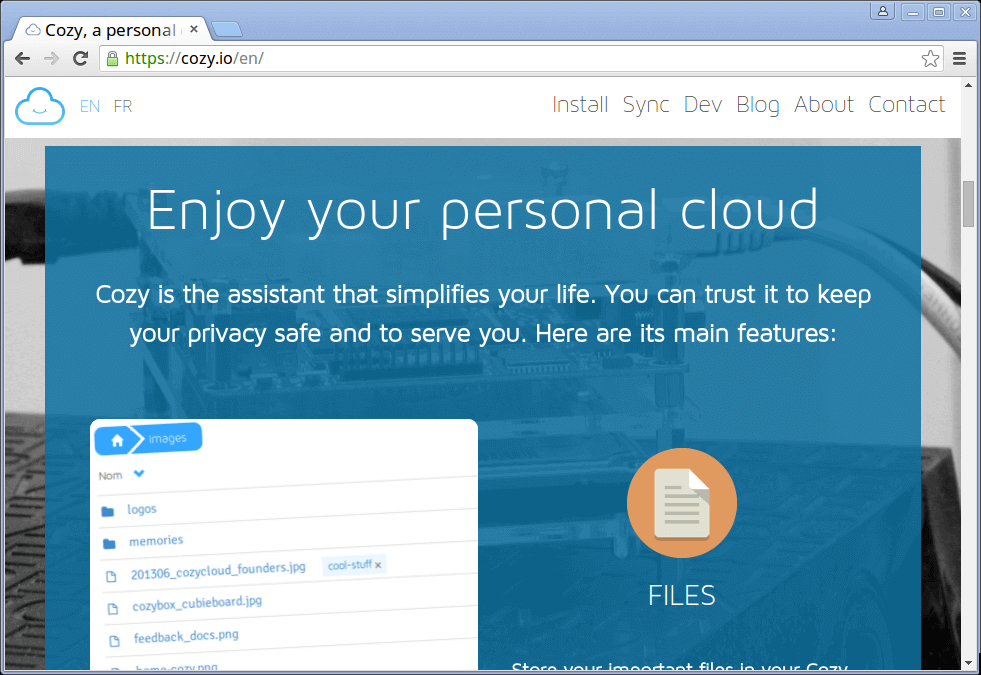
6. Cozy
Not just a file sharing or synchronization tool or software, Cozy is bundled as a complete package of functions that can help you build your complete App Engine.
Like Syncany, Cozy provides flexibility to user in terms of storage space. You can either use your own personal storage or trust Cozy team’s servers. It relies on some open source software’s for its complete functioning which are: CouchDB for Database storage and Whoosh for indexing. It is available for all platforms including smartphones.
Main features which make it a must to have Cloud storage software are: ability to store all the Contacts, Files, Calendar, etc in the Cloud and sync them between laptop and smartphone, provides ability to user to create his own apps and share them with other users by just sharing Git URL of the repository, hosting static websites or HTML5 video game consoles.
As a step further to provide its availability even for cheap hardware’s, Cozy team has introduced Cozy Light which performs well even on cheap hardware’s like: Rasberry Pi, small Digital Ocean VPS etc.
Cozy Cloud Storage
7. GlusterFS
GlusterFS is a network attached file storage system. Initially, started by Gluster Inc., this project is now under Red Hat Inc. After their purchase of Gluster Inc in 2011. Red Hat integrated Gluster FS with their Red Hat Storage Server changing its name to Red Hat Gluster Storage. It is available for platforms including Linux, OS X, NetBSd and OpenSolaris with some of its parts licensed under GPLv3 while others dual licensed under GPLv2. It has been used as a foundation for academic research.
GlusterFs uses a client-server model with servers being deployed as storage bricks. Client can connect to server with custom protocol over TCP/IP, Infiband or SDP and store files to the GlusterFs server. Various functionalities being employed by it over the files are: file-based mirroring and replication, file-based stripping, load balancing, scheduling and disk caching to name a few.
Other very useful feature of it is that it is flexible i.e. data here is stored on native file systems like: xfs, ext4 etc.
GlusterFS Storage
Read More: How to Install GlusterFS in Linux Systems
8. StackSync
StackSync is a Dropbox like tool running on top of OpenStack swift which is specially designed to tackle the needs of organizations to sync their data at one place. It us written in Java and released under GNU General public license v3.
Its framework is composed of three main components: a synchronization server, Openstack swift, desktop & mobile clients. While the server processes metadata and logic, Openstack is focused on storing the metadata while desktop and mobile clients help users sync their data to their personal cloud.
StackSync employs various data optimizations that allow it to scale to cater the needs of thousands of people with efficient use of cloud resources. Its other features are: provision of RESTful API as a Swift module which allows mobile apps and other third party applications to use it to sync data, separation between data and metadata which makes it flexible for deployment based on different configurations, provides both Public configuration which is useful for Public Cloud providers and Private configuration which solves the problems of big organizations aiming for a better cloud storage solution.
StackSync Cloud Storage
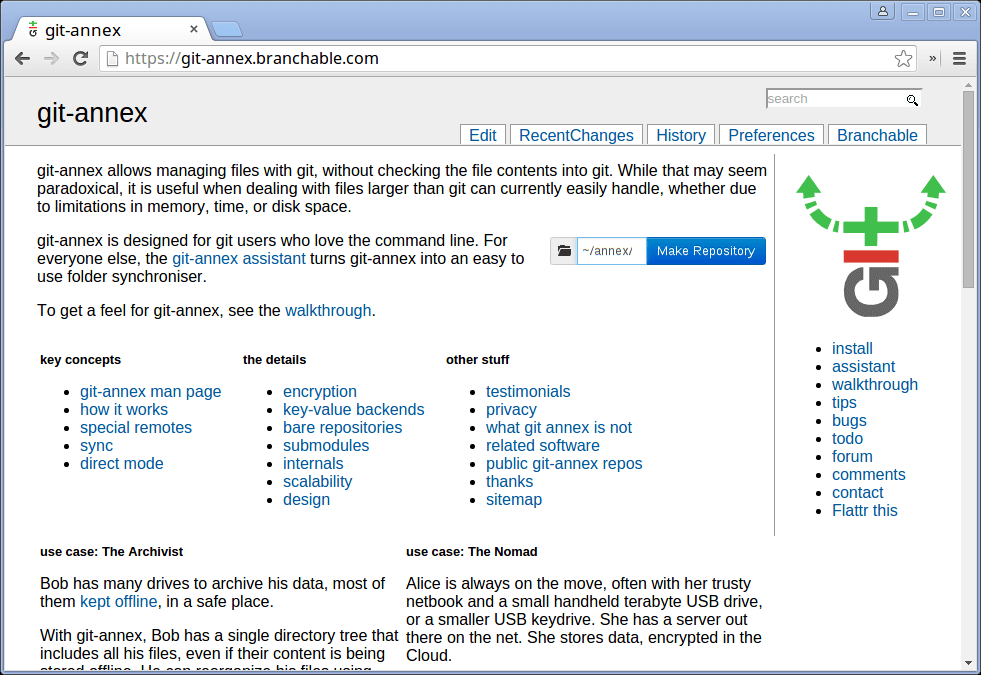
9. Git-annex
Git-annex is another file synchronization service developed by Joey Hess, released in October 2010 which also aims to solve file sharing and synchronization problems but independent of any commercial service or central server. It is written in Haskell and available for Linux, Android, OS X and Windows.
Git-annex manages the git repository of the user without storing the session into git again. But instead it stores only the linking to the file in the git repository and manages the files associated to the link at a separate place. It ensures the duplicacy of file which is needed in case recovery of lost information is required.
Further, it ensures availability of file data instantly as and when required which prevents files to present on each system. This reduces a lot of memory overhead. Notably, git-annex is available on various Linux distributions including: Fedora, Ubuntu, Debian etc.
Git-Annex
10. Yandex.Disk
Yandex.Disk is a cloud storage and synchronization service released in April 2012 and available on all major platforms including: Linux, Windows, OS X, Android, iOS and Windows Phone. It allows users to synchronize data between different devices and share it with others online.
Various features provided by Yandex.Disk to its users are: built-in flash player that lets people preview songs, sharing of files with others by sharing download links, synchronization of files between different devices of same user, unlimited storage, WebDAV support allowing easy management of files by any application supporting WebDAV protocol.
Yandex-Disk
11. Bitcasa
Developed by Bitcasa Inc. Which is a California Based company, Bitcasa is yet another solution for open source Cloud Storage and synchronization available for Windows, OS X, Android and Linux. Not directly an open source software, but it is still a part of Open Source community as it uses those software’s of which many are open sourced like: gcc/clang, libCurl, OpenSSL, APR, Rapid JSON etc.
With main features being file storage, access and sharing other features which make it popular among customers across more than 140 countries worldwide are: its convergent encryption protocol which is mostly safe but with less risks associated with it as reported by an article, provision of secure API’s and white label storage applications for OEM’s, network operators and software developers.
Bitcasa Storage
12. NAS4Free
NAS is acronym for ‘Network Attached Storage‘ and ‘4Free‘ indicates its free and open source nature. NAS4Free released under this name in March 2012. It is a network attached storage server software with a user interface written in PHP and released under Simplified BSD License. It supports platforms including i386/IA-32 and x86-64.
NAS4Free supports sharing across multiple Operating Systems. It also includes ZFS, disk encryption etc with protocols such as: Samba, CARP, Bridge, FTP, RSYNC, TFTP, NFS. Unlike other software’s, NAS4Free can be installed and operated from USB/ SSD Key, Hard Disk or can even be booted from LiveCD, LiveUSB with small USB key for config storage. NAS4Free has won awards including Project of month (August 2015) and Project of the week (May 2015).
NAS4Free Network Storage
Conclusion
These are some known Open Source Cloud storage and synchronization software’s which have either gained a lot of popularity over the years or have just been able to enter and make their mark in this industry with a long way to go. You can share any software that you or your organization might be using and we will be listing that with this list.
Source