In this tutorial we will install OpenShift in a container using a new tool called footloose by Weaveworks.
Footloose is a tool built by Weaveworks which builds and runs a container with systemd installed. It can be created in a similar way to a VM but without the overheads.
I wrote this tutorial because I wanted a light-weight environment for testing the OpenFaaS project on OpenShift Origin 3.10. An alternative distribution for testing is Minishift which also allows you to run OpenShift locally, but in a much more heavy-weight VM.
Install Footloose
You can use a Linux machine or MacOS host for this tutorial. ARM and Raspberry Pi are not supported.
- Install Footloose
Follow the instructions on the official website:
https://github.com/weaveworks/footloose
- Create a config
cluster:
  name: cluster
  privateKey: cluster-key
machines:
- count: 1
  spec:
    image: quay.io/footloose/centos7:0.3.0
    name: os%d
    privileged: true
    portMappings:
    - containerPort: 22
    - containerPort: 8443
      hostPort: 8443
    - containerPort: 53
      hostPort: 53
    - containerPort: 443
      hostPort: 443
    - containerPort: 80
      hostPort: 80
    volumes:
    - type: volume
      destination: /var/lib/docker
footloose.yaml
Note the additional ports 8443 and 53 used by OpenShift Origin and then 80 and 443 are bound for exposing your projects.
If you already have services bound to 80/443 then you can comment out these lines.
- Start the CentOS container
footloose create
- Start a root shell
footloose ssh root@os0
Configure Docker
- Install and start Docker
yum check-update
curl -fsSL https://get.docker.com/ | sh
Instructions from: docker.com
- Add an insecure registry
Find the subnet:
# ifconfig eth0
eth0: flags=4163<UP,BROADCAST,RUNNING,MULTICAST>  mtu 1500
        inet 172.17.0.2  netmask 255.255.0.0  broadcast 172.17.255.255
- Create
/etc/docker/daemon.json
mkdir -p /etc/docker

cat > /etc/docker/daemon.json <<EOF
{
   "insecure-registries": [
     "172.17.0.0/16"
   ]
}
EOF
- Now enable / start Docker
systemctl daemon-reload \
 && systemctl enable docker \
 && systemctl start docker
Install OpenShift
- Grab the OpenShift client tools
Find the latest URL from: https://www.okd.io/download.html
wget https://github.com/openshift/origin/releases/download/v3.11.0/openshift-origin-client-tools-v3.11.0-0cbc58b-linux-64bit.tar.gz \
  && tar -xvf openshift-origin-client-tools-v3.11.0-0cbc58b-linux-64bit.tar.gz \
  && rm -rf openshift-origin-client-tools-v3.11.0-0cbc58b-linux-64bit.tar.gz \
  && mv open* openshift
- Make
ocavailable viaPATH
export PATH=$PATH:`pwd`/openshift
- Authenticate to the Docker hub
docker login
- Install OpenShift
oc cluster up --skip-registry-check=true
This will take a few minutes
If you see an error / timeout at run_self_hosted.go:181] Waiting for the kube-apiserver to be readythen run the command again until it passes.
When done you’ll see this output:
Login to server ...
Creating initial project "myproject" ...

Server Information ...
OpenShift server started.

The server is accessible via web console at:
    https://127.0.0.1:8443

You are logged in as:
    User:     developer
    Password: <any value>

To login as administrator:
    oc login -u system:admin
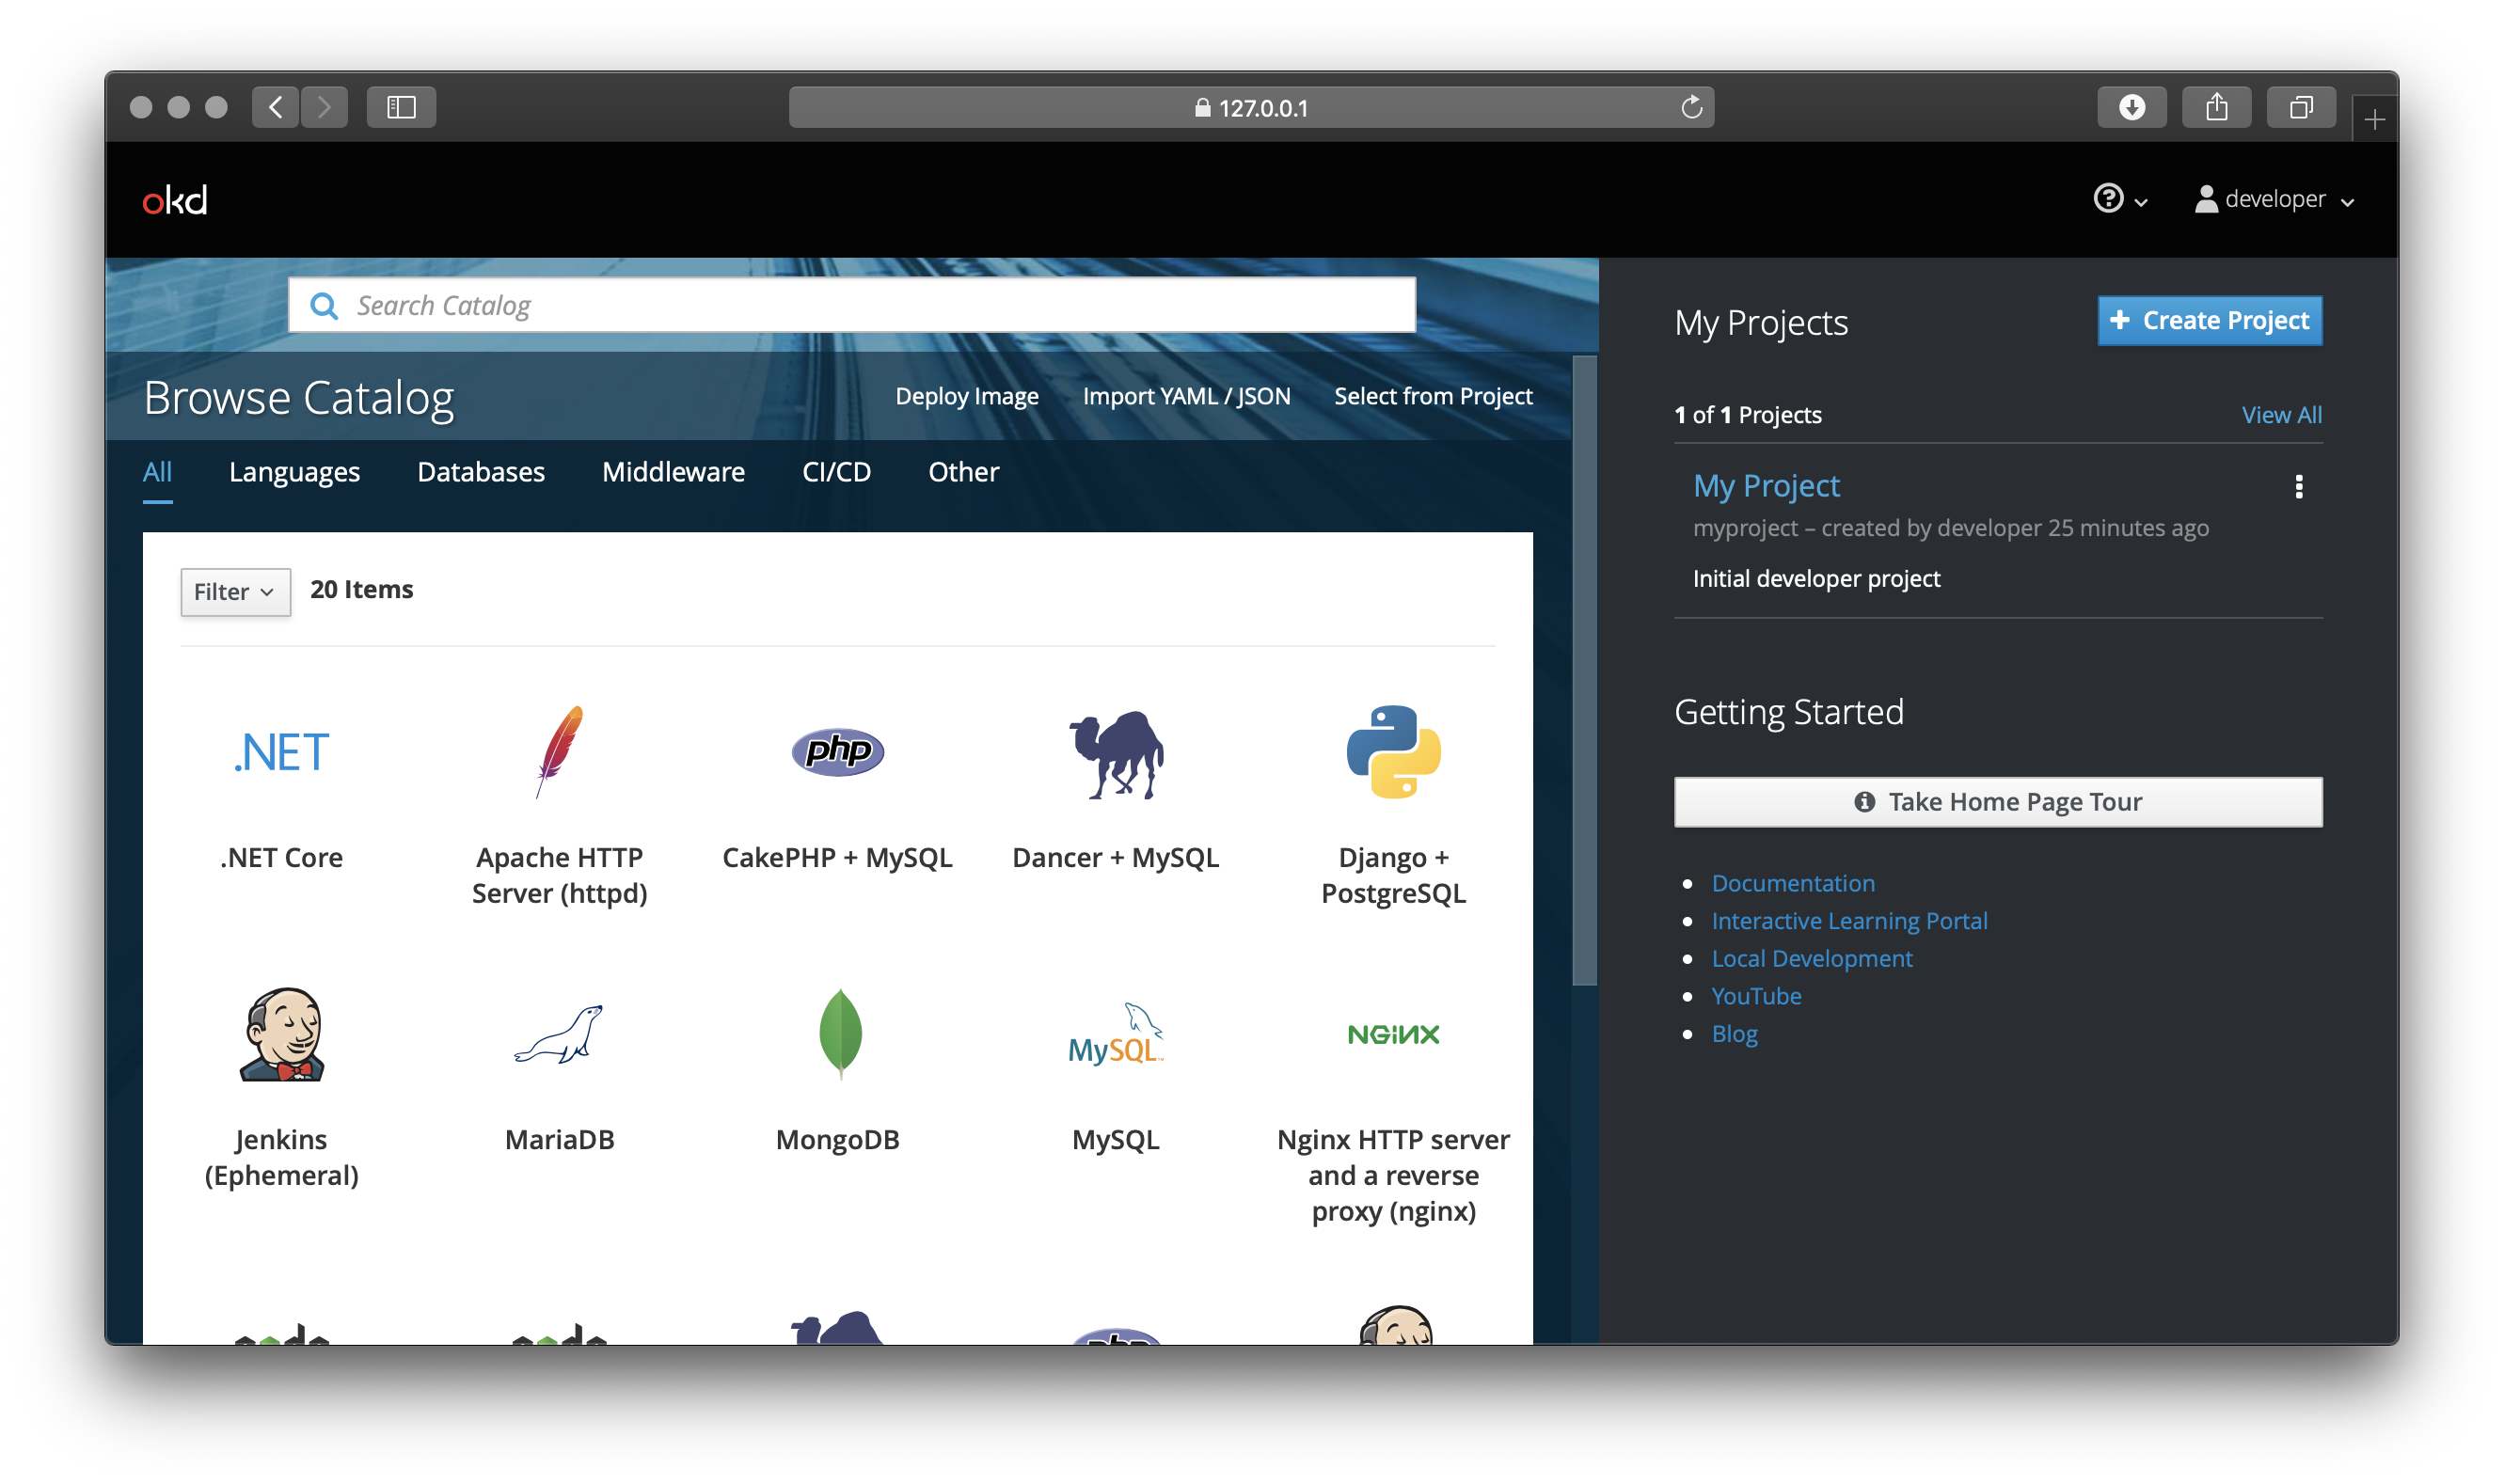
You can now install the oc tool on your host machine or access the portal through https://127.0.0.1:8443 on the host.
Test your OpenShift cluster
Let’s install OpenFaaS which makes Serverless Functions Simple through the user of Docker images and Kubernetes. OpenShift is effectively a distribution of Kubernetes, so with some testing and tweaking everything should work almost out of the box.
OpenFaaS supports microservices, functions, scale to zero, source to URL and much more. Today we’ll try out one of the sample functions from the Function Store to check when an SSL certificate will expire.
- Install OpenFaaS
oc login -u system:admin

oc adm new-project openfaas
oc adm new-project openfaas-fn

oc apply -f https://raw.githubusercontent.com/openfaas/faas-netes/master/yaml/alertmanager-cfg.yml
oc apply -f https://raw.githubusercontent.com/openfaas/faas-netes/master/yaml/alertmanager-dep.yml
oc apply -f https://raw.githubusercontent.com/openfaas/faas-netes/master/yaml/alertmanager-svc.yml
oc apply -f https://raw.githubusercontent.com/openfaas/faas-netes/master/yaml/gateway-dep.yml
oc apply -f https://raw.githubusercontent.com/openfaas/faas-netes/master/yaml/gateway-svc.yml
oc apply -f https://raw.githubusercontent.com/openfaas/faas-netes/master/yaml/nats-dep.yml
oc apply -f https://raw.githubusercontent.com/openfaas/faas-netes/master/yaml/nats-svc.yml
oc apply -f https://raw.githubusercontent.com/openfaas/faas-netes/master/yaml/prometheus-cfg.yml
oc apply -f https://raw.githubusercontent.com/openfaas/faas-netes/master/yaml/prometheus-dep.yml

oc apply -f https://raw.githubusercontent.com/openfaas/faas-netes/master/yaml/prometheus-rbac.yml
oc apply -f https://raw.githubusercontent.com/openfaas/faas-netes/master/yaml/prometheus-svc.yml
oc apply -f https://raw.githubusercontent.com/openfaas/faas-netes/master/yaml/queueworker-dep.yml
oc apply -f https://raw.githubusercontent.com/openfaas/faas-netes/master/yaml/rbac.yml
Now let’s create a route for the gateway:
cat > route.yaml << EOF
apiVersion: route.openshift.io/v1
kind: Route
metadata:
  name: openfaas
  namespace: openfaas
spec:
  host: footloose-gateway.com
  to:
    kind: Service
    name: gateway
    weight: 100
  wildcardPolicy: None
  tls:
    termination: edge
EOF

oc apply -f route.yaml
Add an entry to /etc/hosts
127.0.0.1 footloose-gateway.com
Access the OpenFaaS UI at: https://footloose-gateway.com/
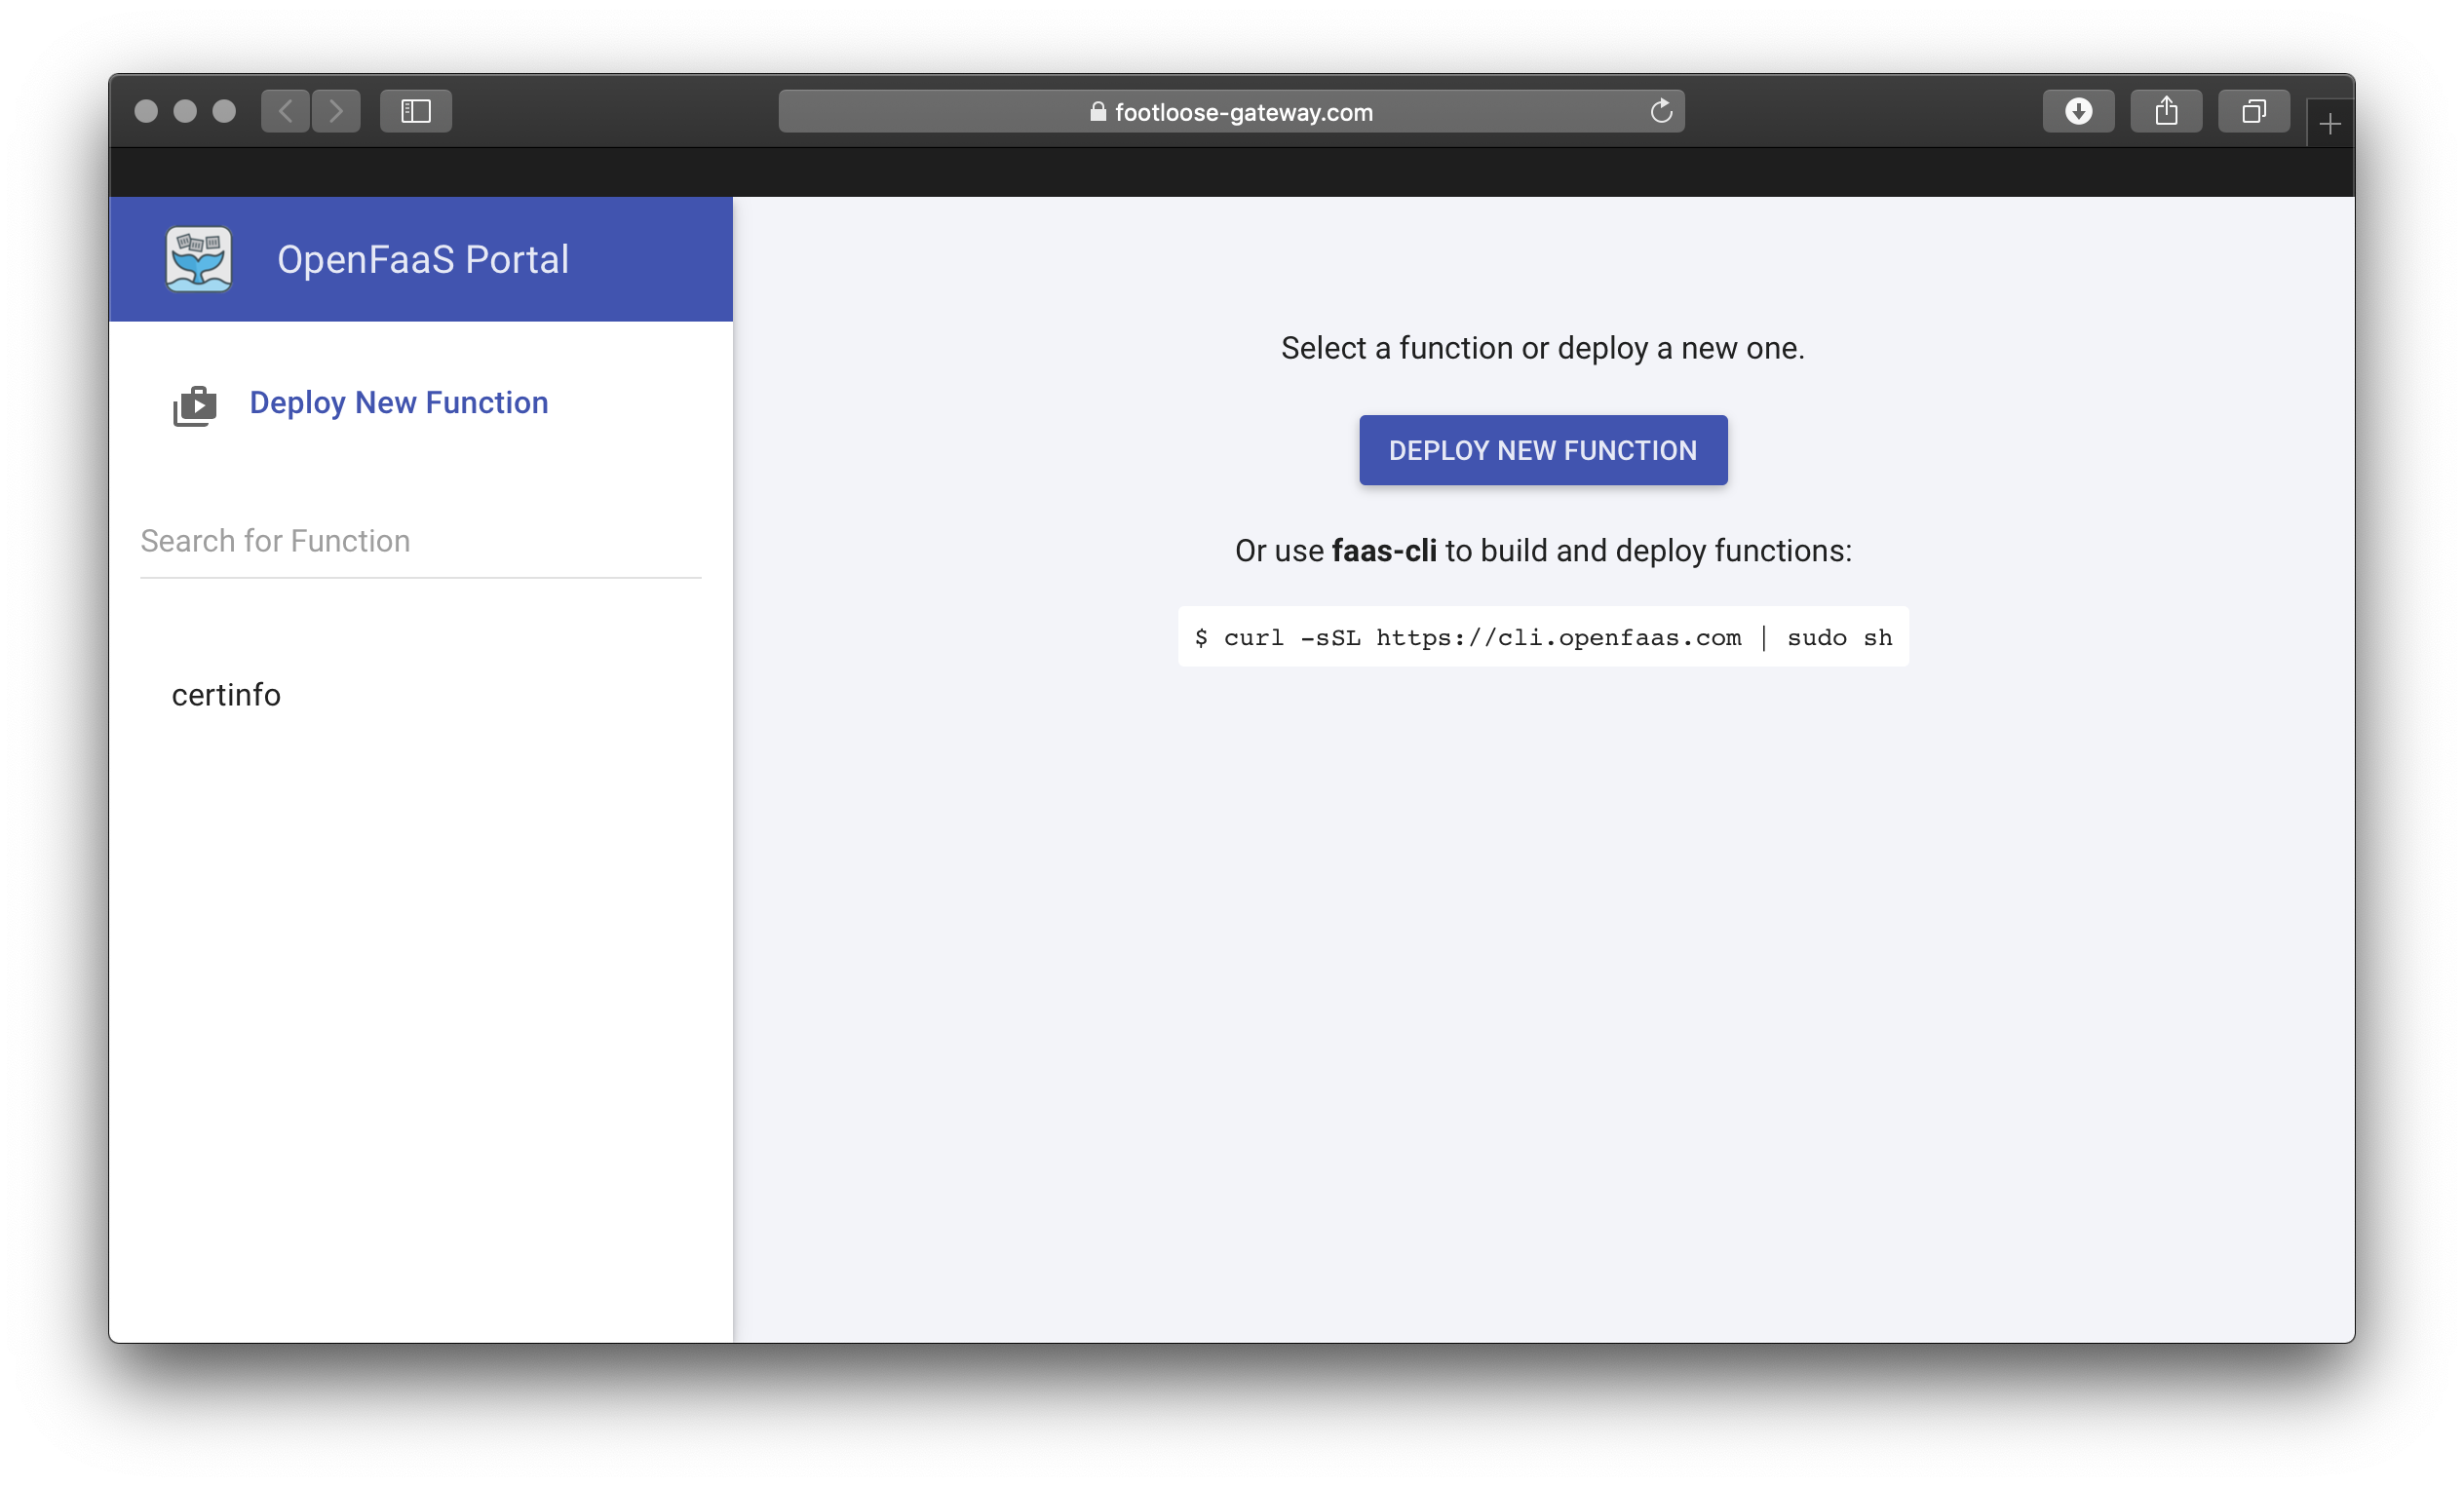
- Install the CLI and deploy a function
export OPENFAAS_URL=https://footloose-gateway.com

faas-cli store deploy --tls-no-verify certinfo

Deployed. 202 Accepted.
URL: https://footloose-gateway.com/function/certinfo
Once the function shows Ready in the OpenFaaS UI invoke it:
export OPENFAAS_URL=https://footloose-gateway.com

echo -n www.openfaas.com | faas-cli invoke --tls-no-verify certinfo

Host 185.199.110.153
Port 443
Issuer Let's Encrypt Authority X3
CommonName www.openfaas.com
NotBefore 2019-03-21 12:21:00 +0000 UTC
NotAfter 2019-06-19 12:21:00 +0000 UTC
NotAfterUnix 1560946860
SANs [www.openfaas.com]
TimeRemaining 2 months from now
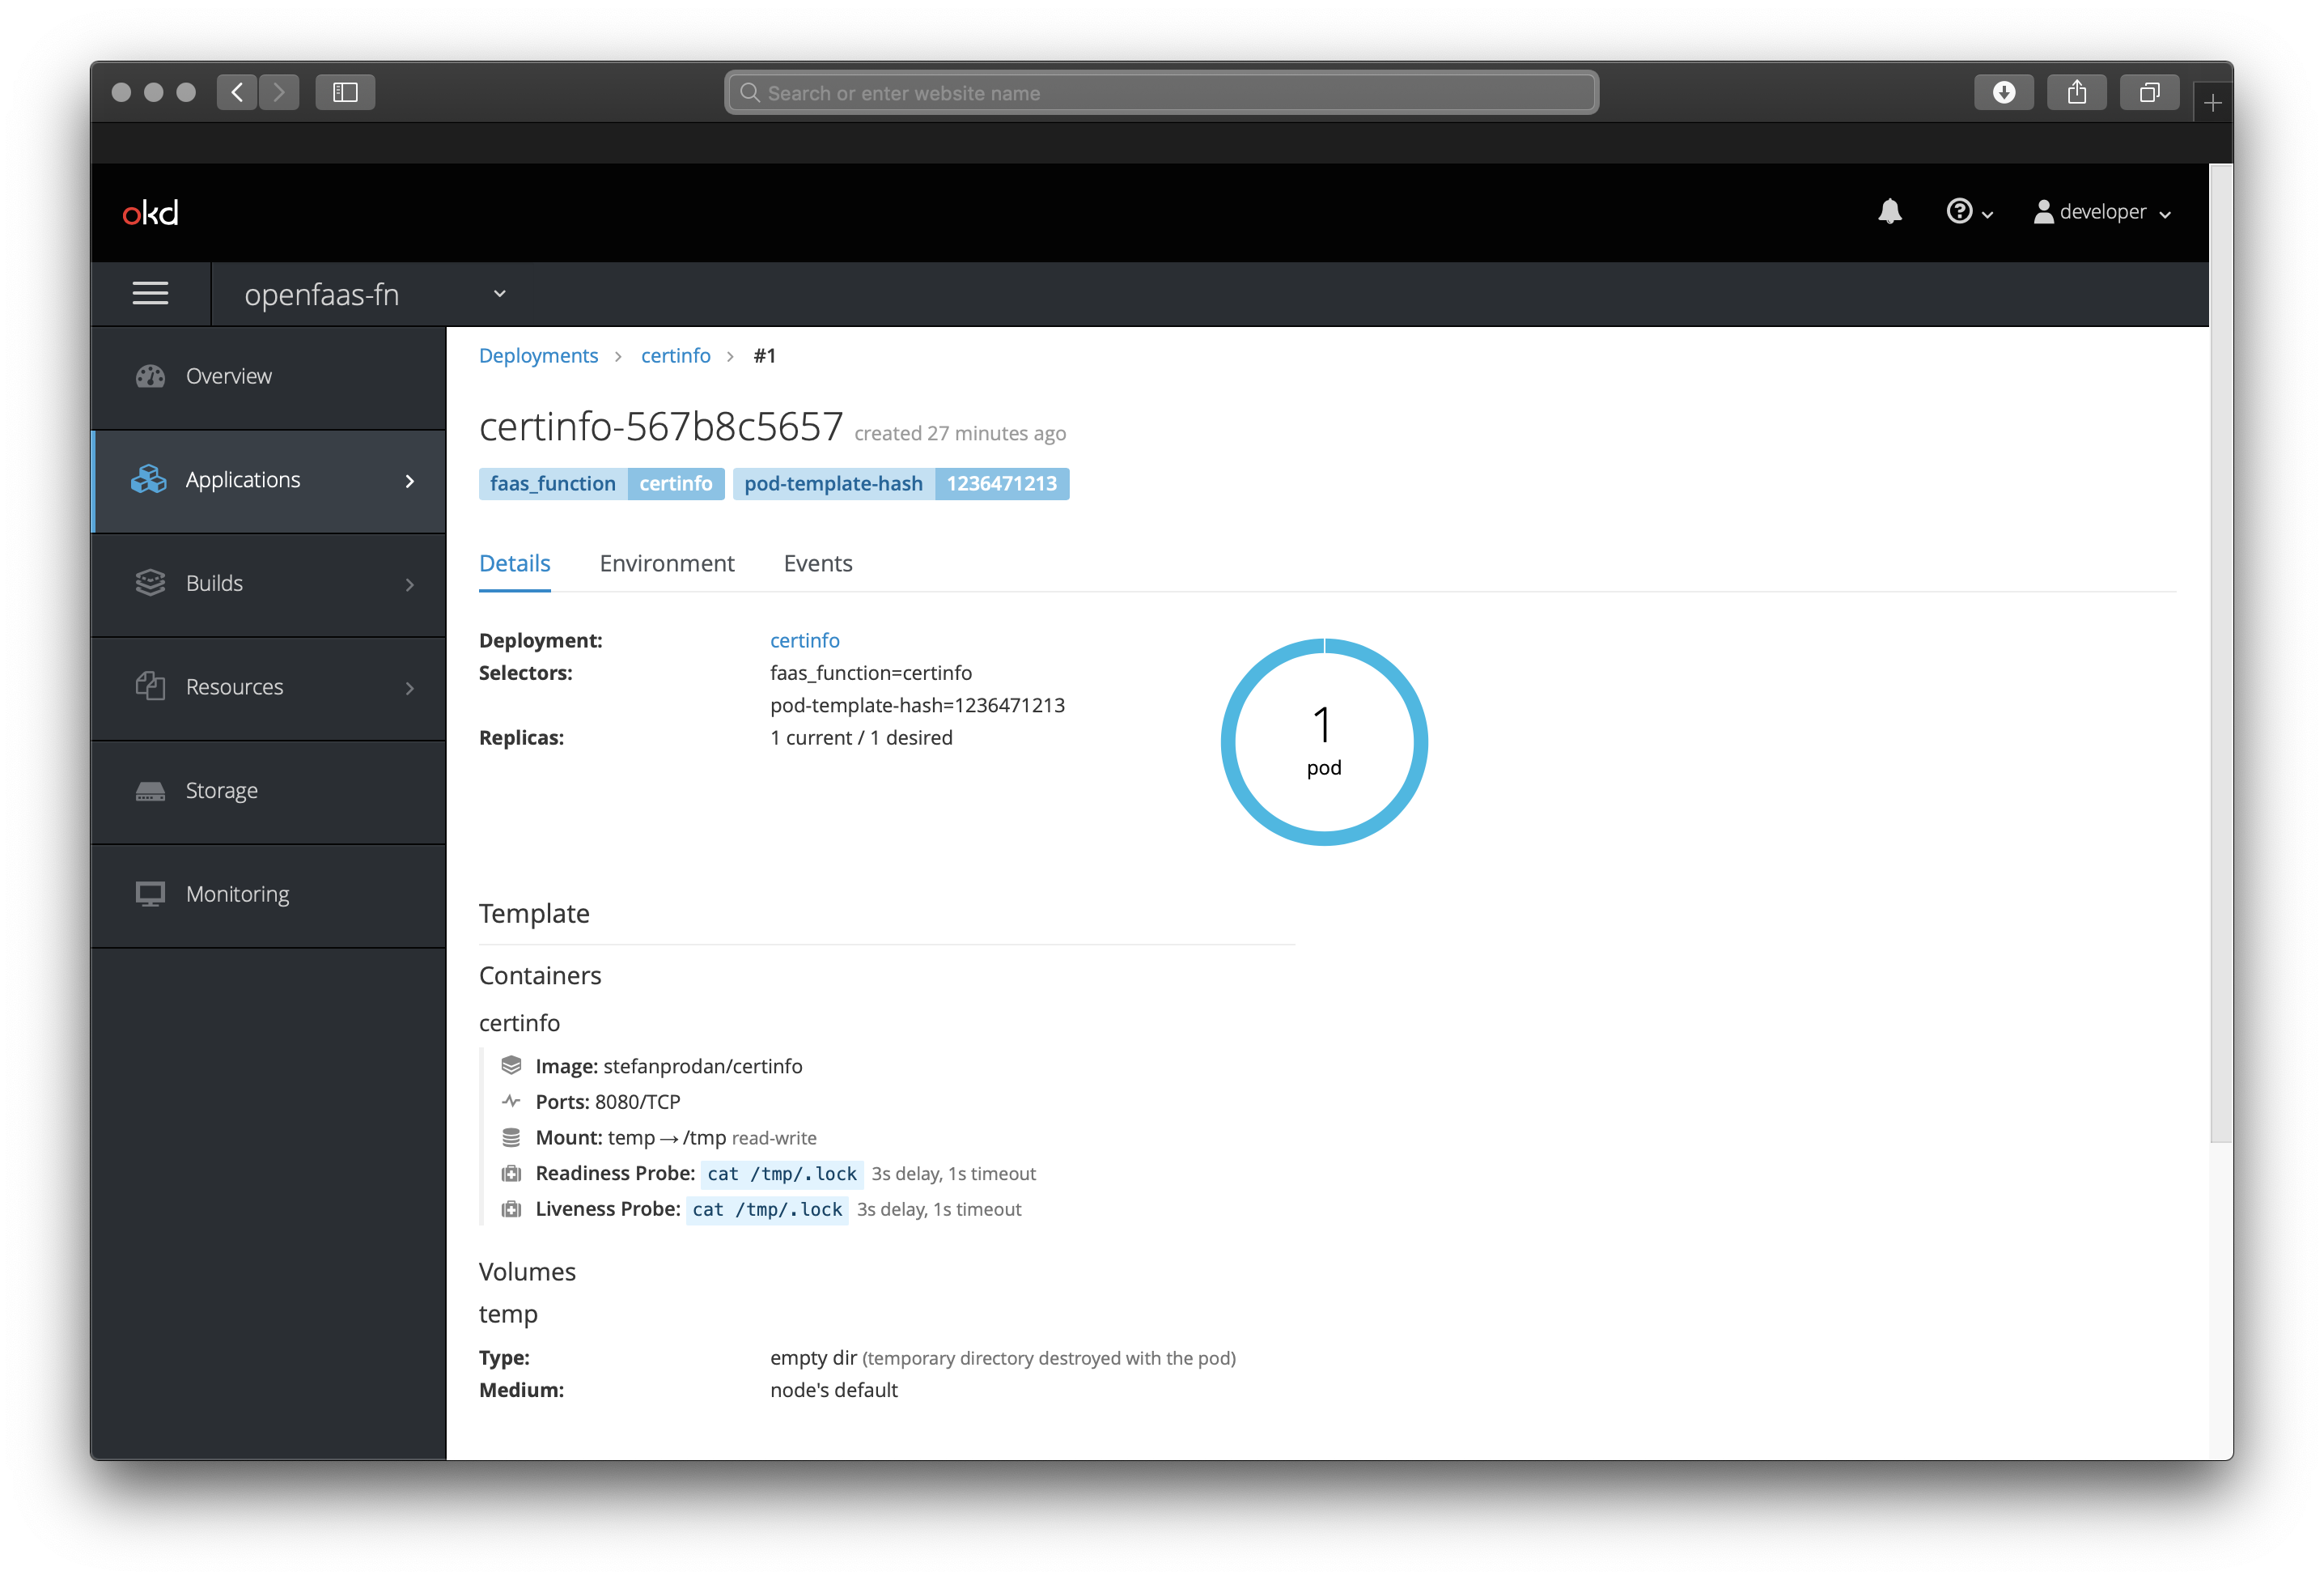
You can grant your “developer” user access to see the openfaas / openfaas-fn projects through the following command:
oc adm policy add-cluster-role-to-user cluster-reader developer
Here we are inspecting the Pod created by OpenFaaS for the certinfo function:
Tear-down
If you want to remove the OpenShift cluster you can run: footloose delete in the directory on the host.
Wrapping up
We’ve installed a functional OpenShift Origin cluster into a container and run it on a machine where the only requirement is to have Docker present. It should have taken us around 5 minutes. Once complete we deployed a production-grade application and were able to test workloads.
Whether you use minishift, Vagrant – tutorial by Liz Rice or footloose using this tutorial, testing your application on OpenShift hasn’t been easier than this.
I want to give acknowledgements to Dale Bingham from Spalding Consulting and Michael Schendel from DESI for helping test and port OpenFaaS to OpenShift. This mainly involved a small patch to add an emptyDir volume for Prometheus.
What’s next?
I’ll continue to work with Dale, Michael to create a dedicated documentation page for installing OpenShift on OpenFaaS. We’ll also be testing the helm chartand all other OpenFaaS features on OpenShift Origin such as scale-to-zero and if there is interest – OpenFaaS Cloud.
Note: when using the helm chart authentication is enabled by default – just run
faas-cli login.
Damien the author of Footloose is looking into how the Footloose tool could be used with a script or provisioning file to carry out all the steps of this tutorial in one single step. If you’d like to help him checkout his project at: https://github.com/weaveworks/footloose
If you’re an OpenShift user, expert or just want to help out. Please join us on Slack.